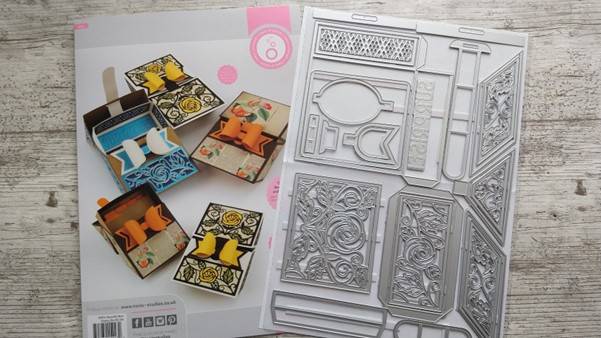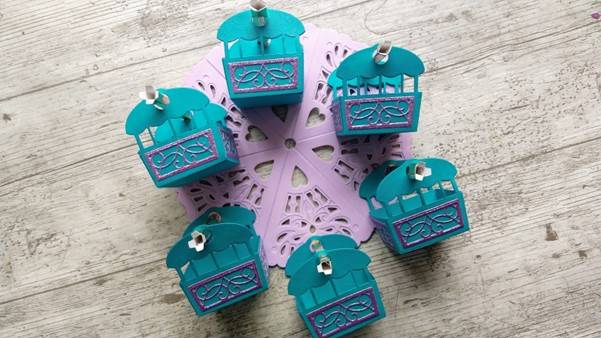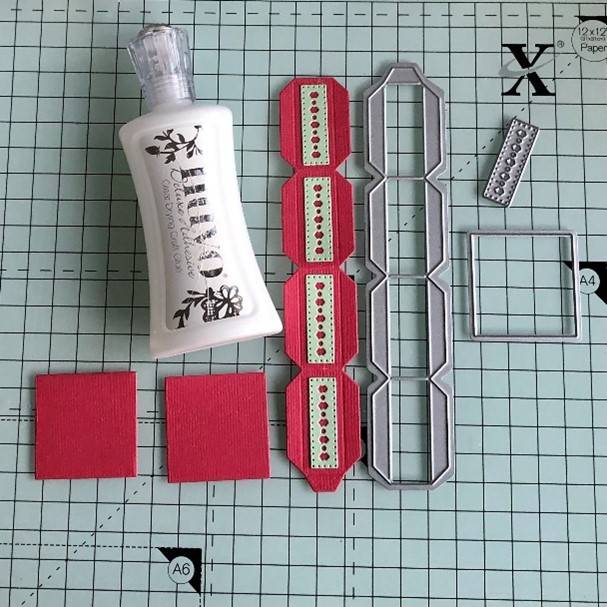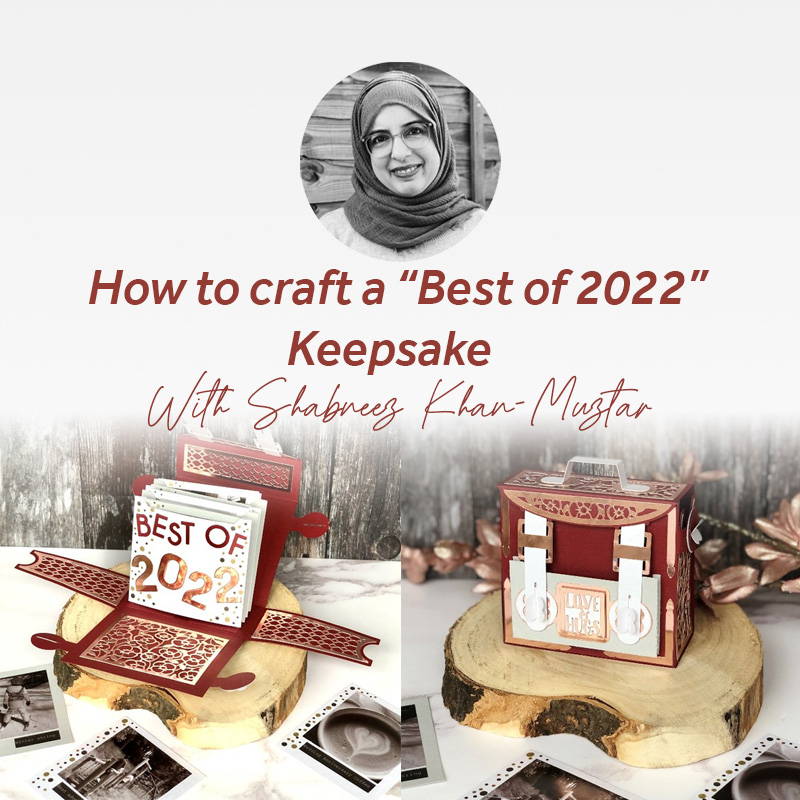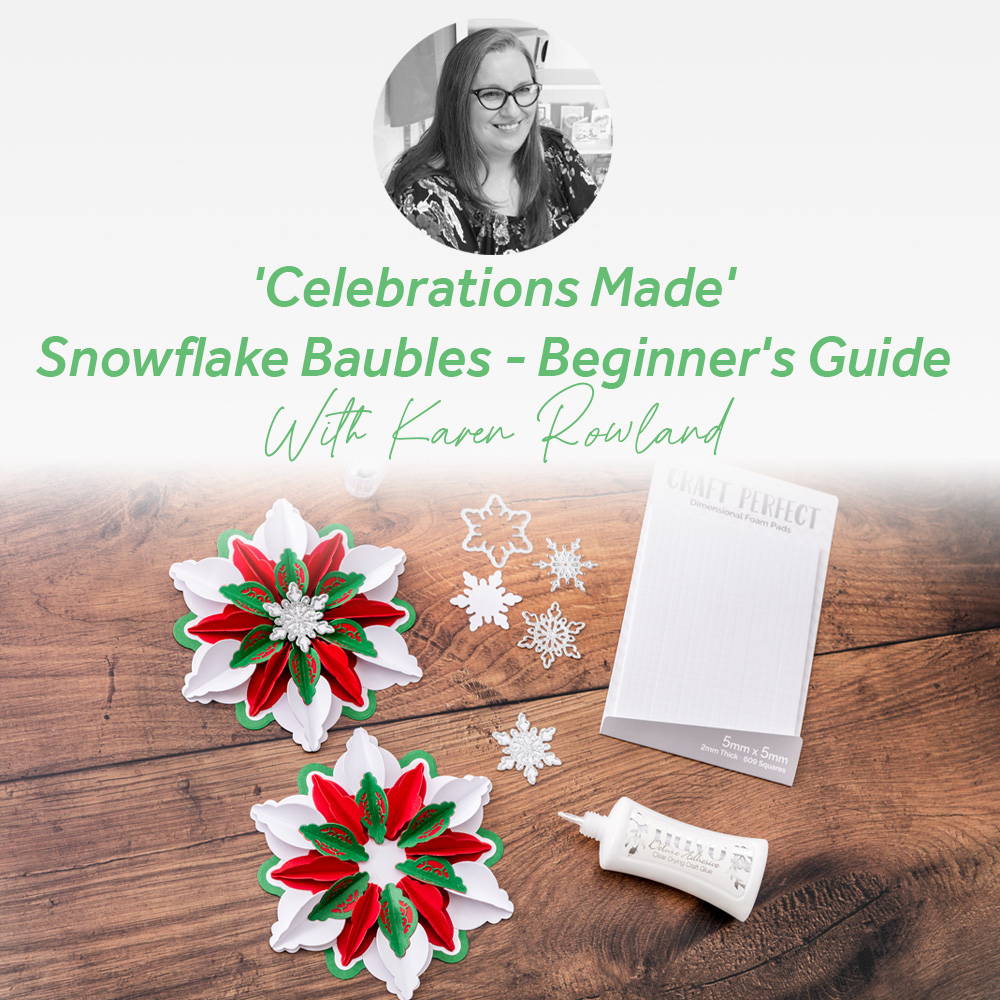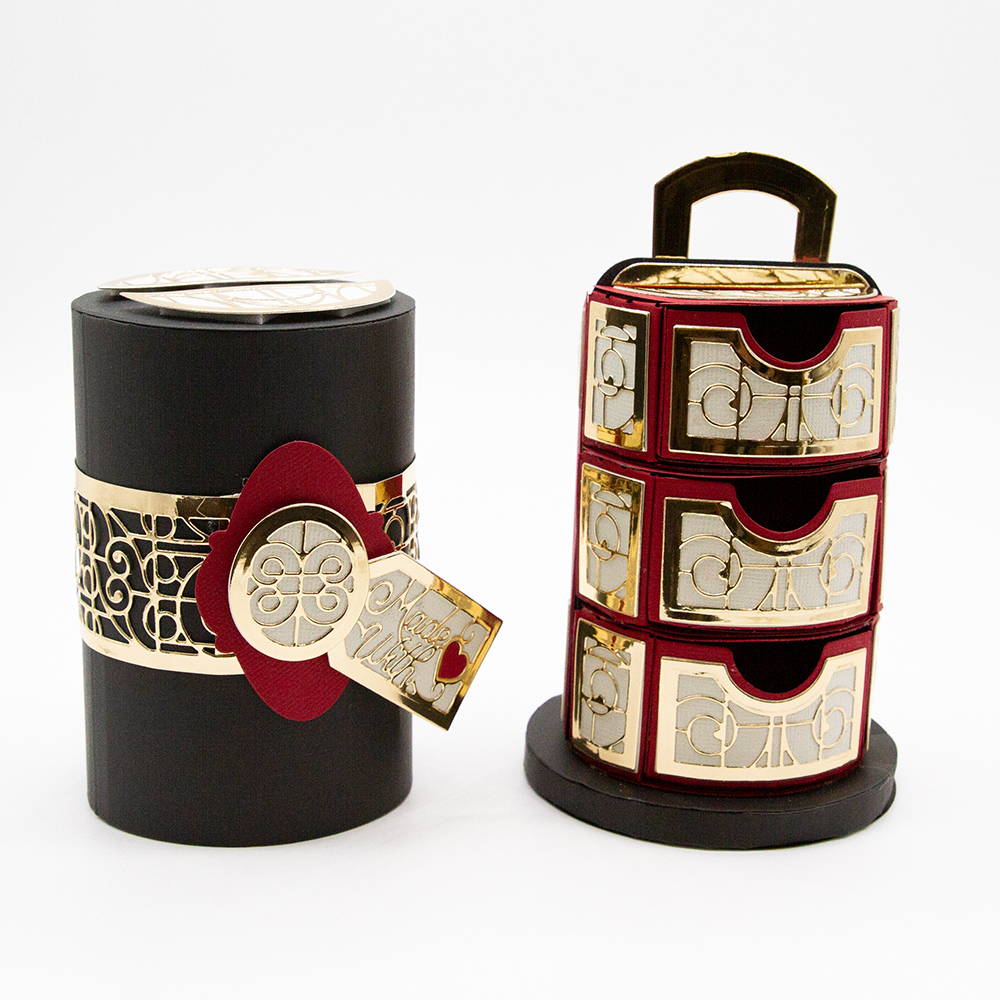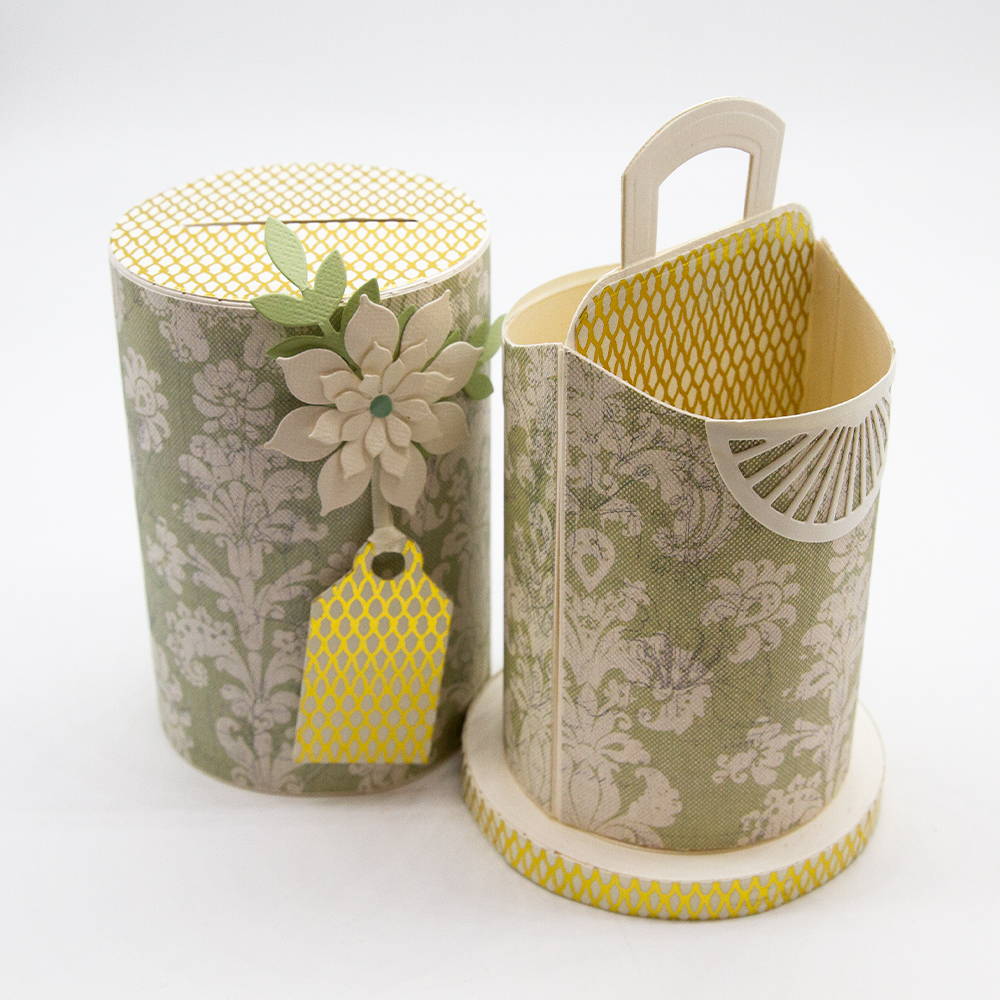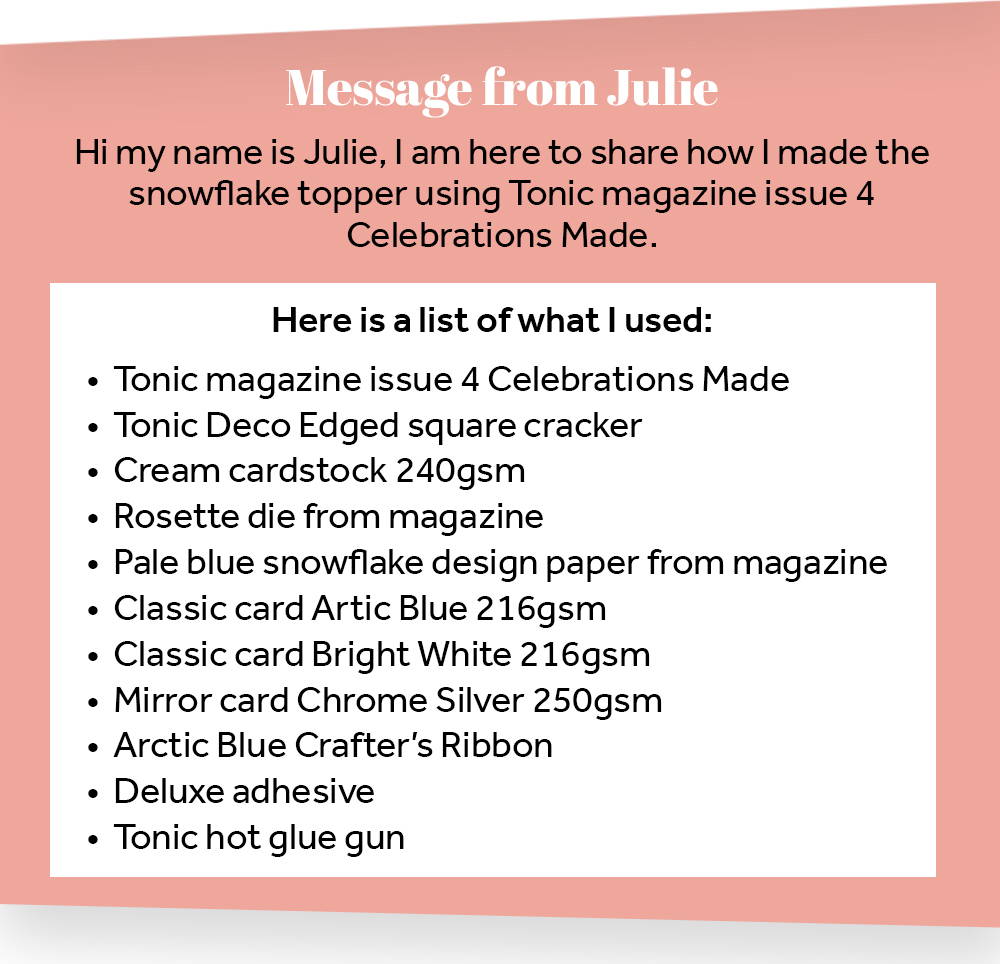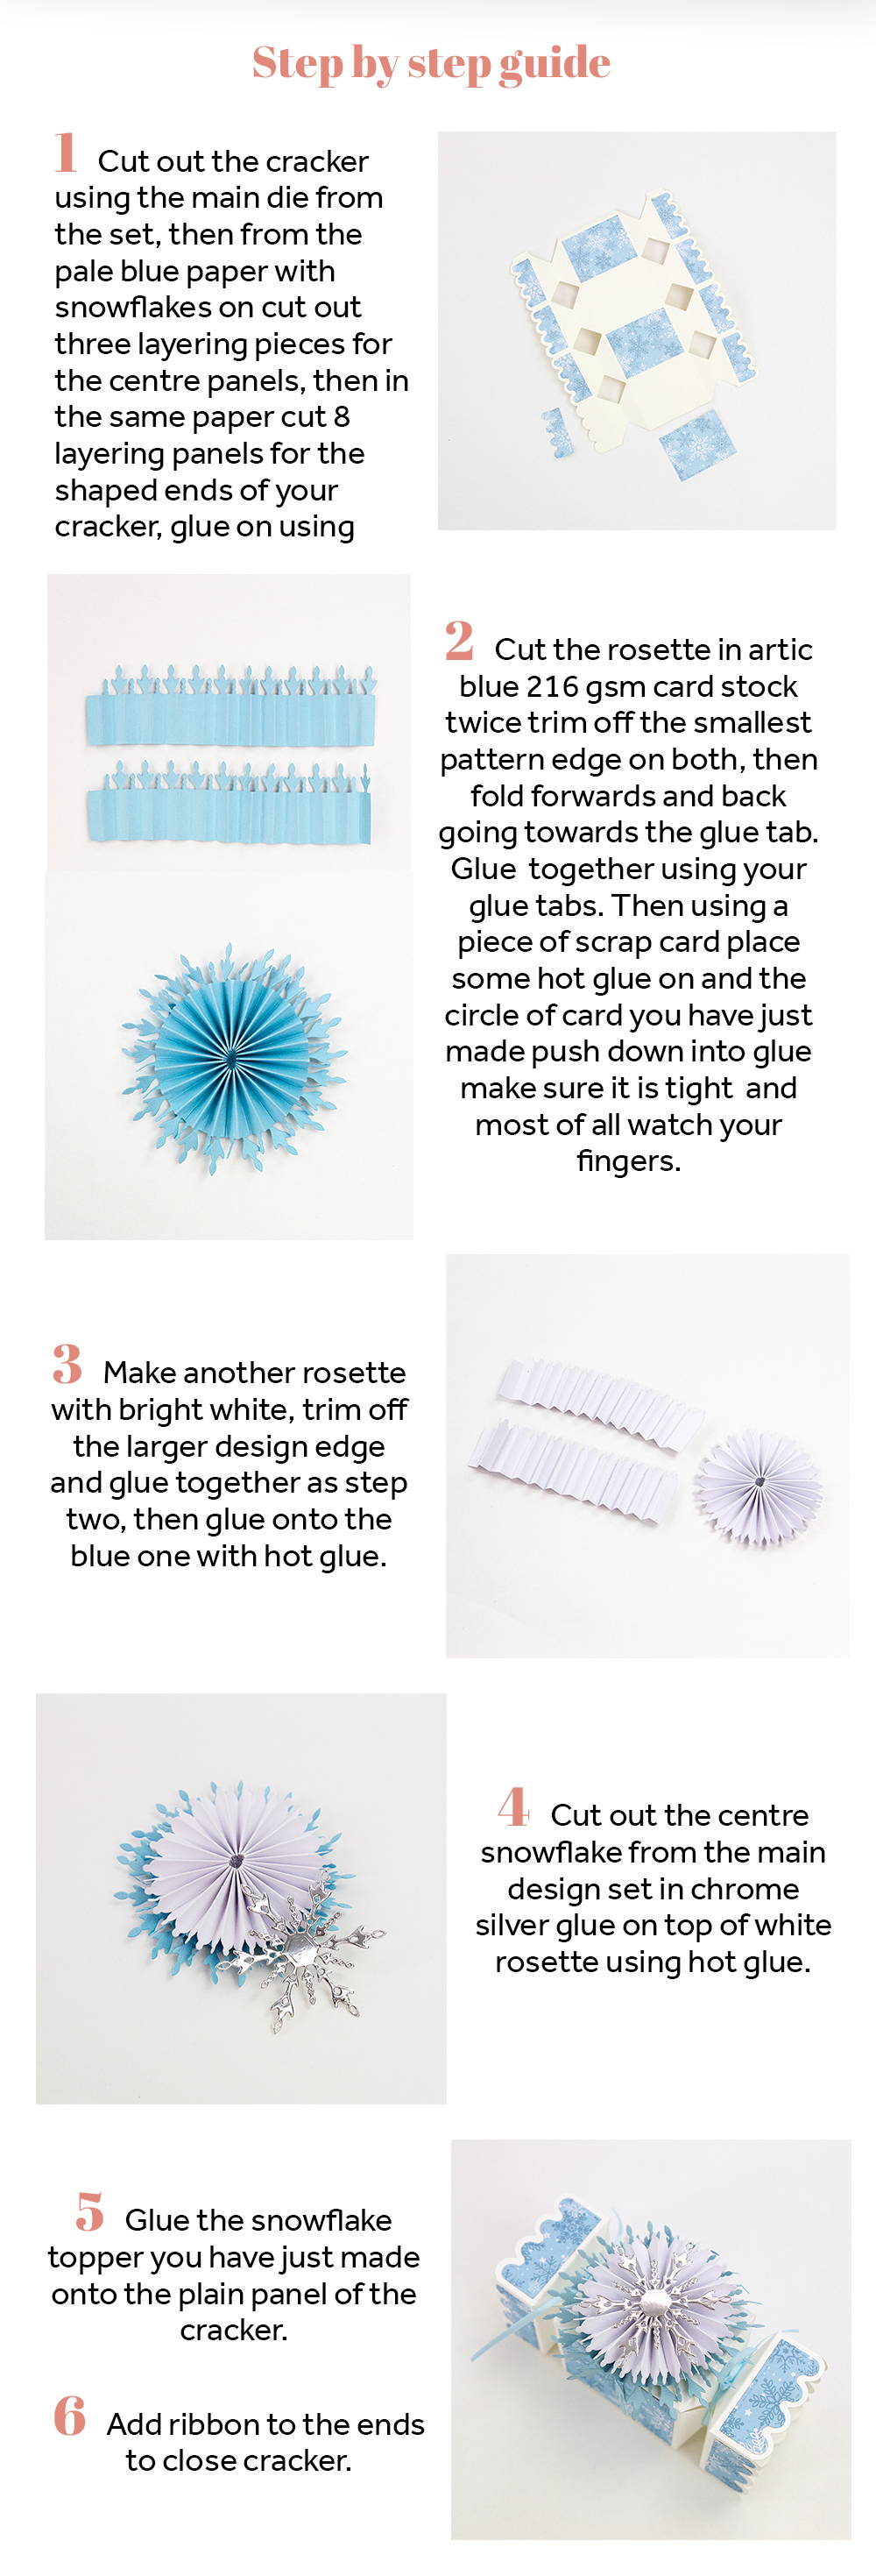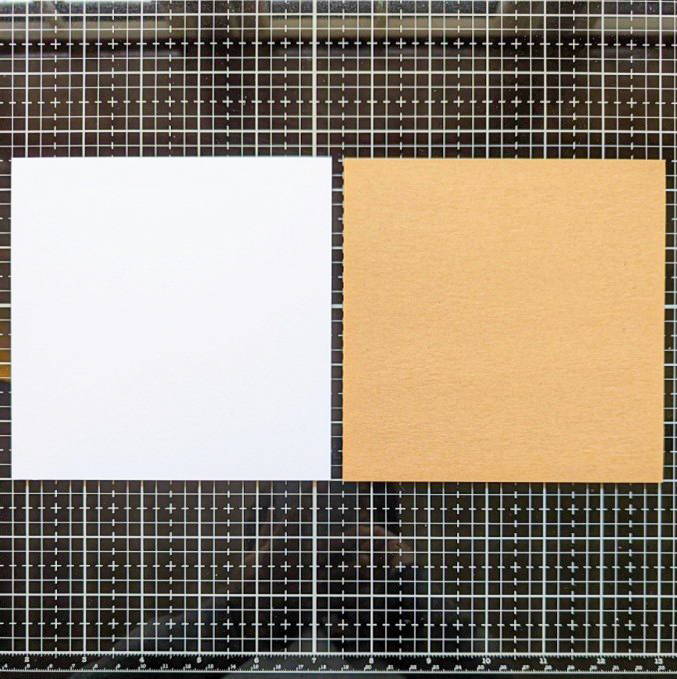

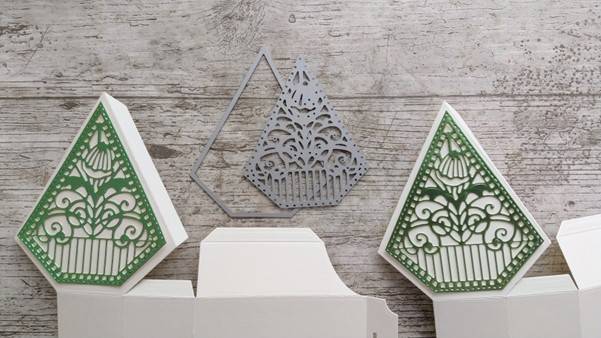
What you will need
- Thankful Harvest Box Die Set
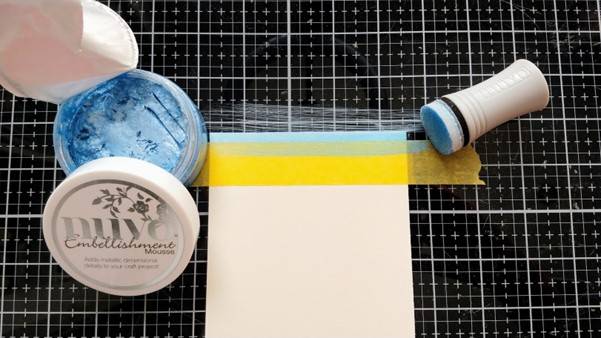
- Ivory Smooth Card
- Smooth Mint Mirror Card
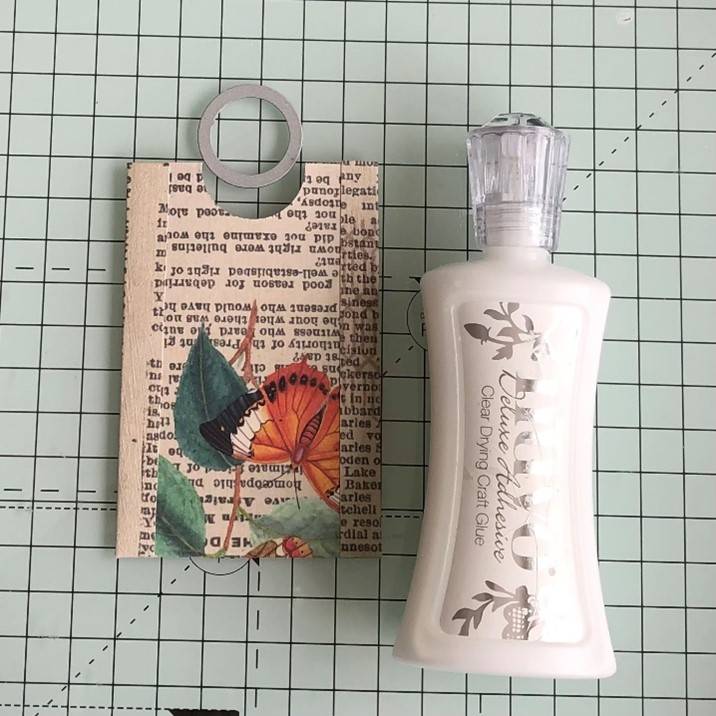
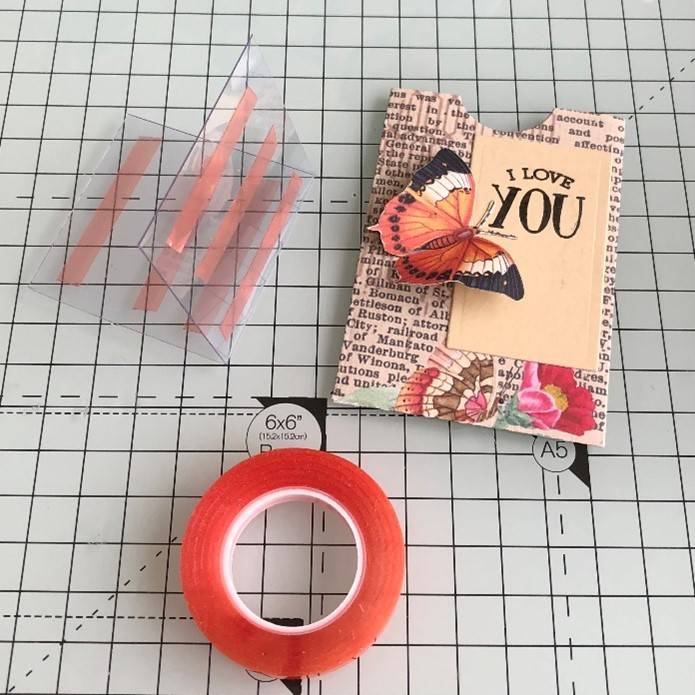
- Deluxe Adhesive
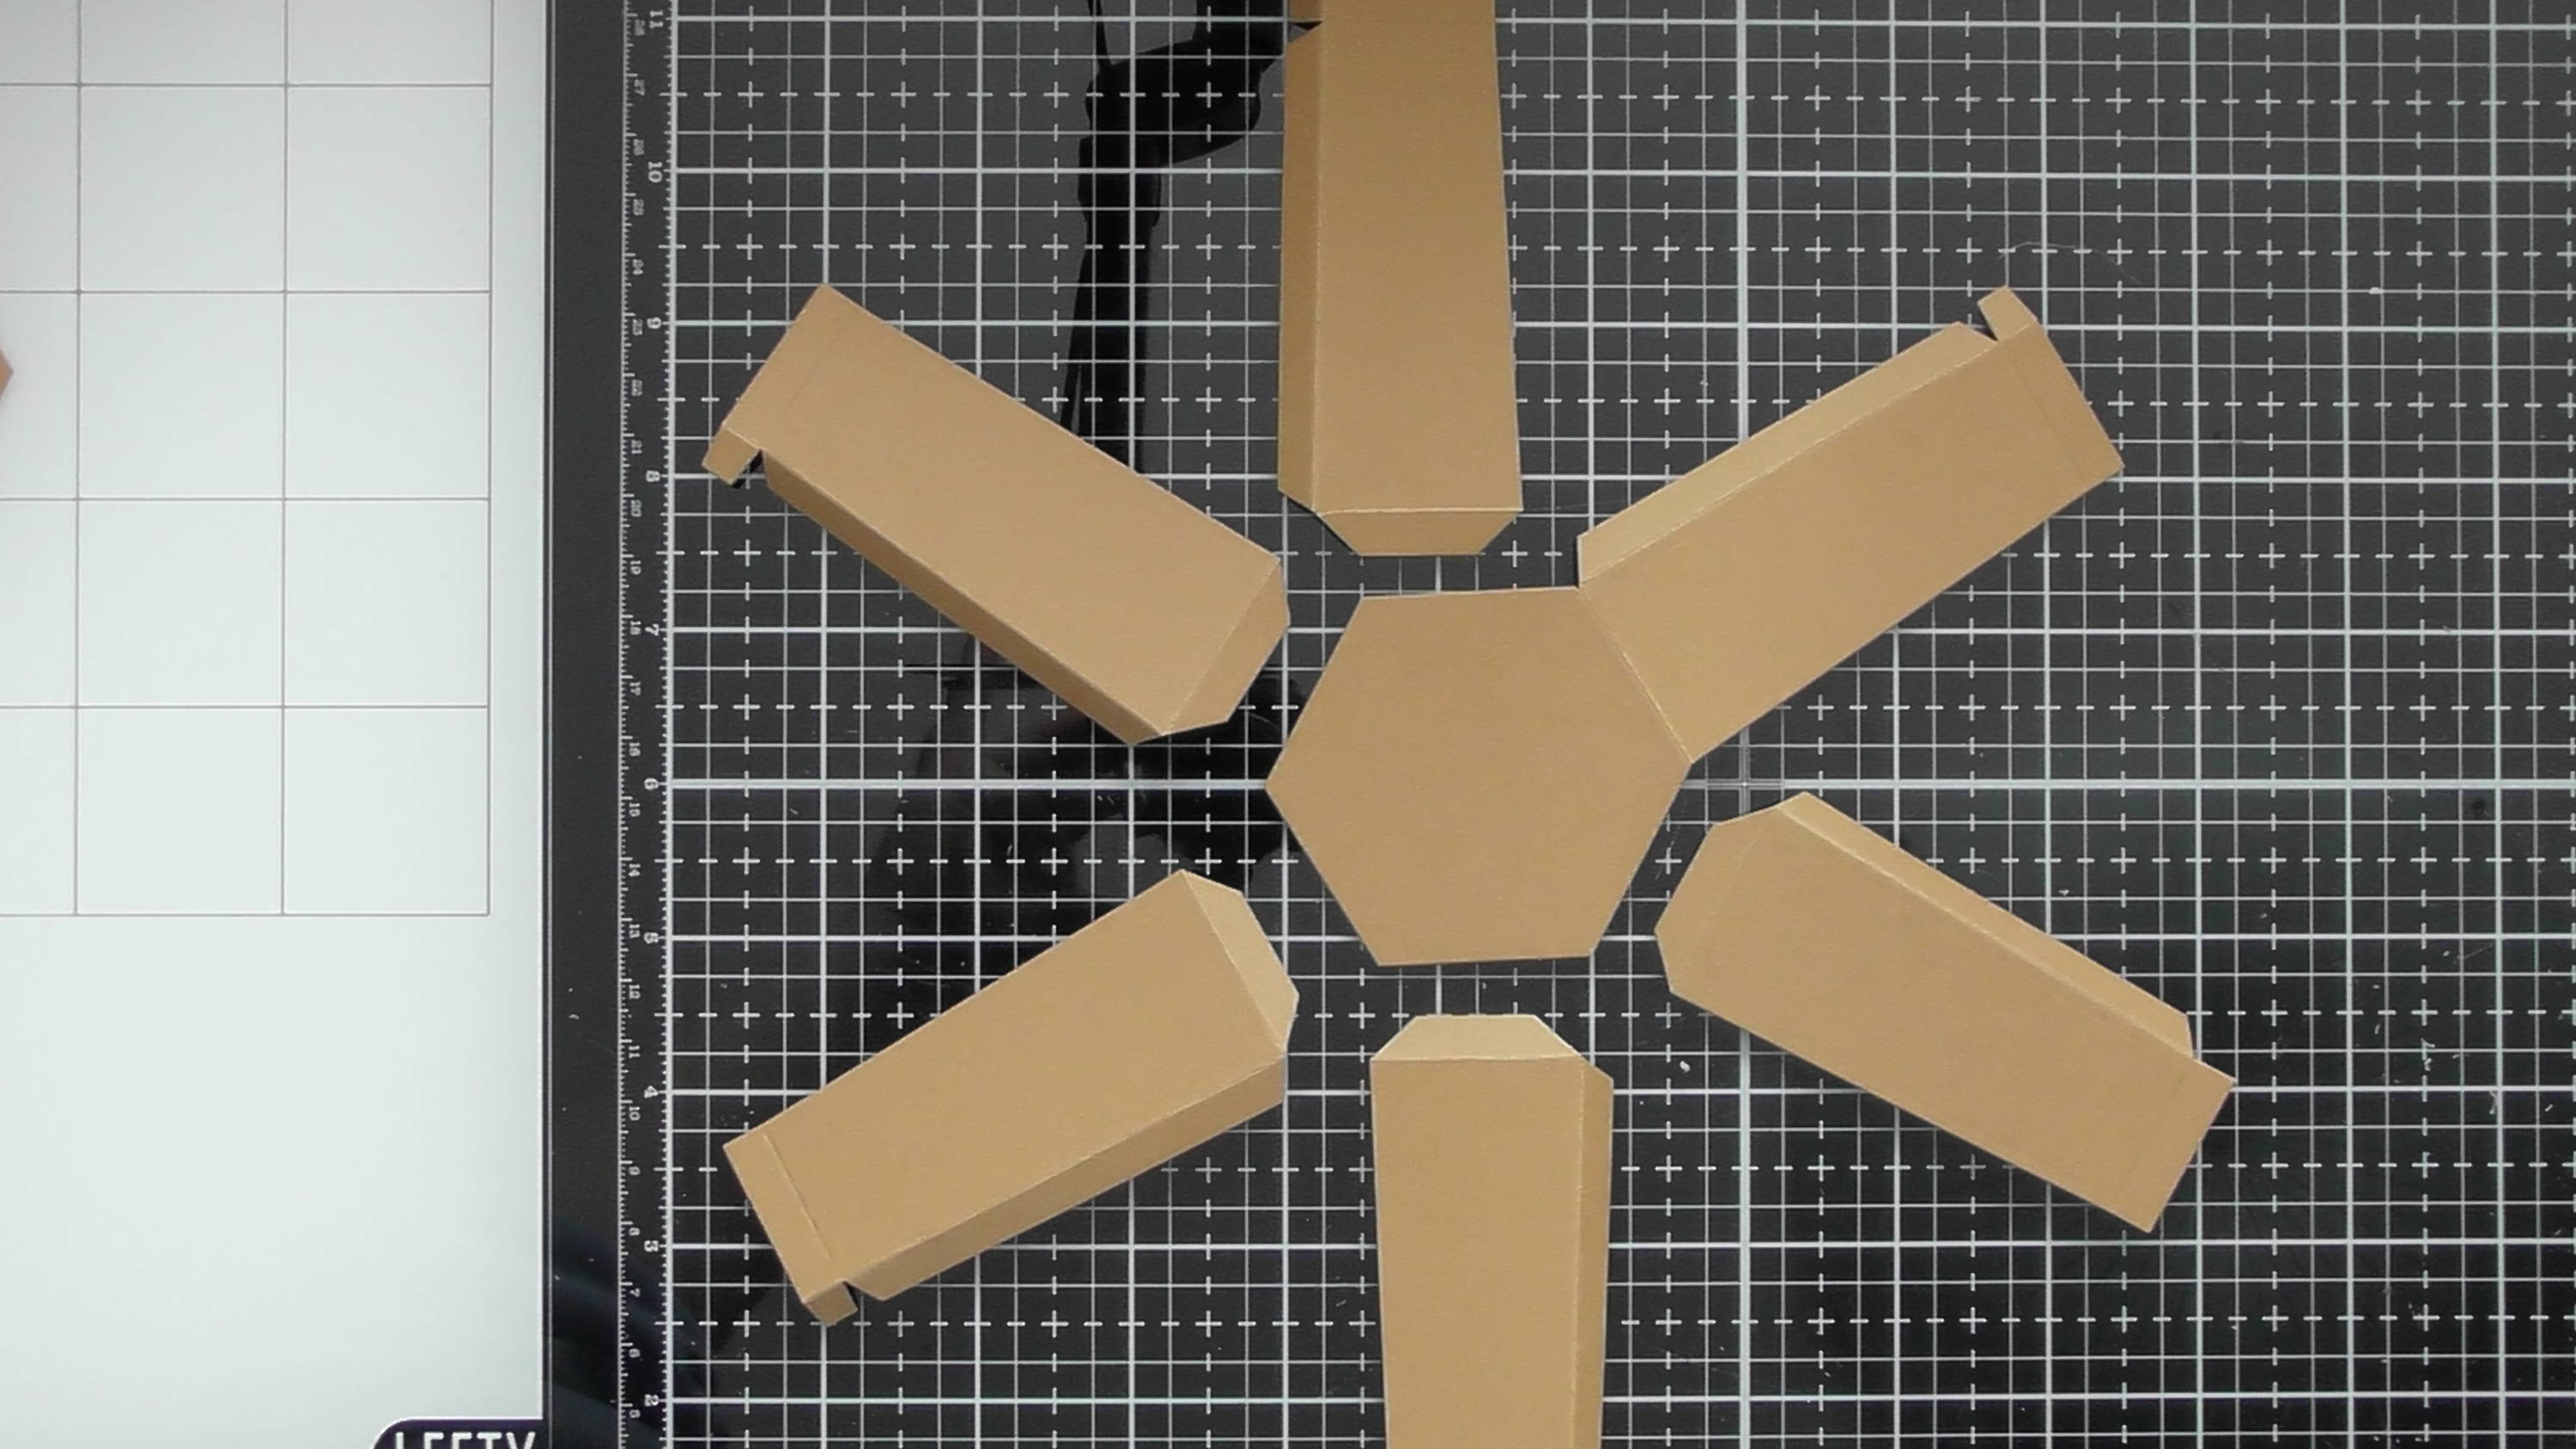
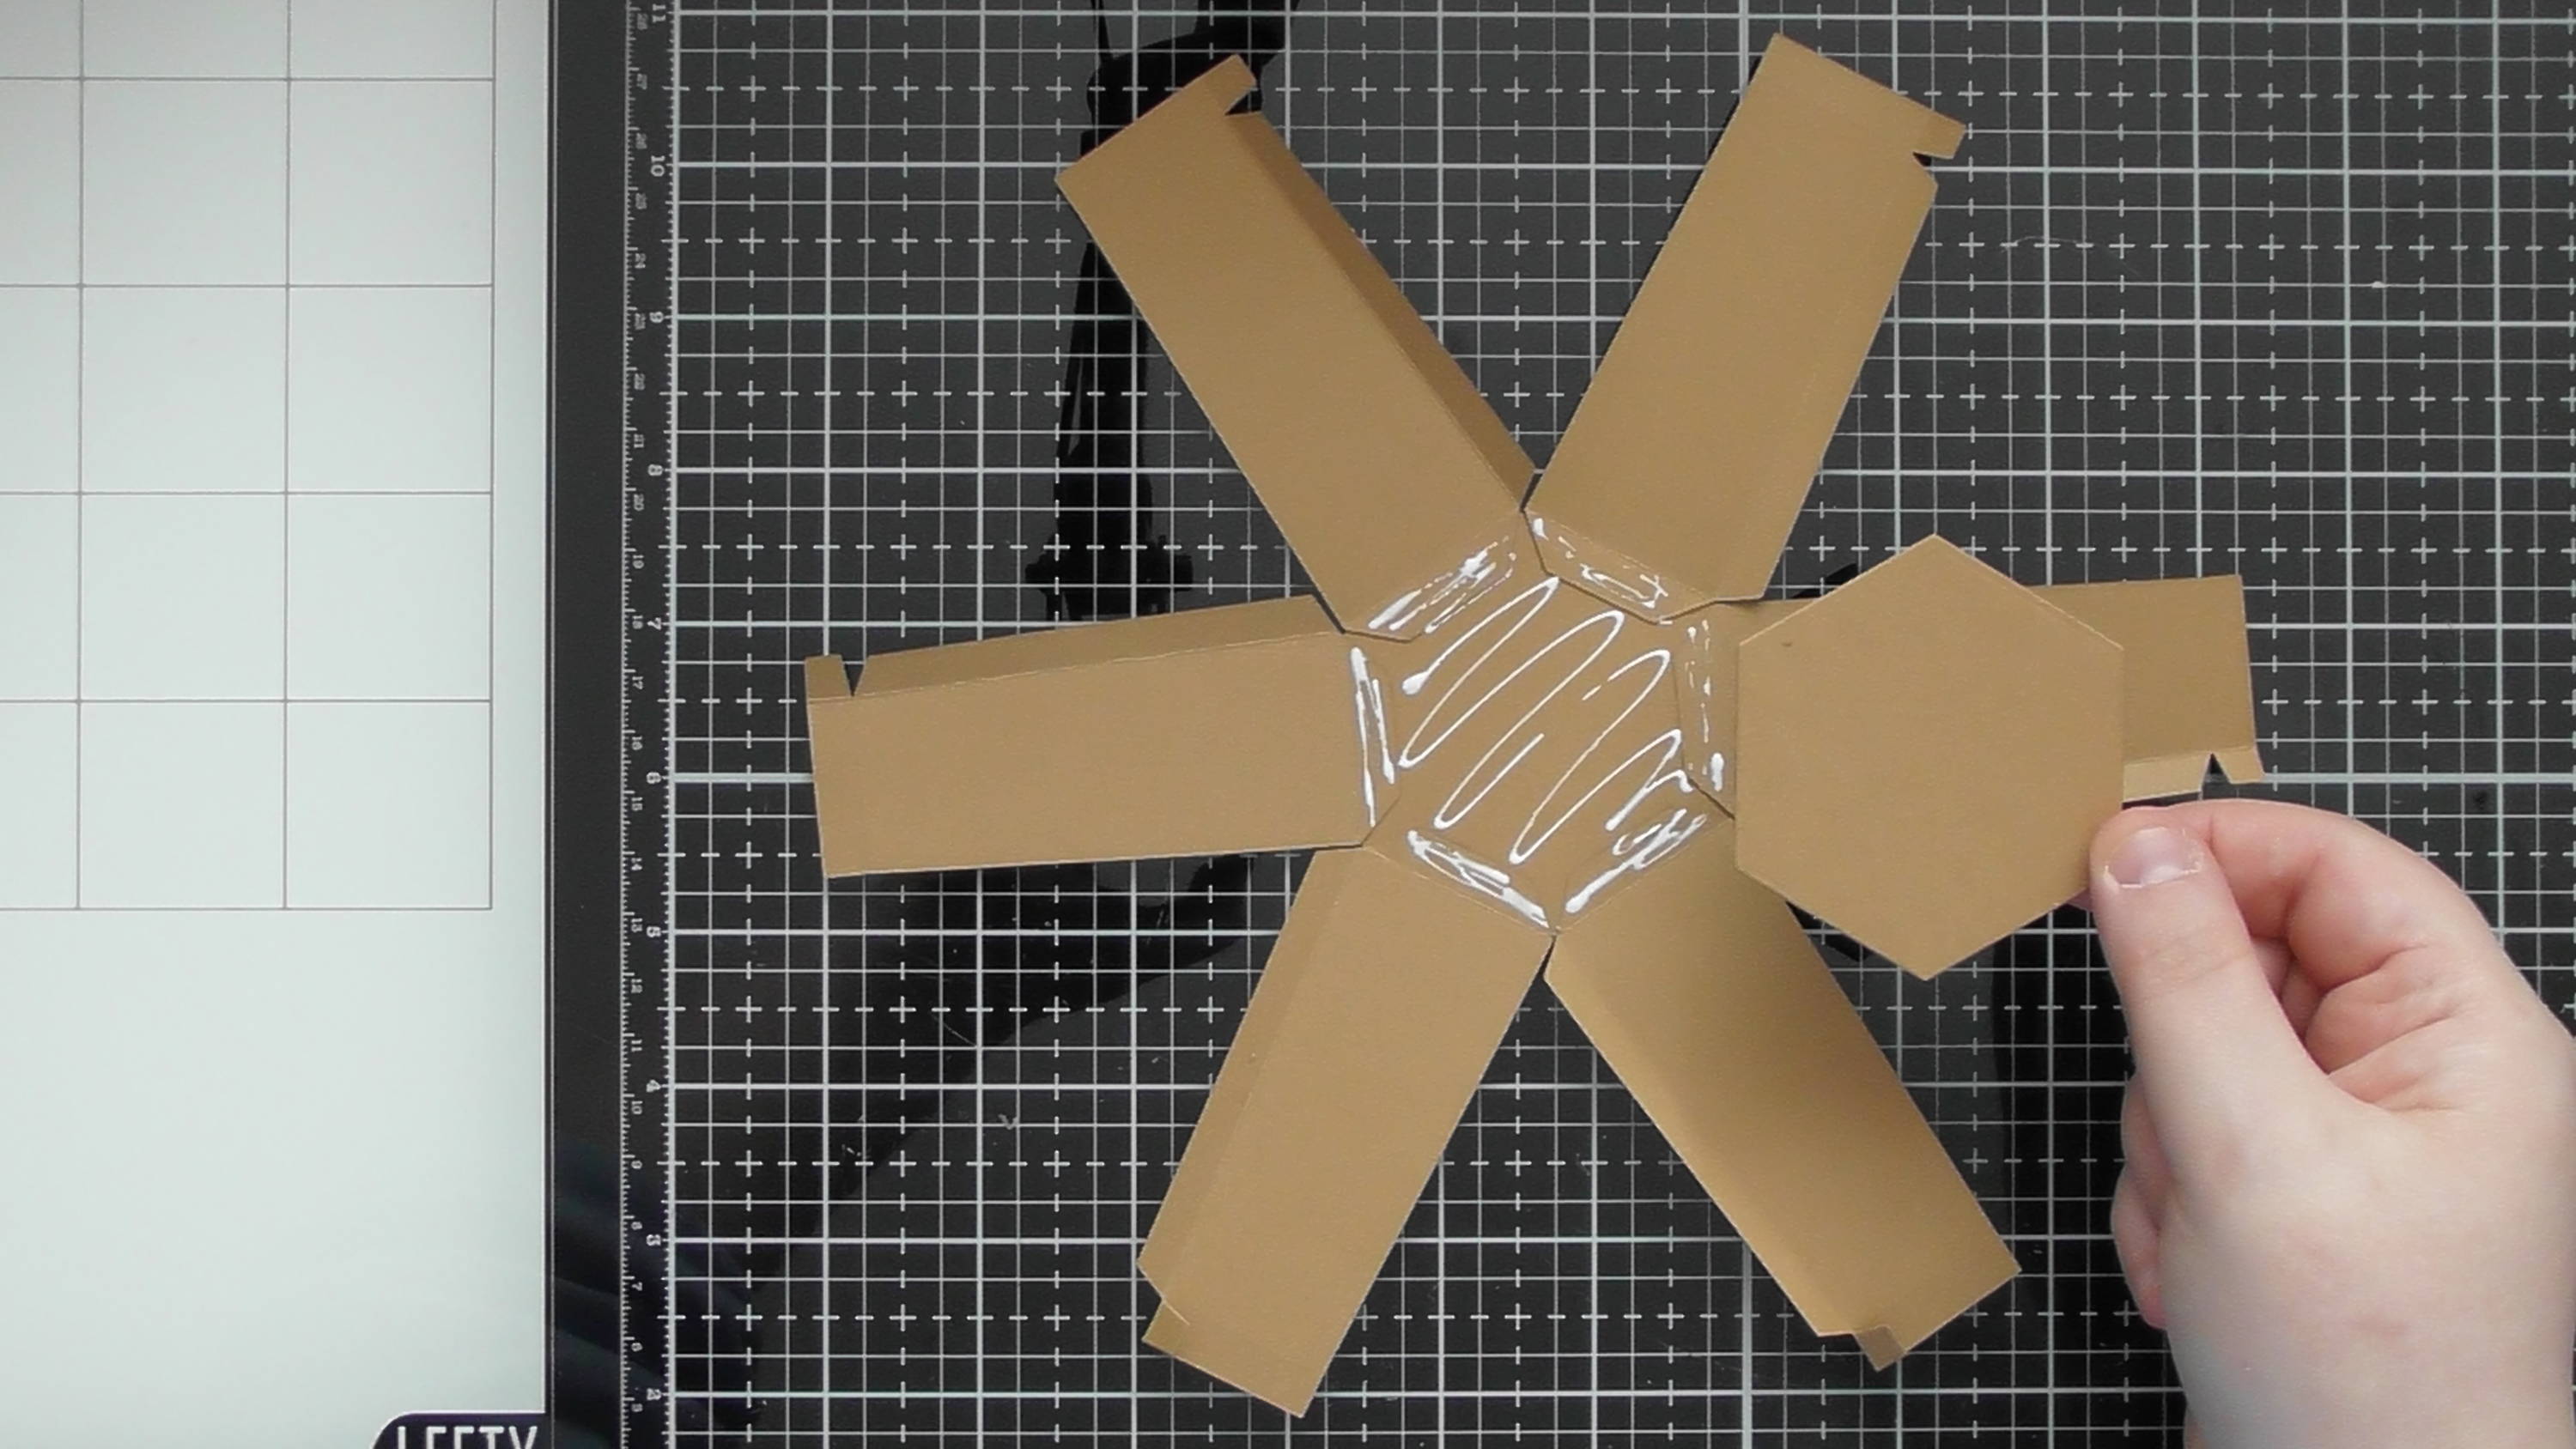
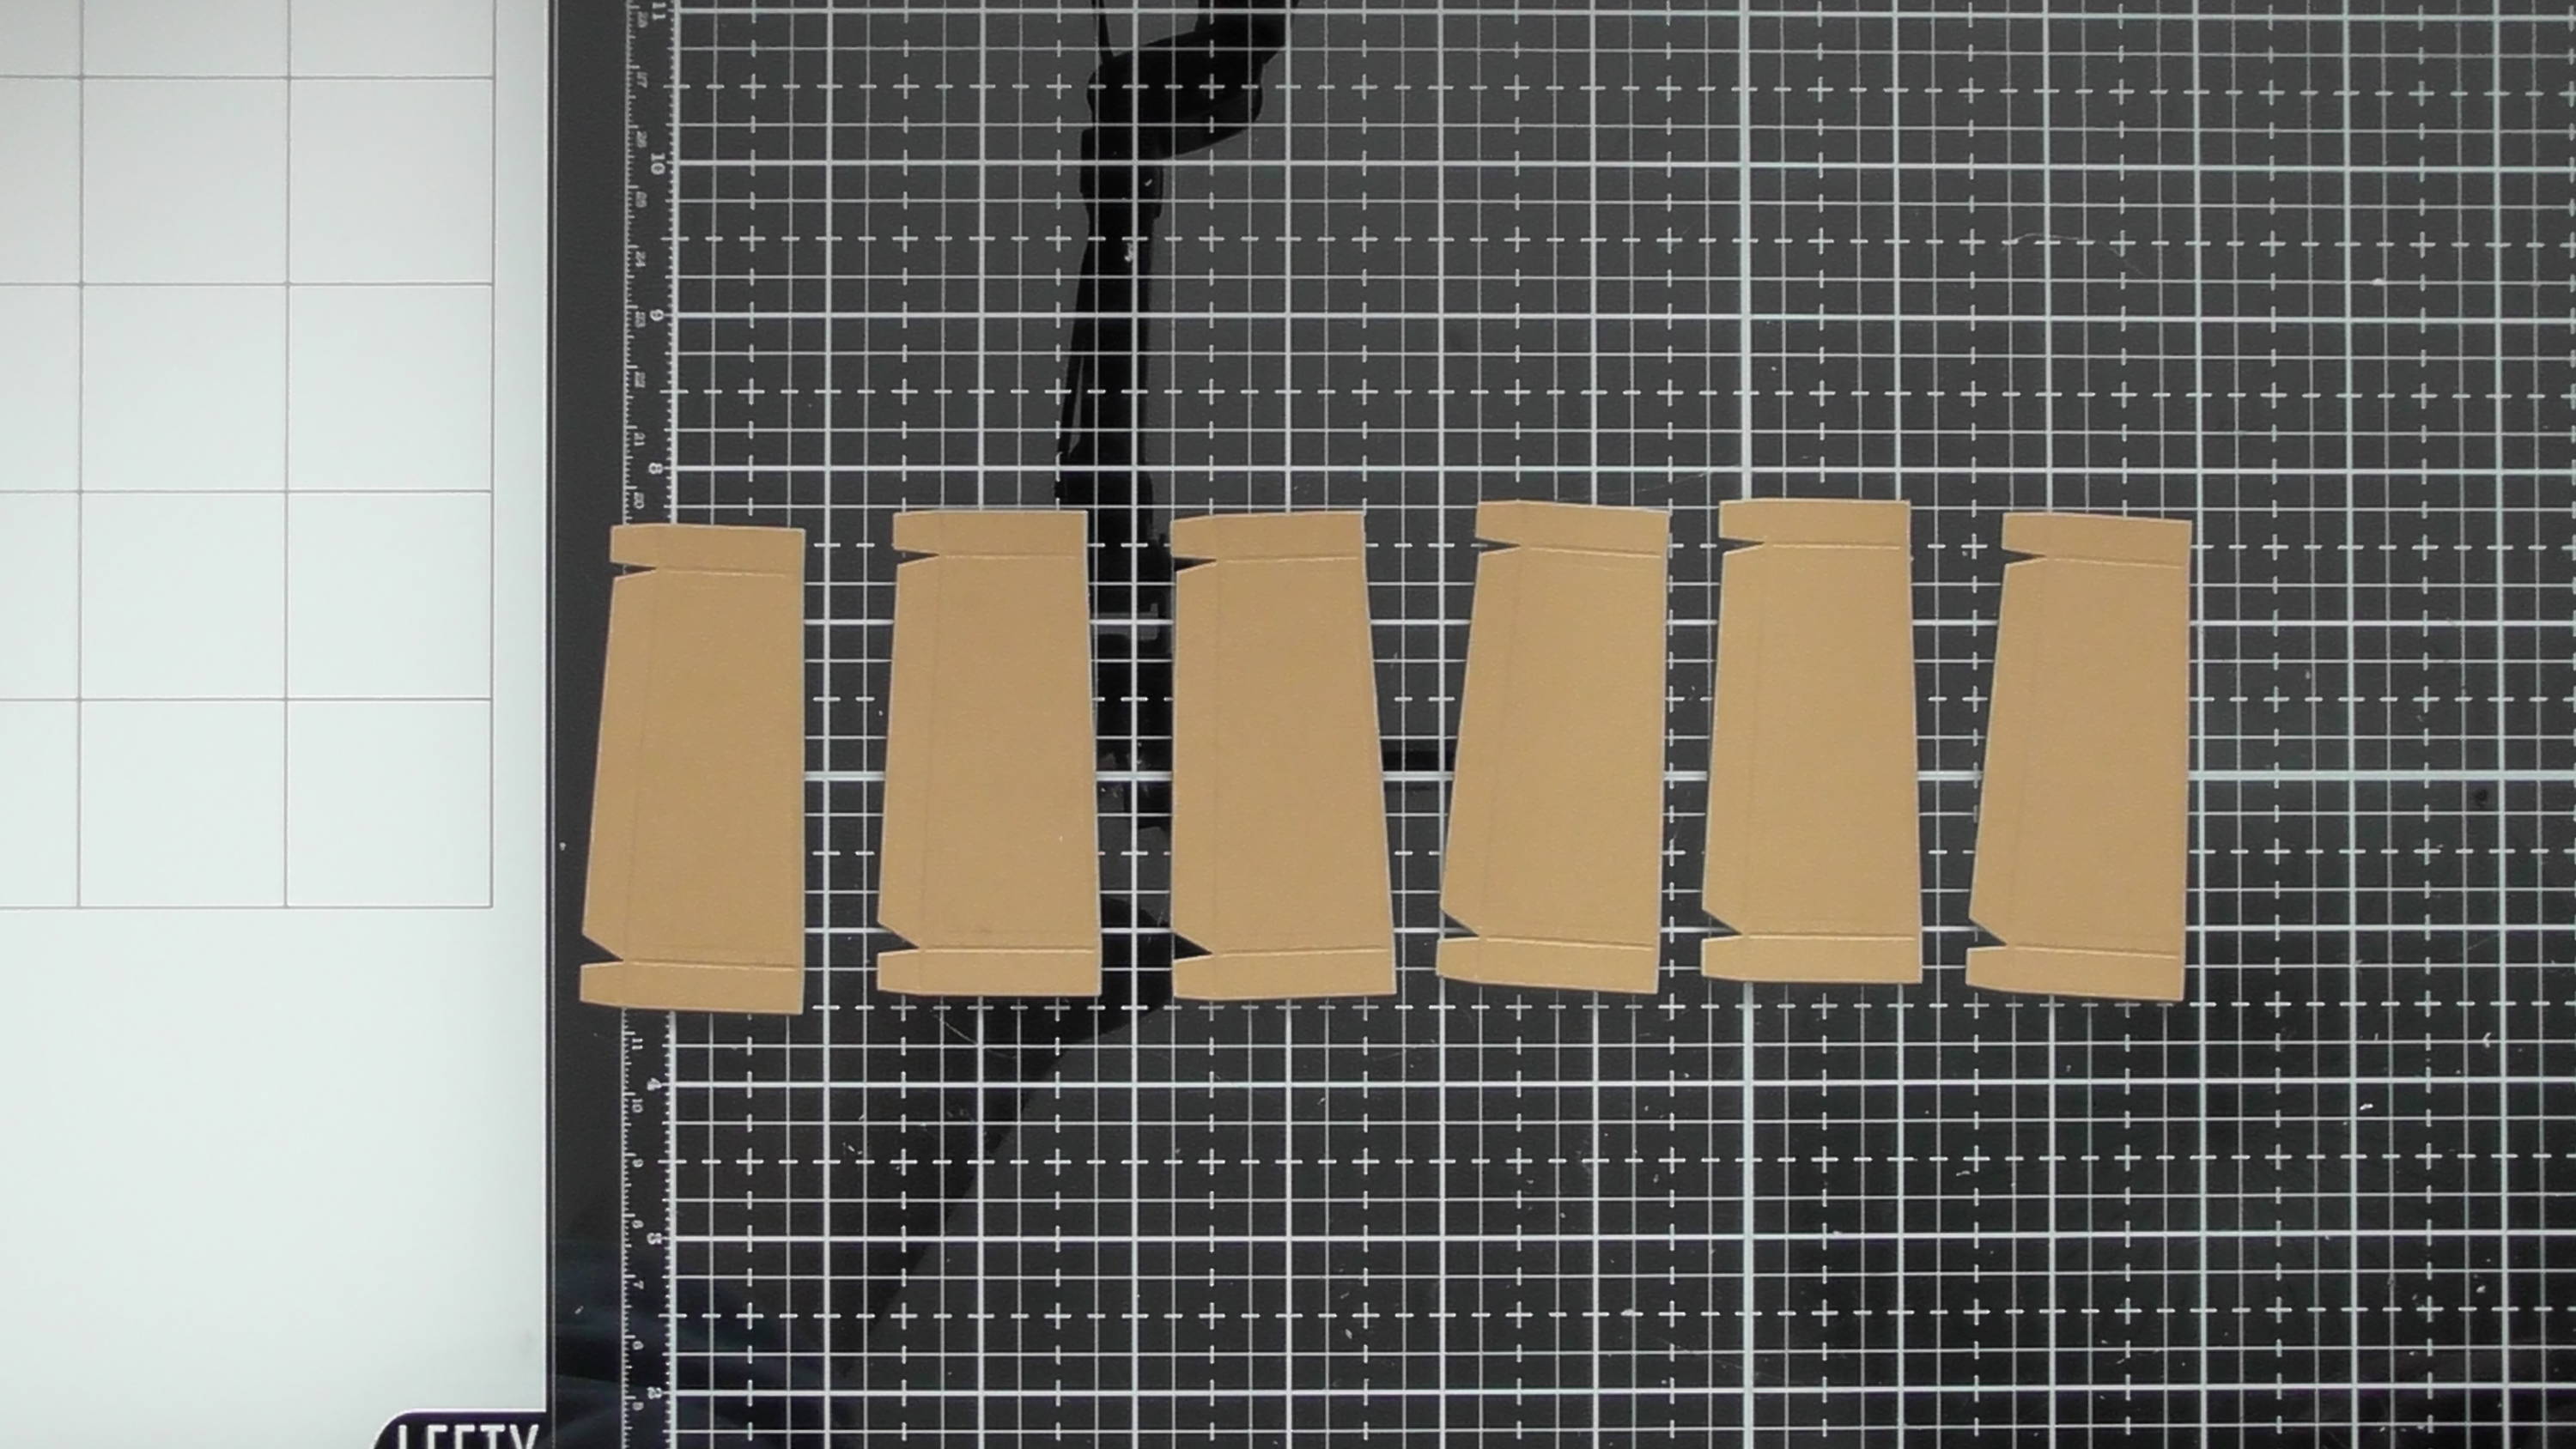
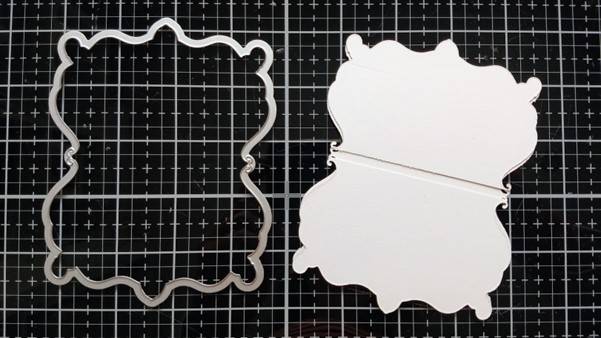
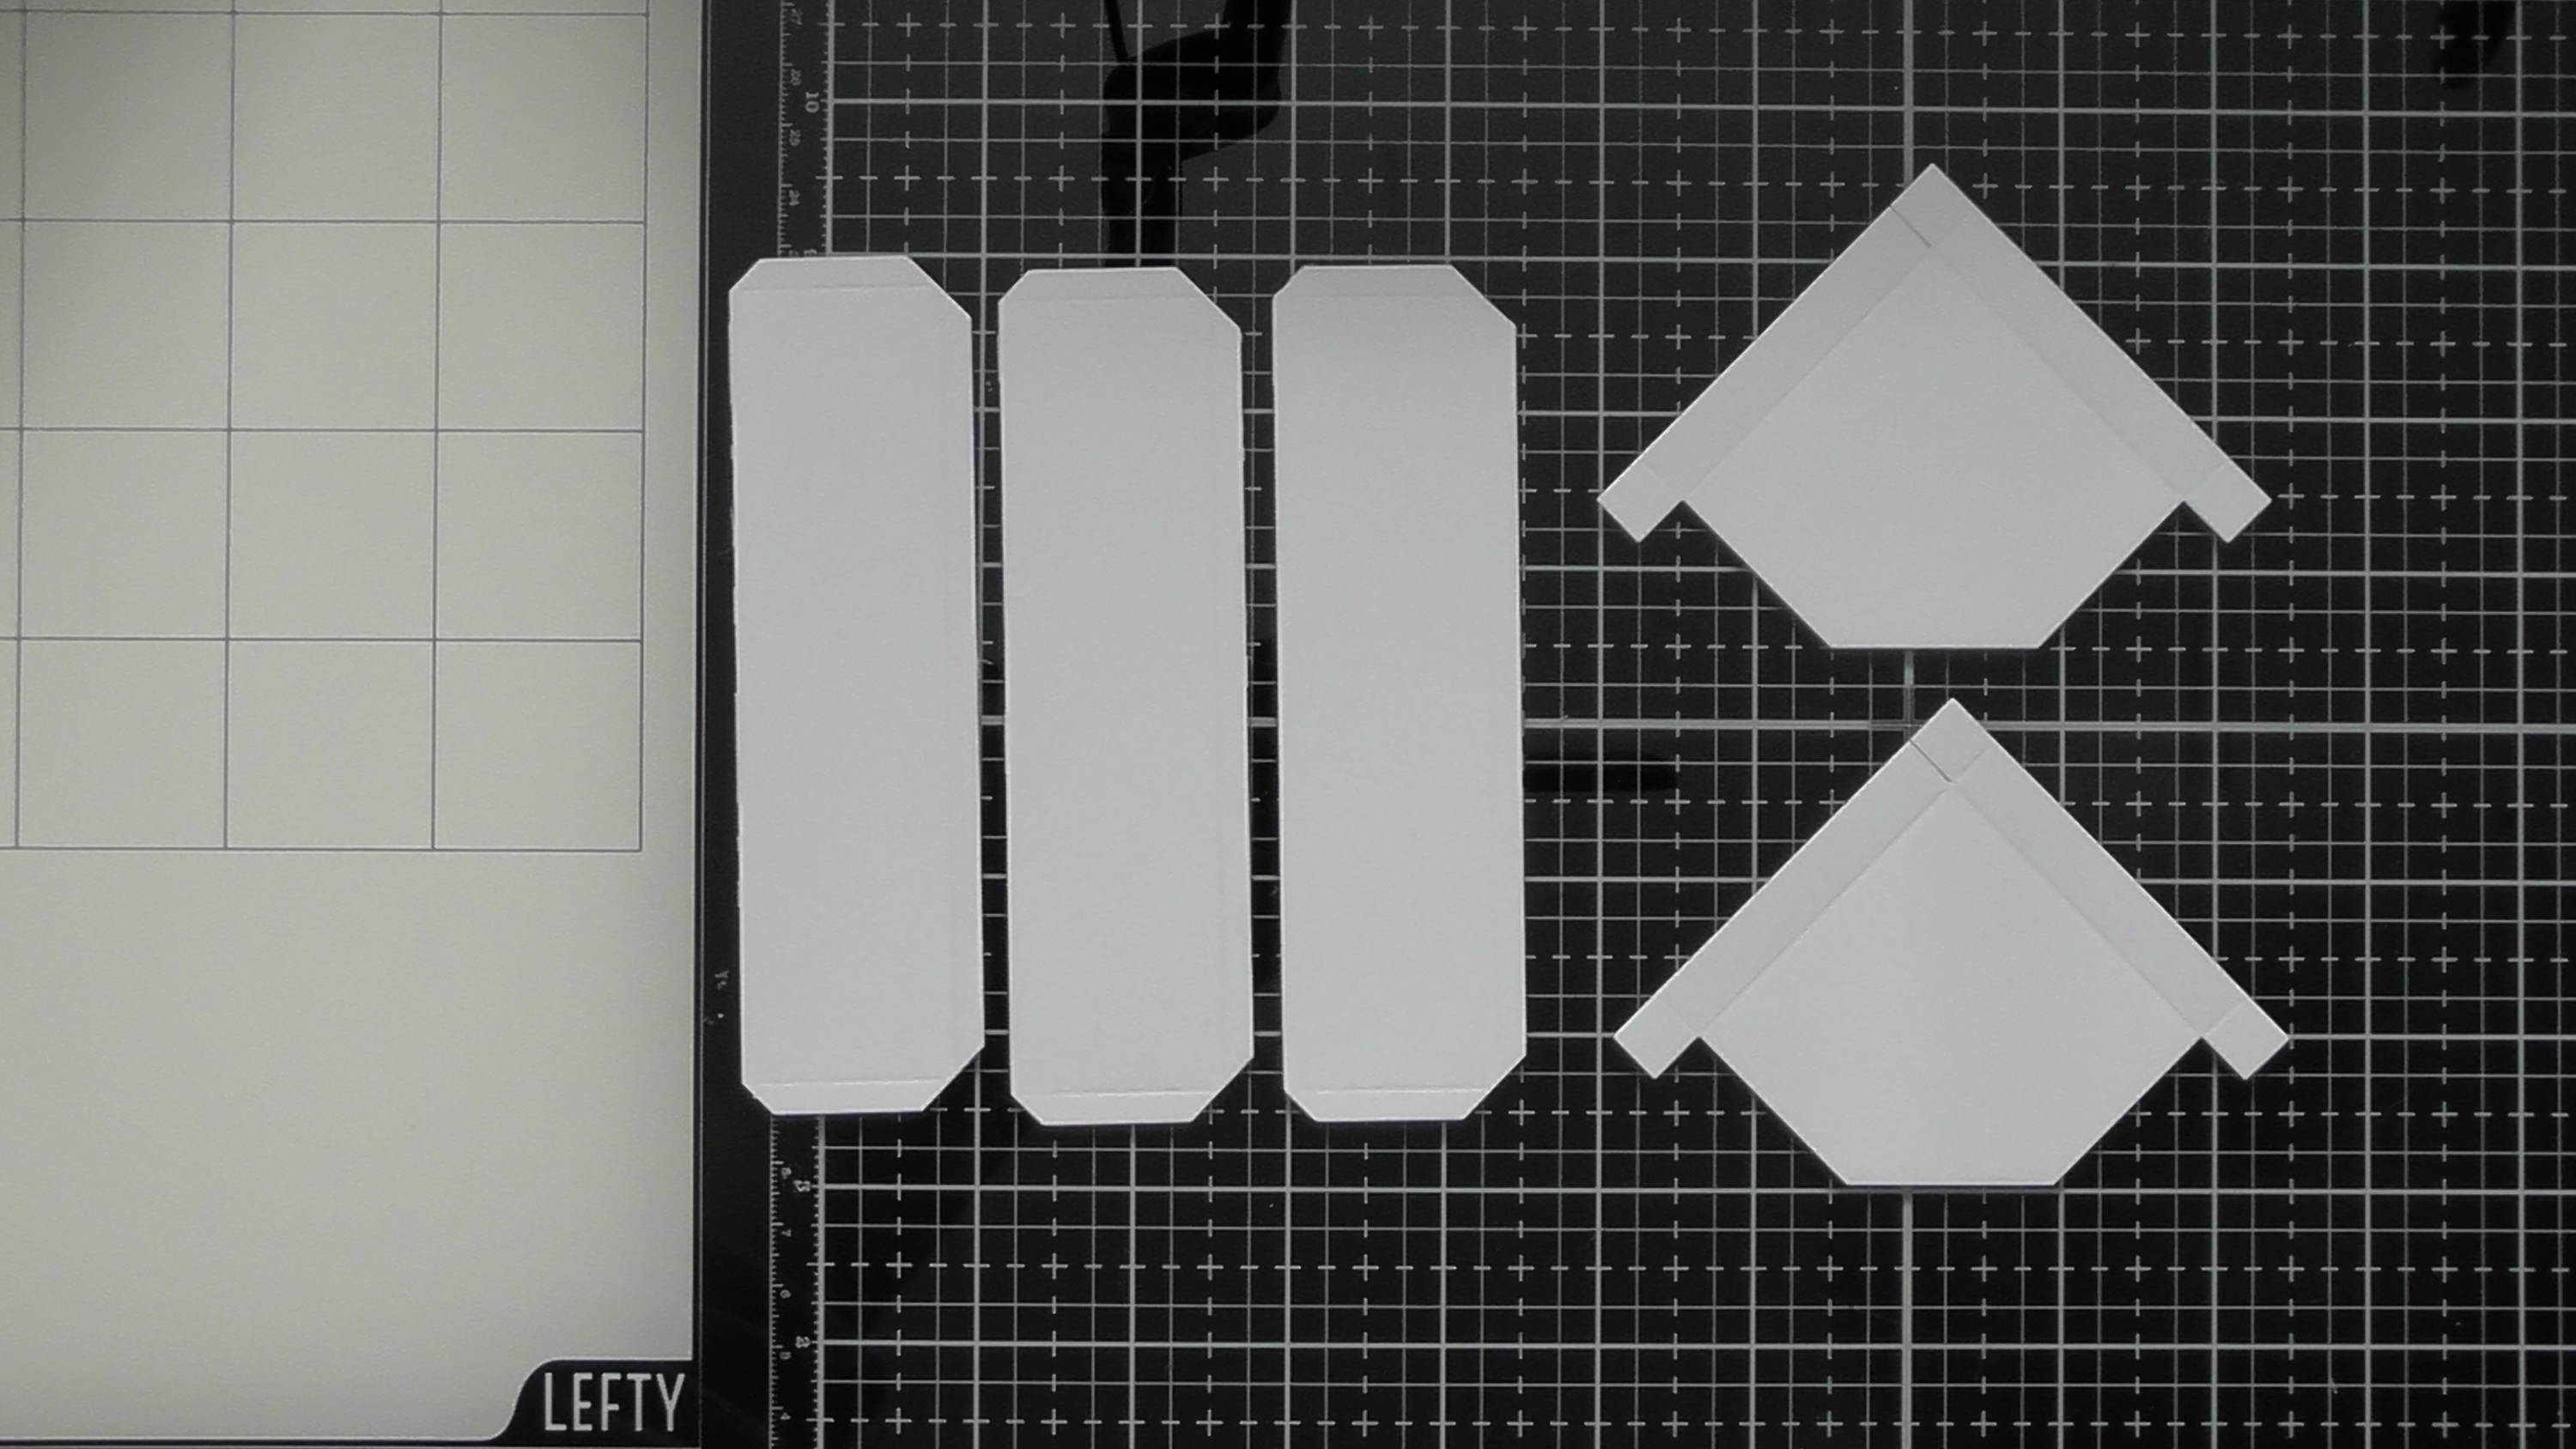
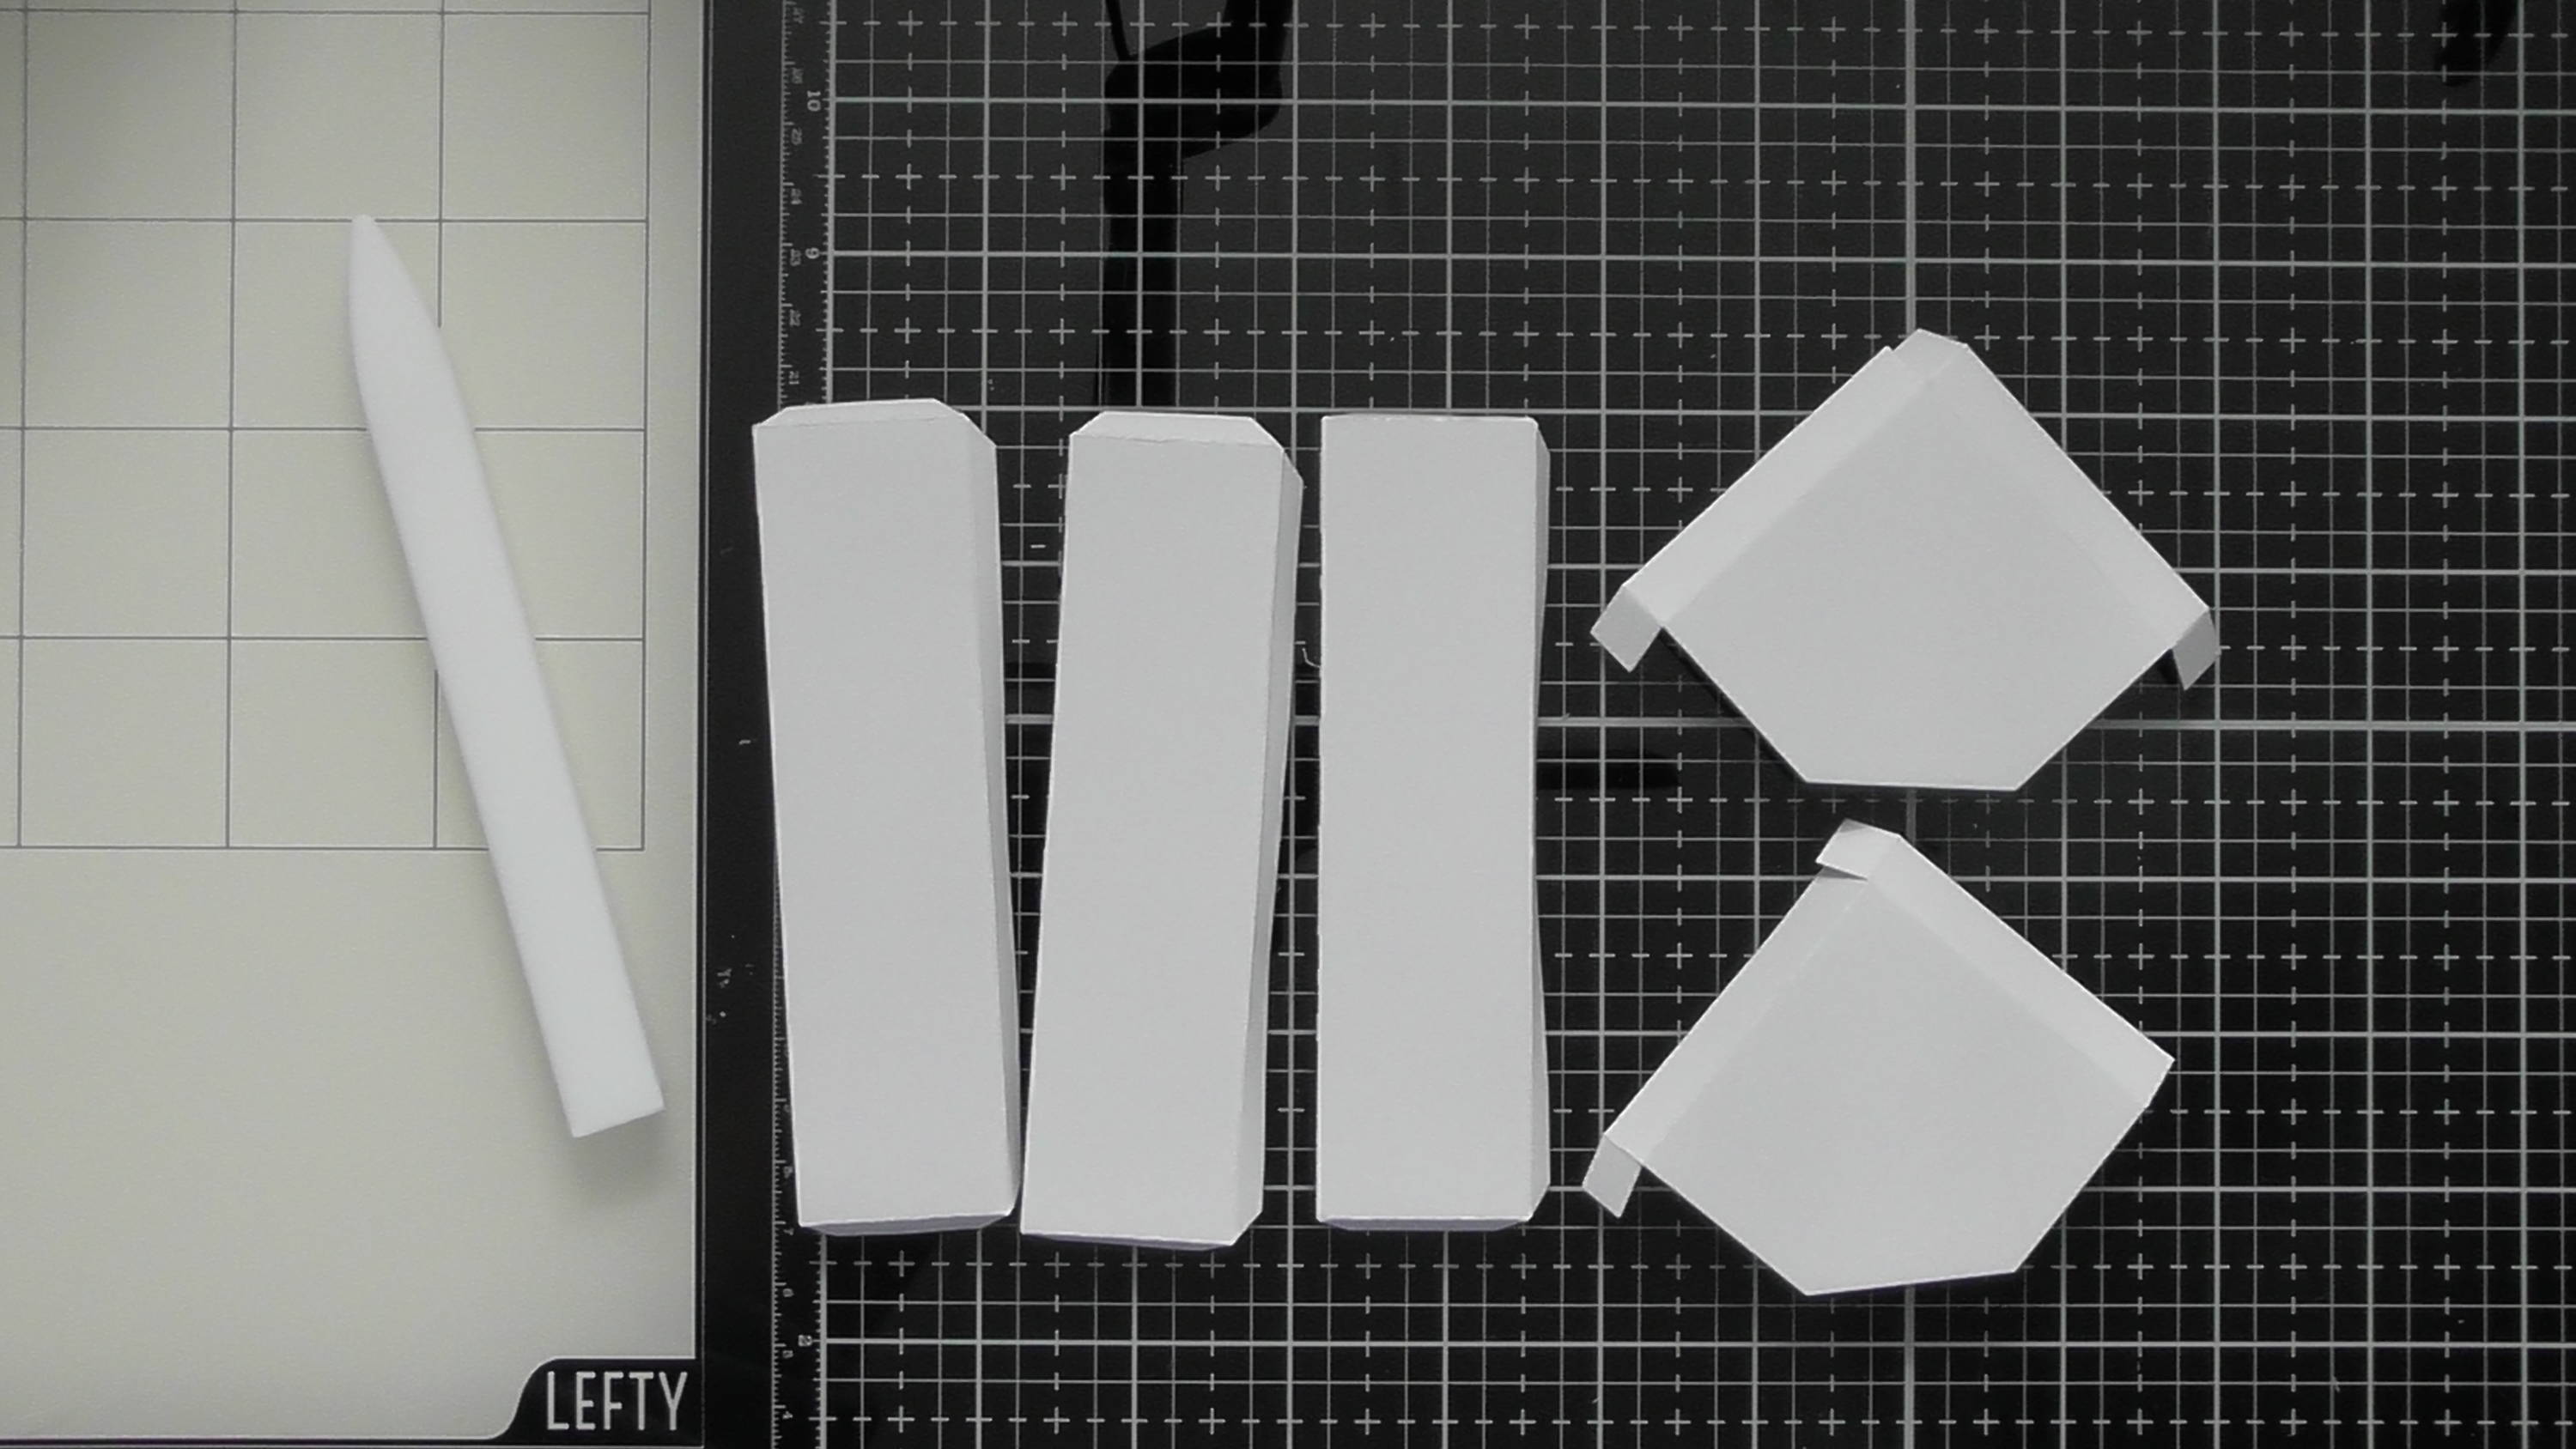
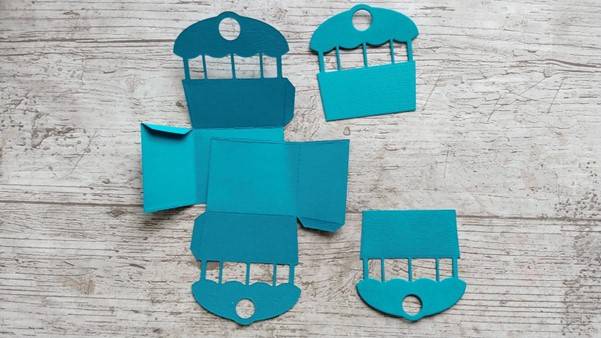
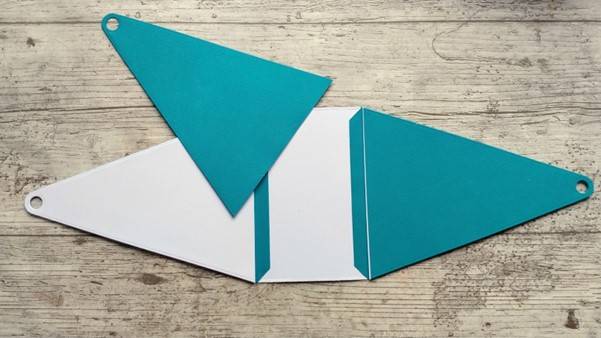
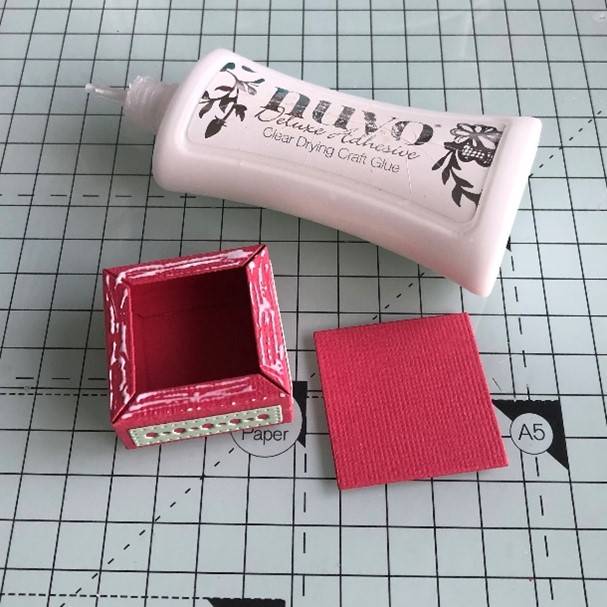
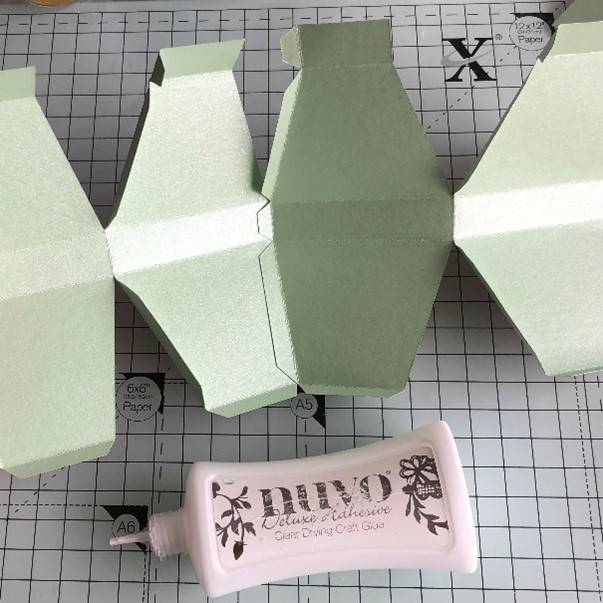
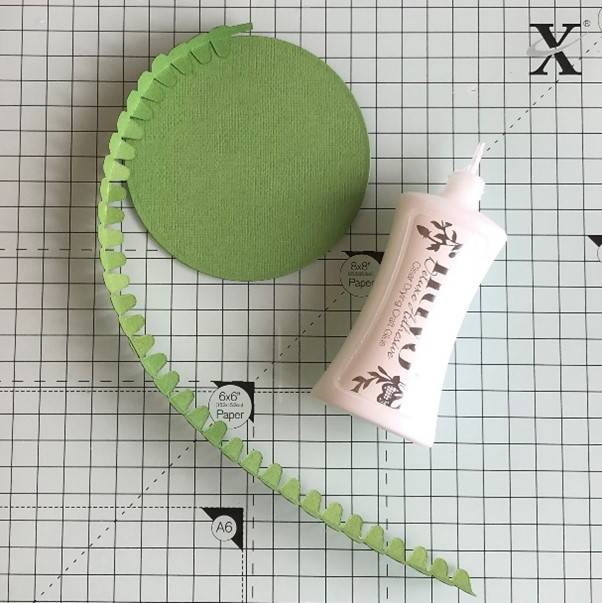
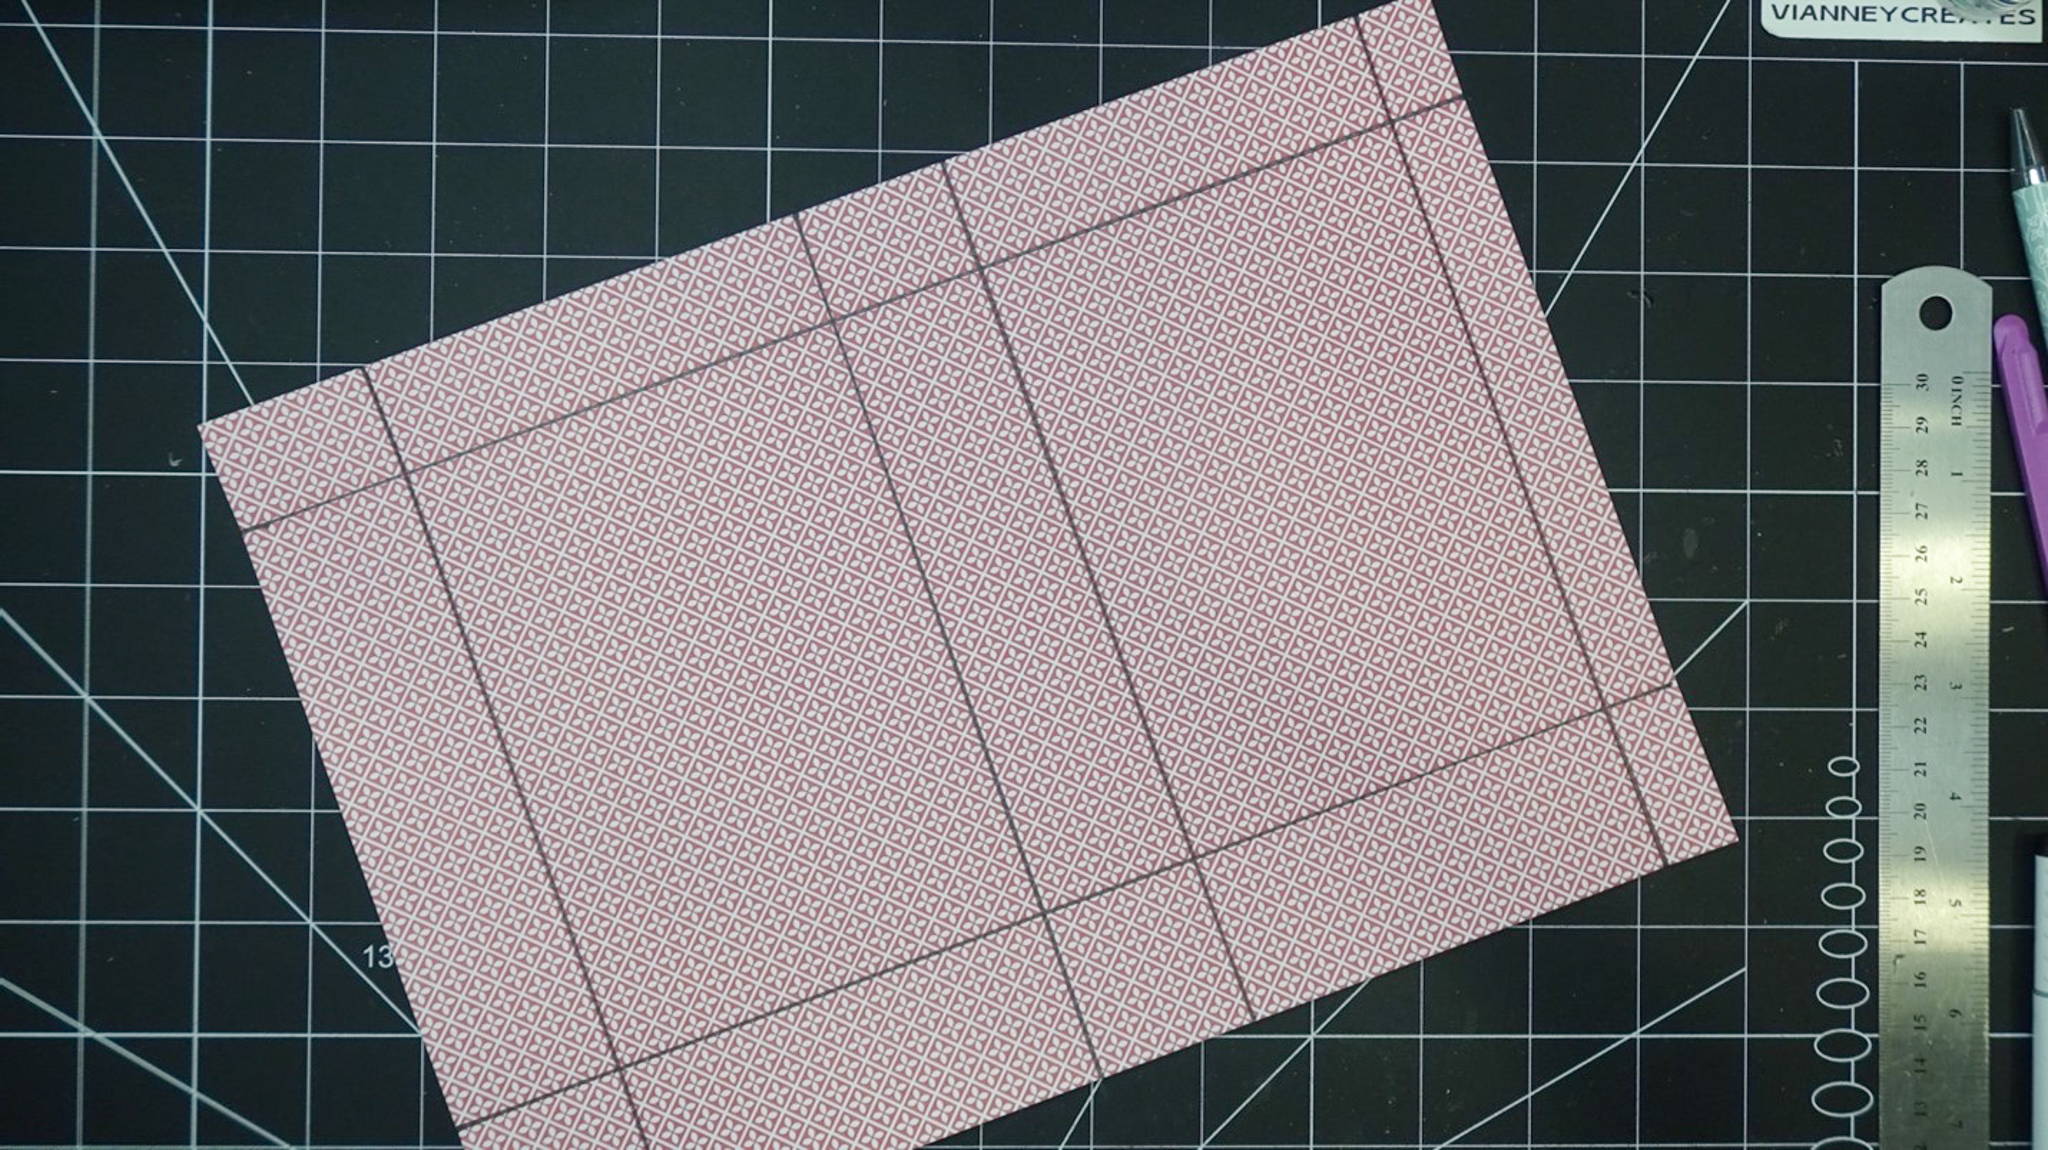
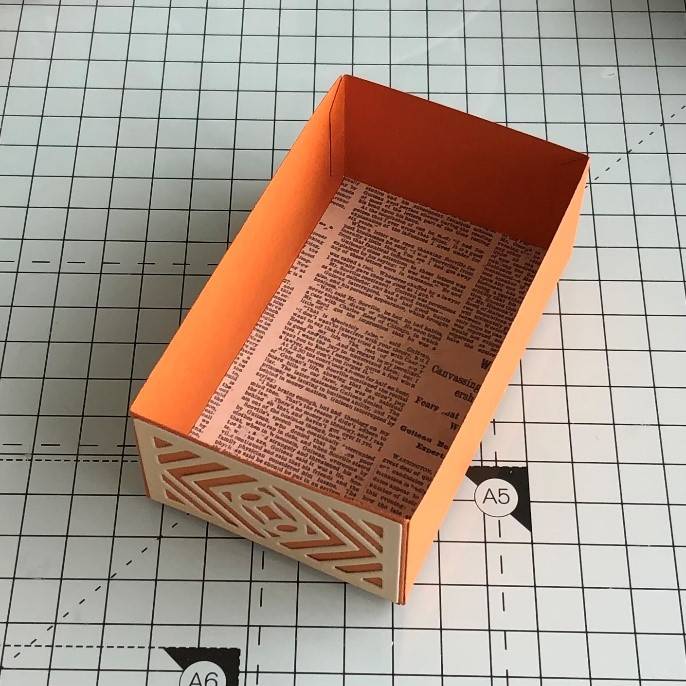
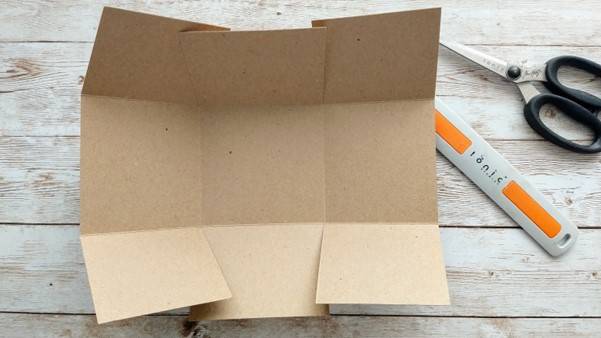
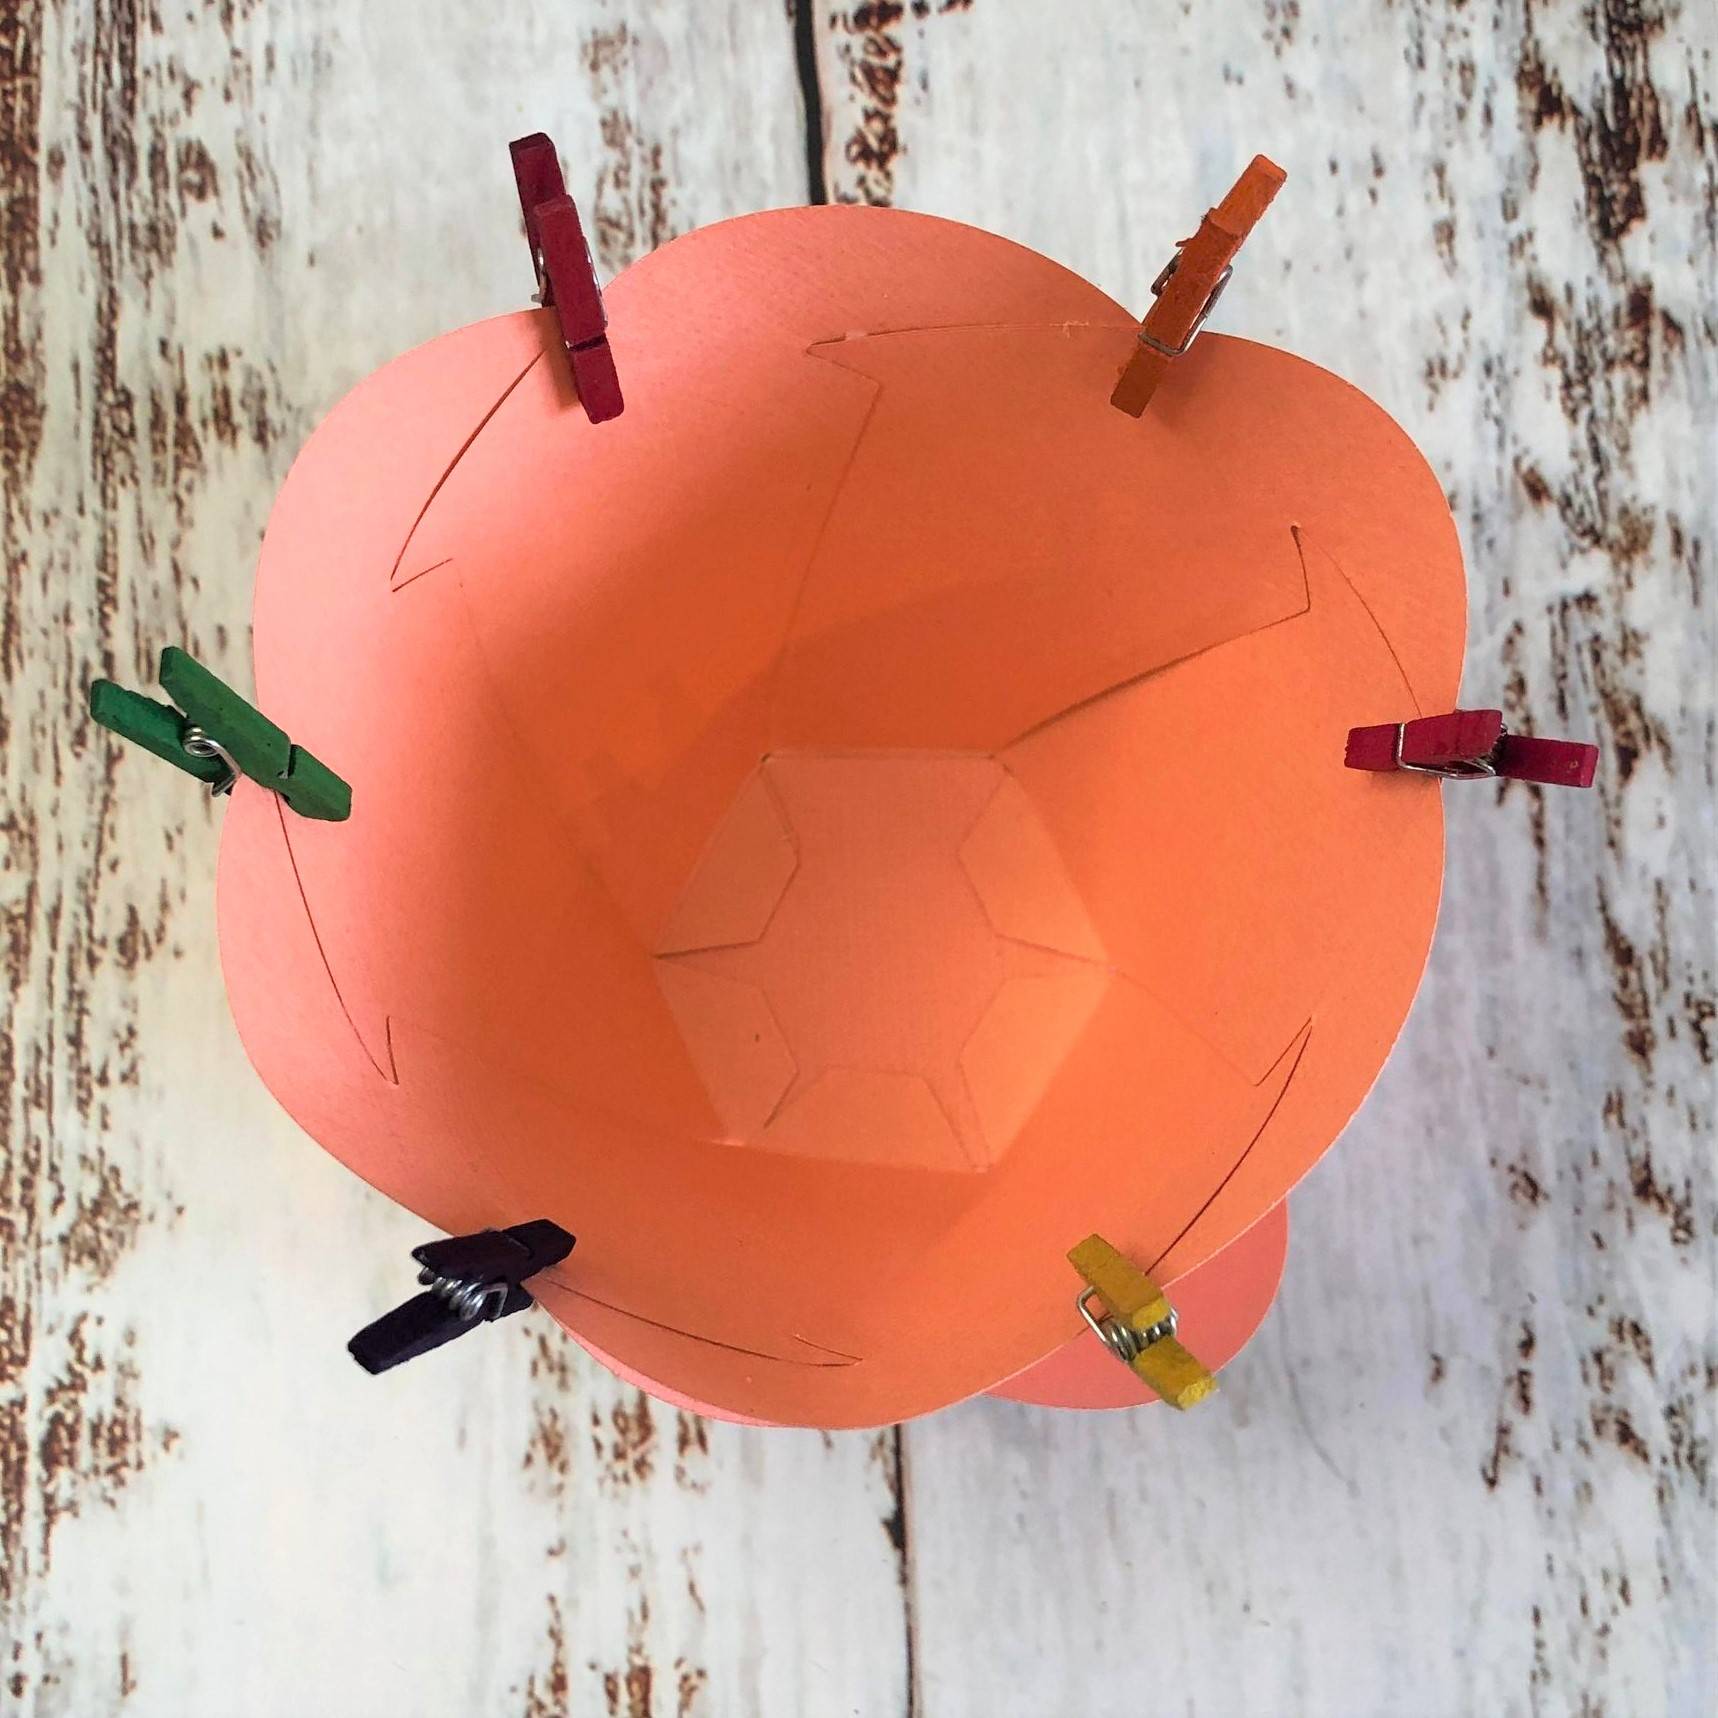
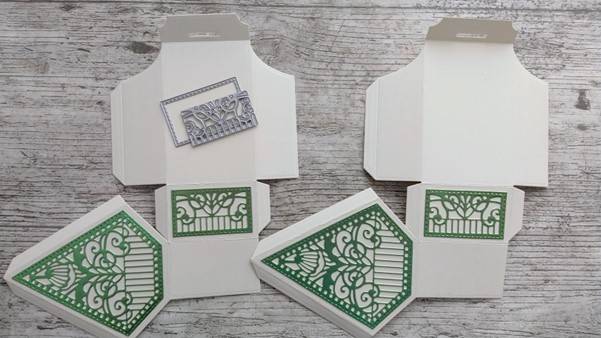
Step 1
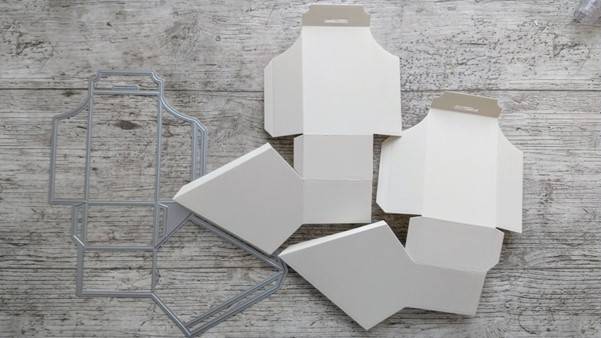
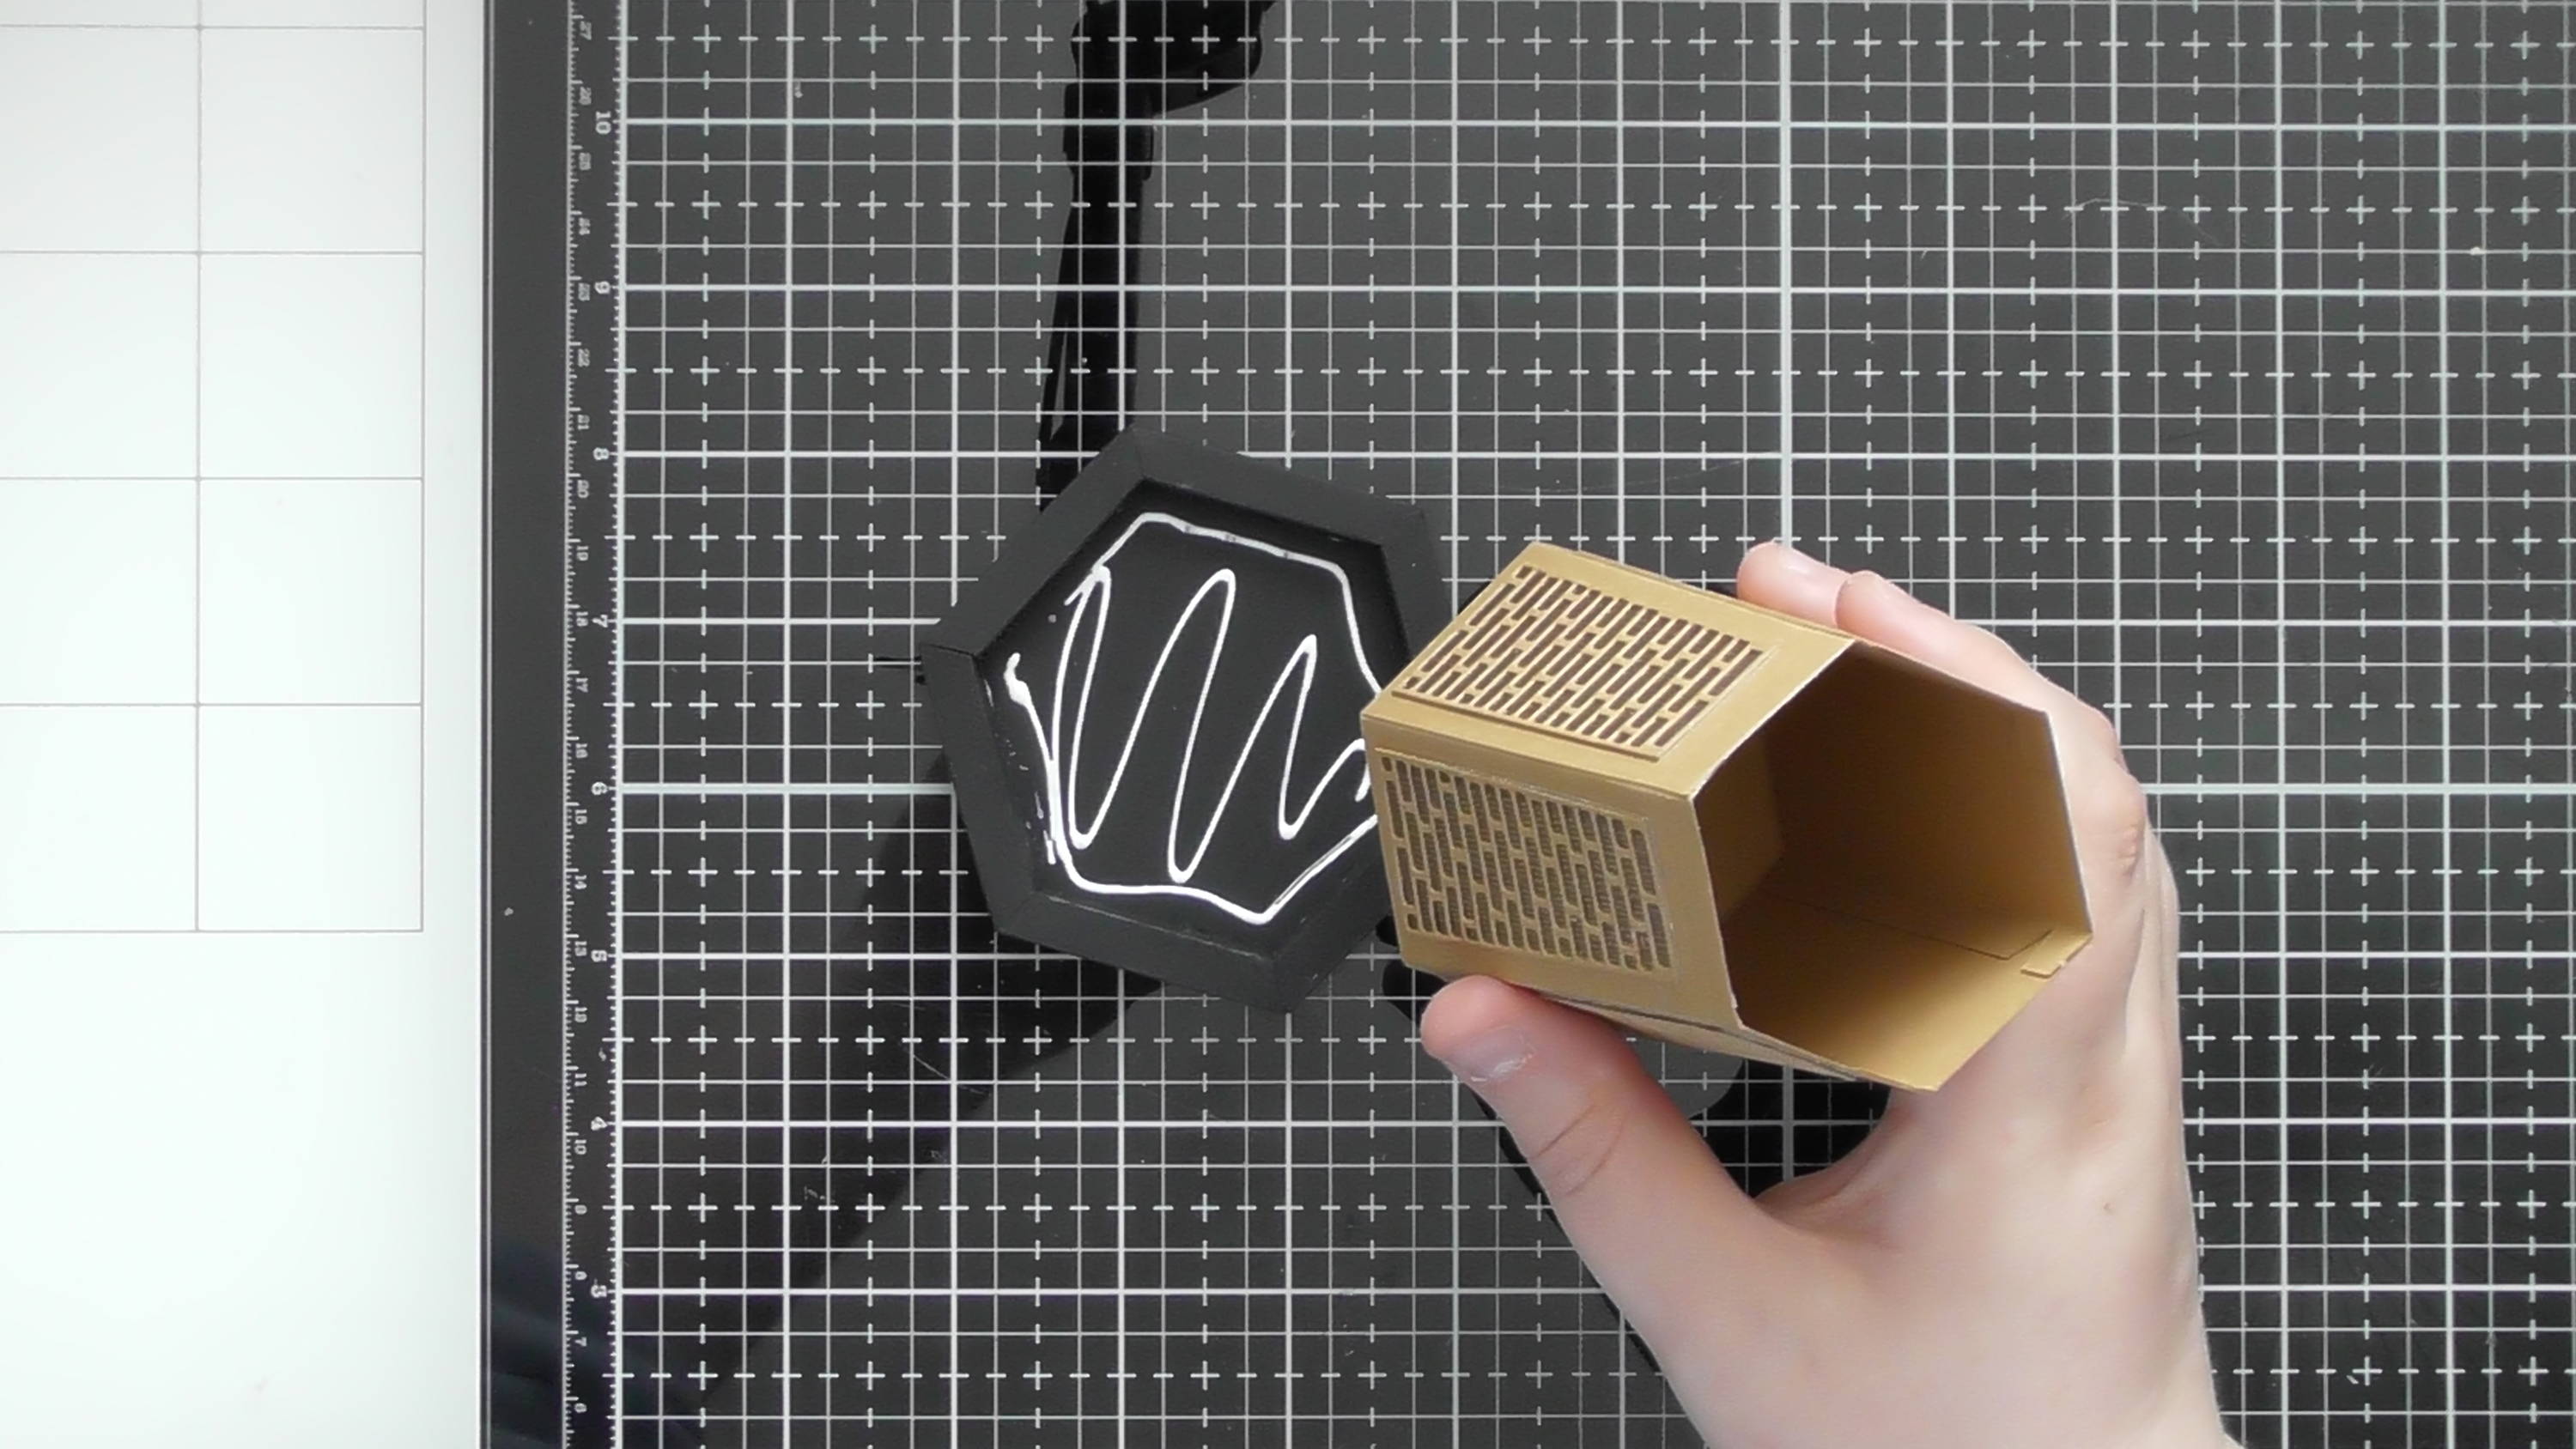
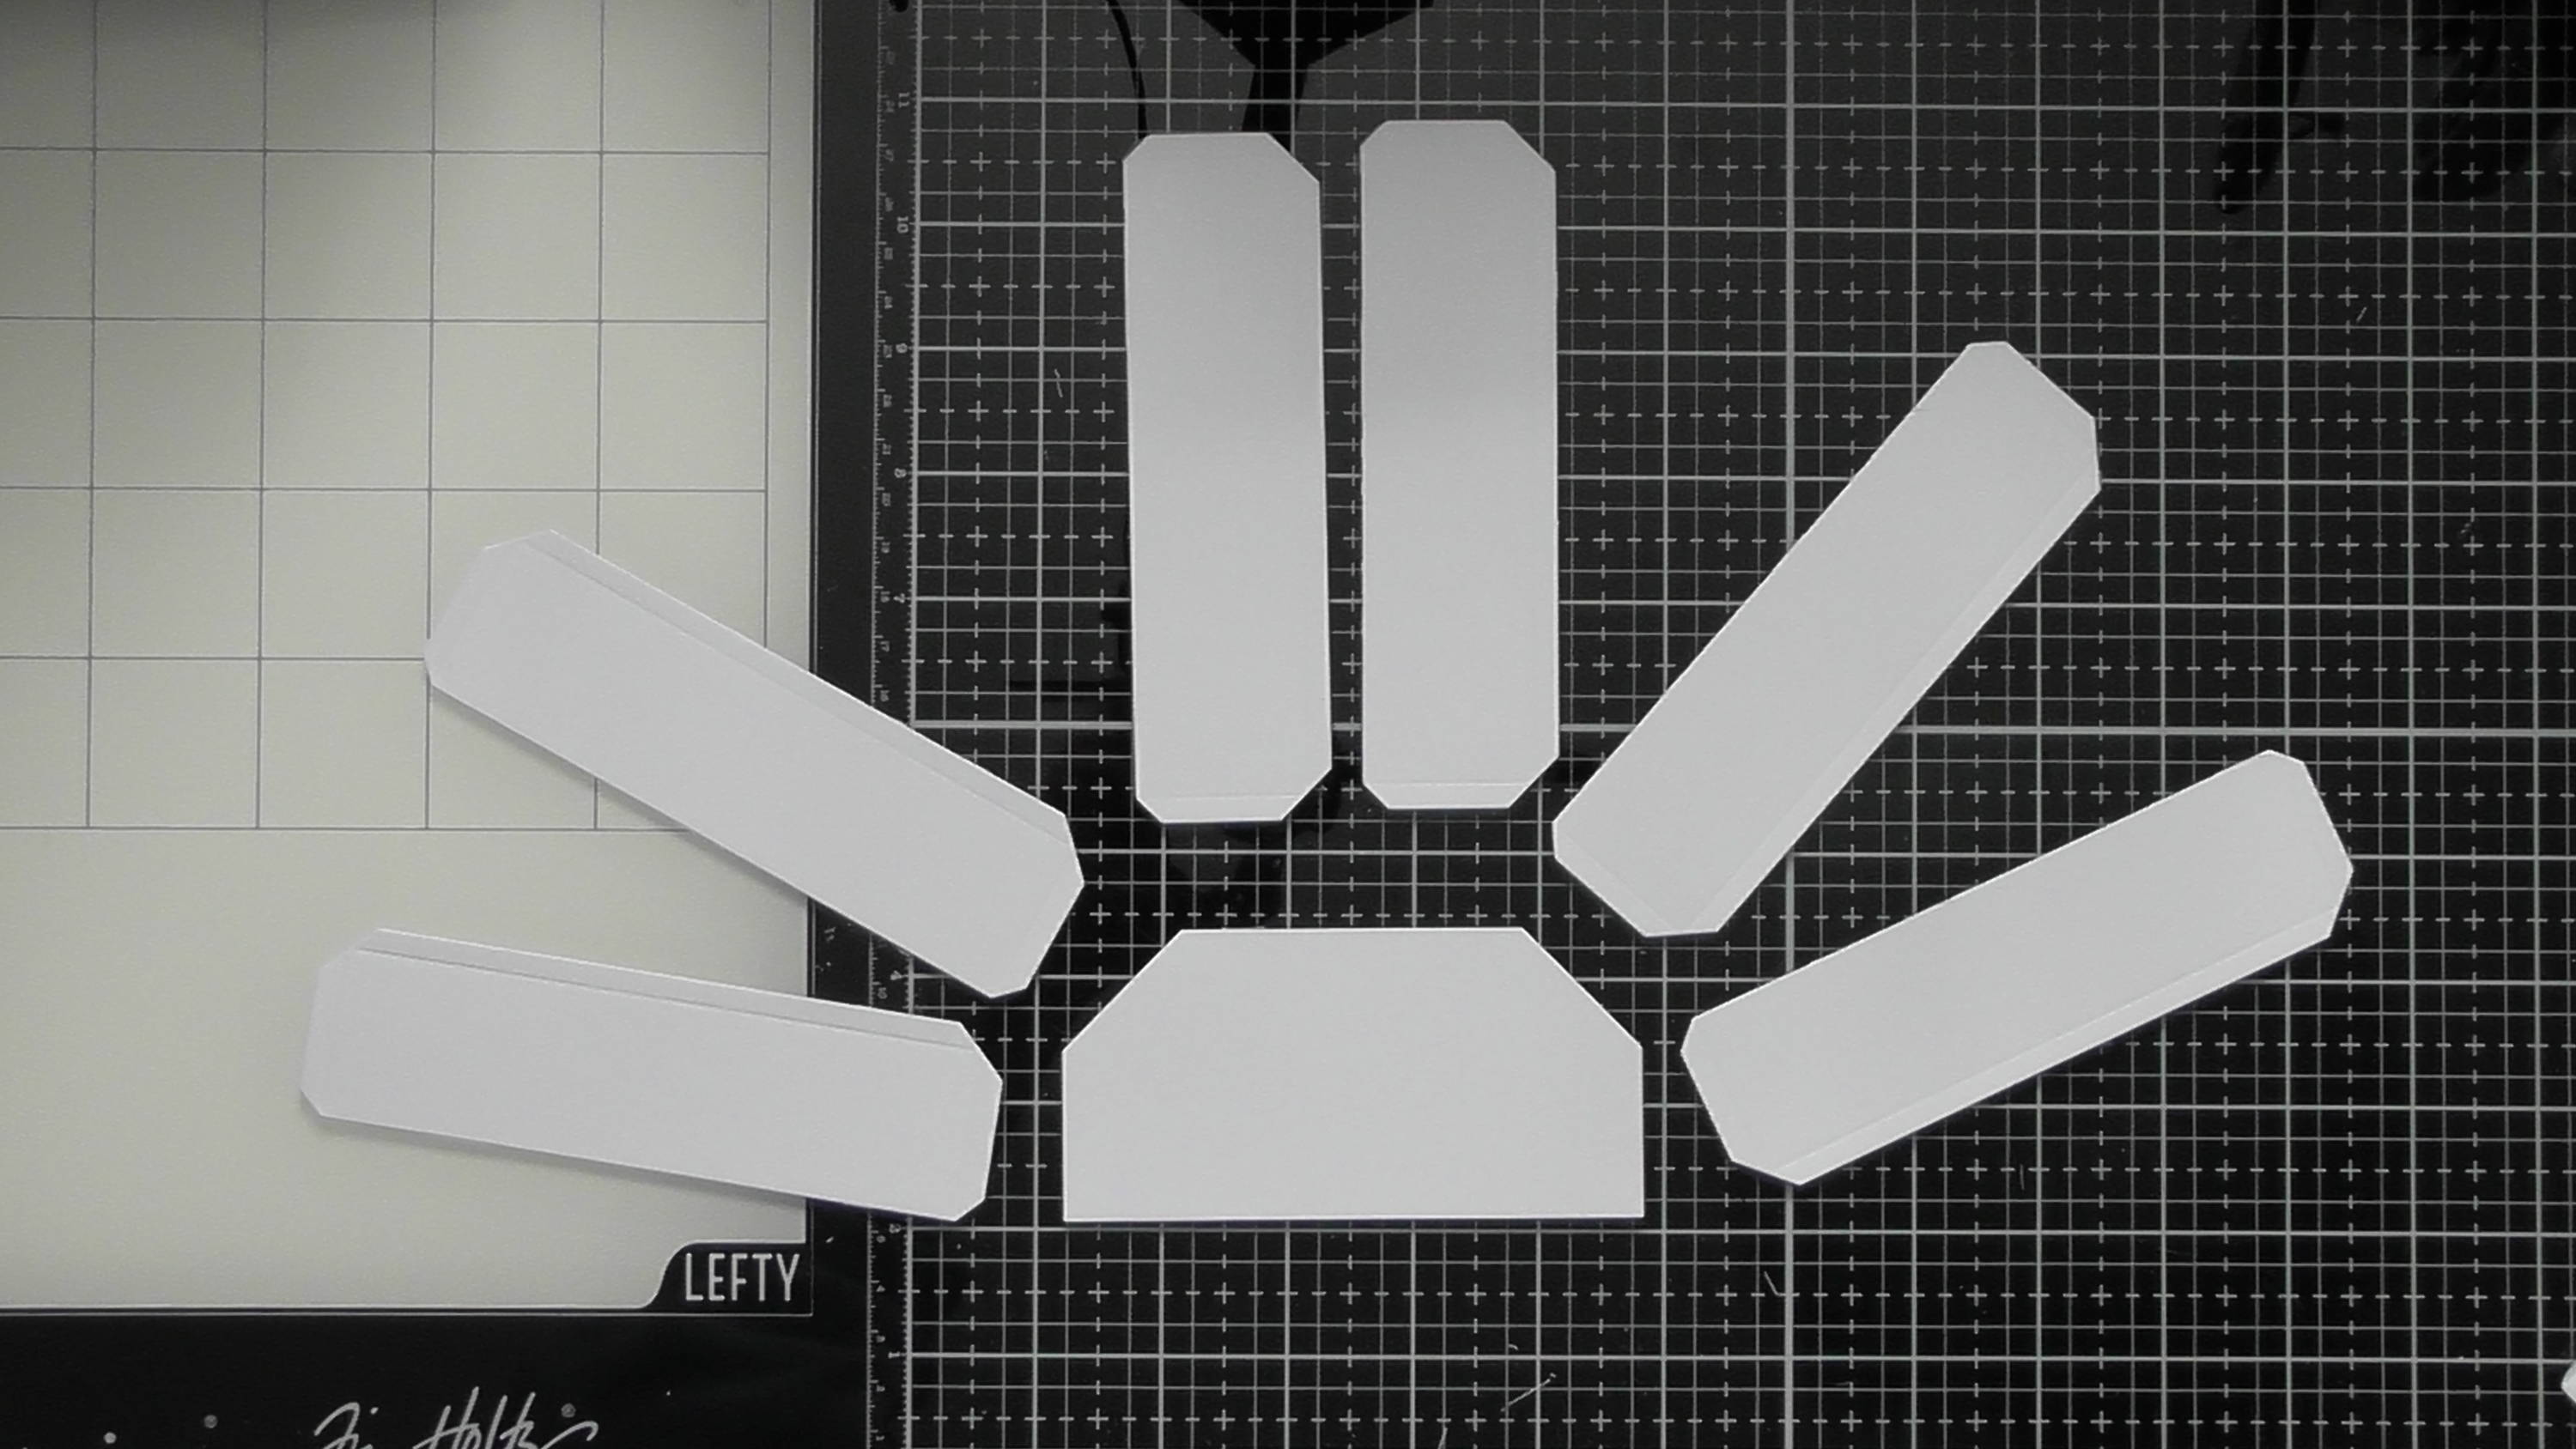
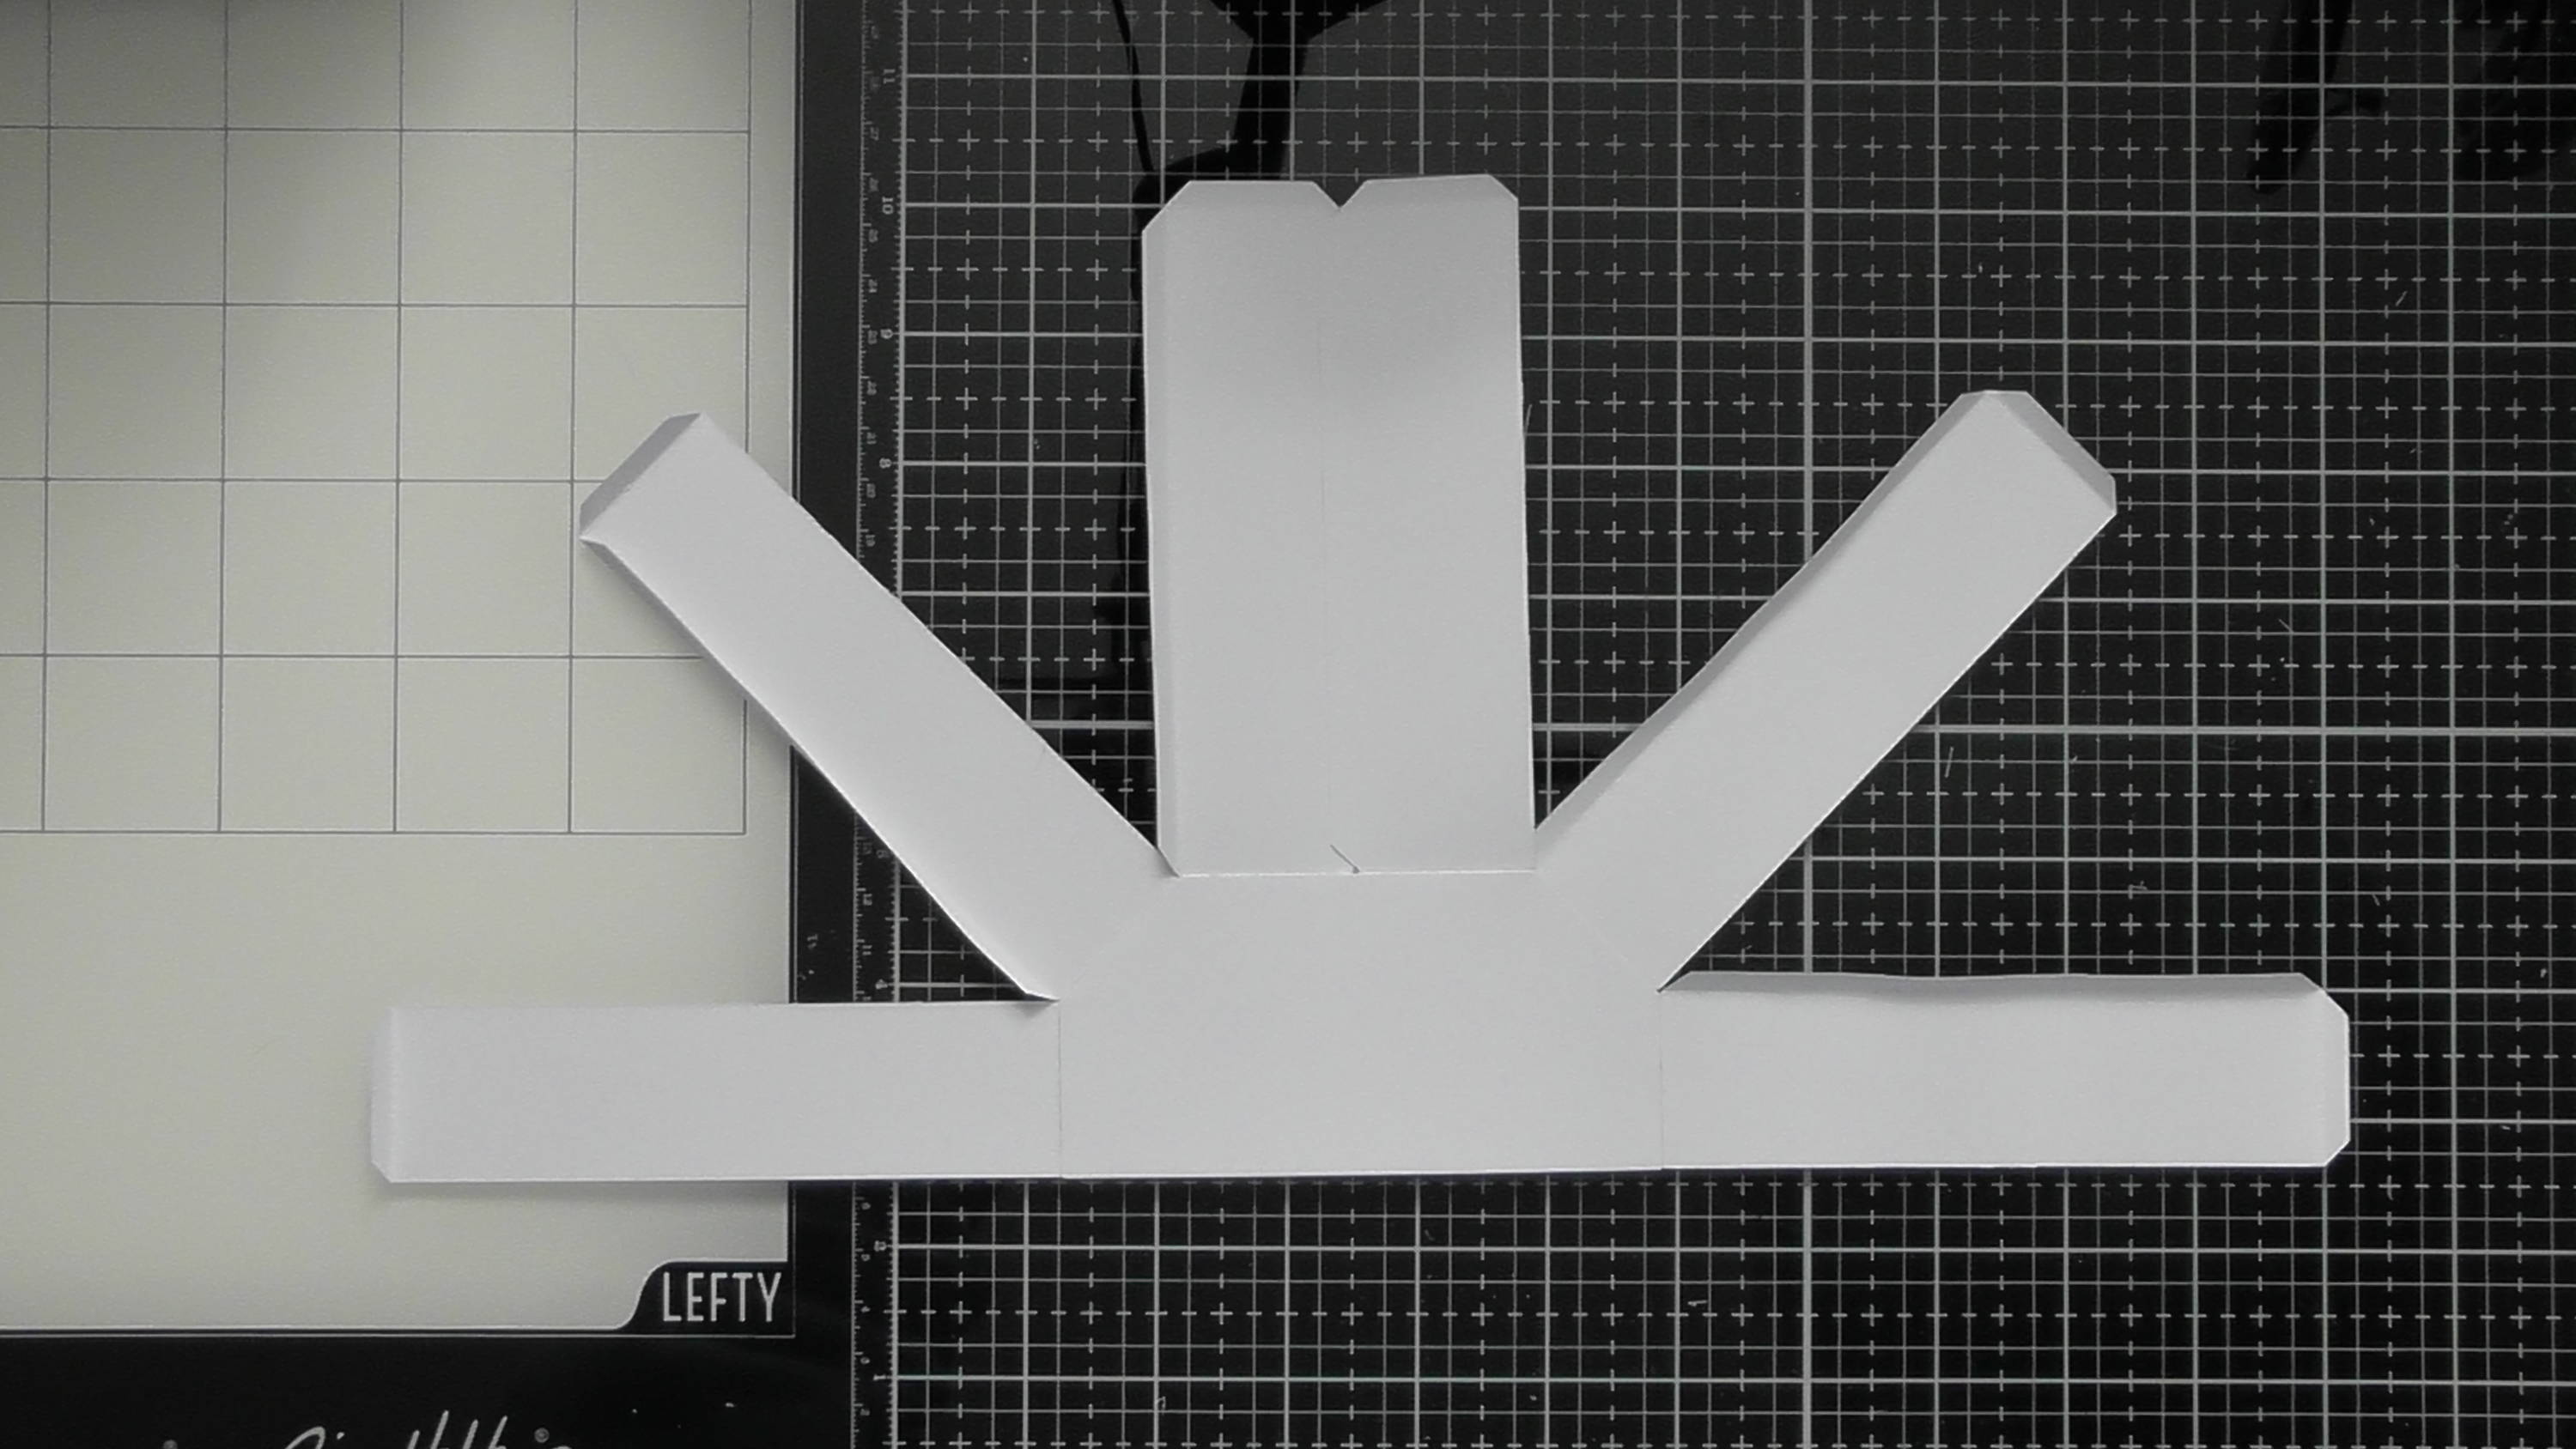
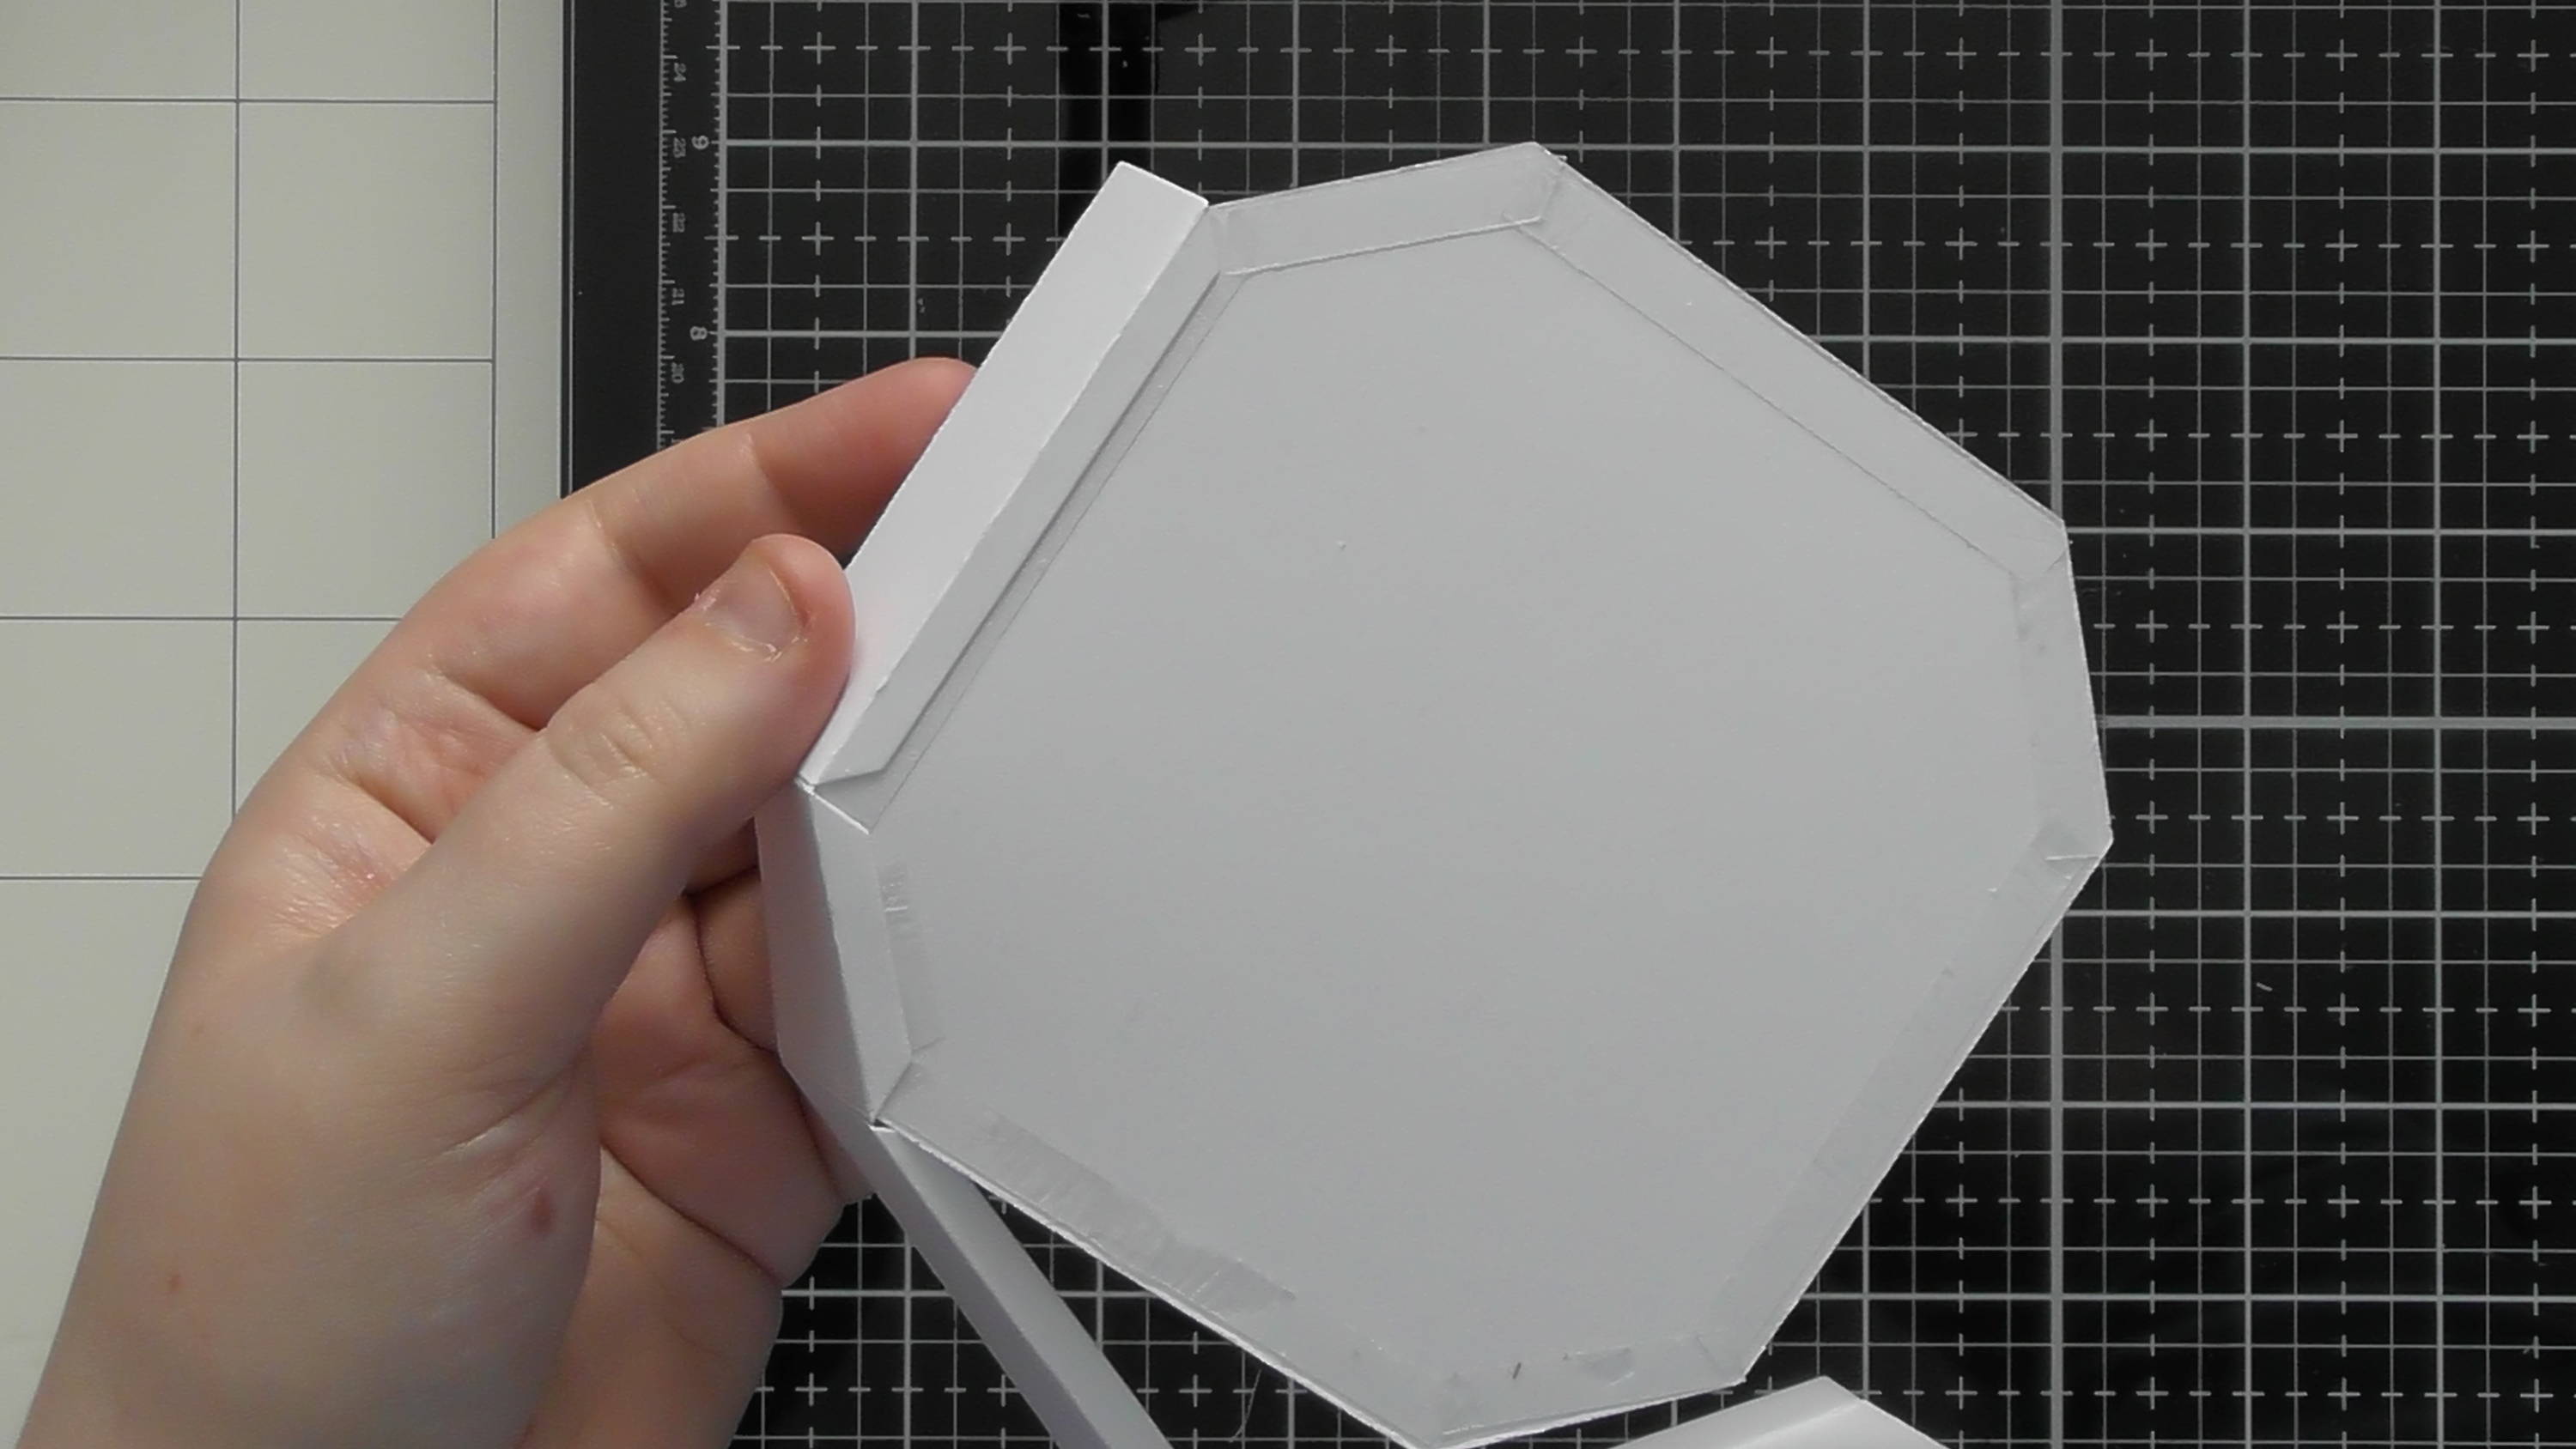
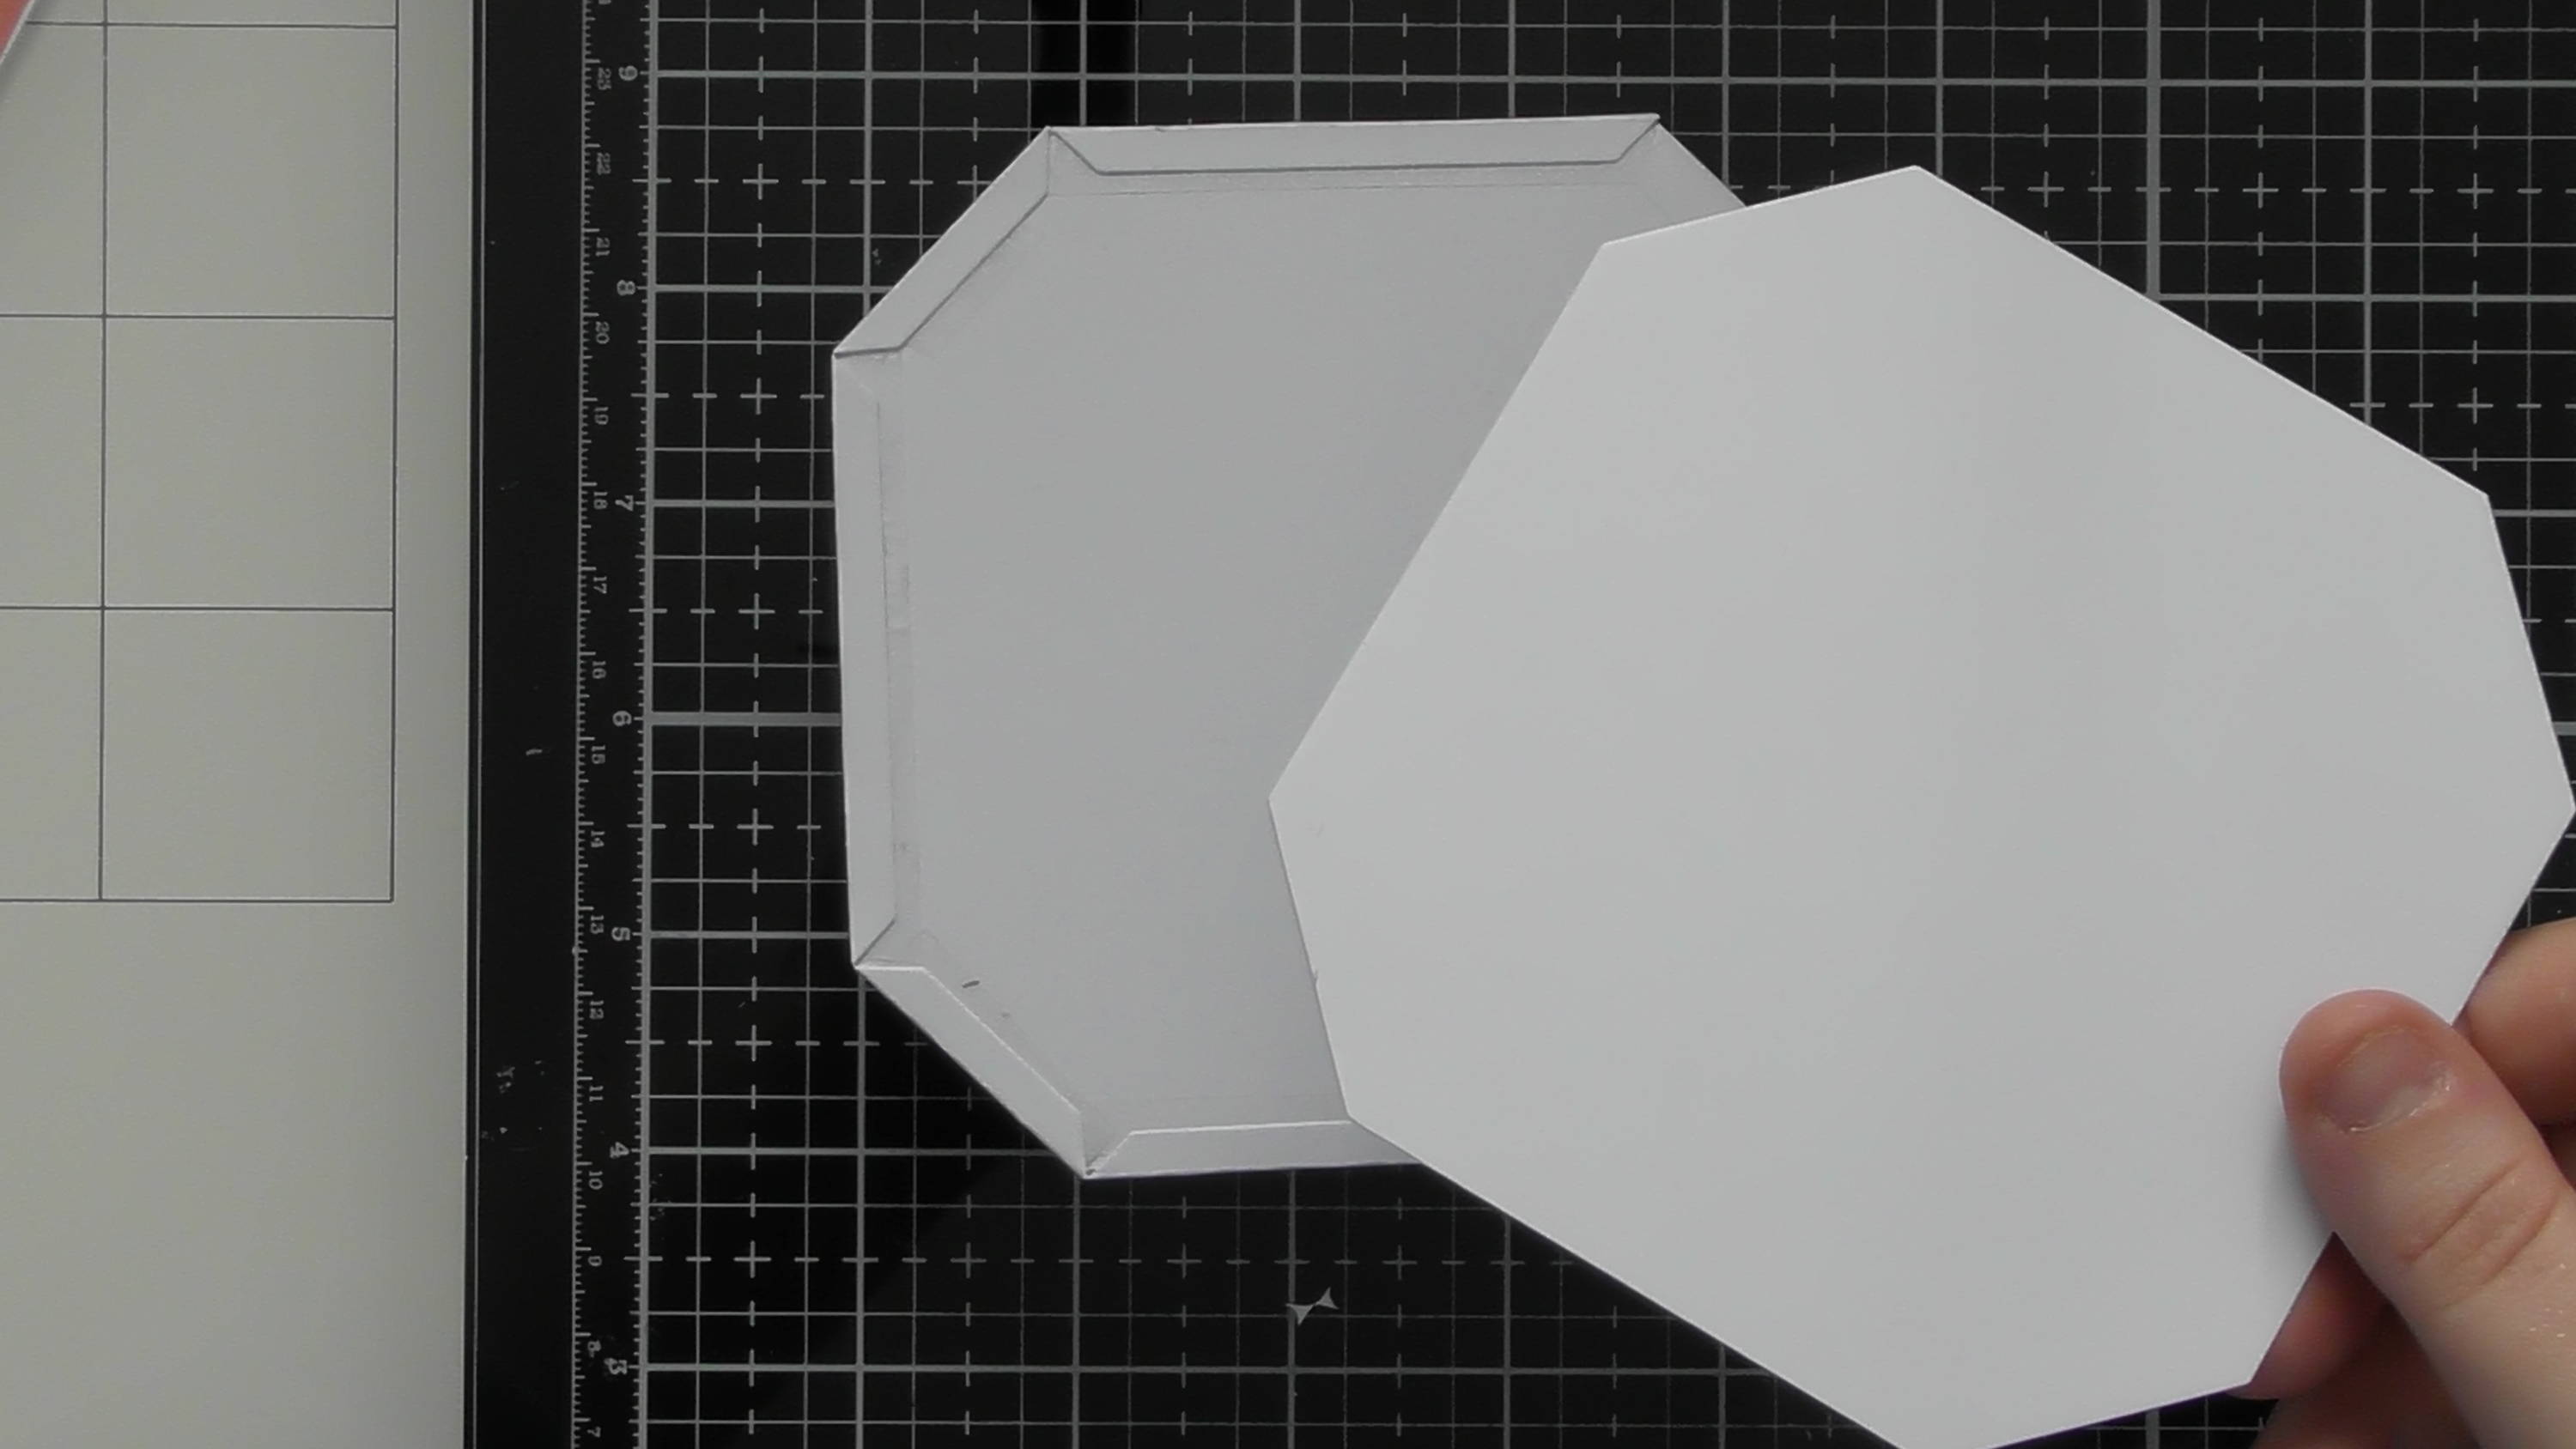
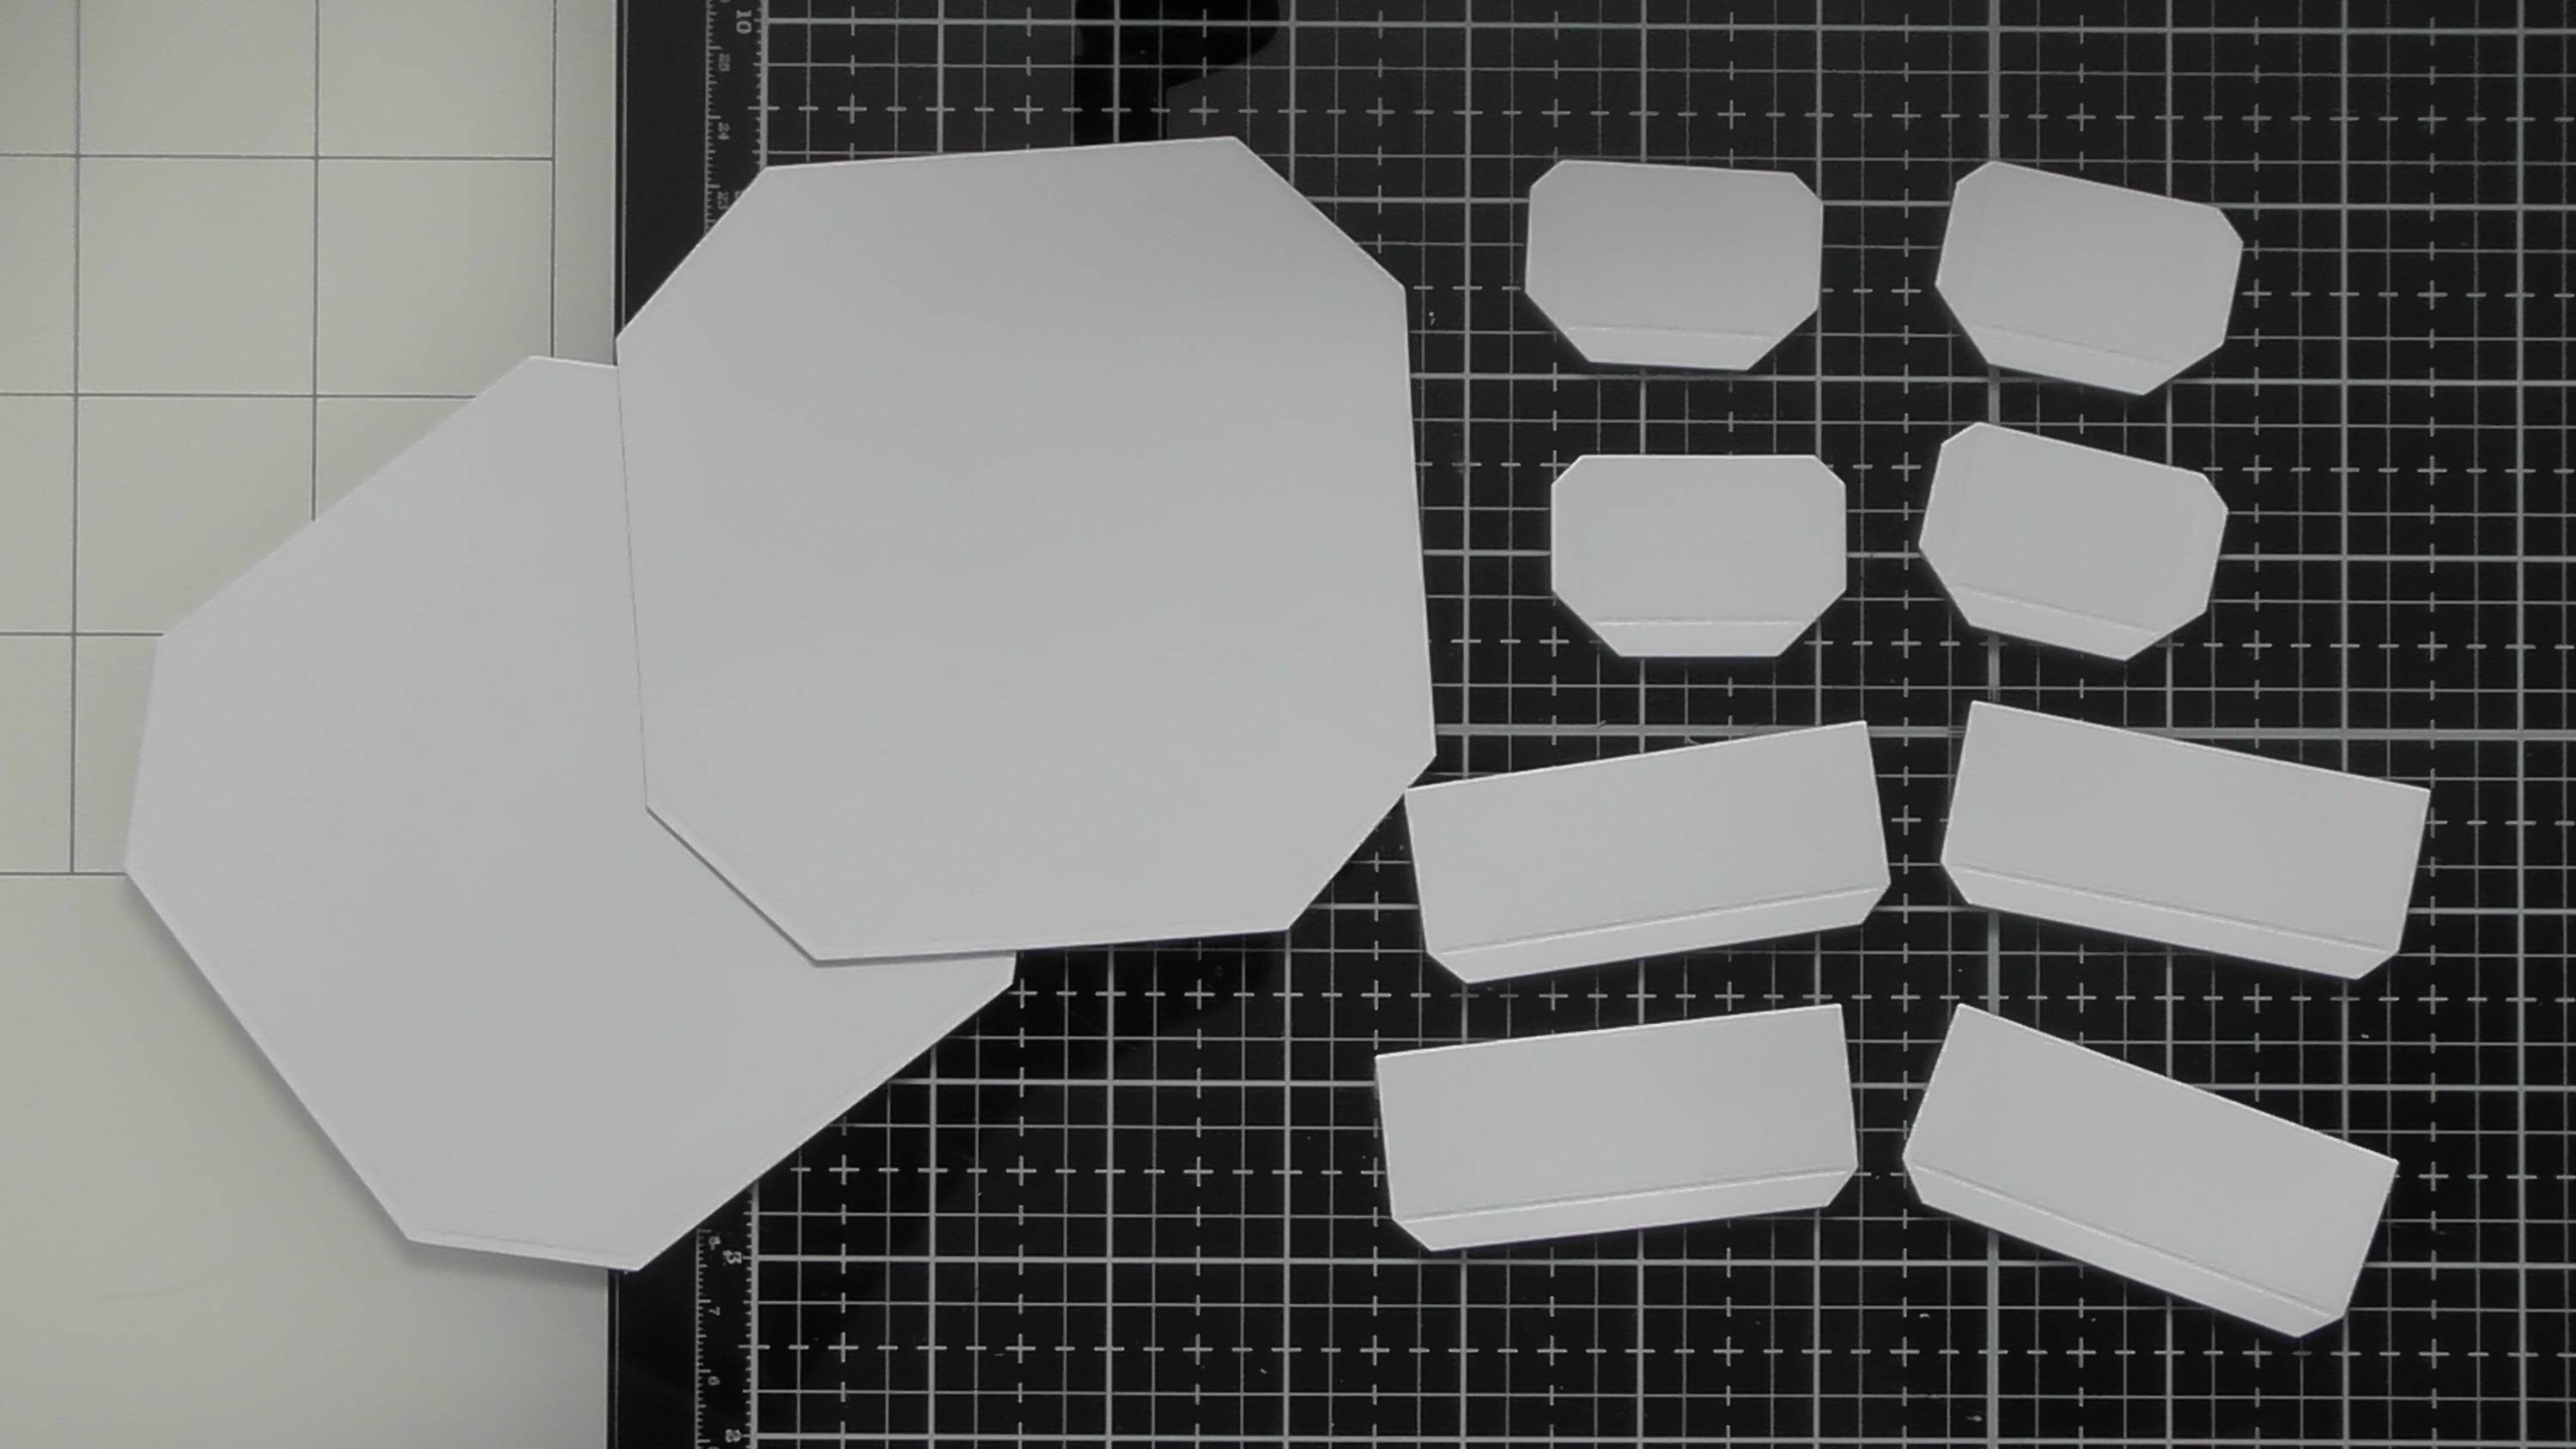
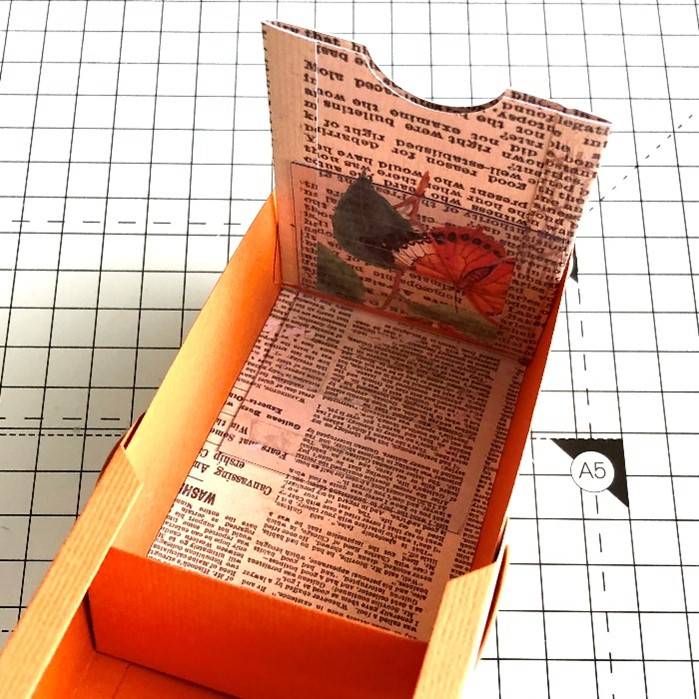
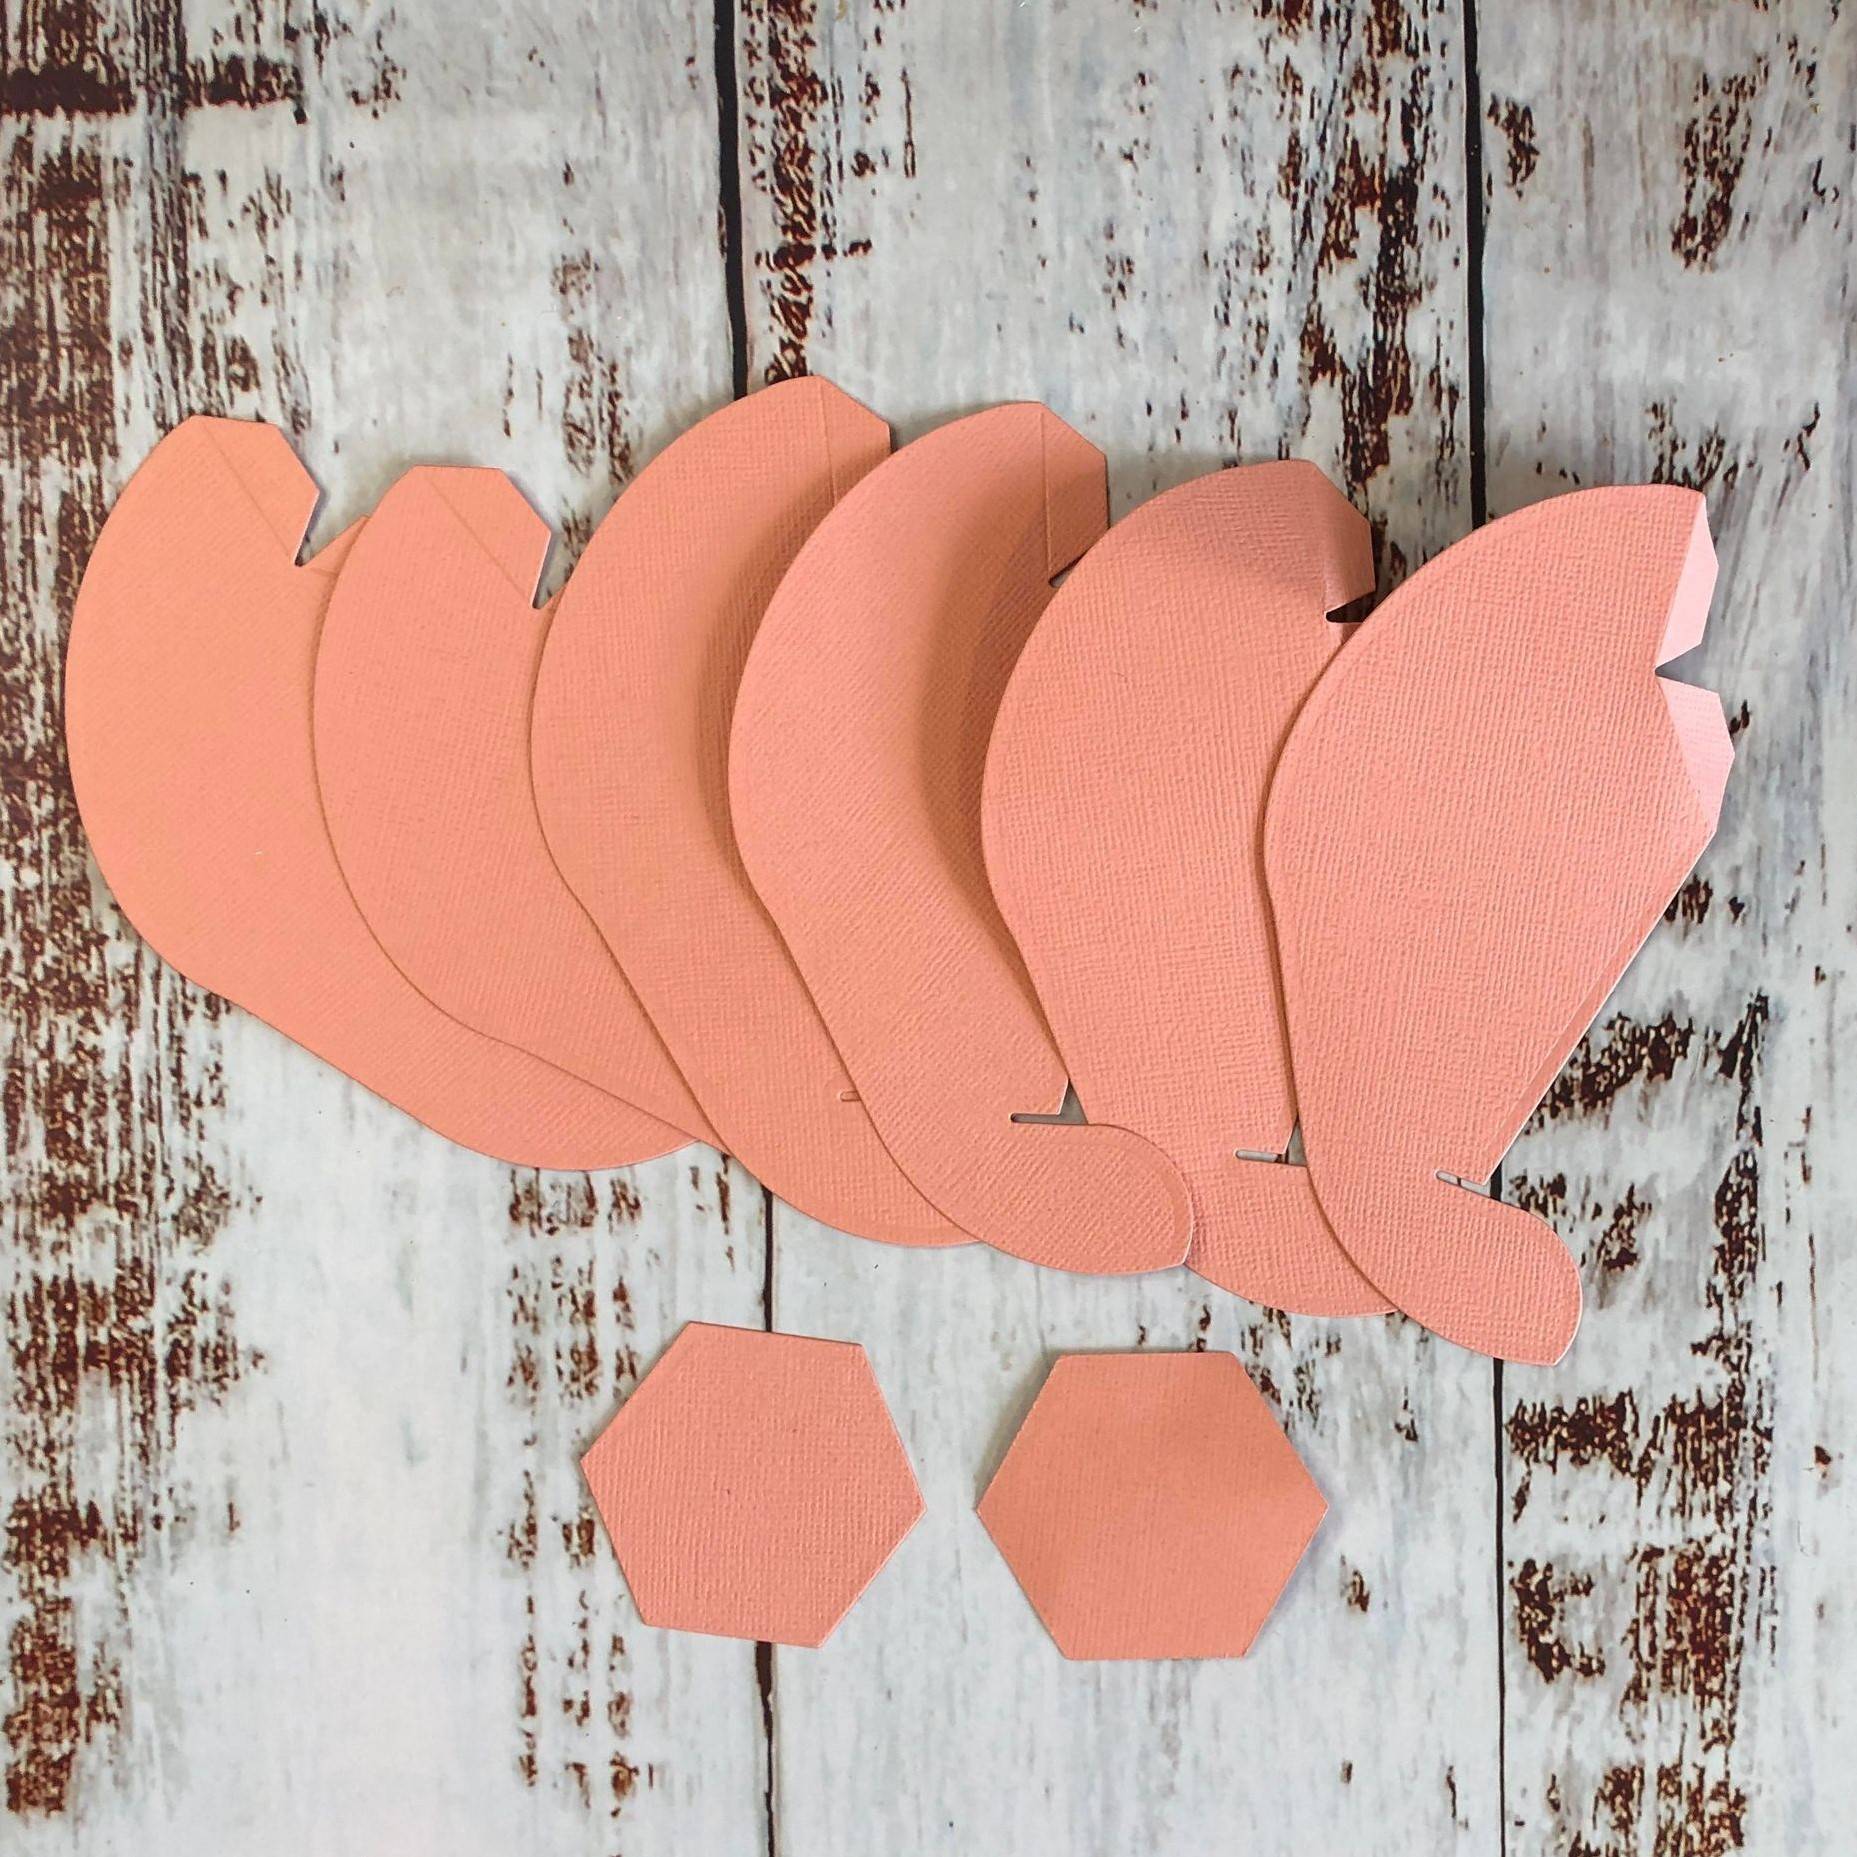
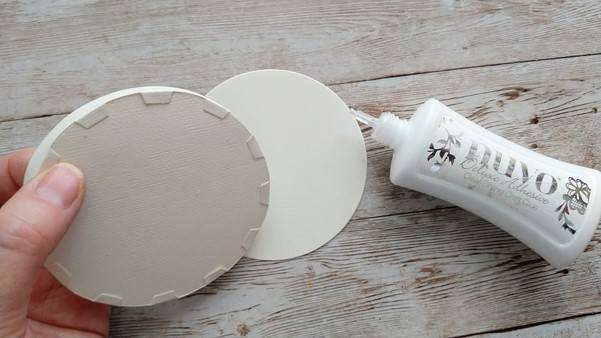
Die cut 2 of the large box shape from your base colour and burnish all the score lines.
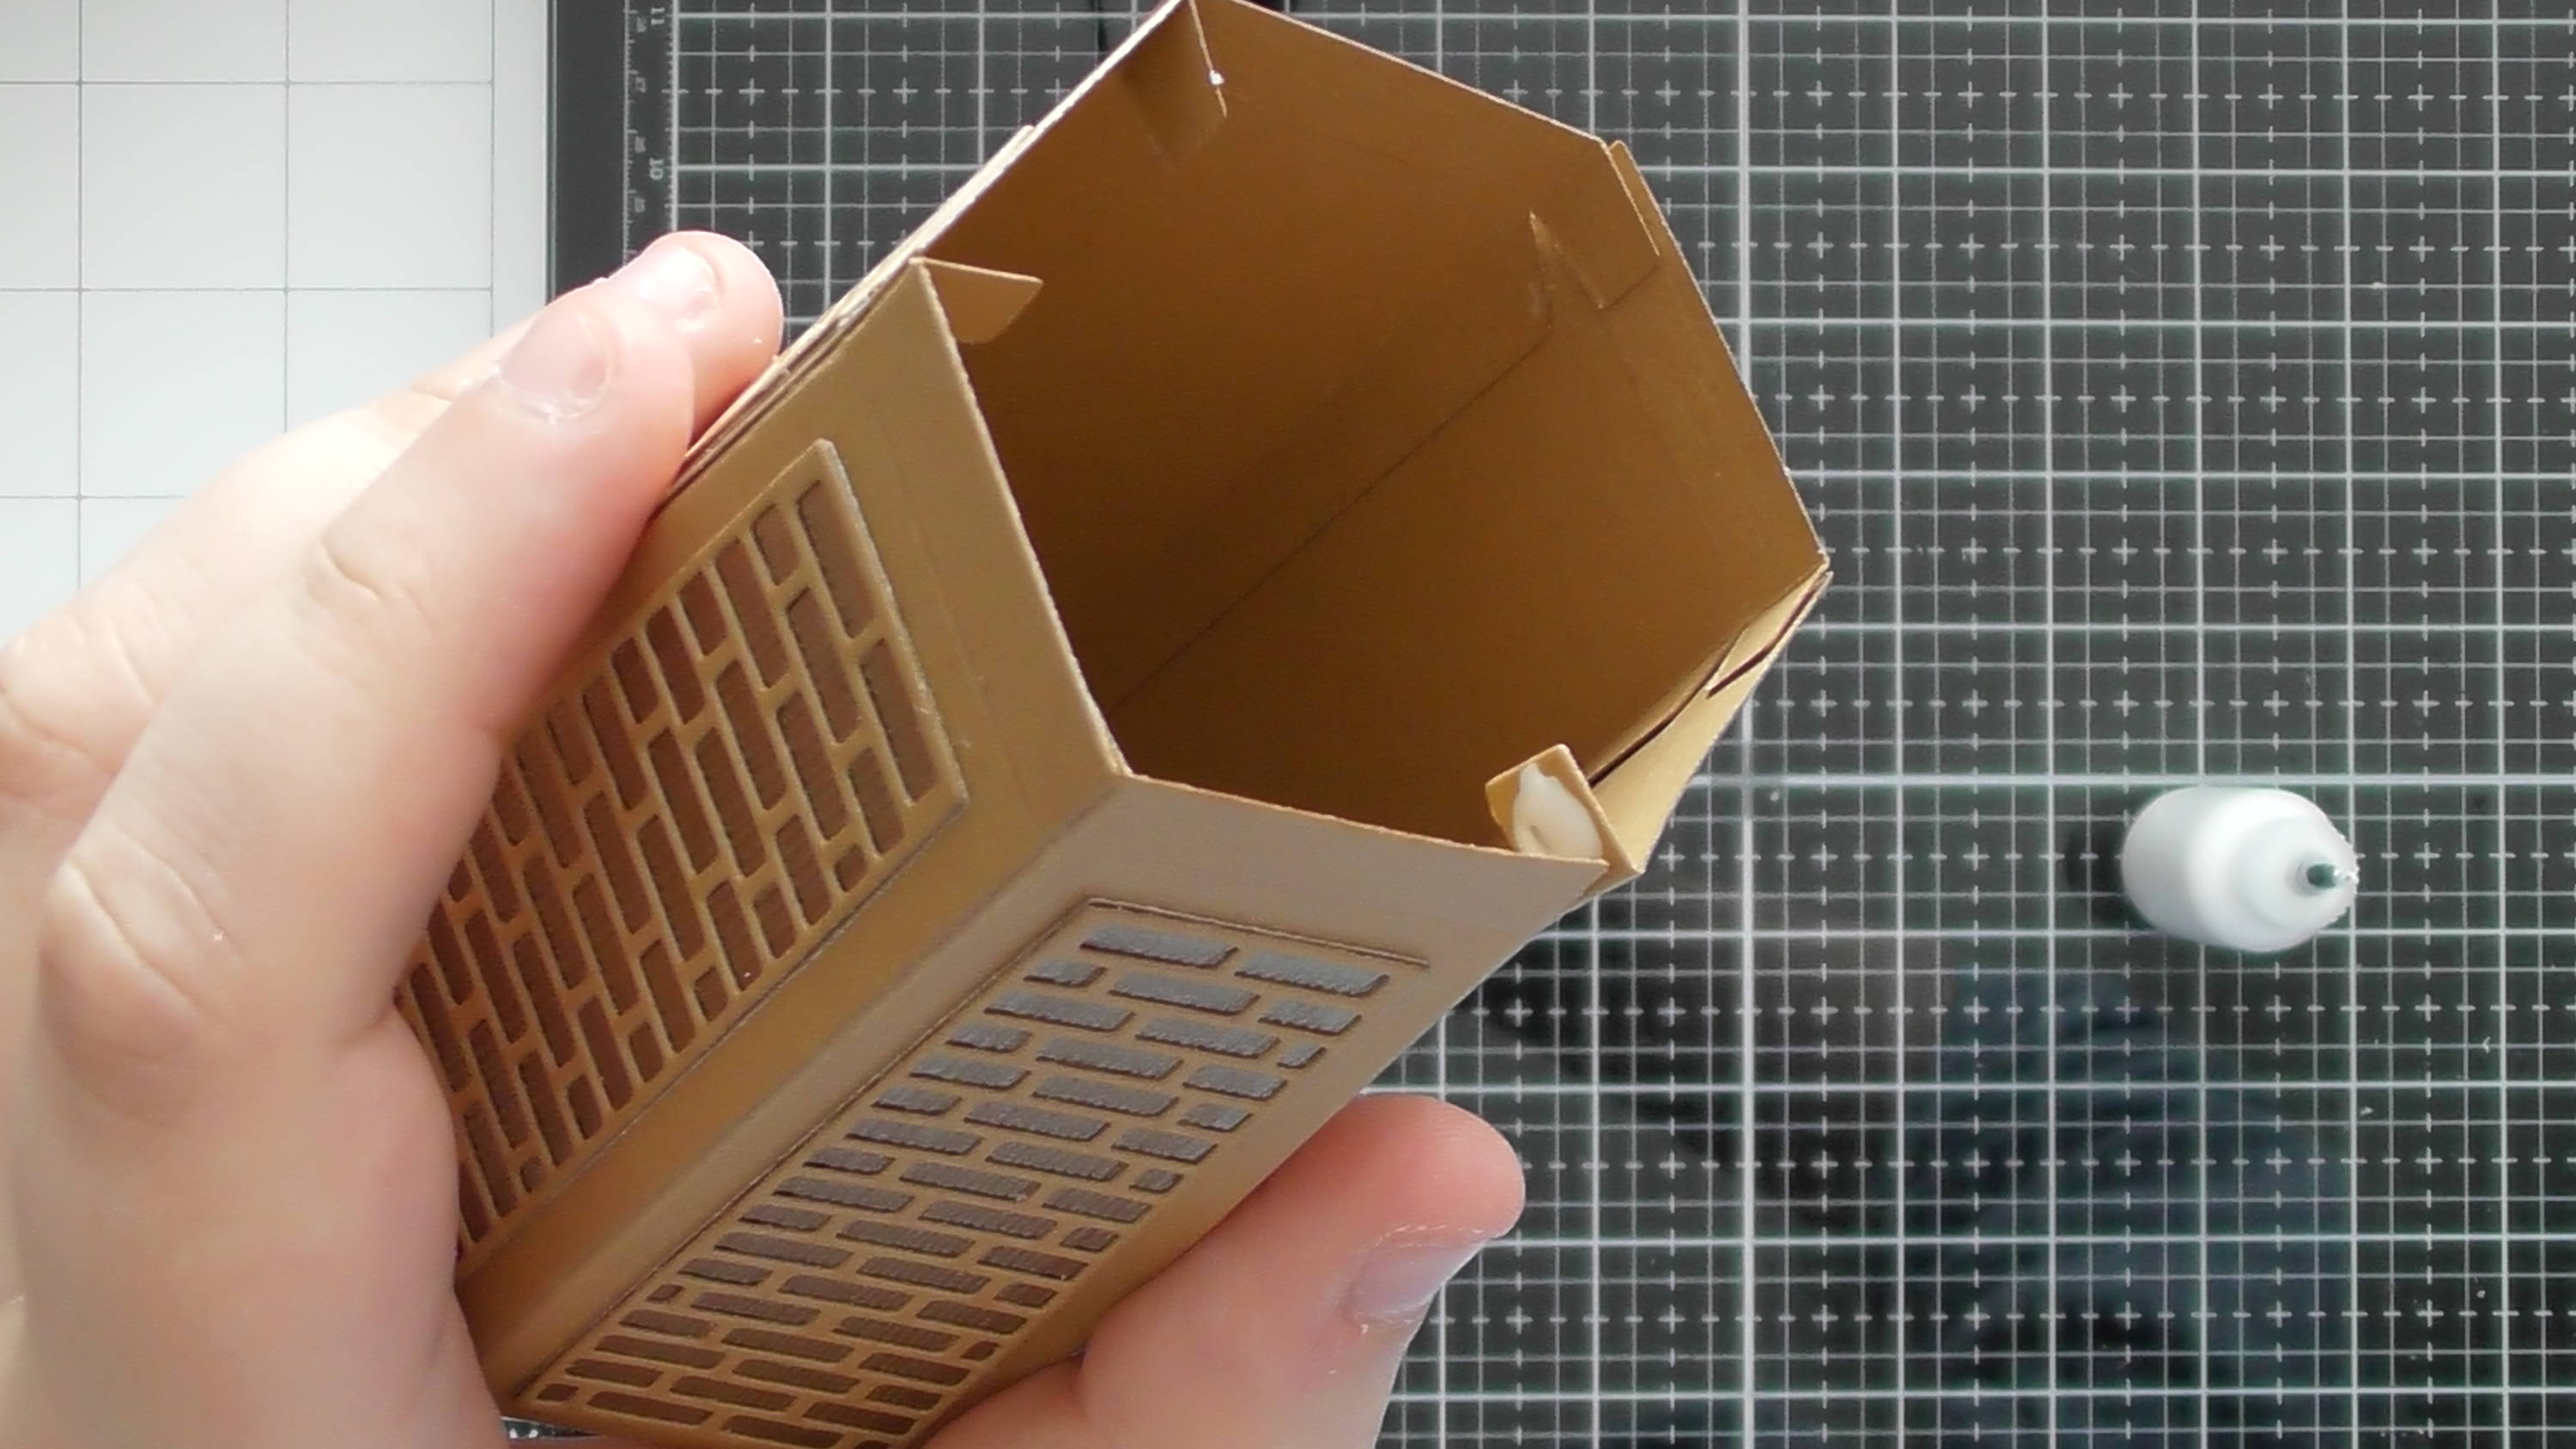
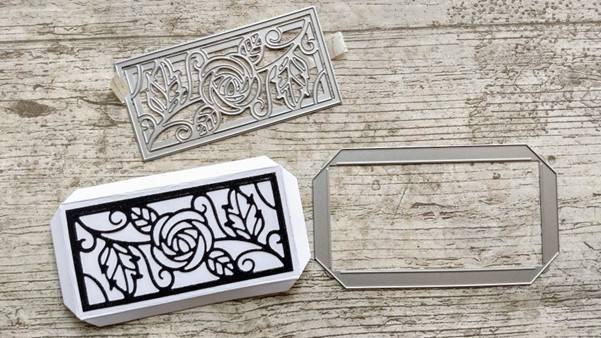
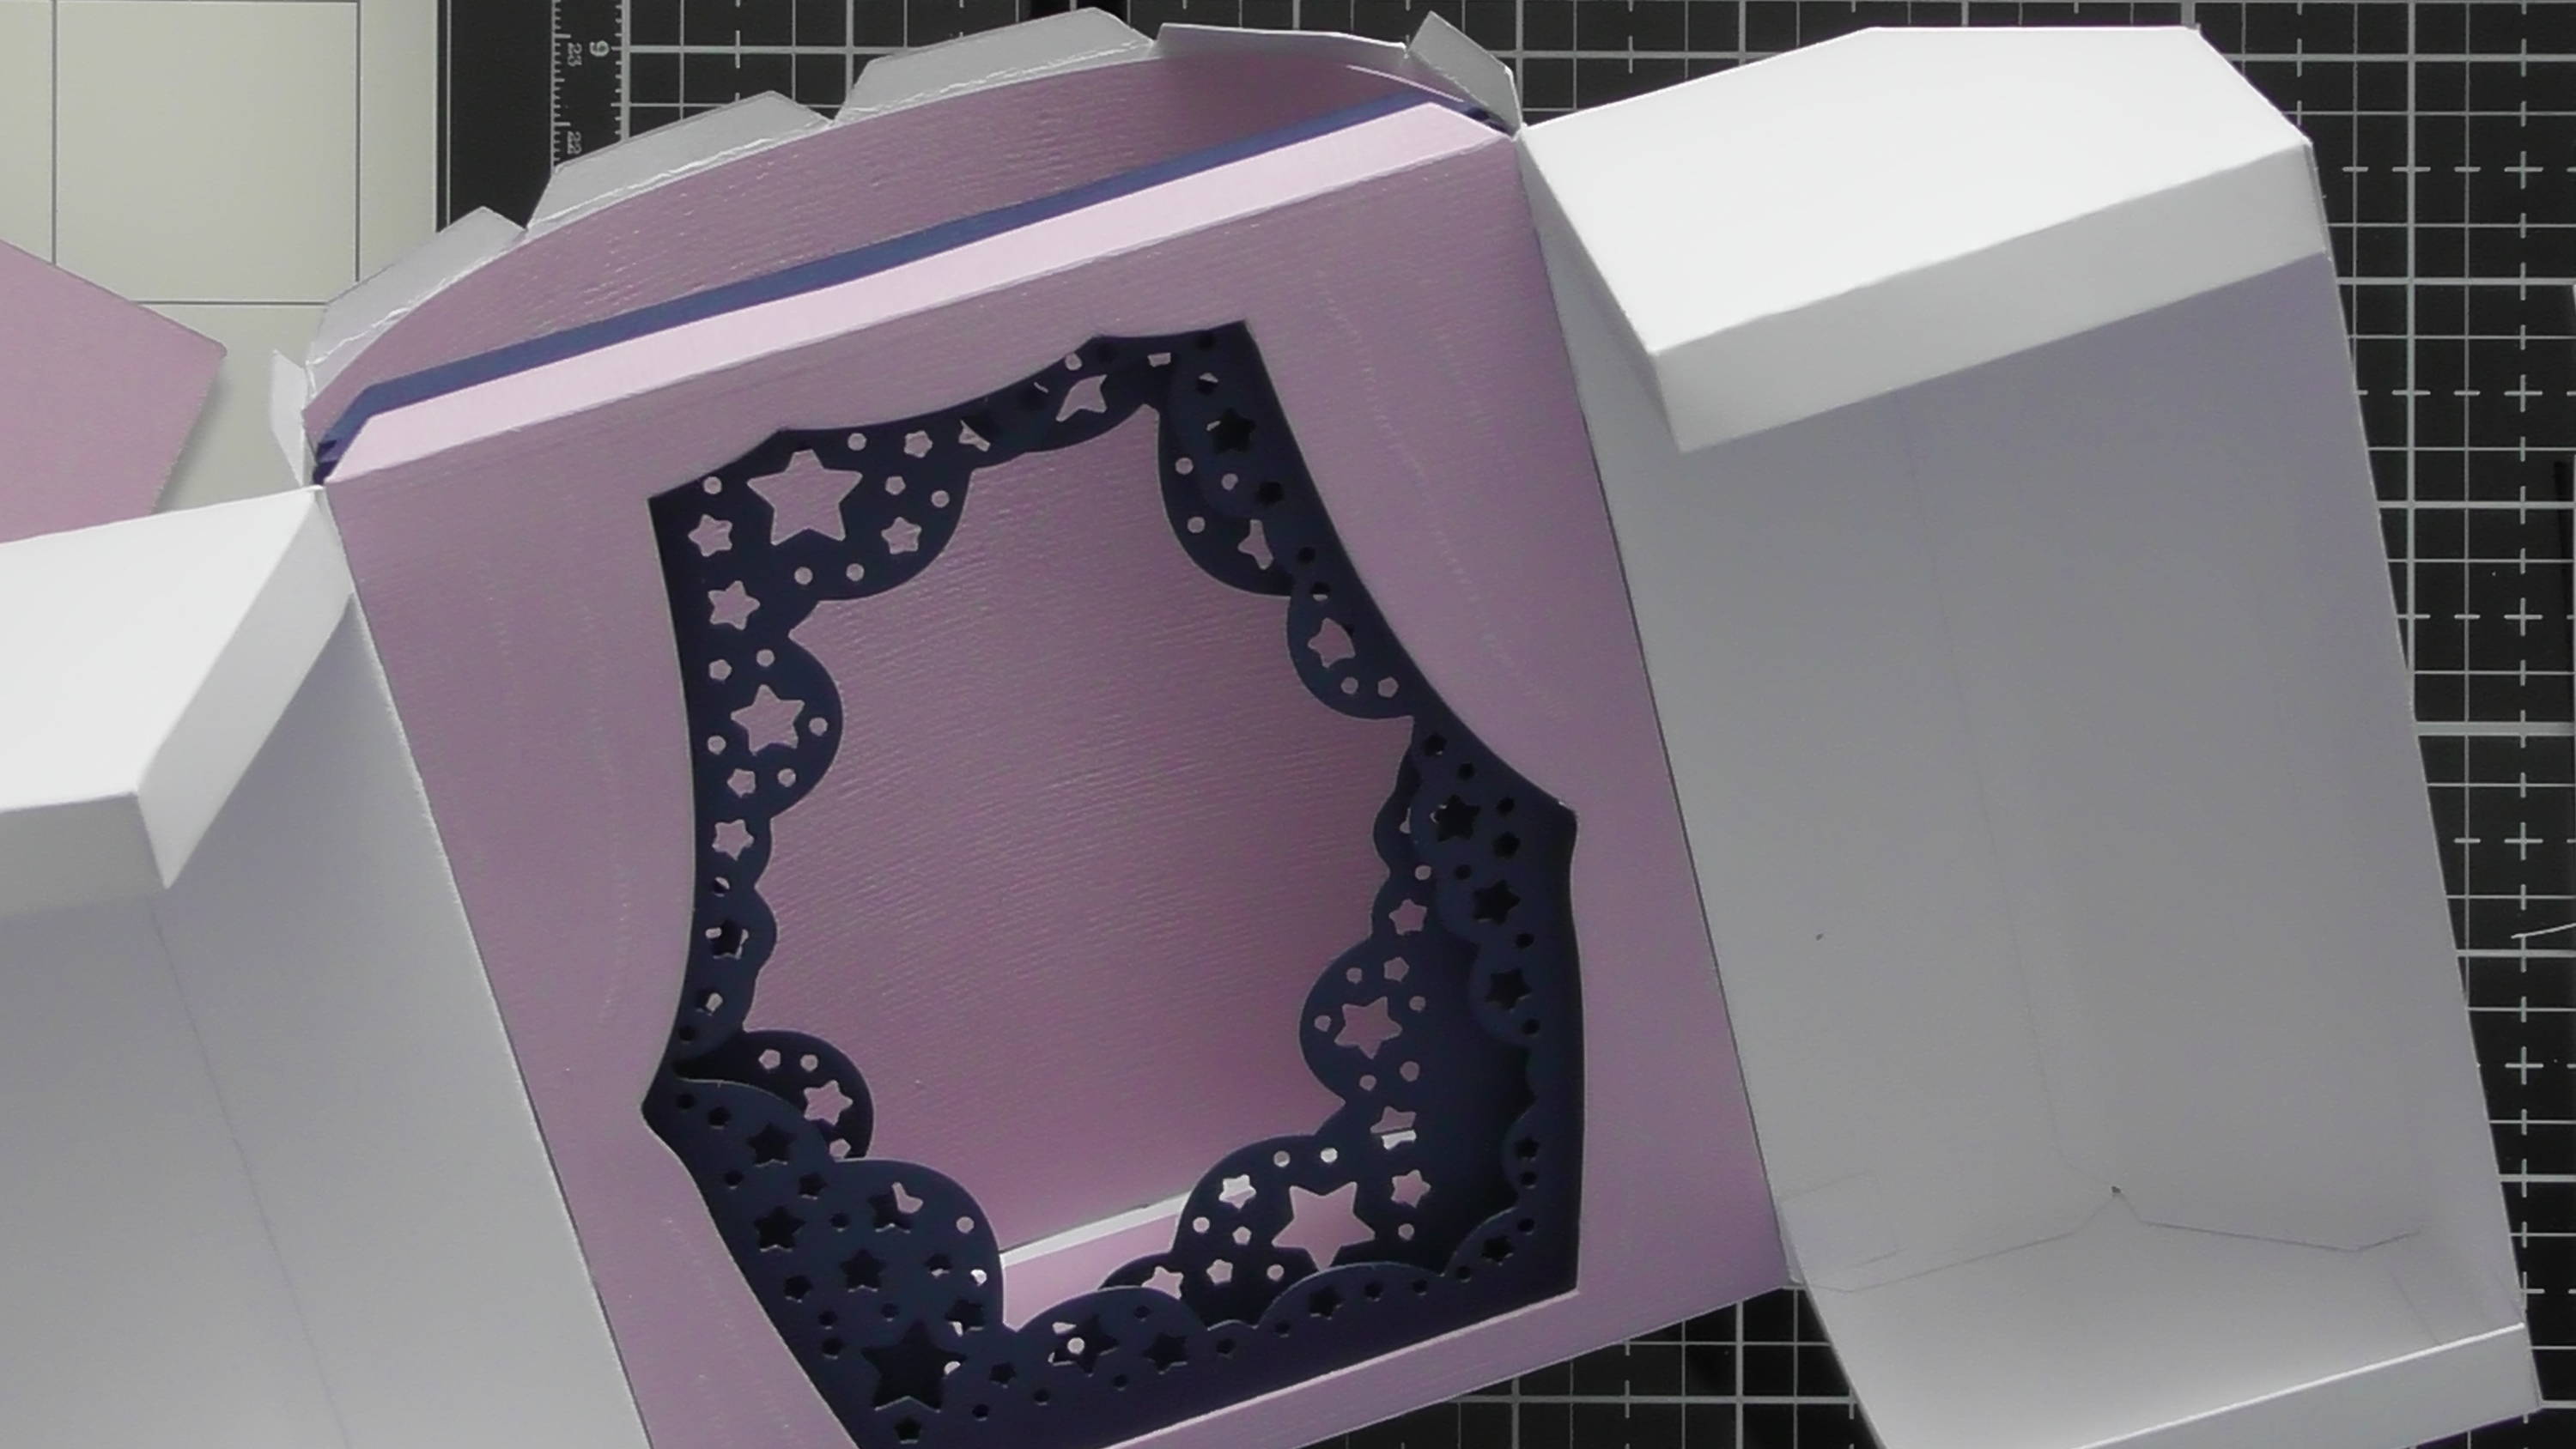
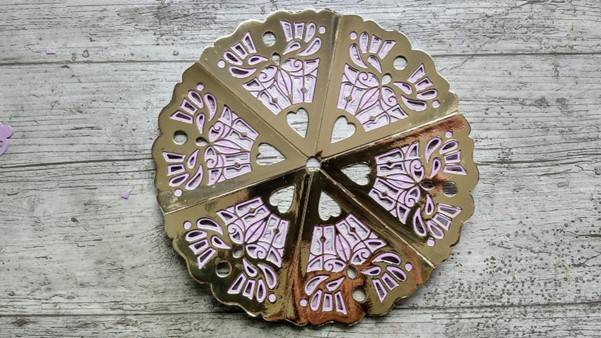
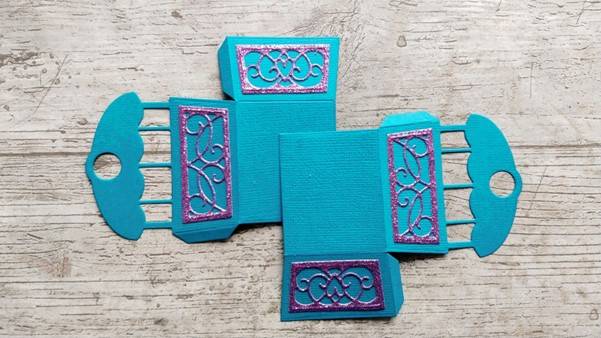
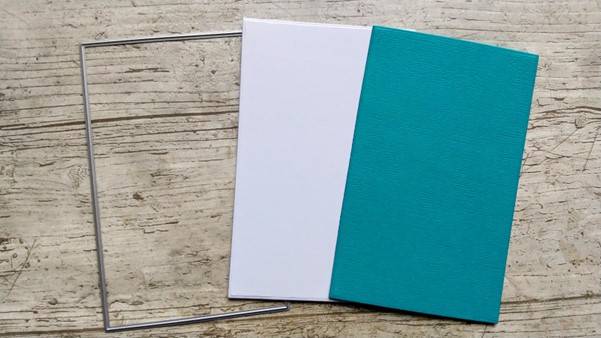
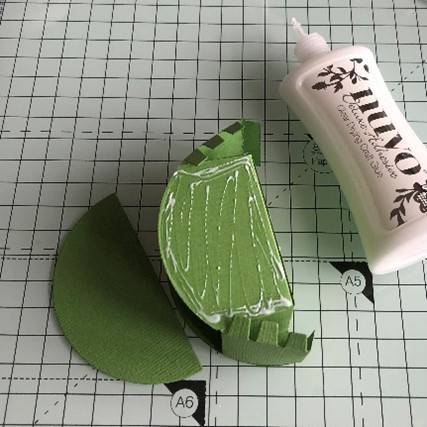
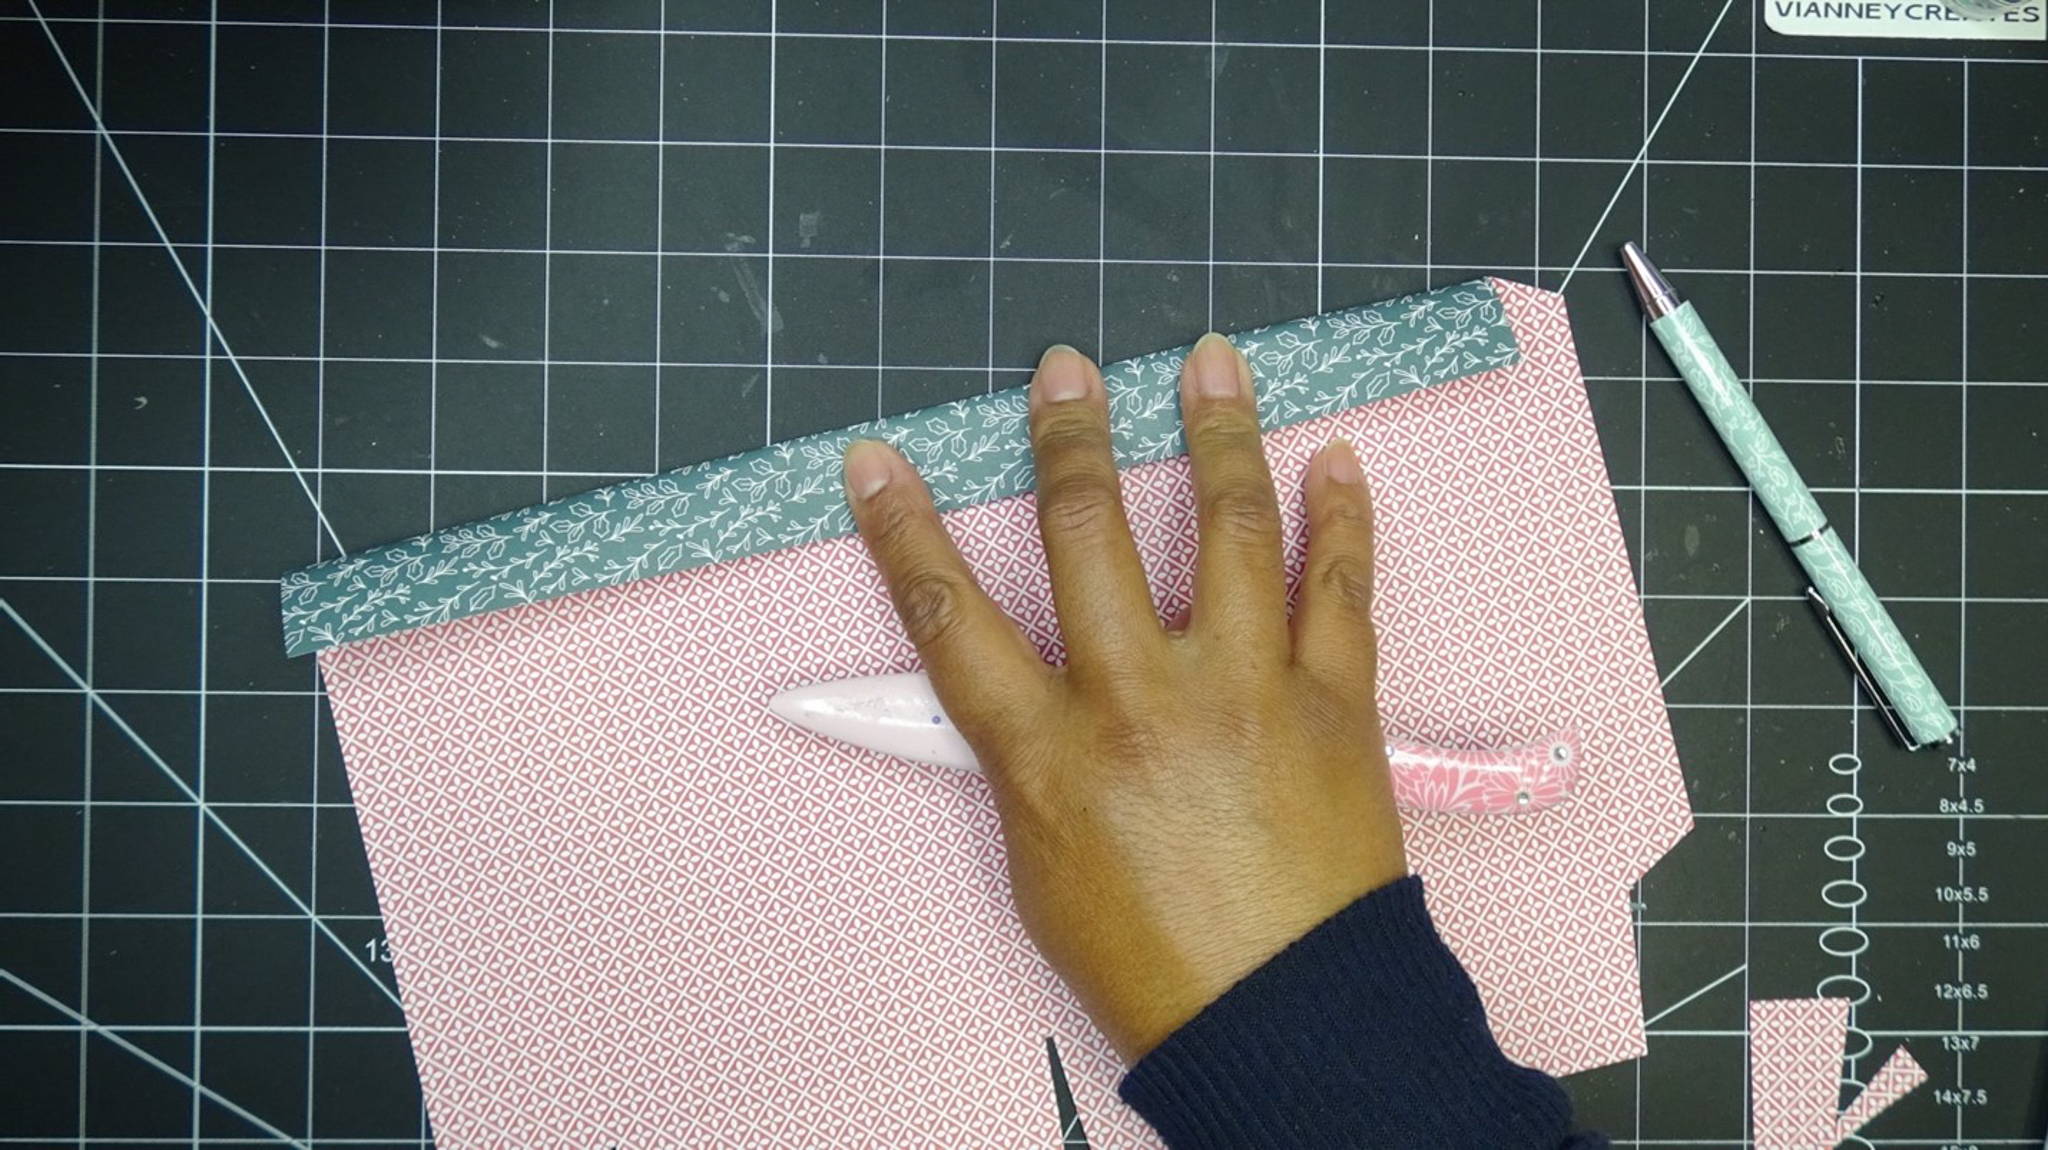
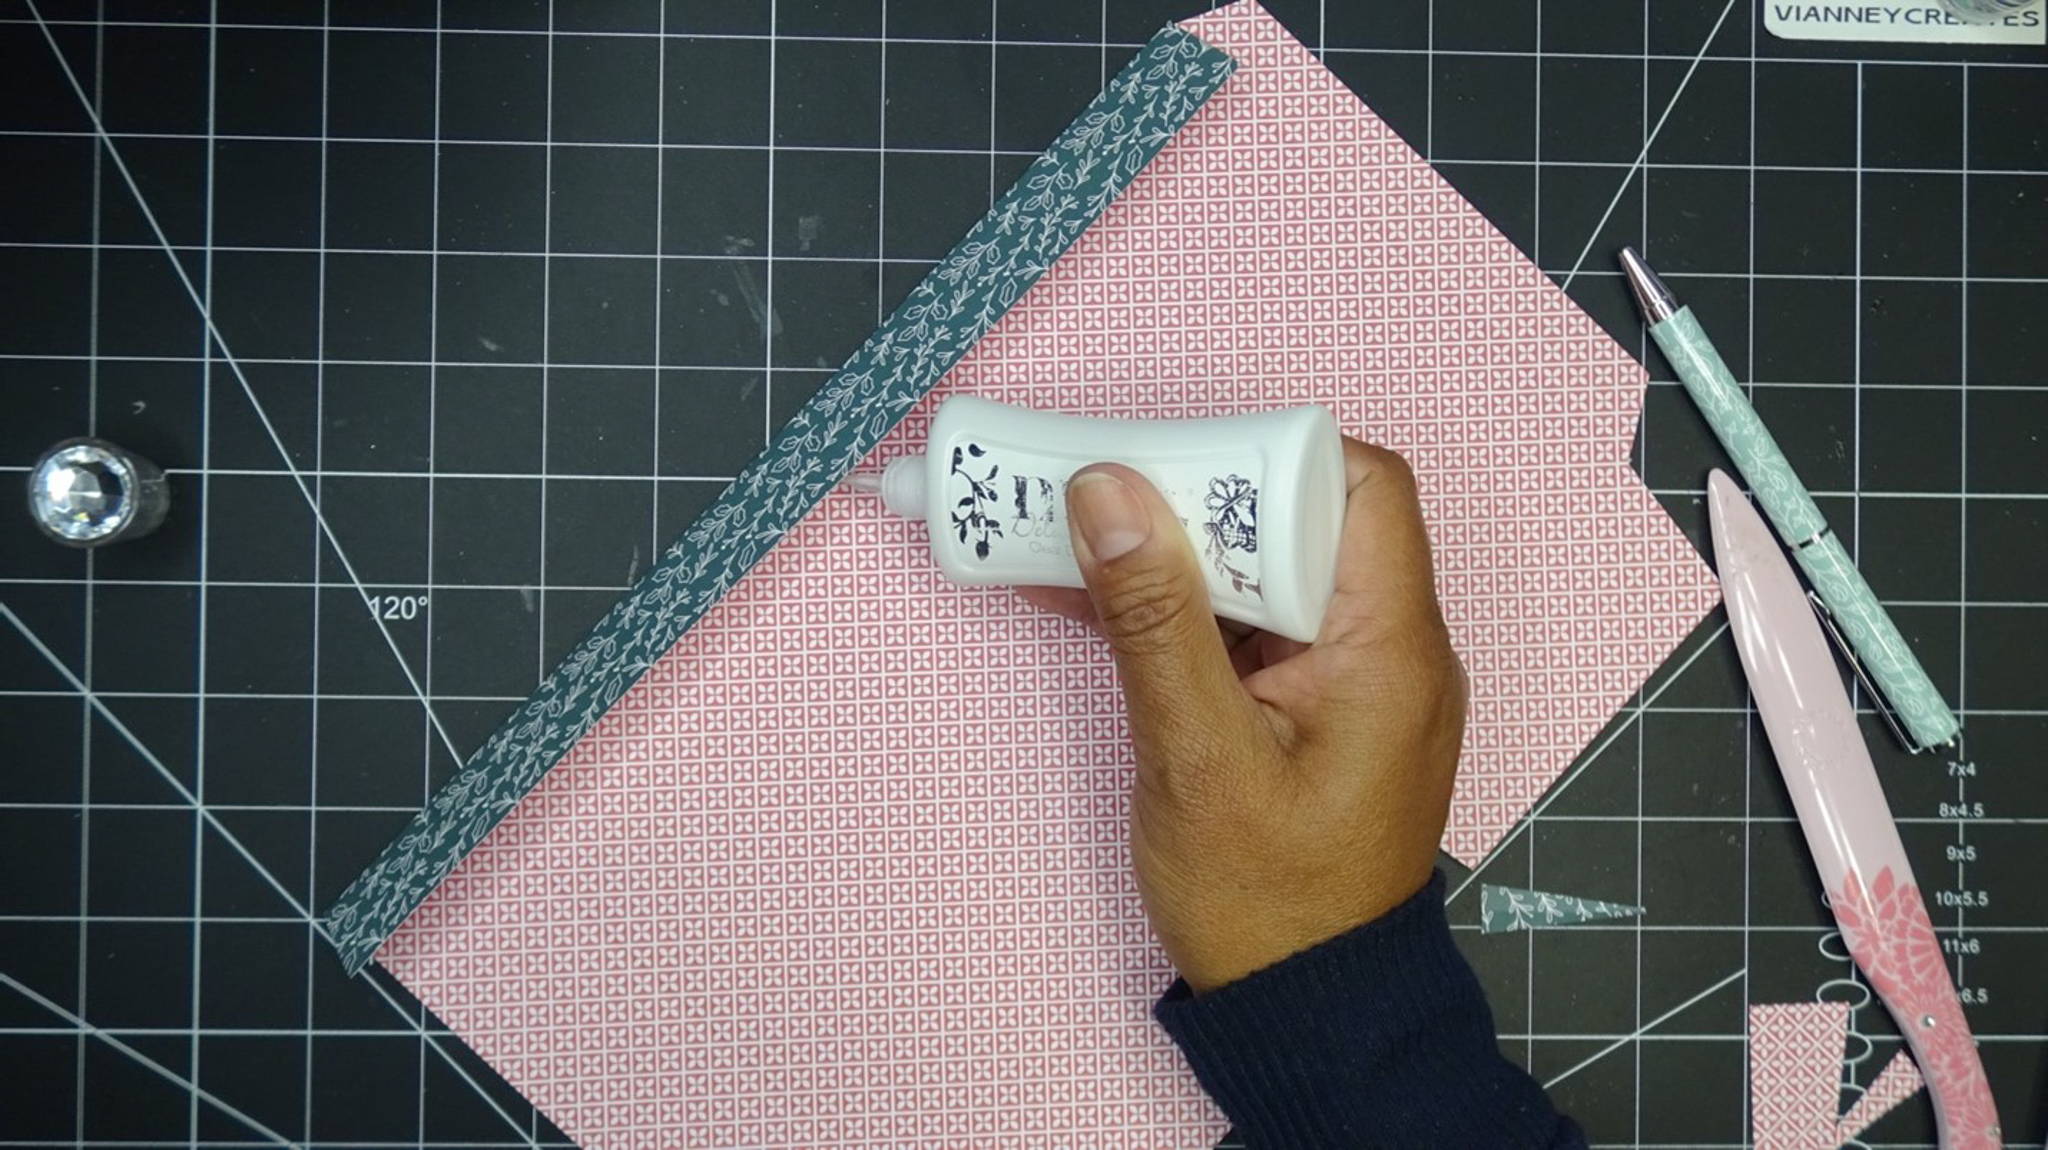
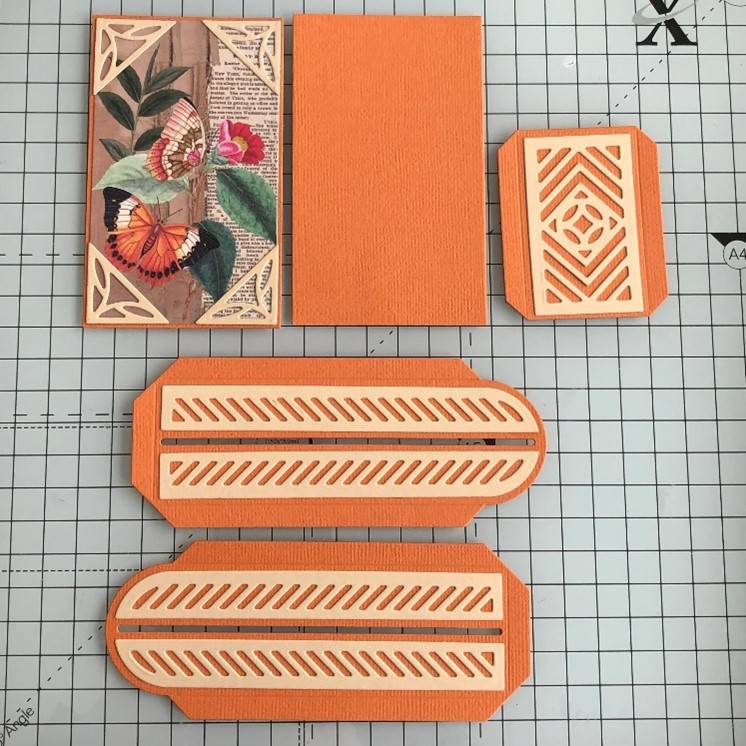
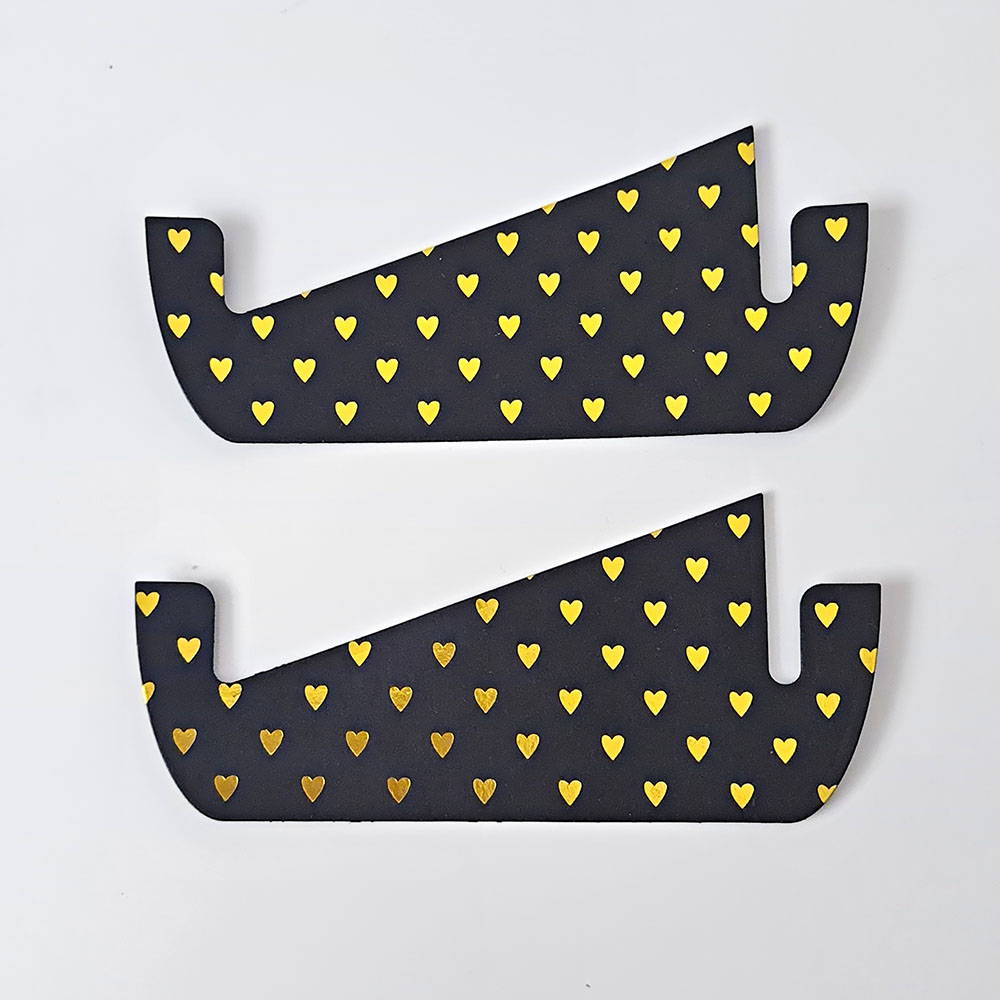
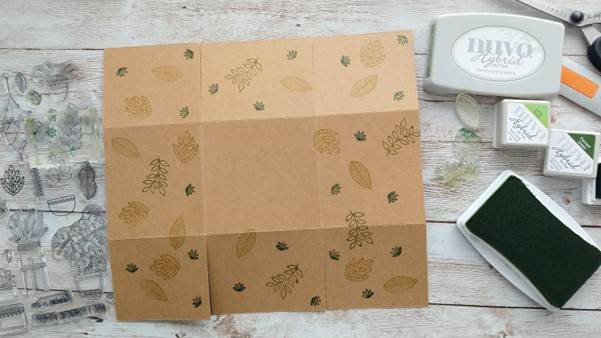
Step 2
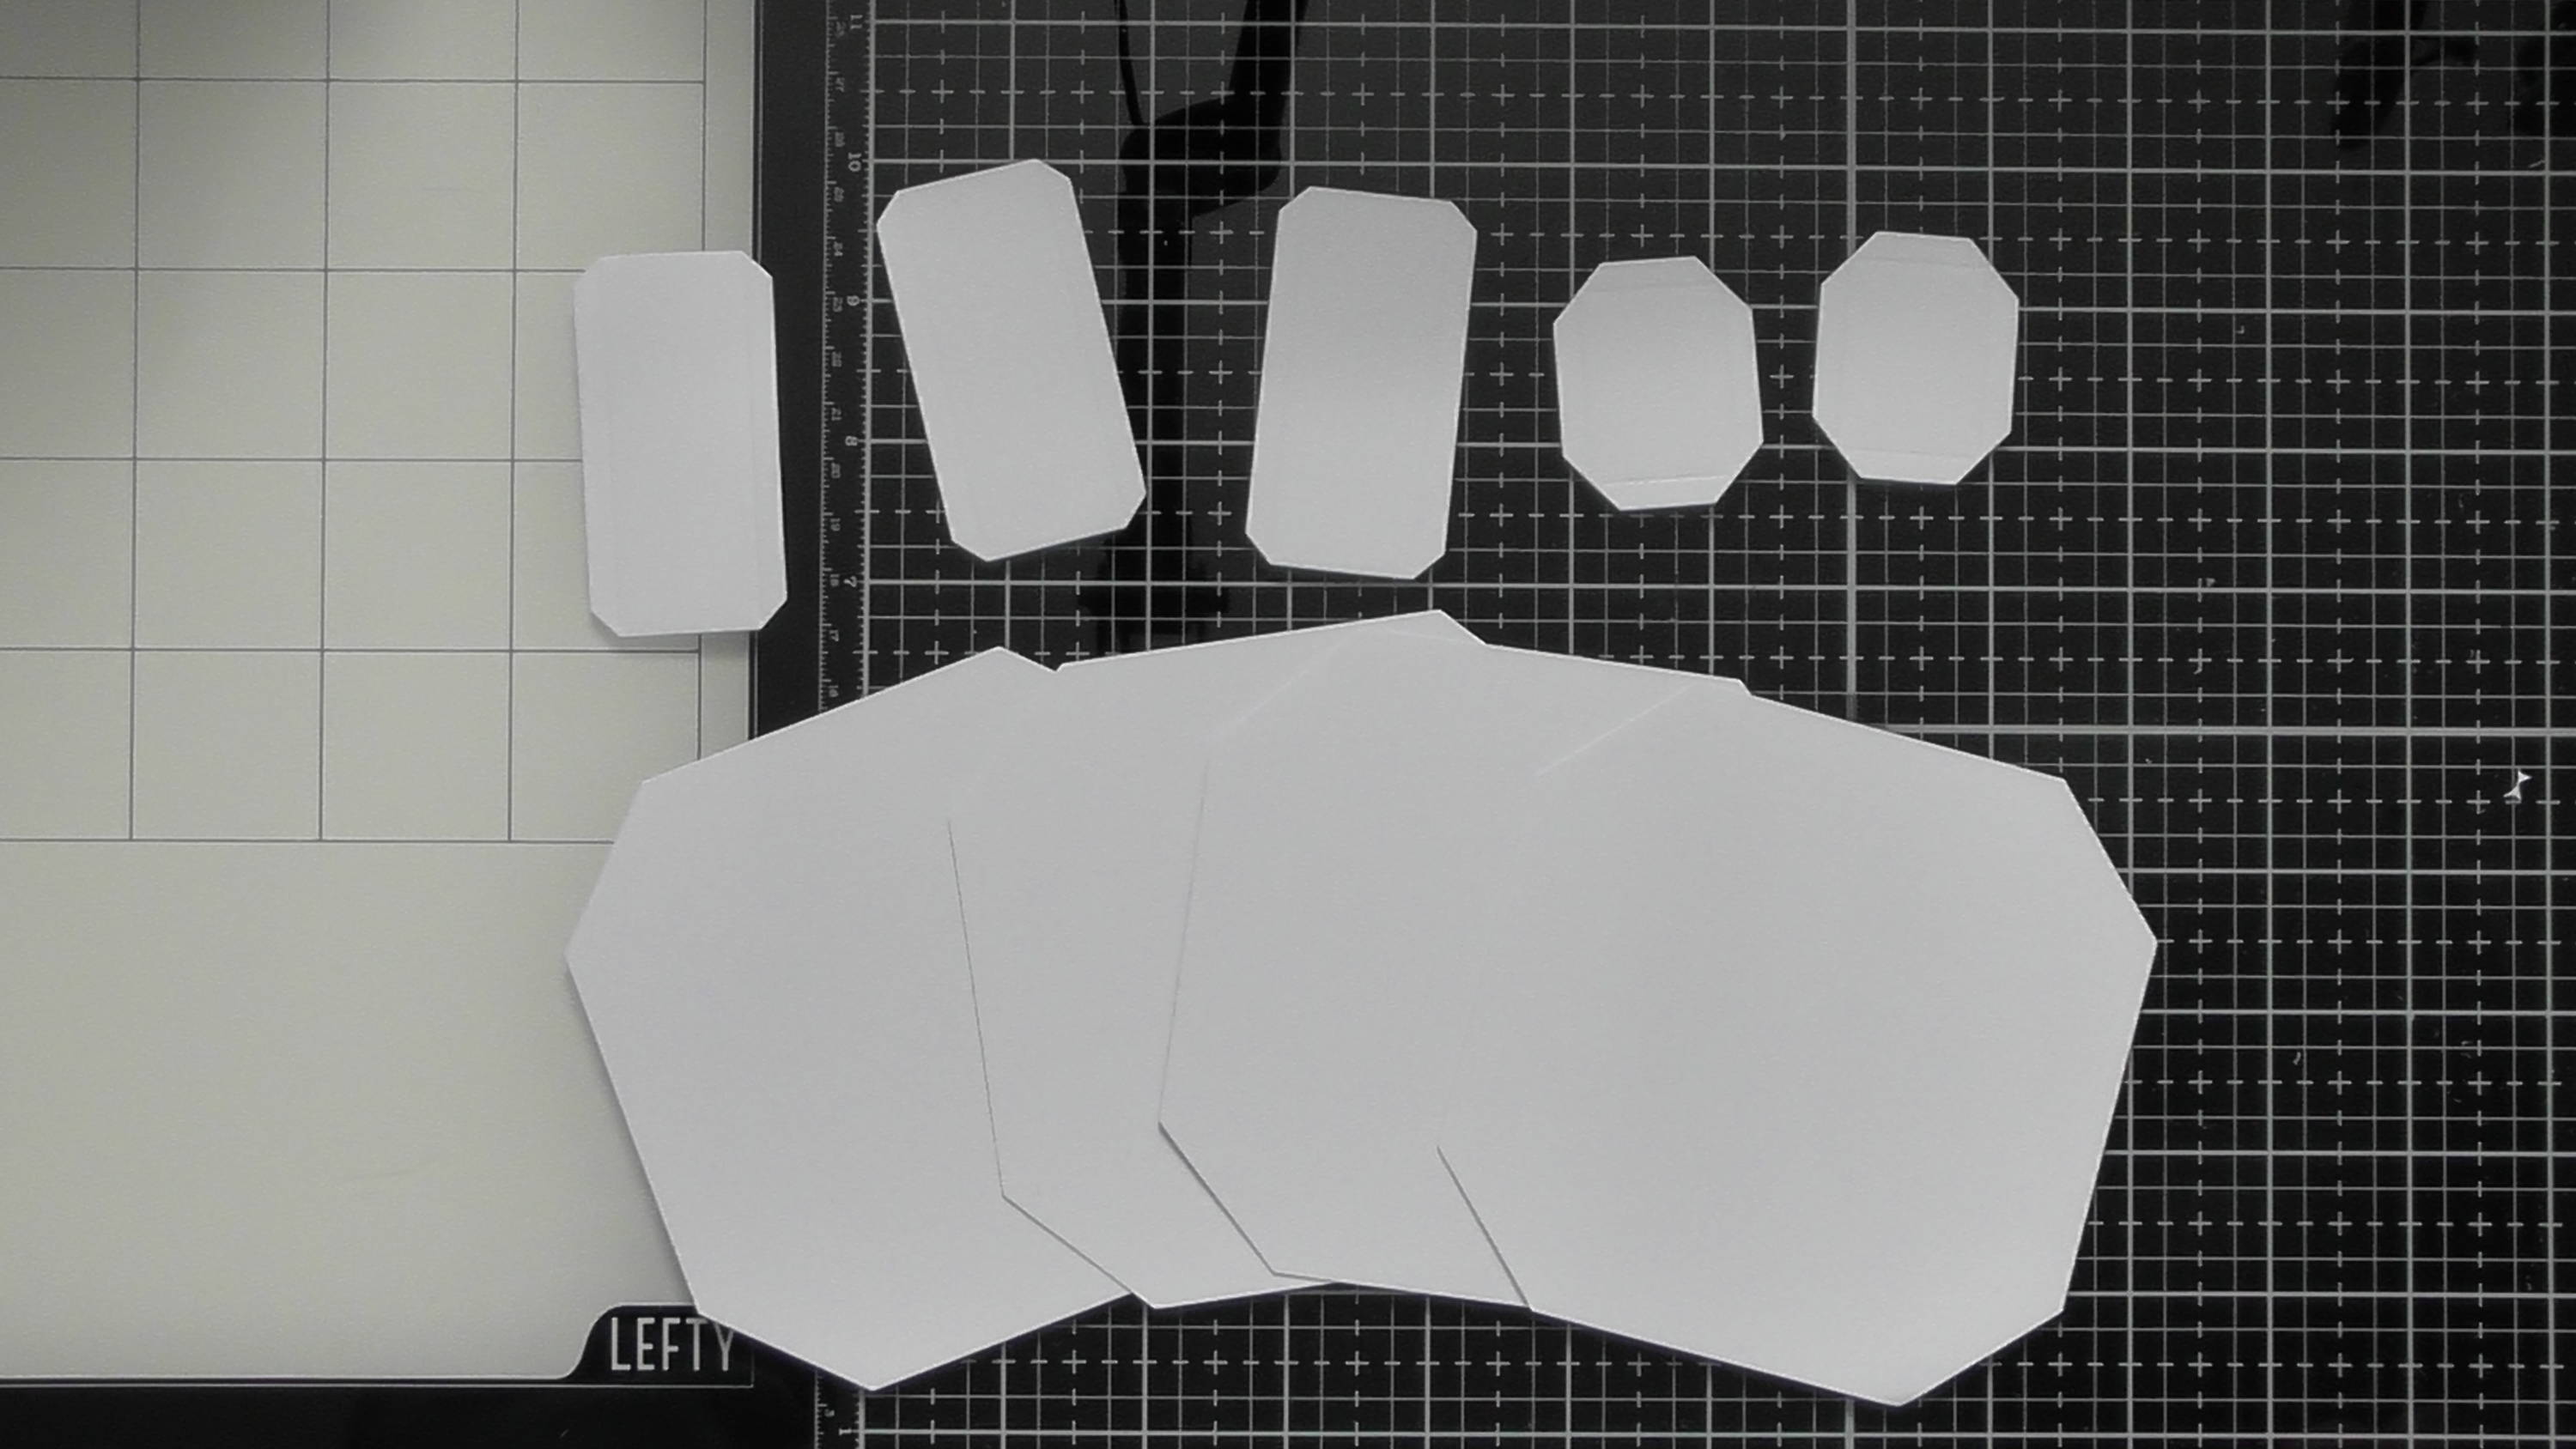
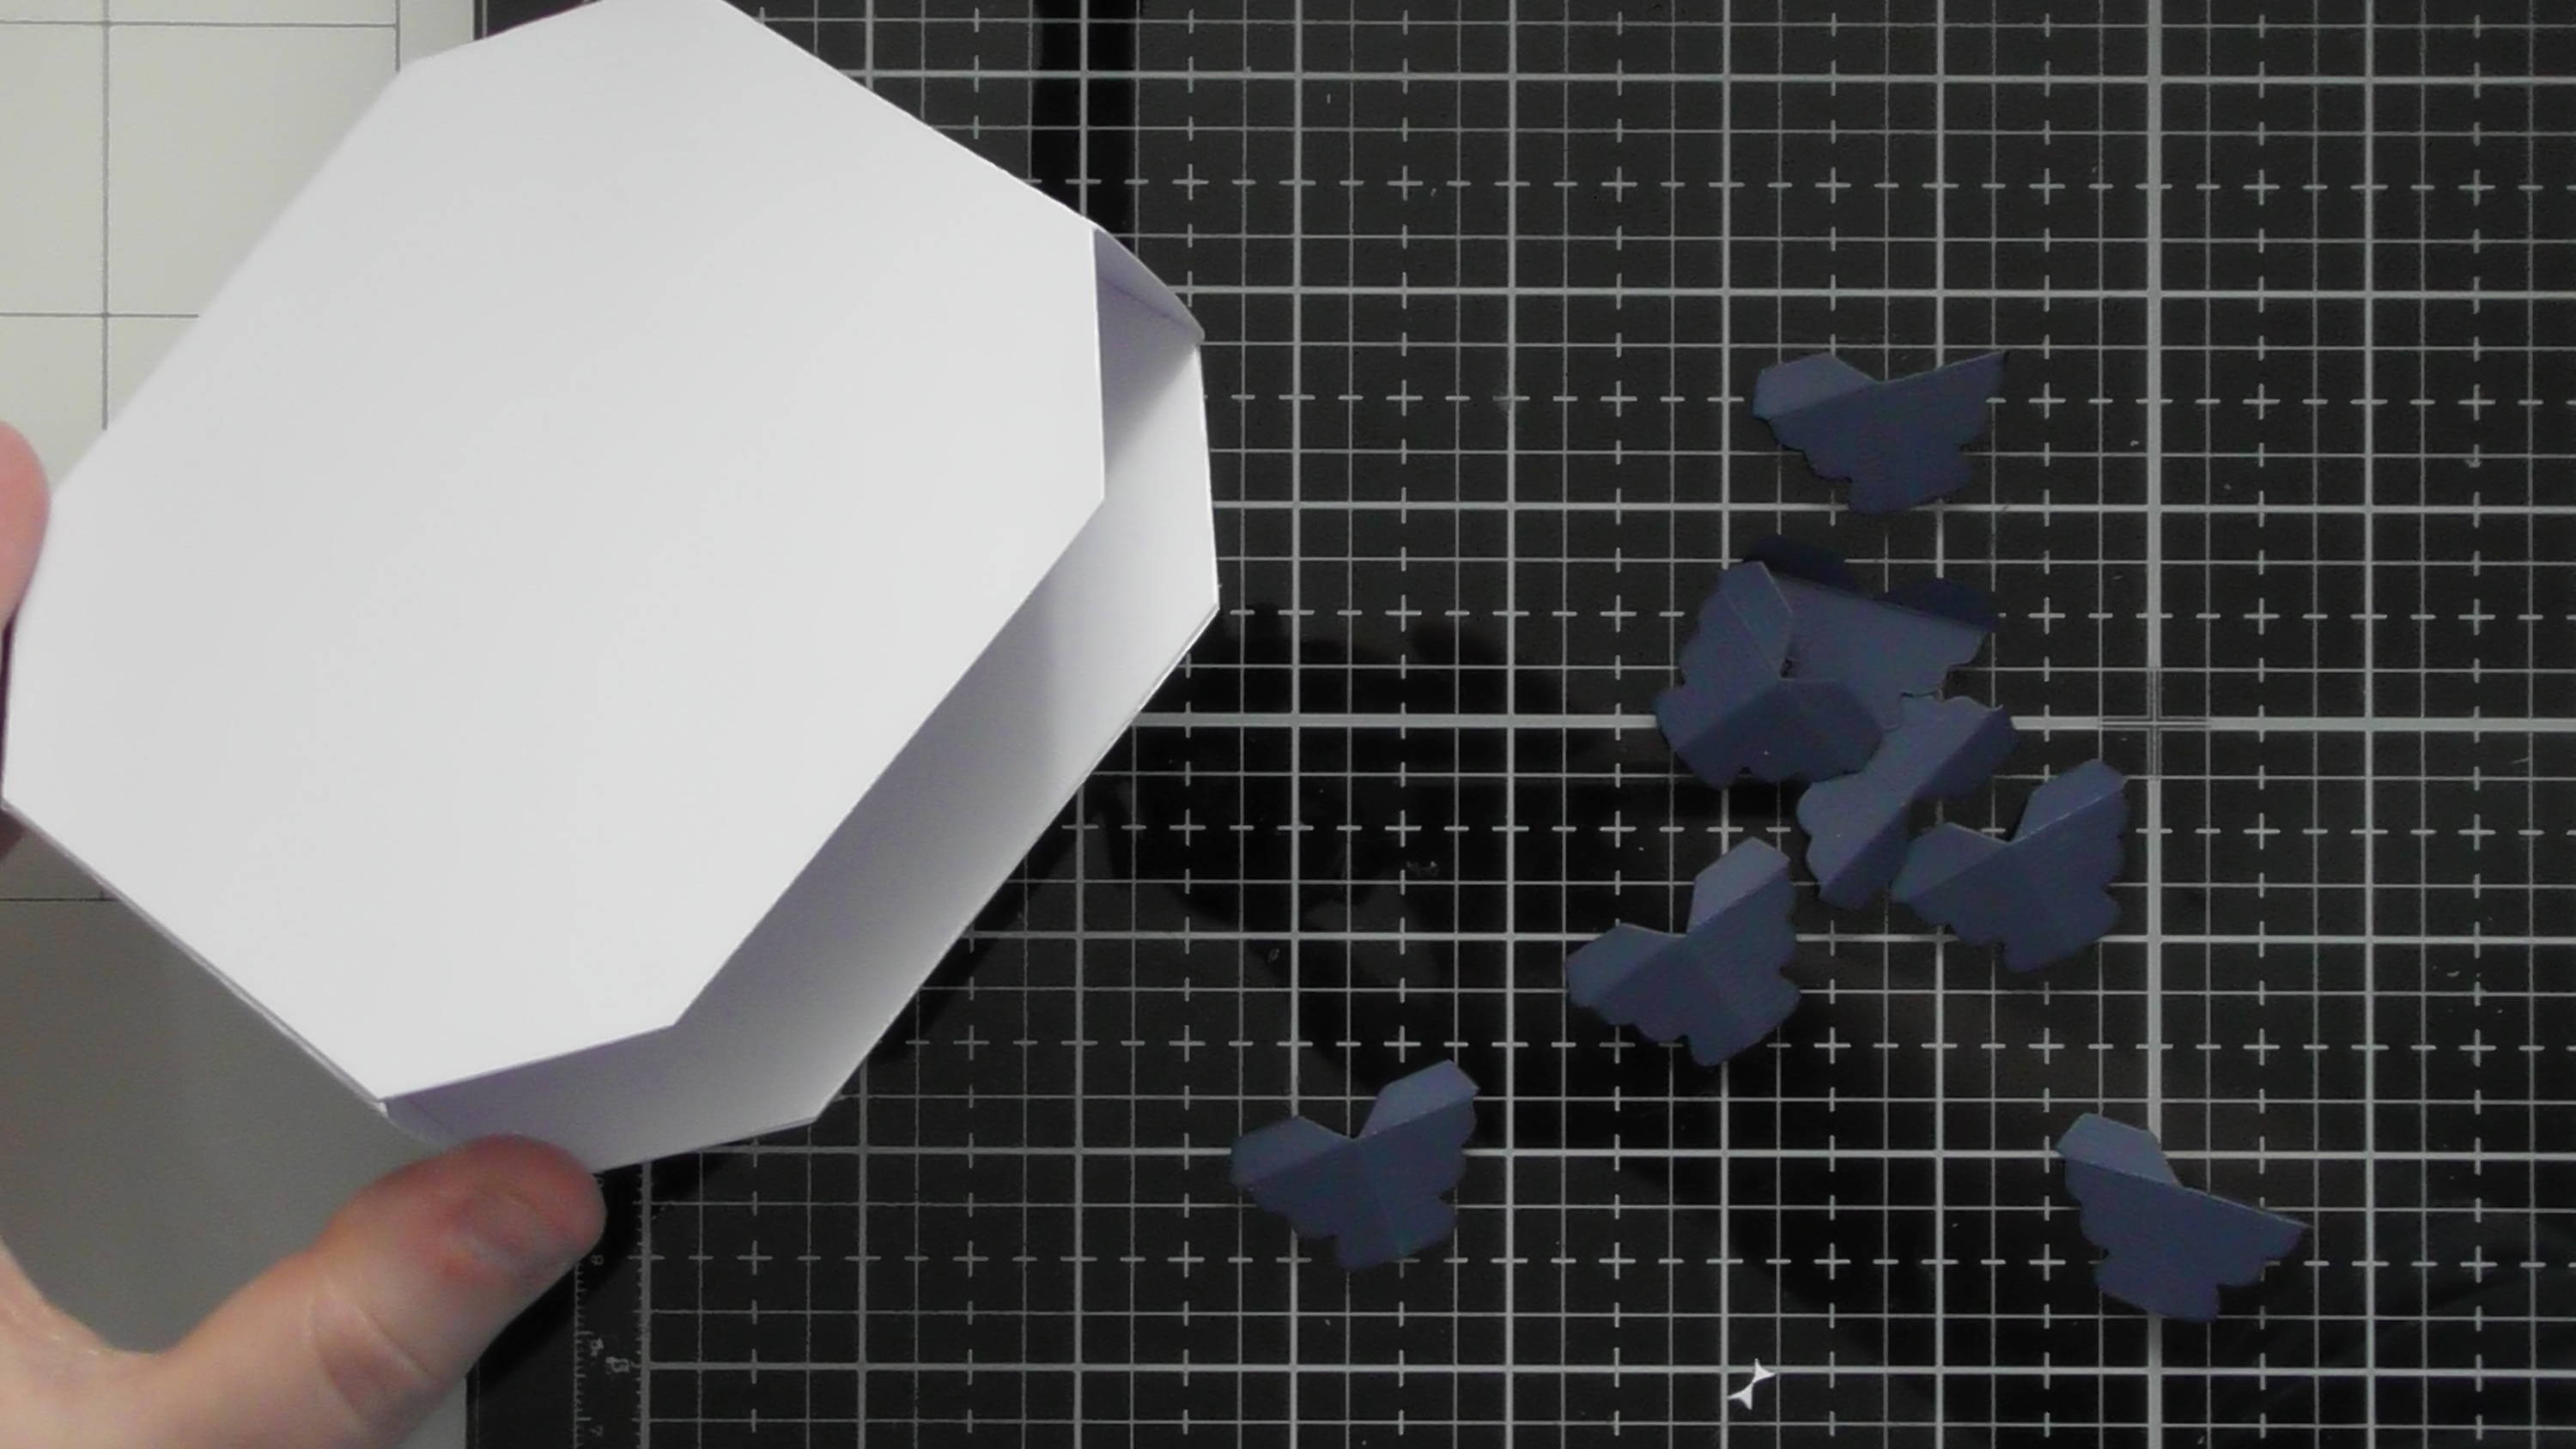
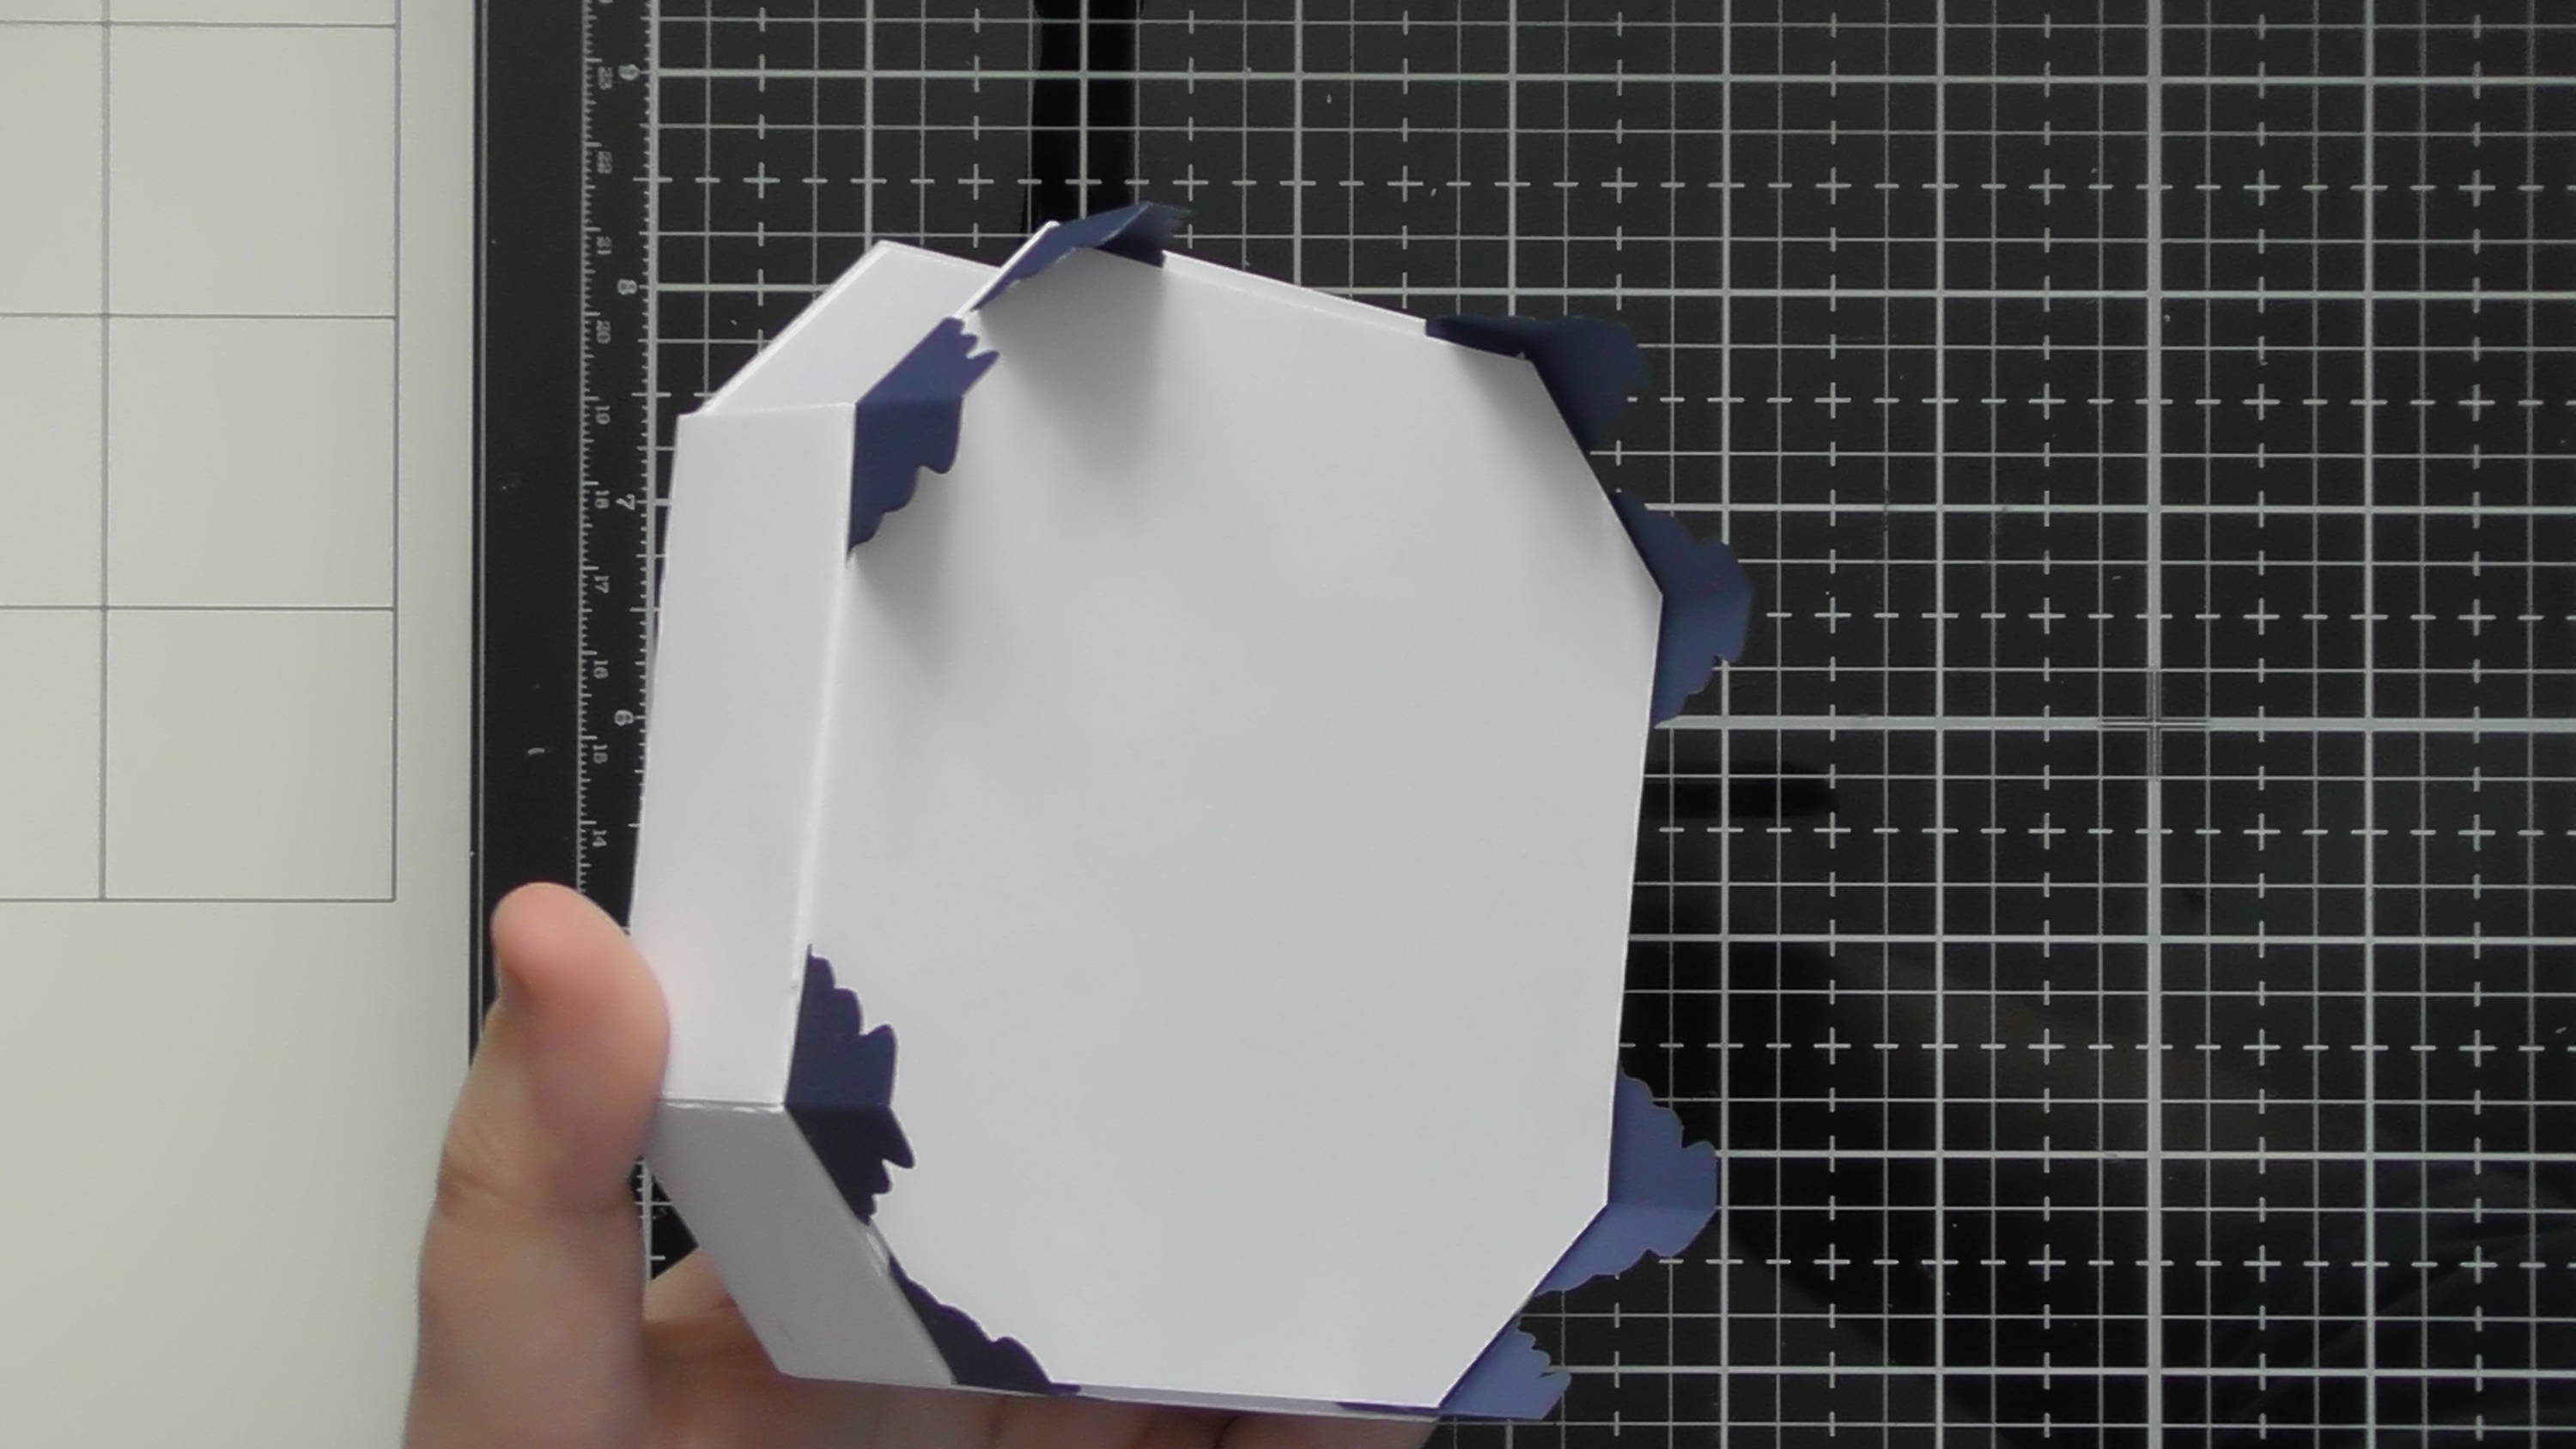
Use the 2 dies shown to cut out 2 decorative panels. Glue these onto the corresponding shapes on the box.
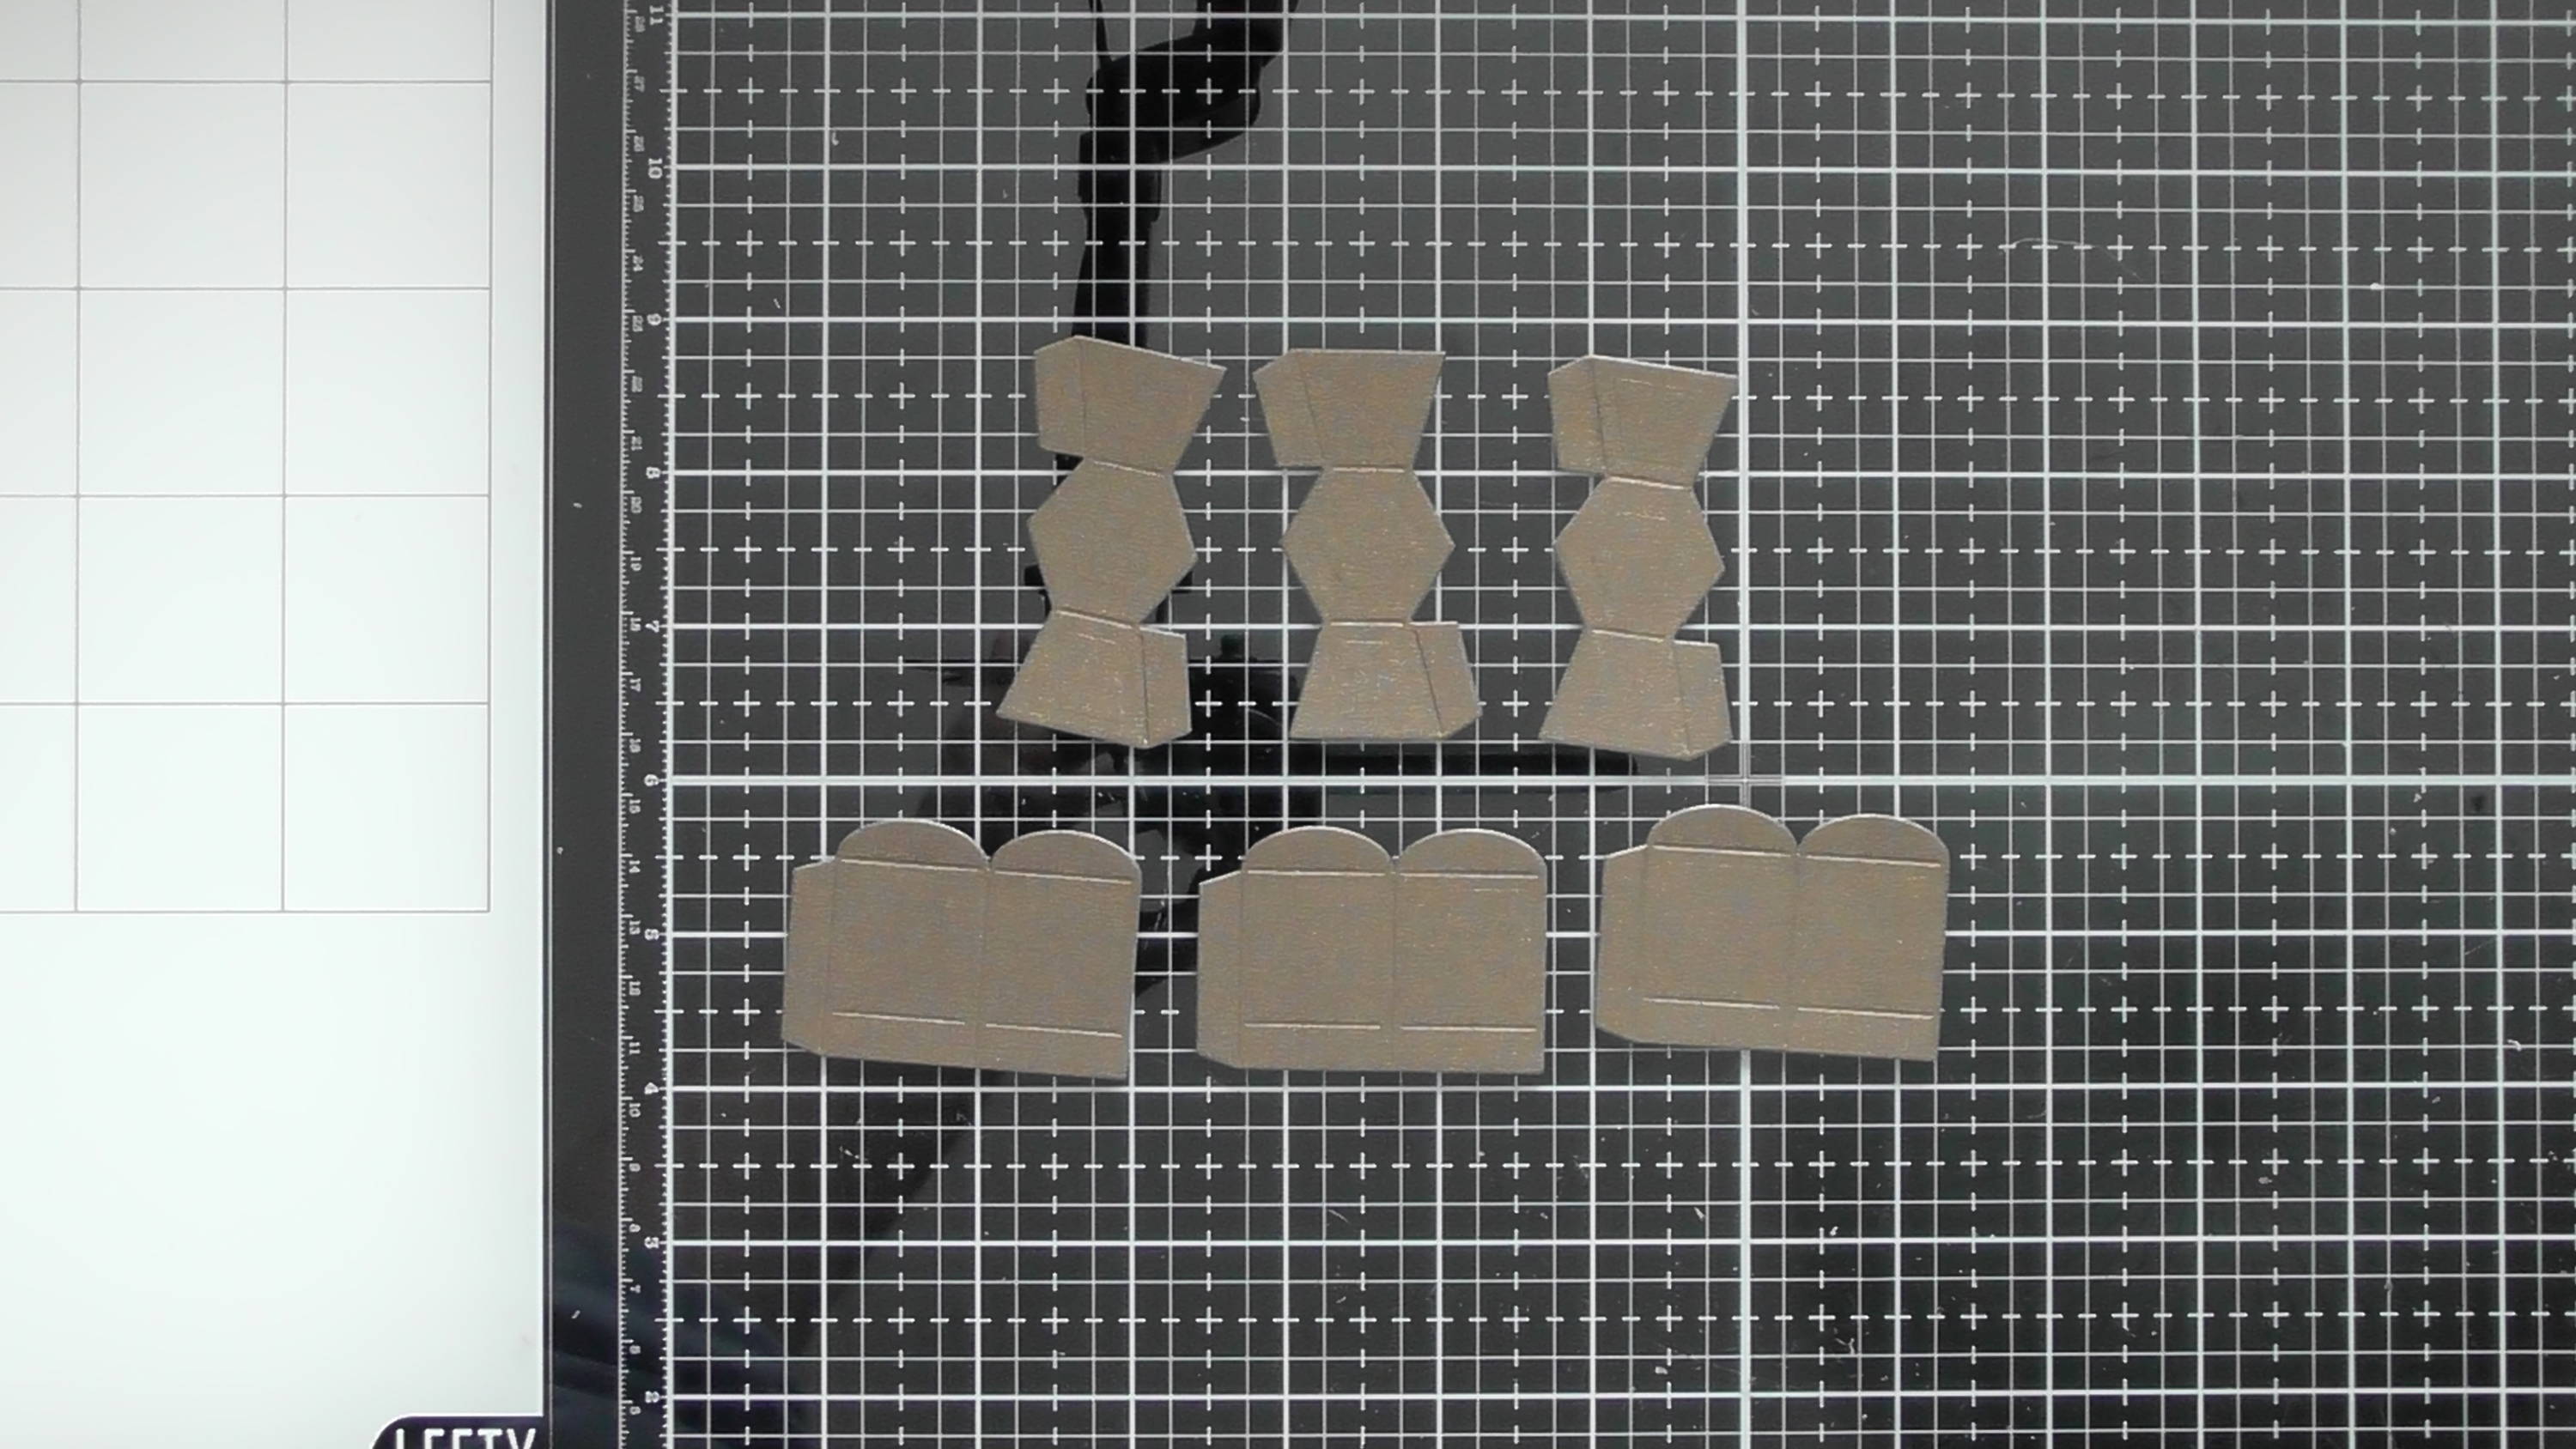
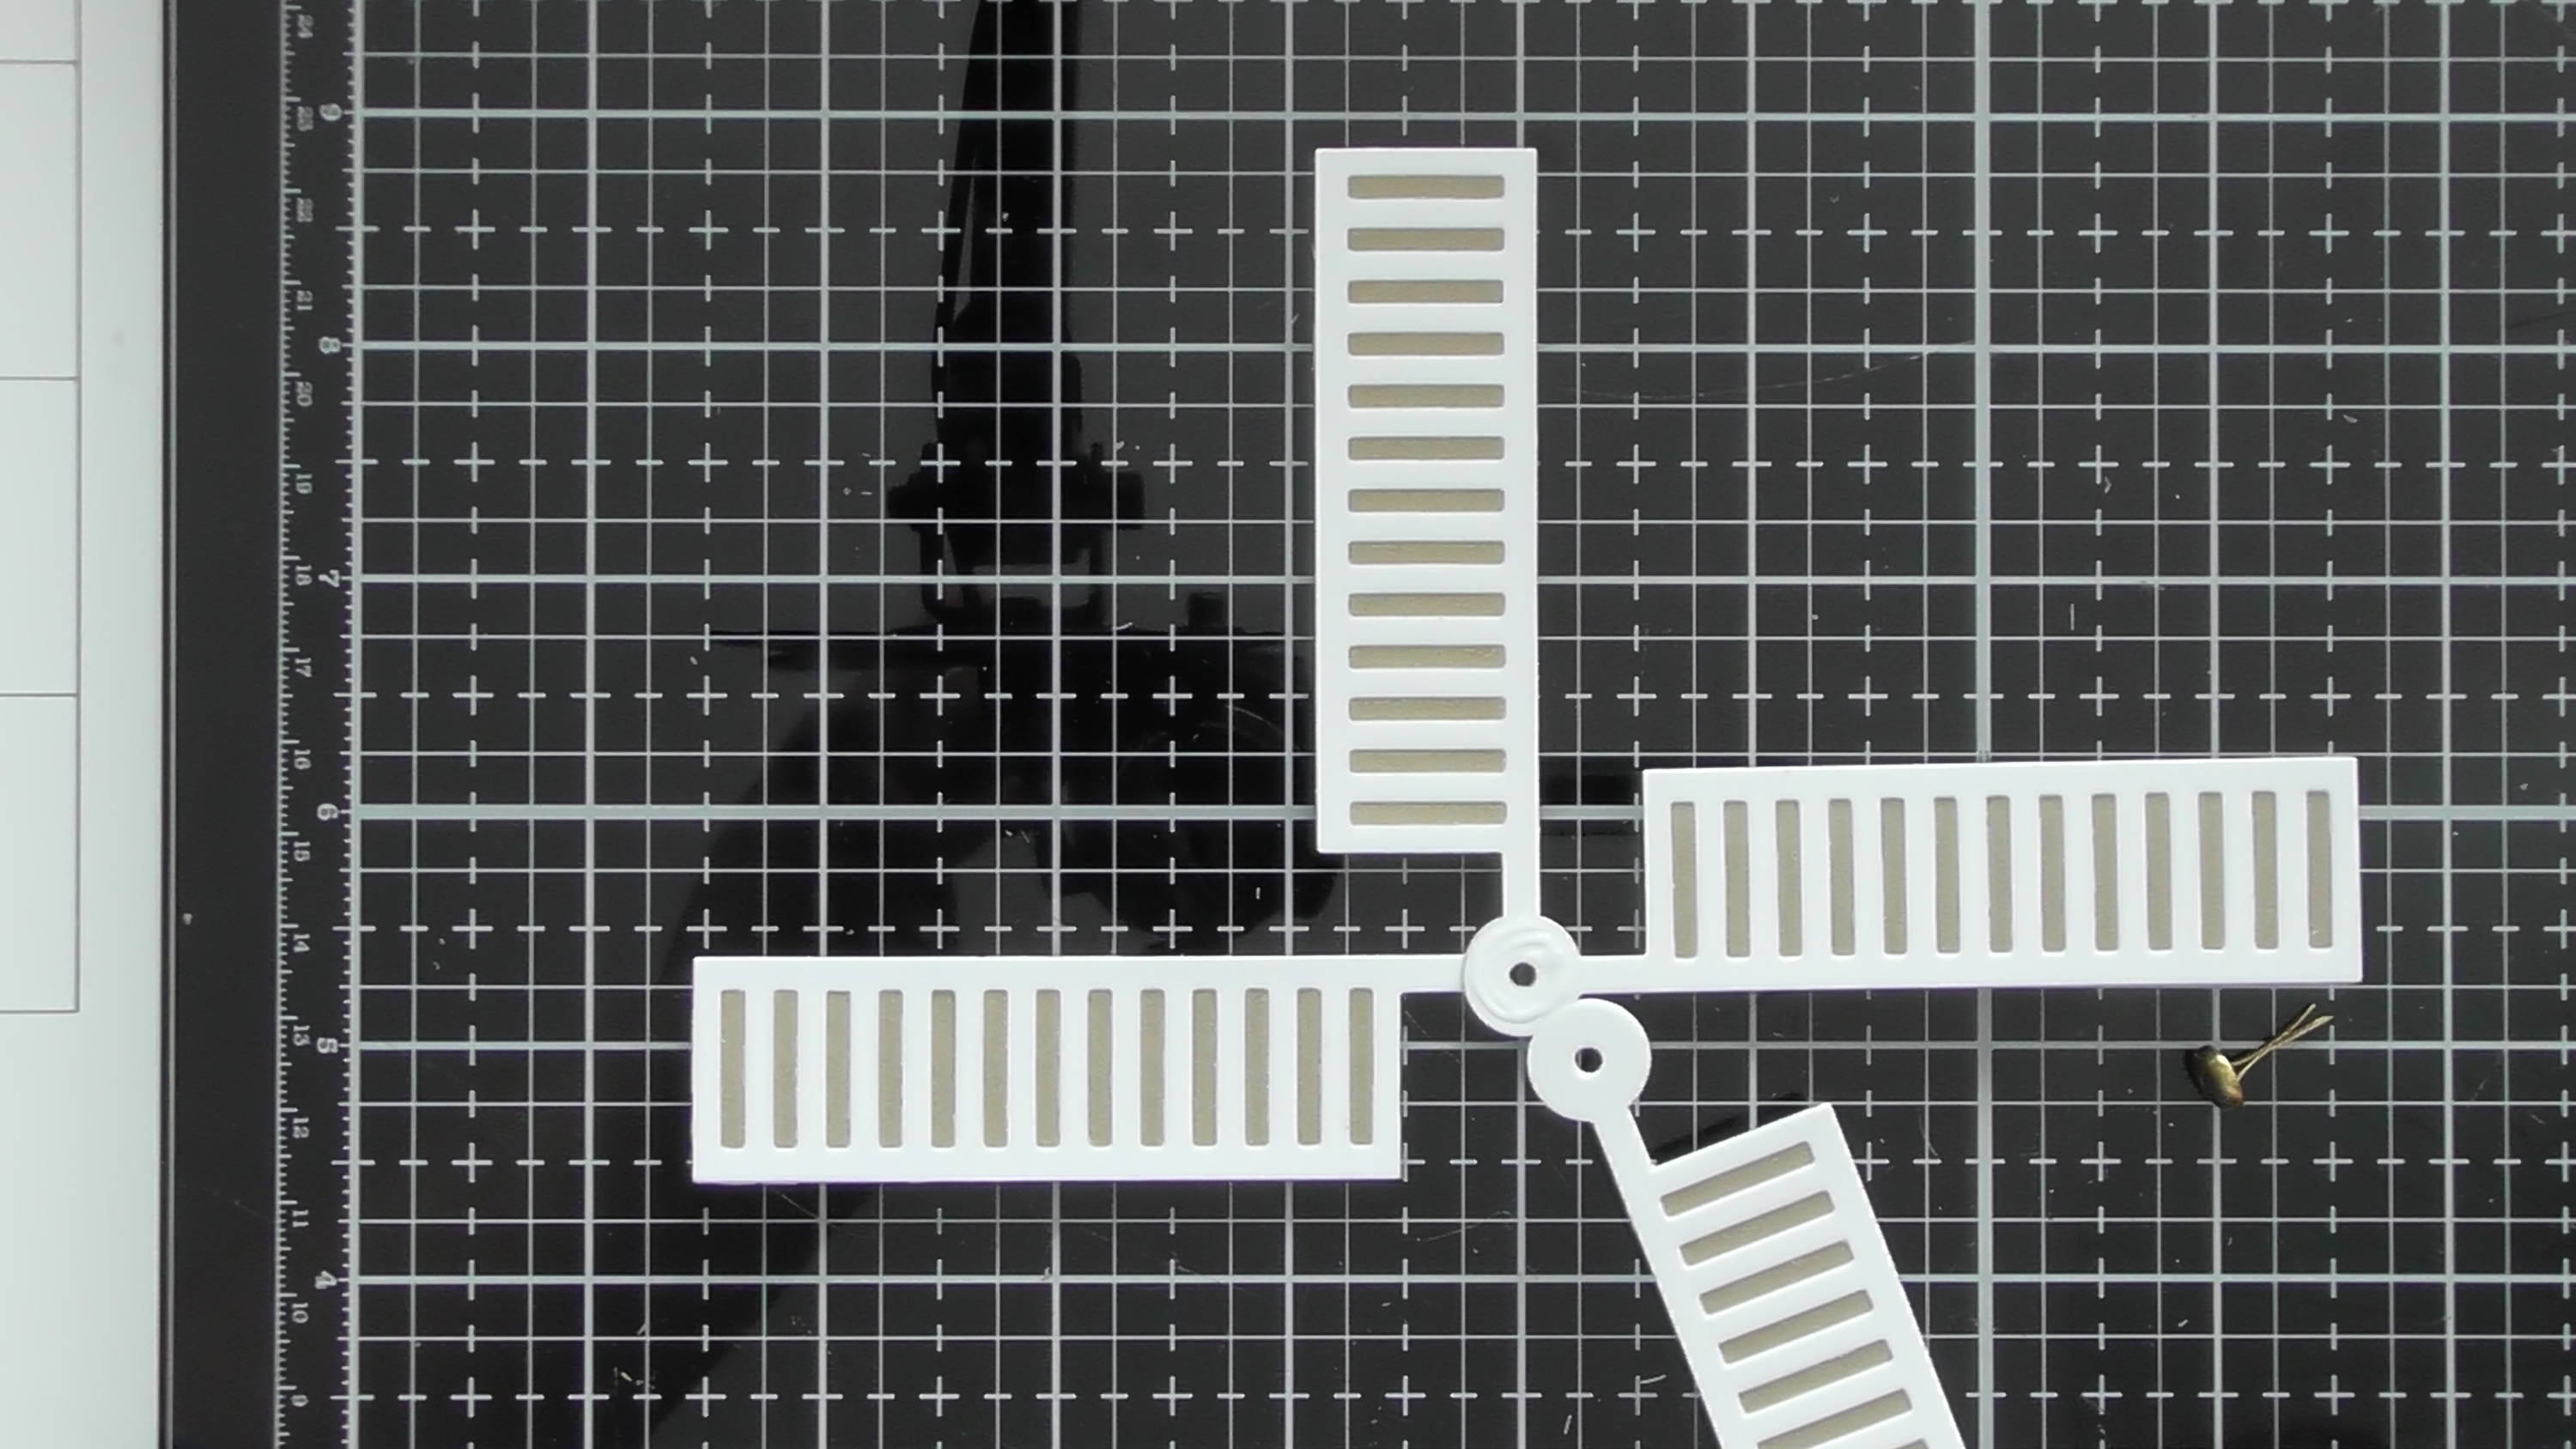
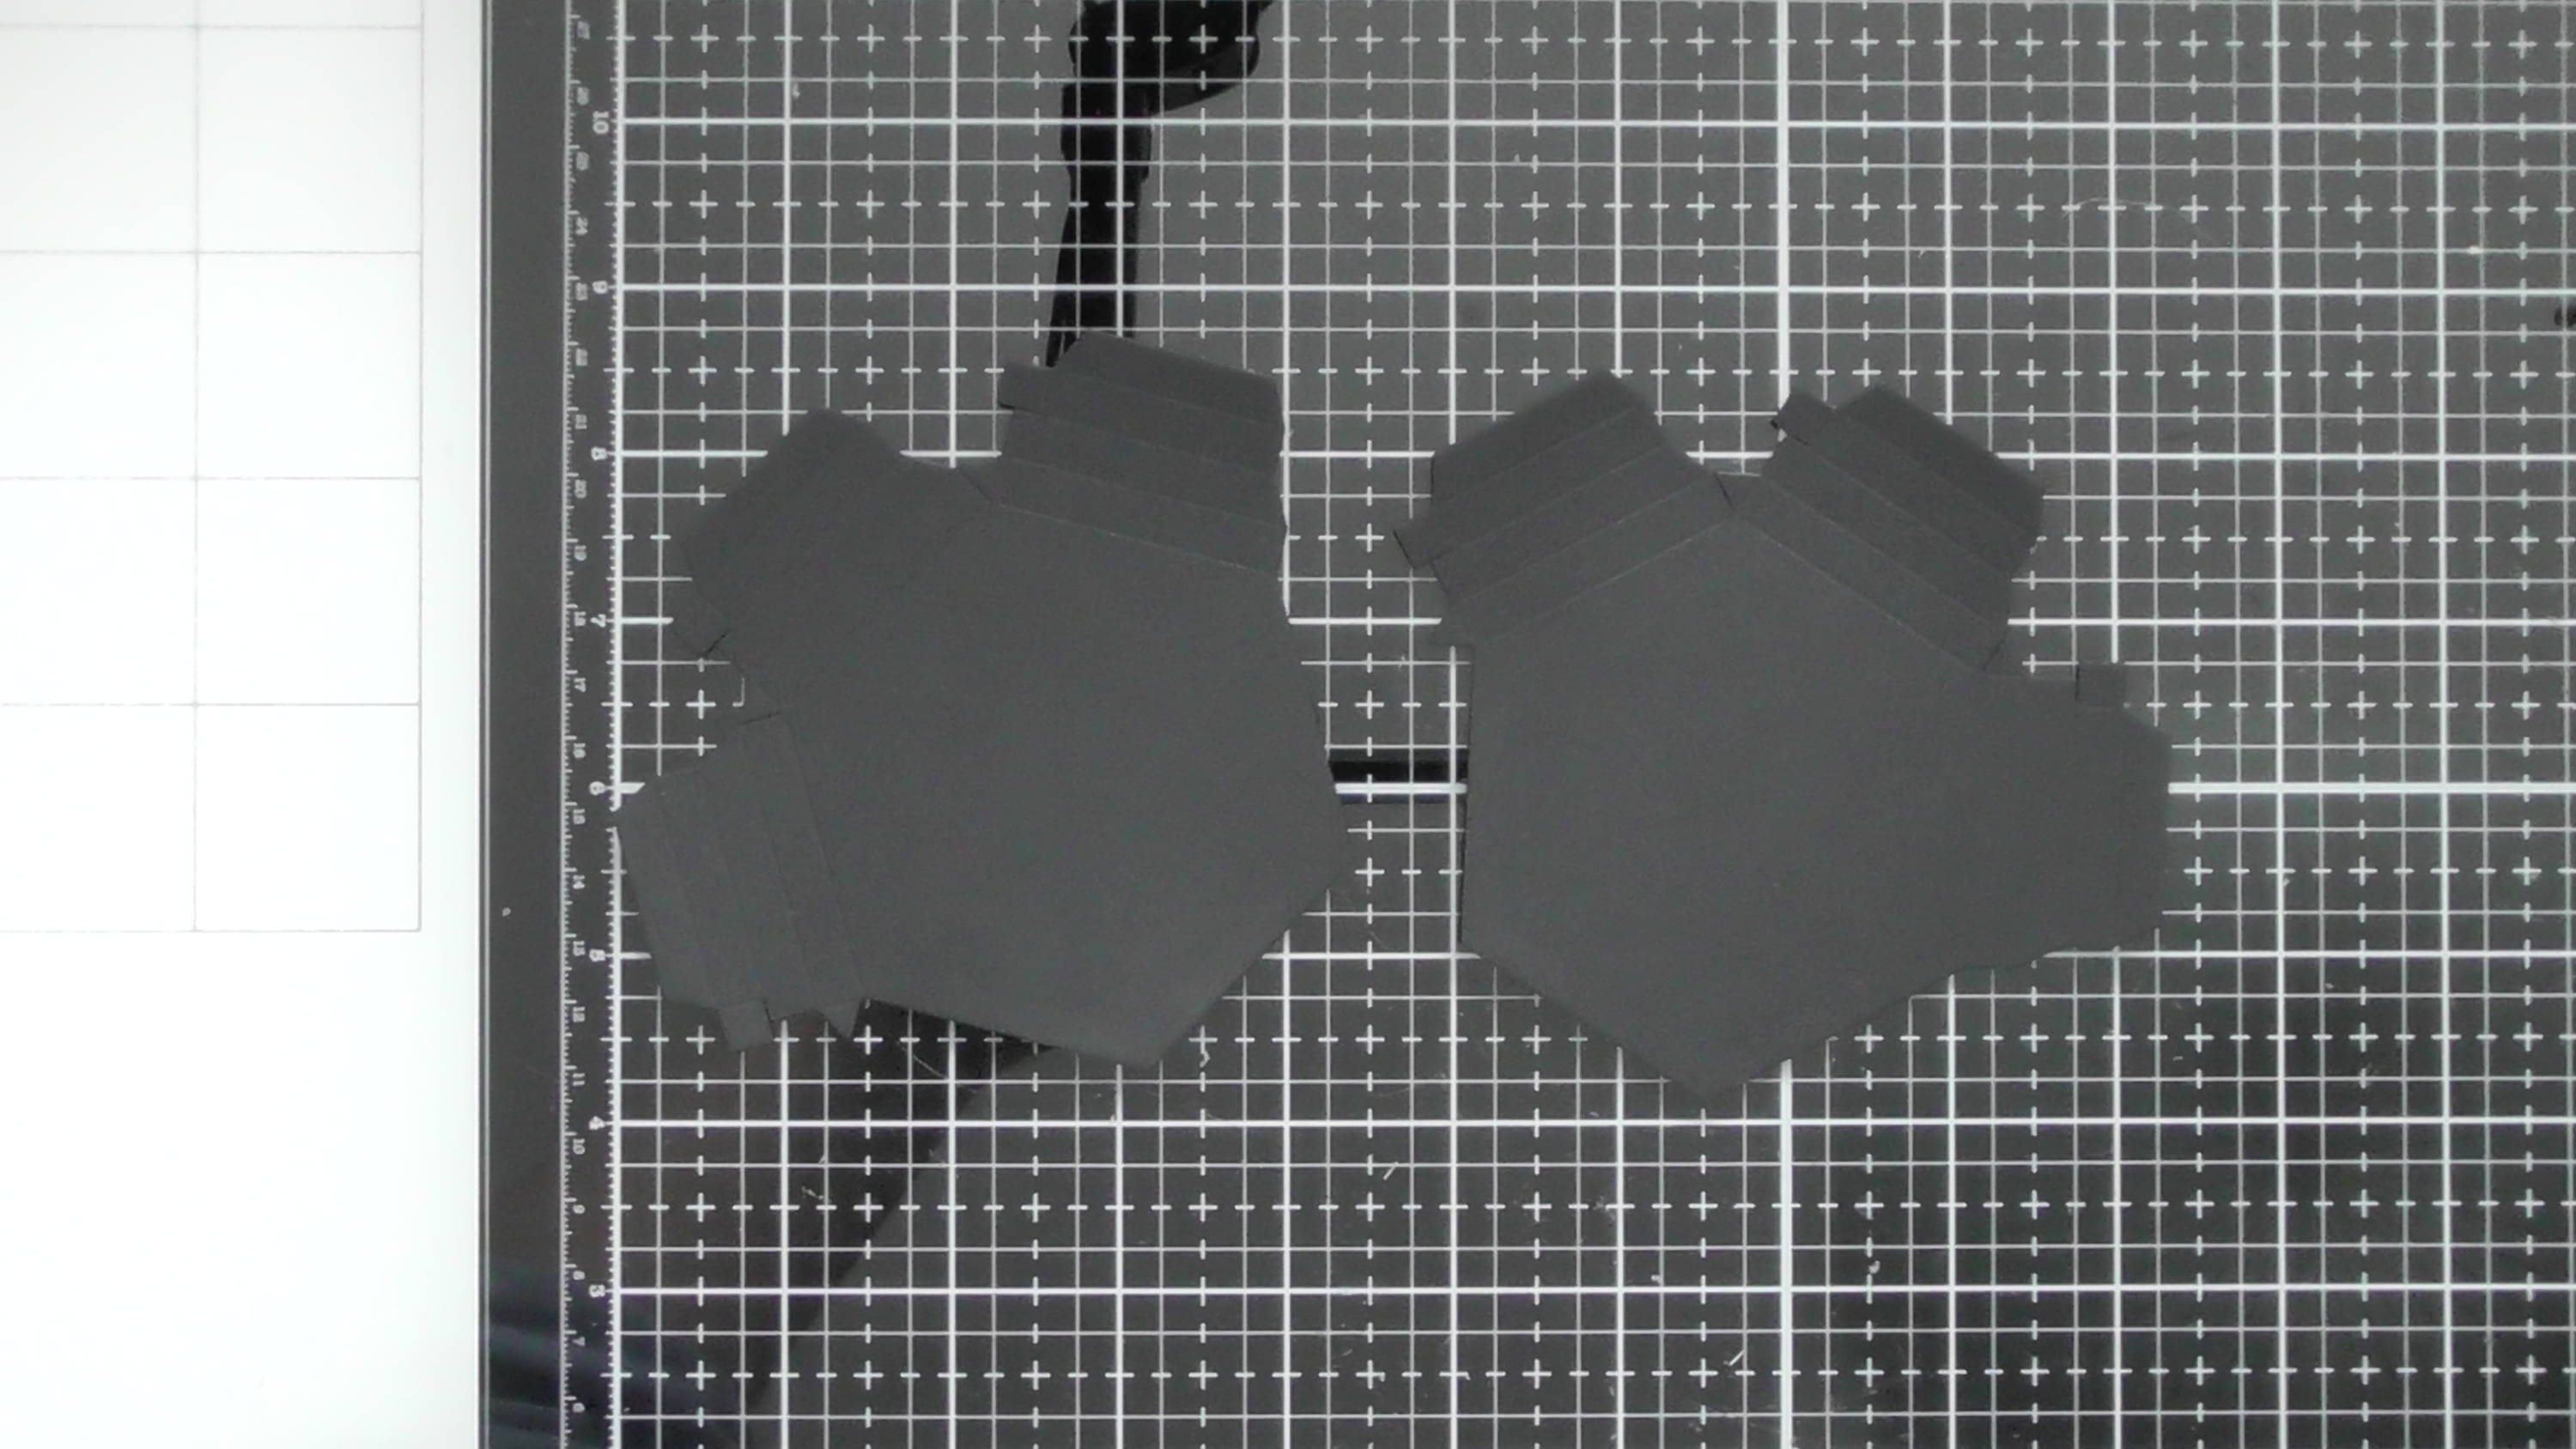
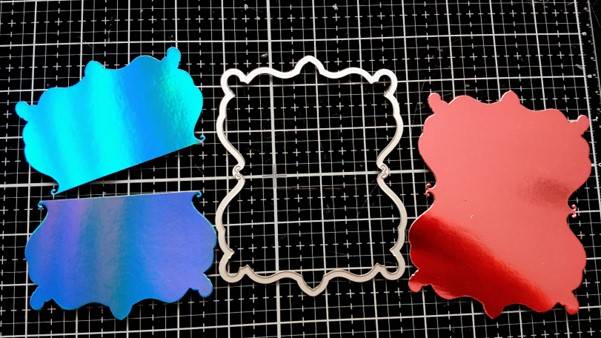
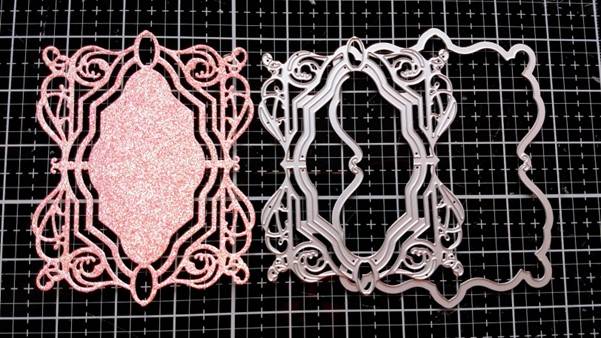
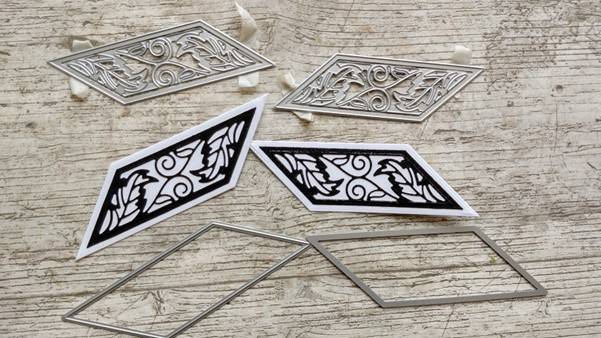
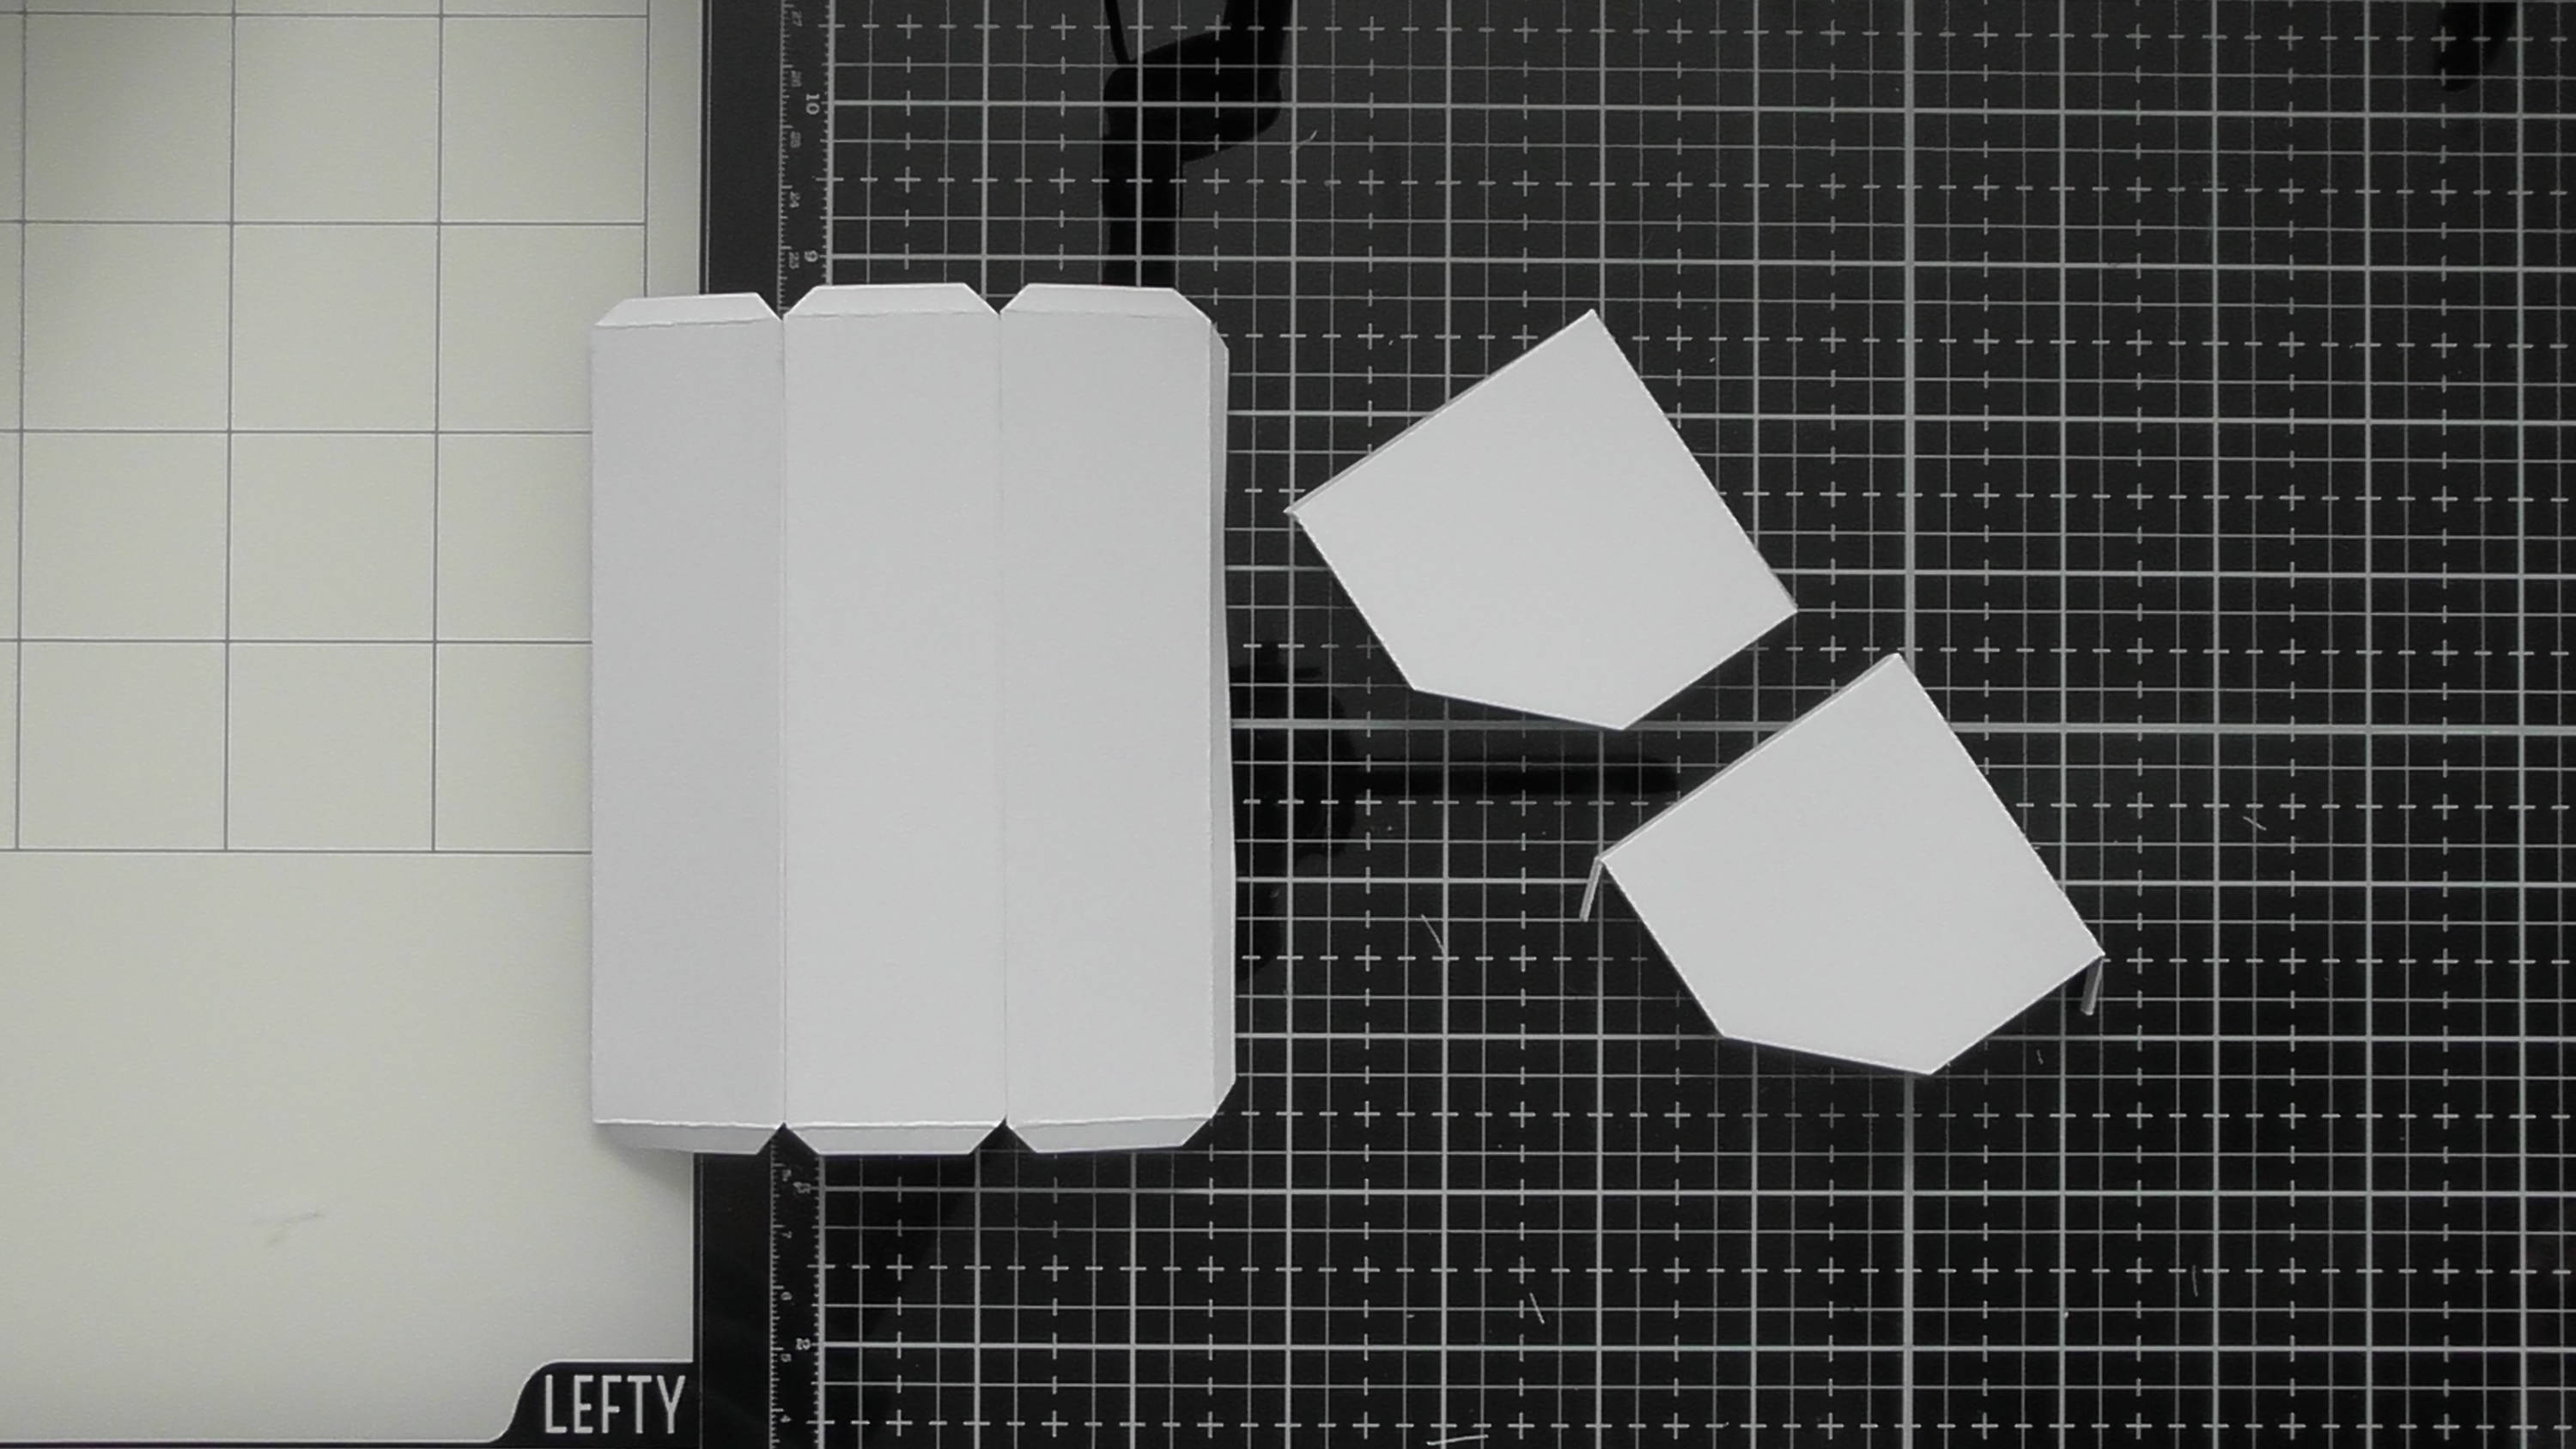
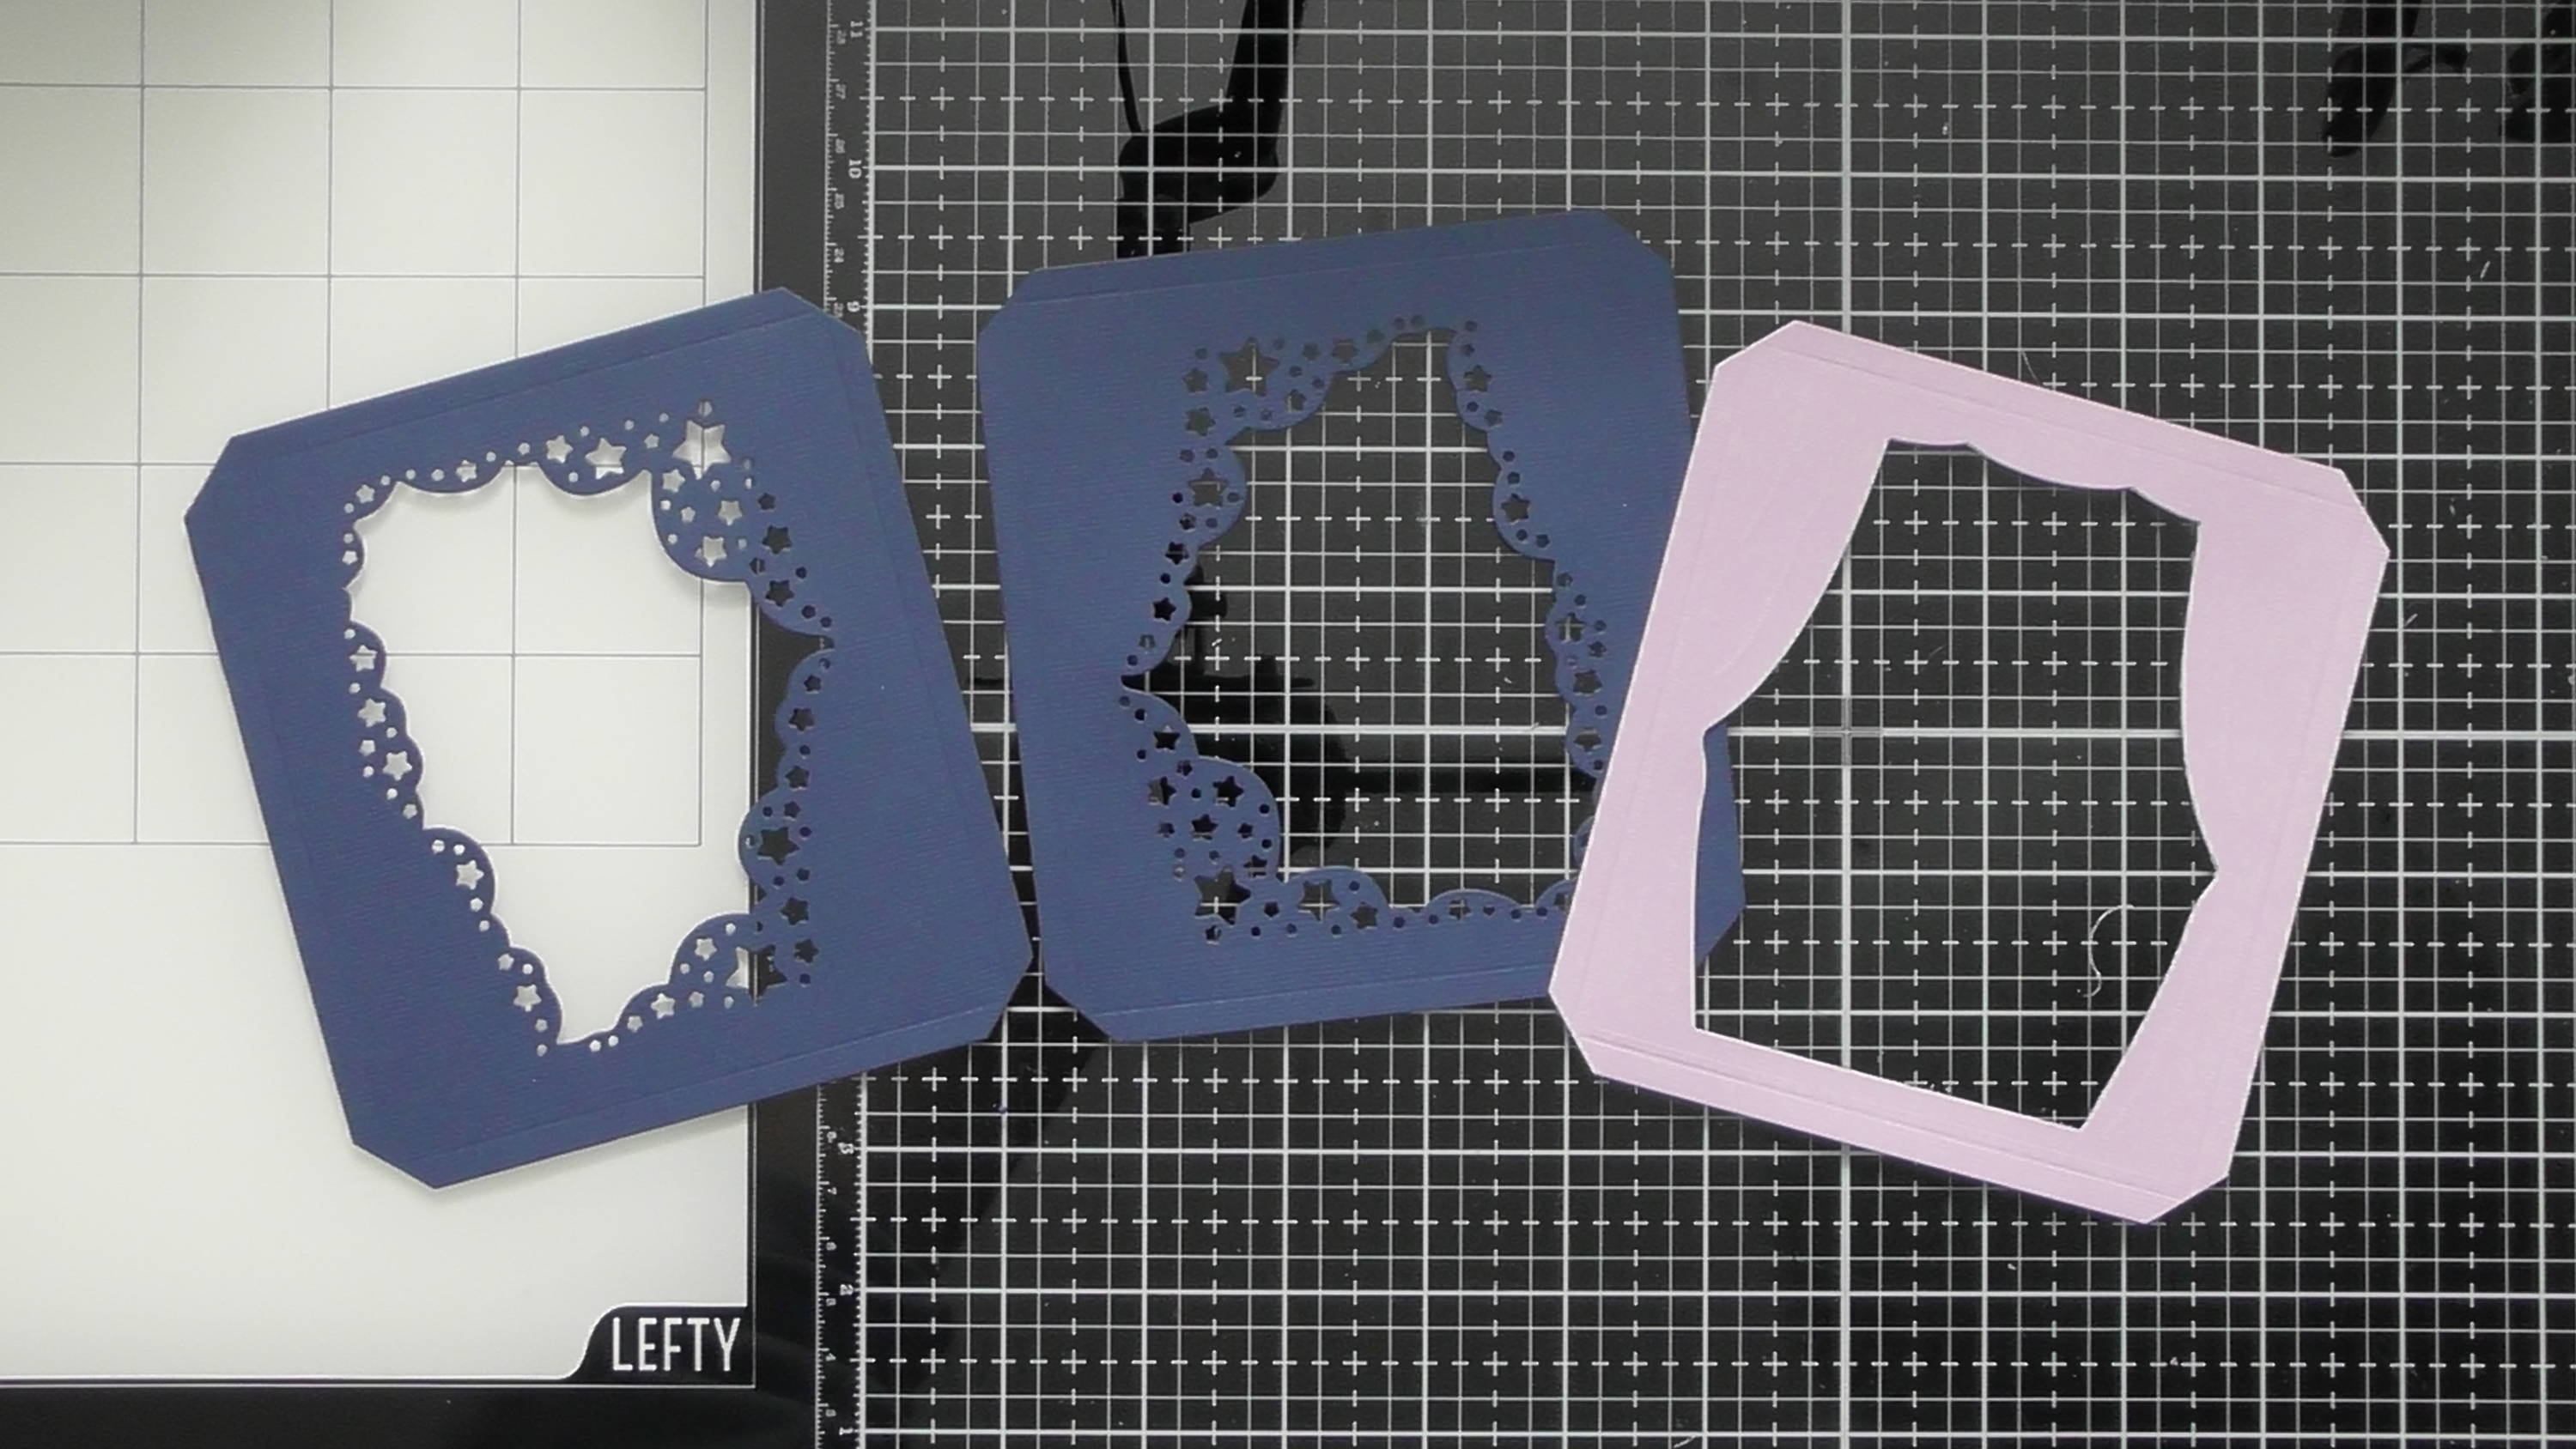
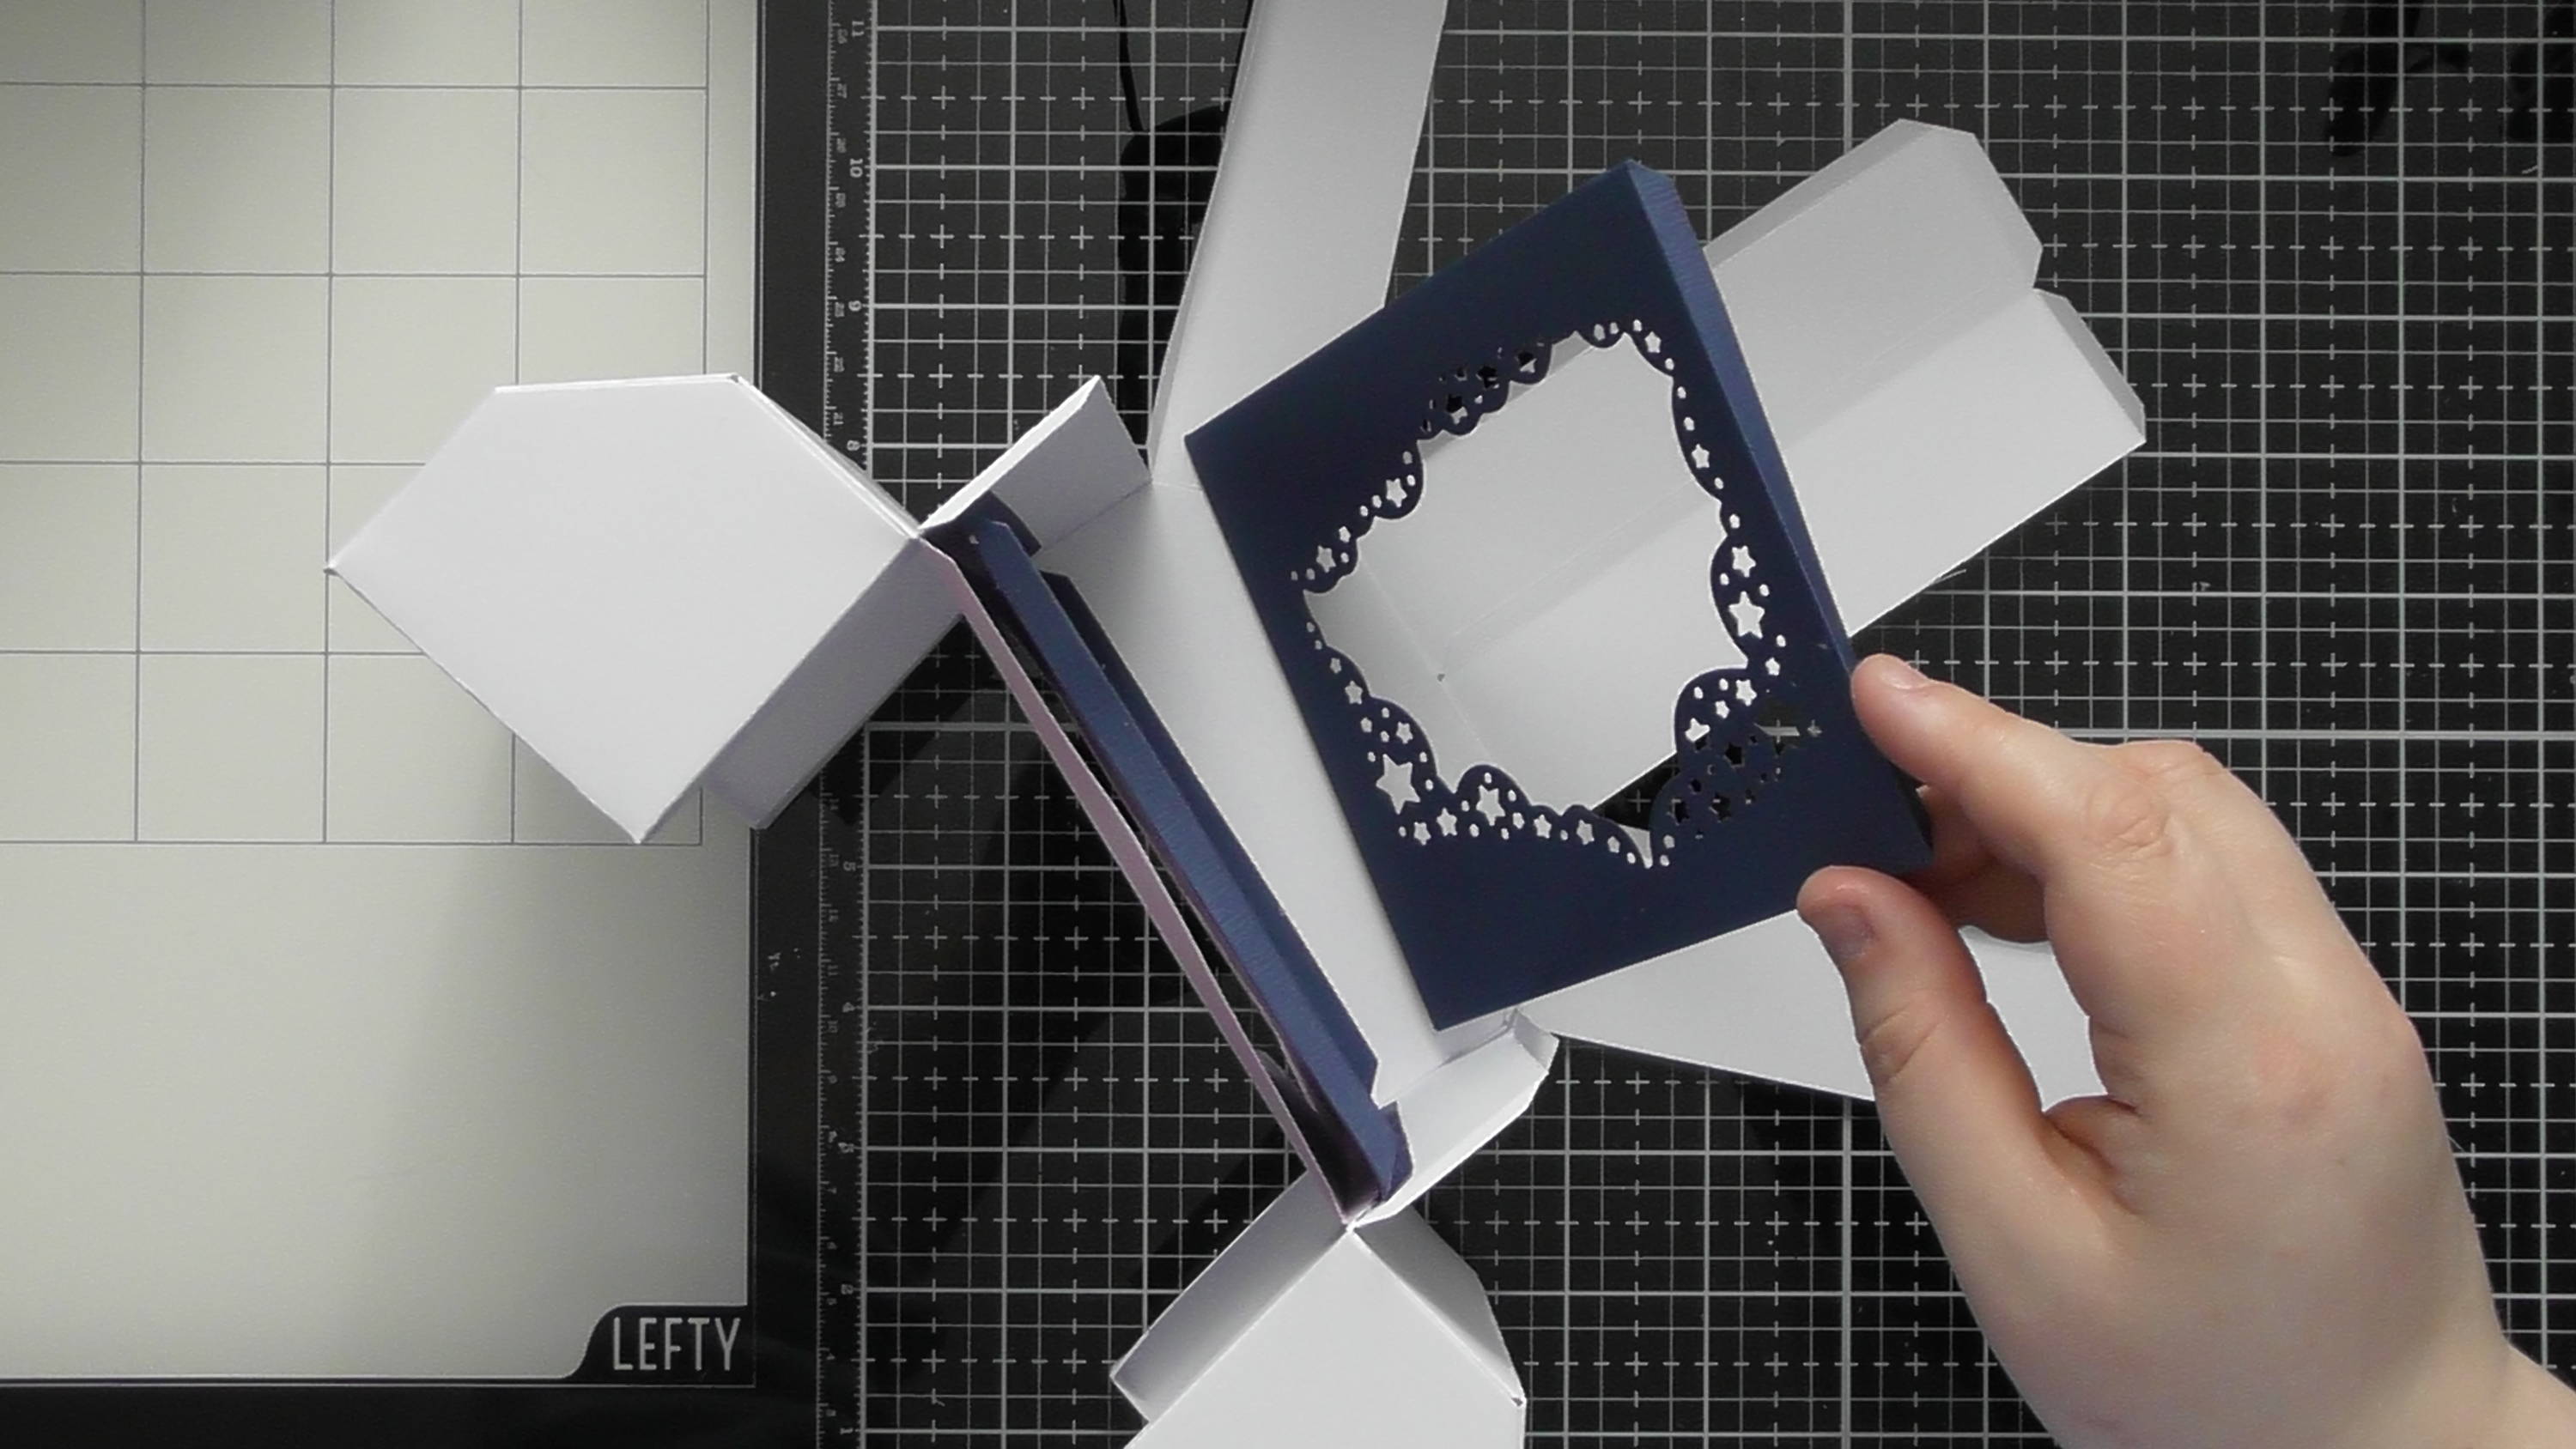
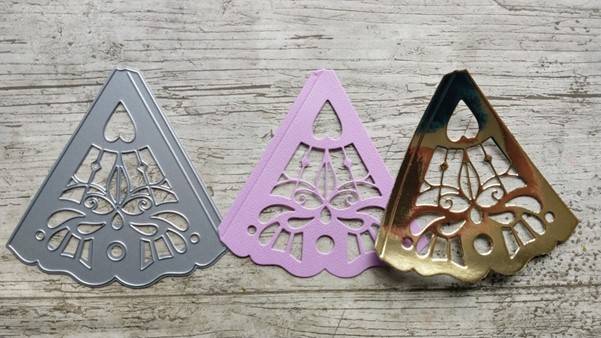
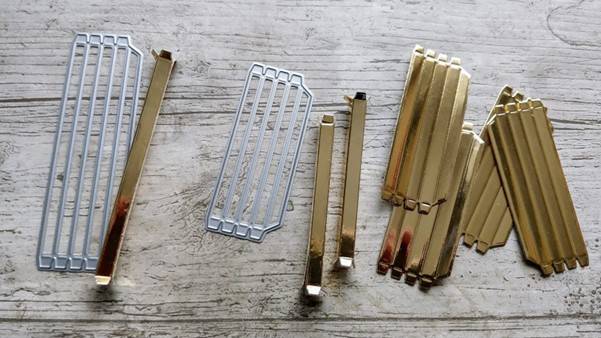
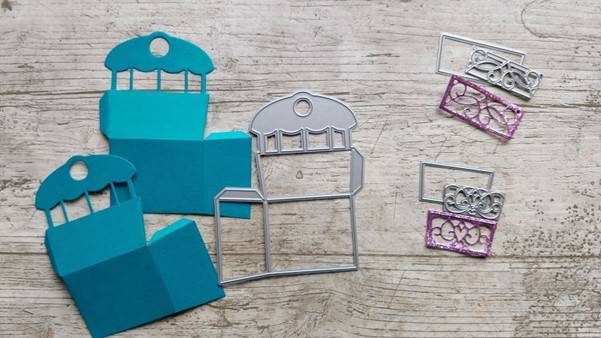
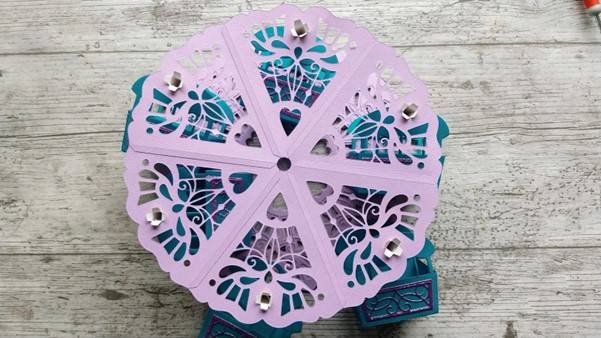
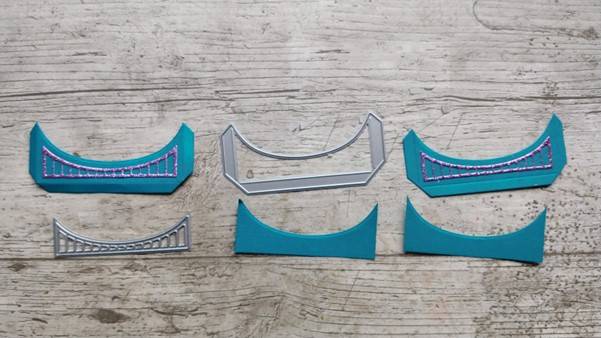
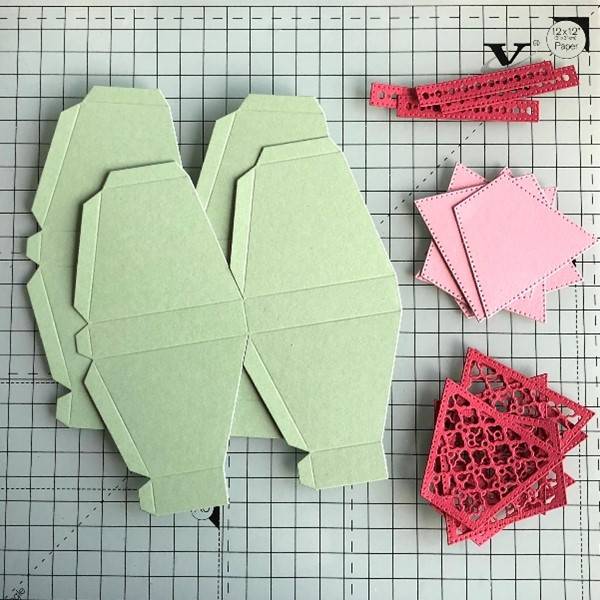
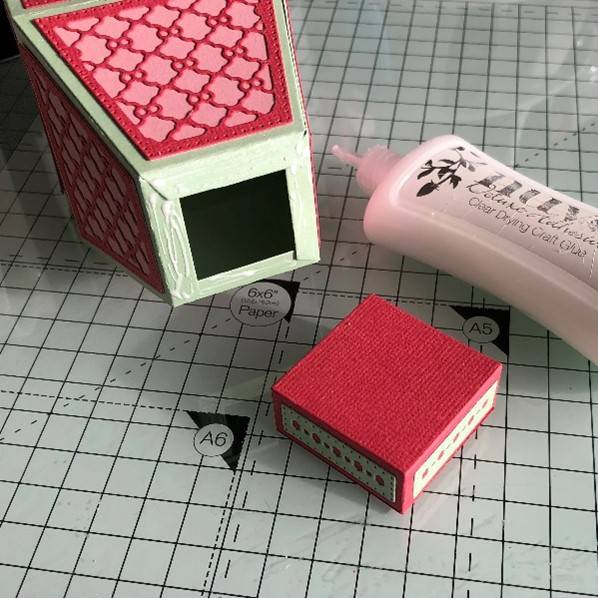
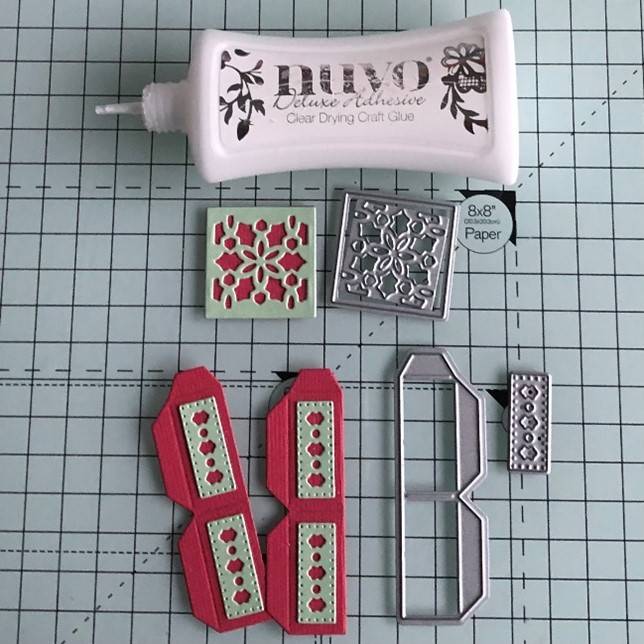
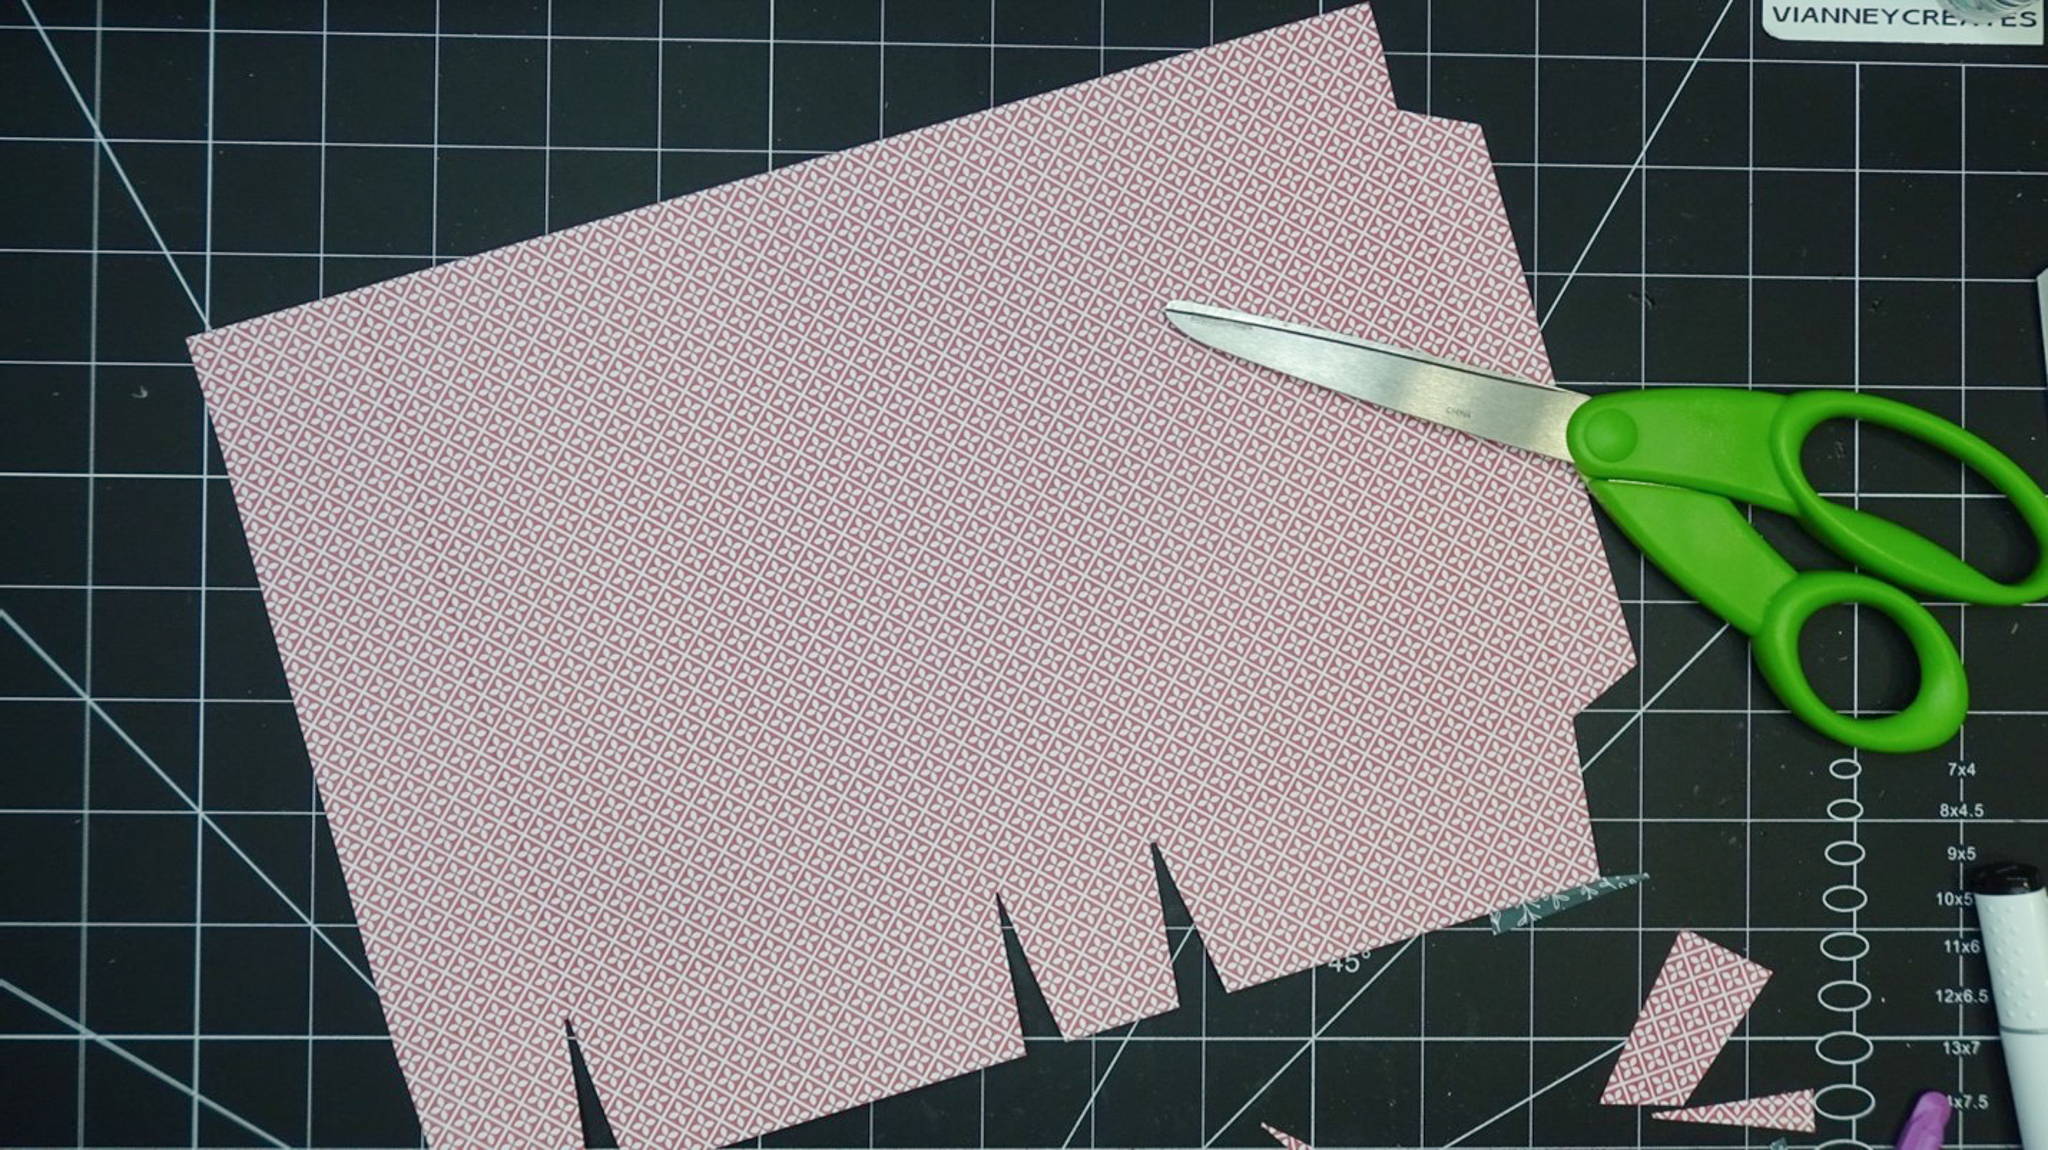
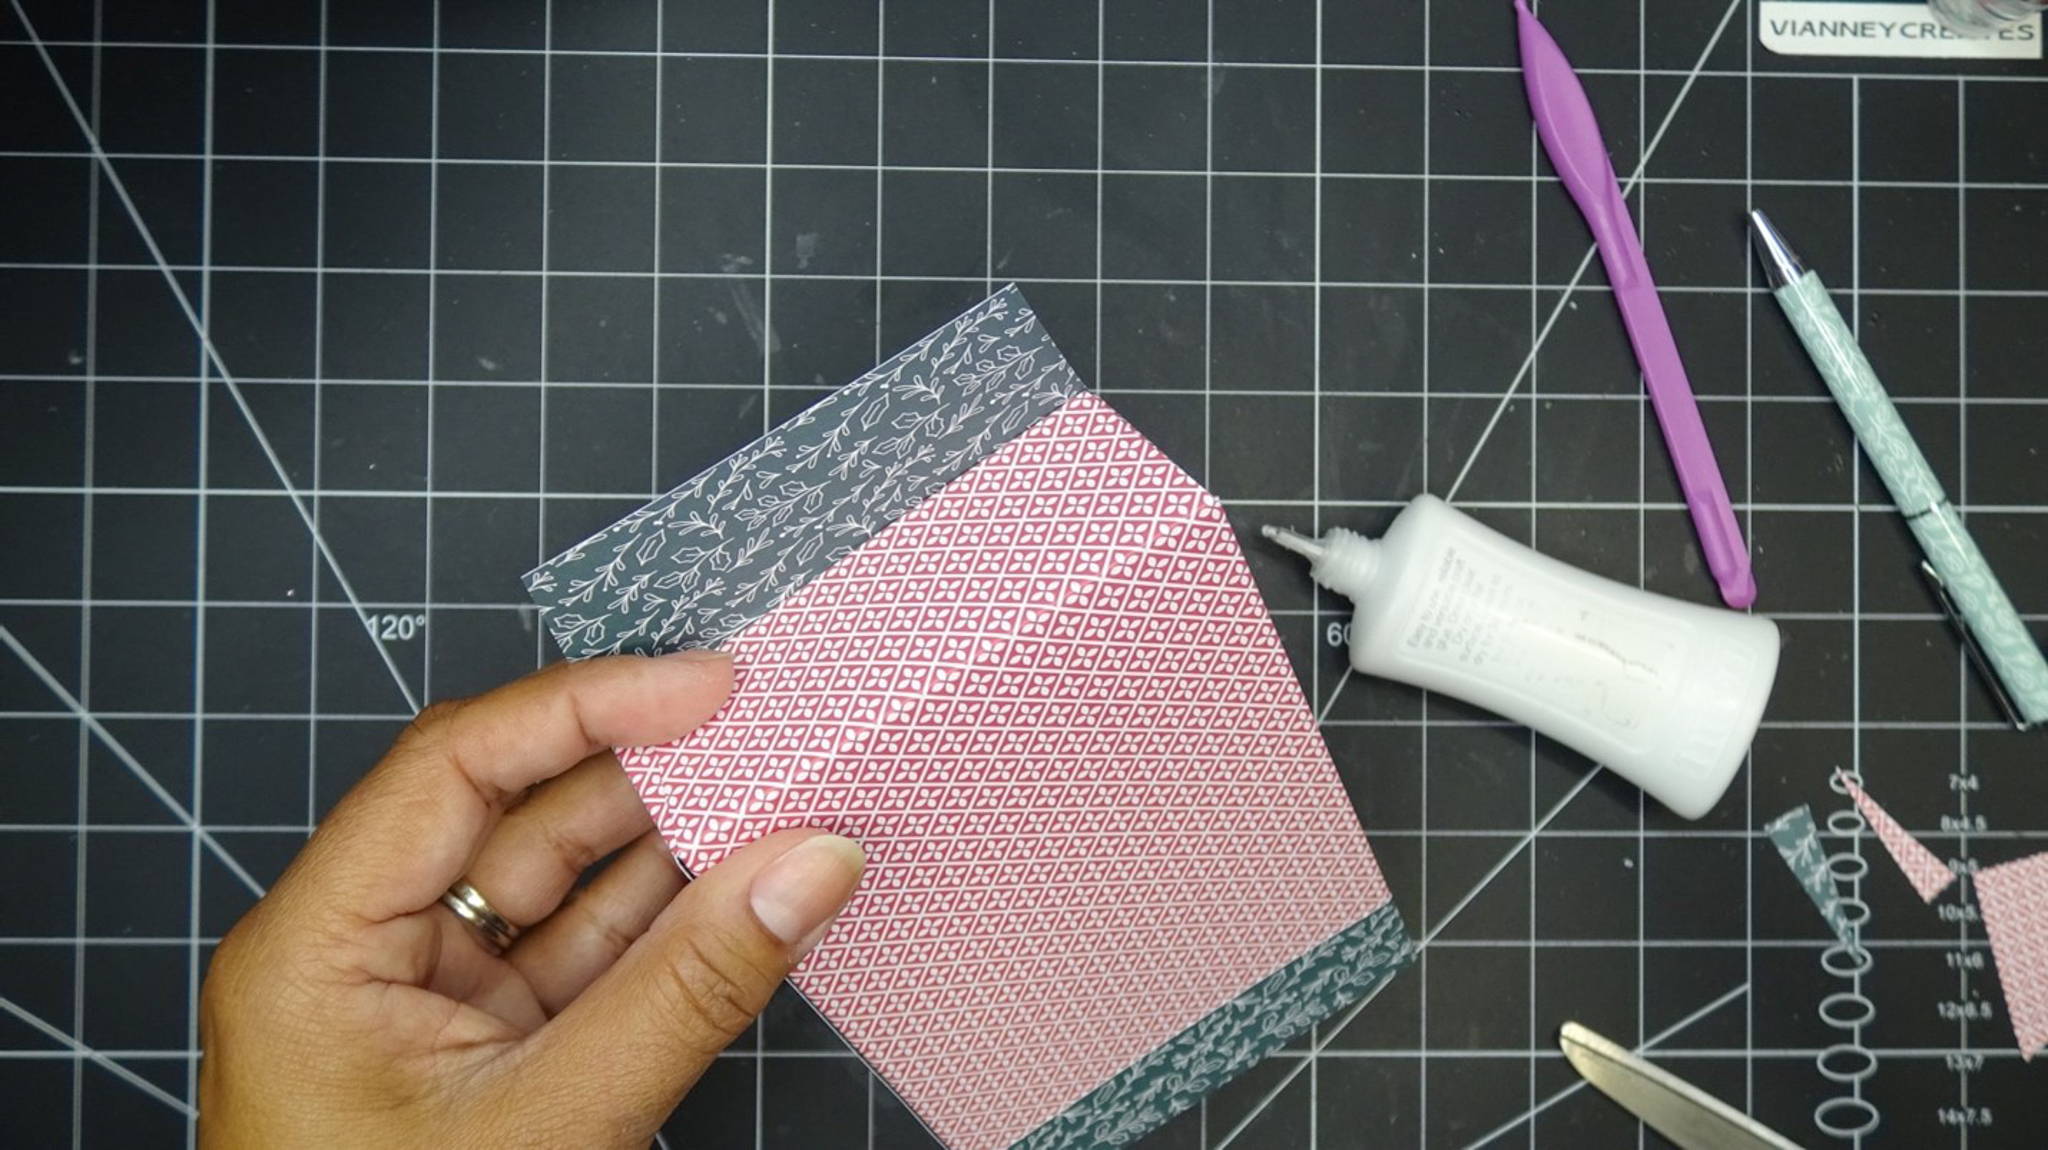
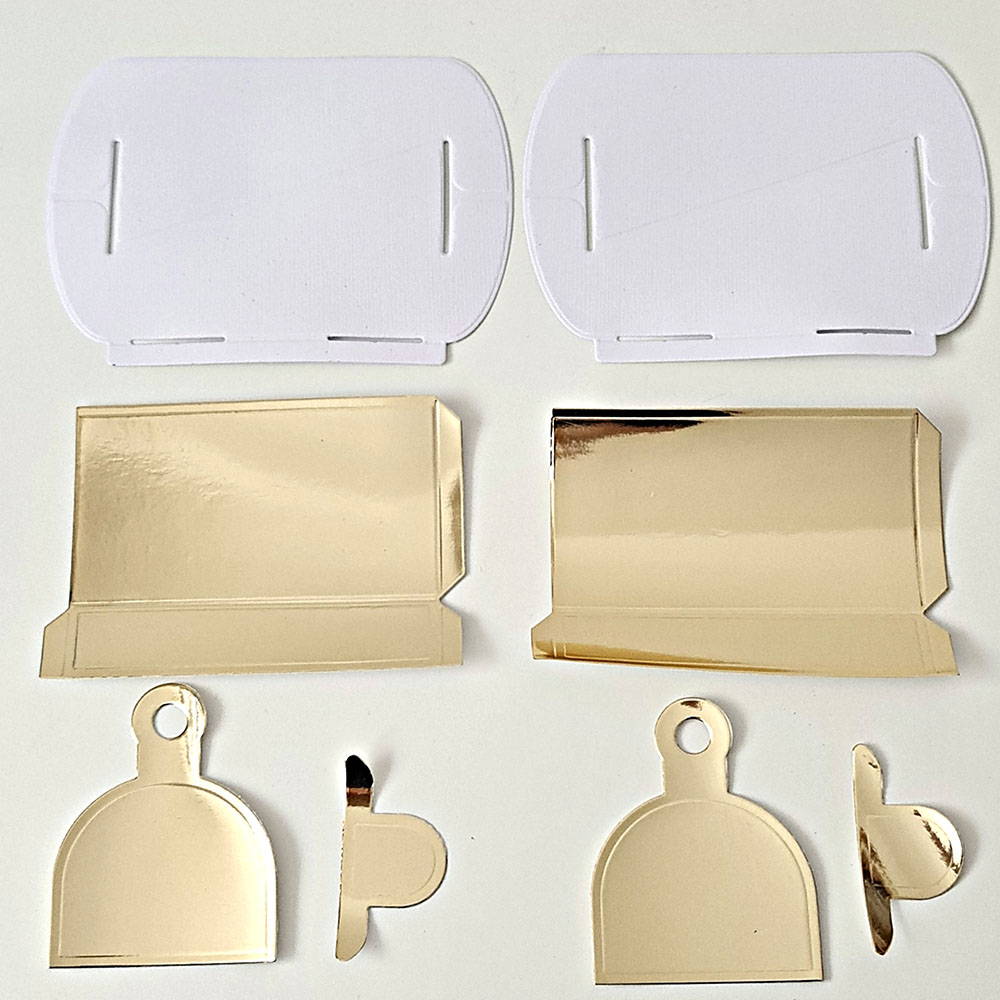
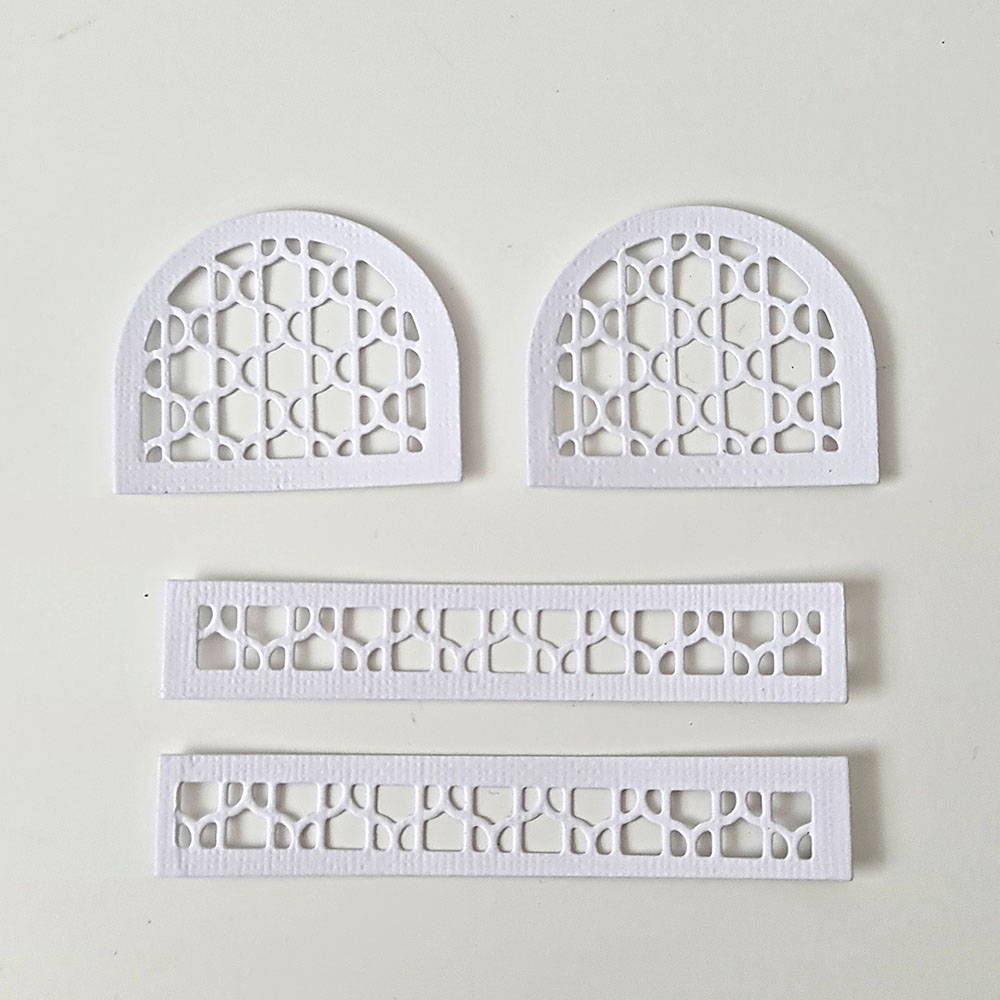
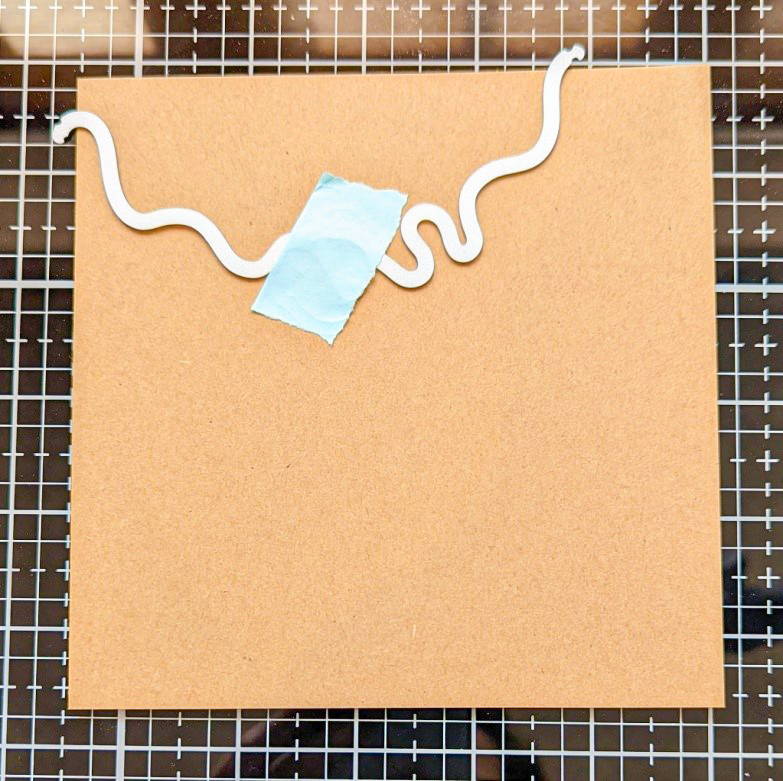
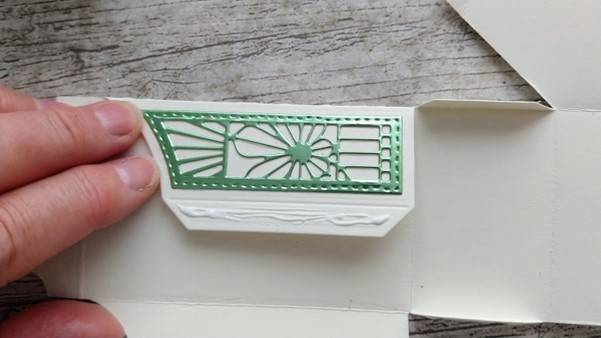
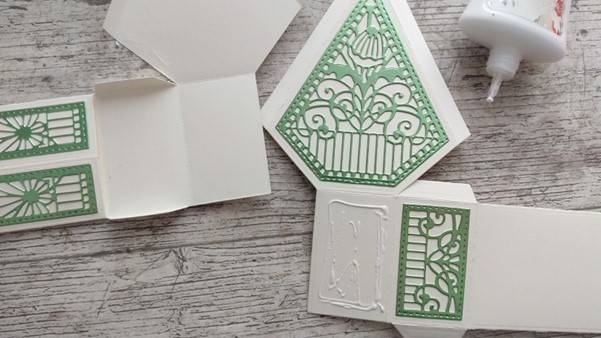
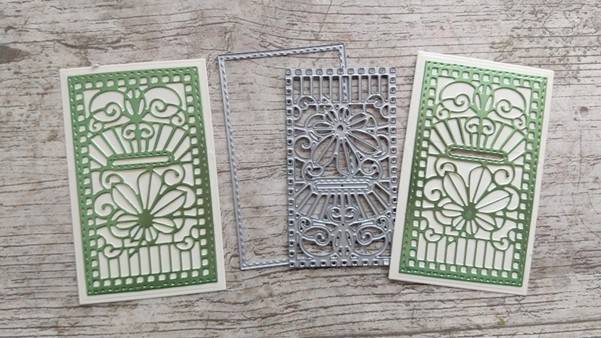
Step 3
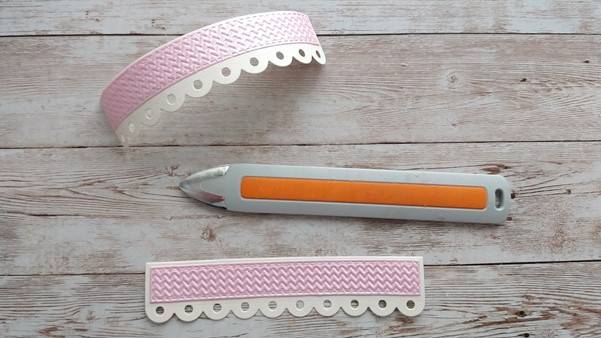
Use the 2 dies shown to cut out the decorative rectangles and glue in place.
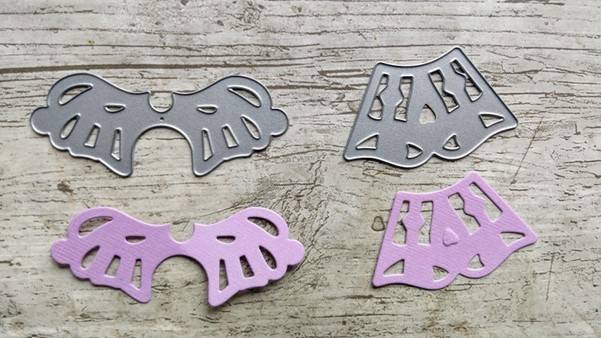
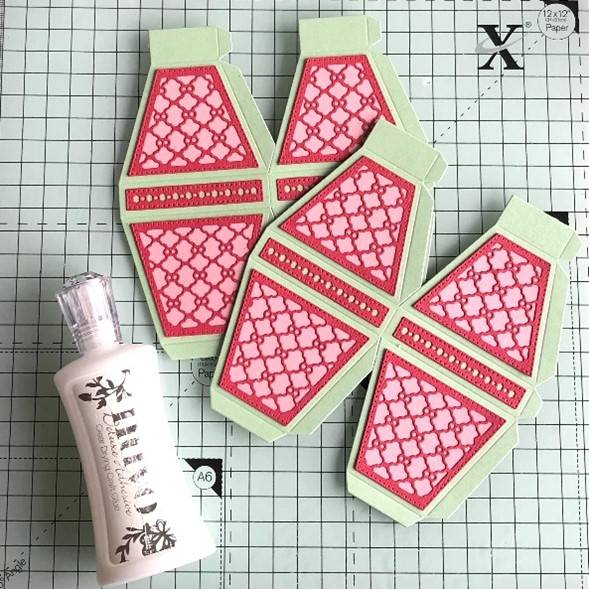
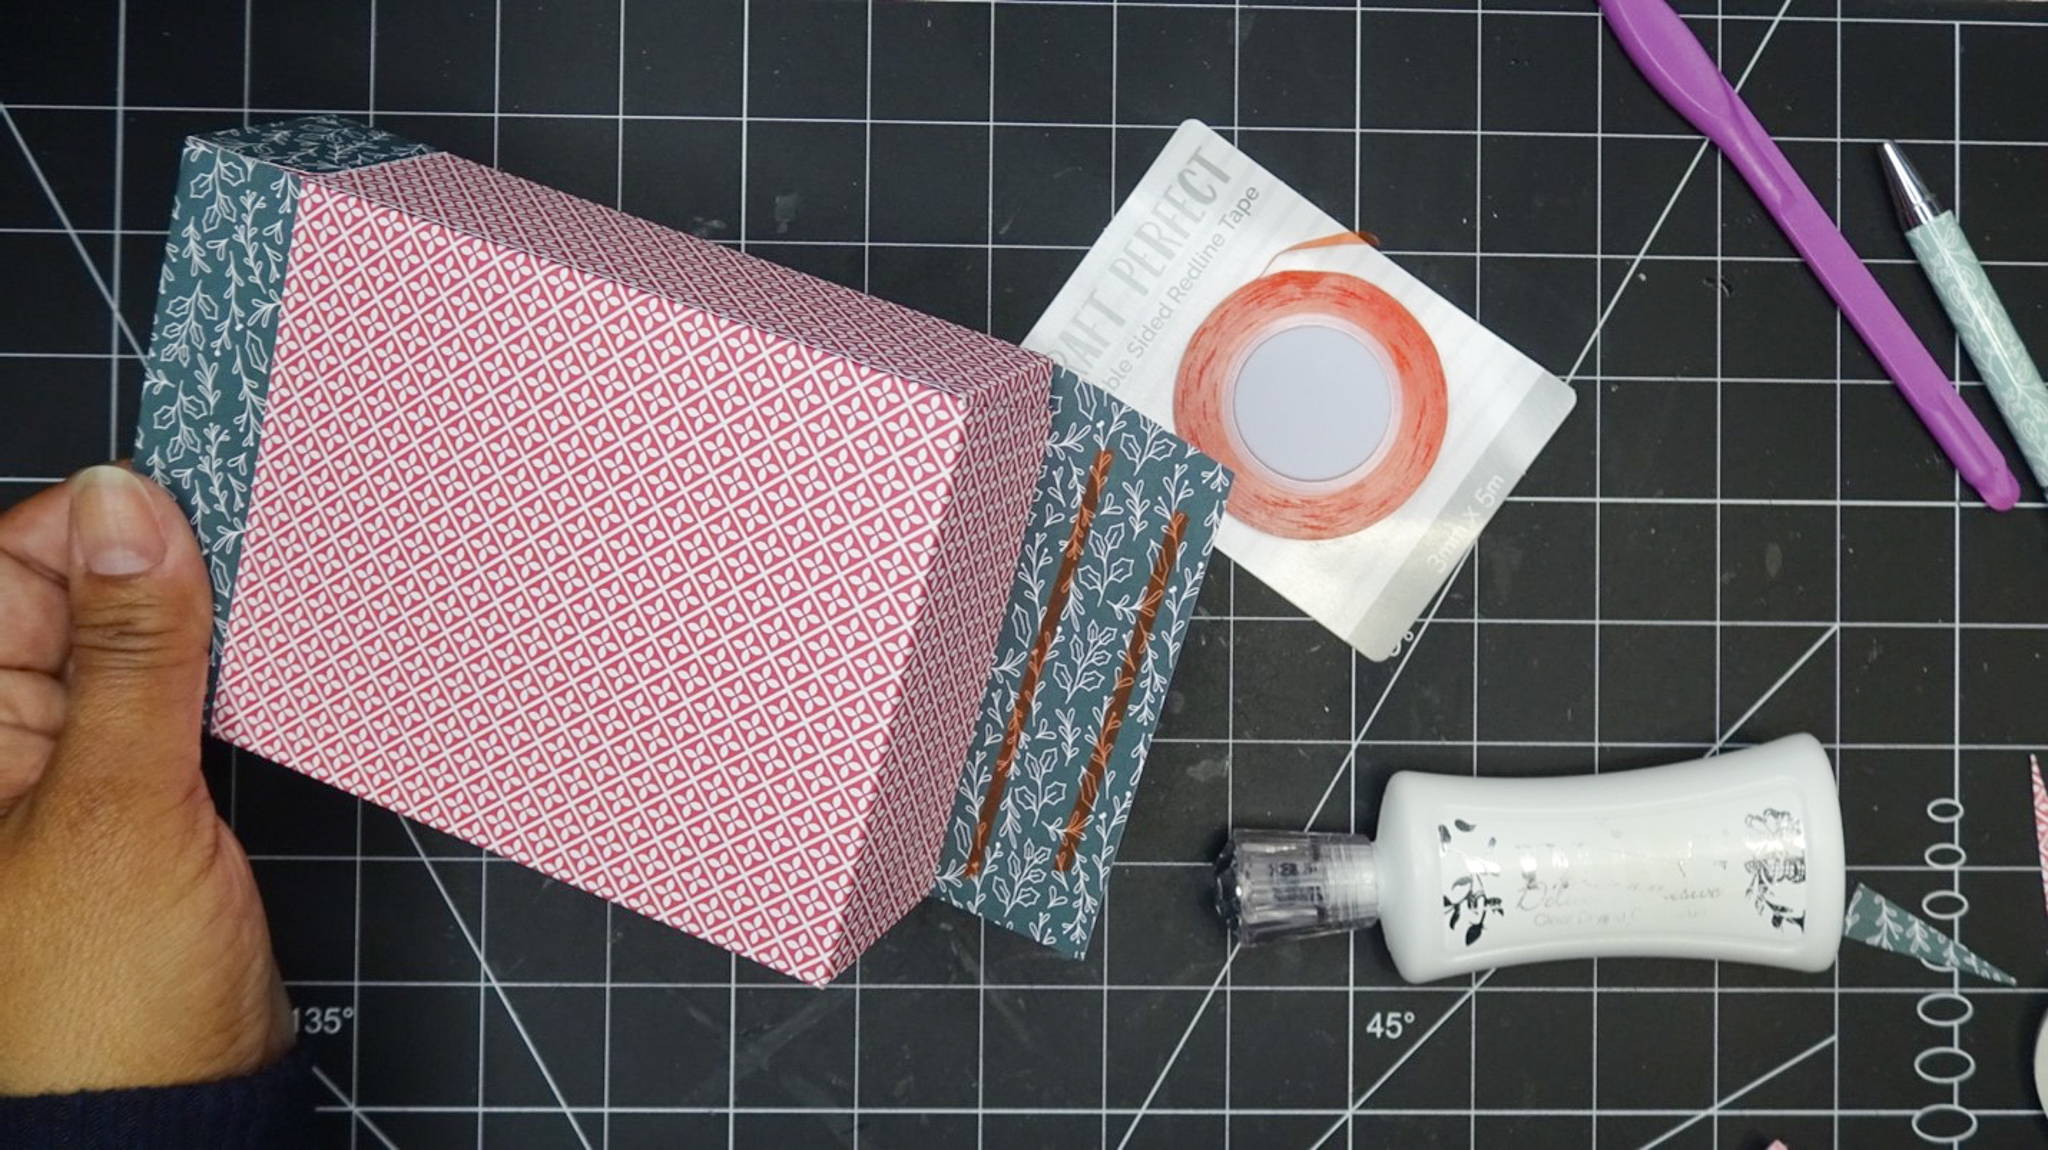
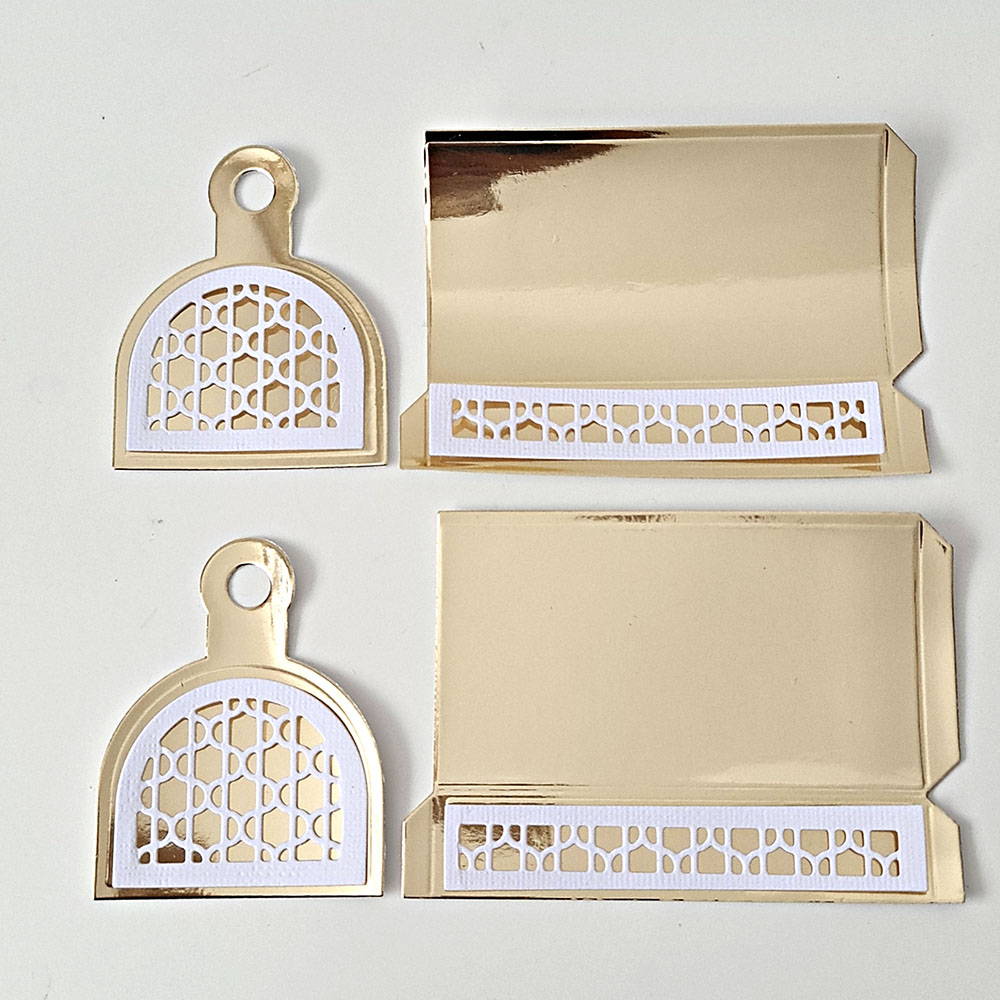
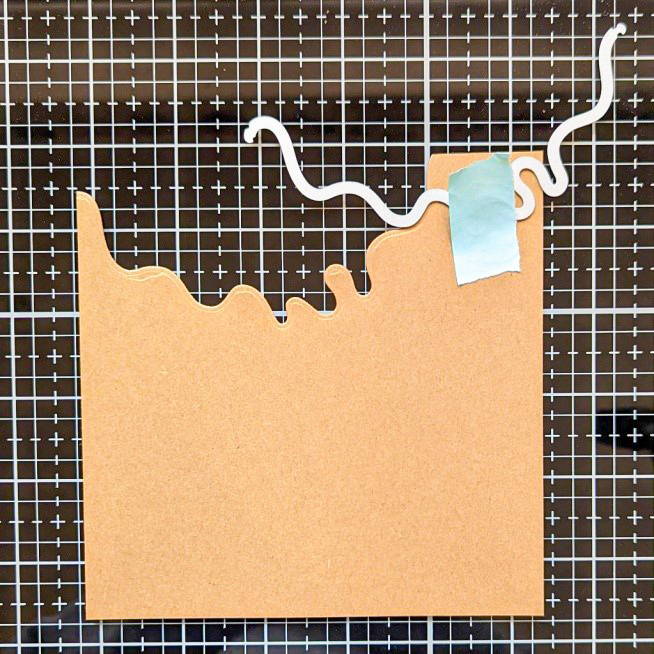
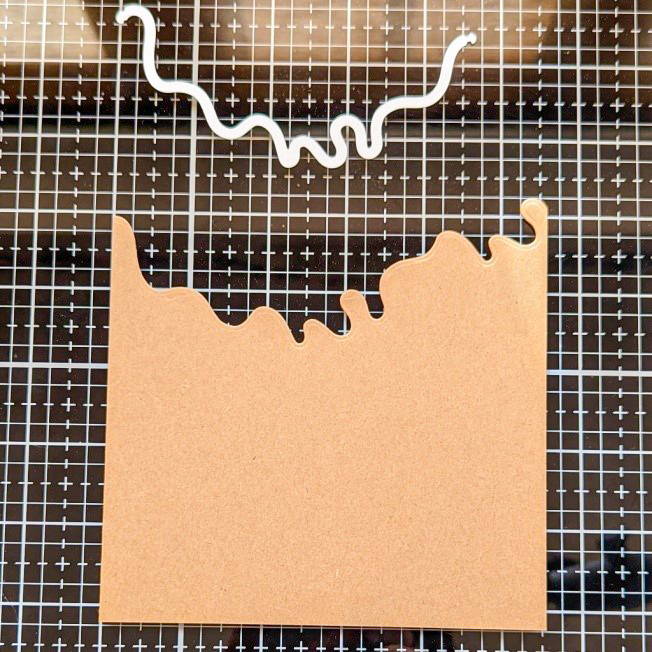
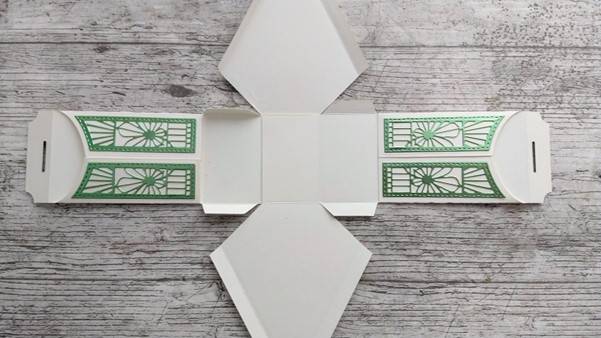
Step 4
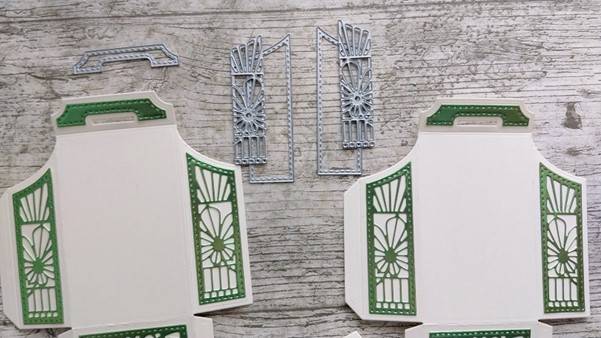
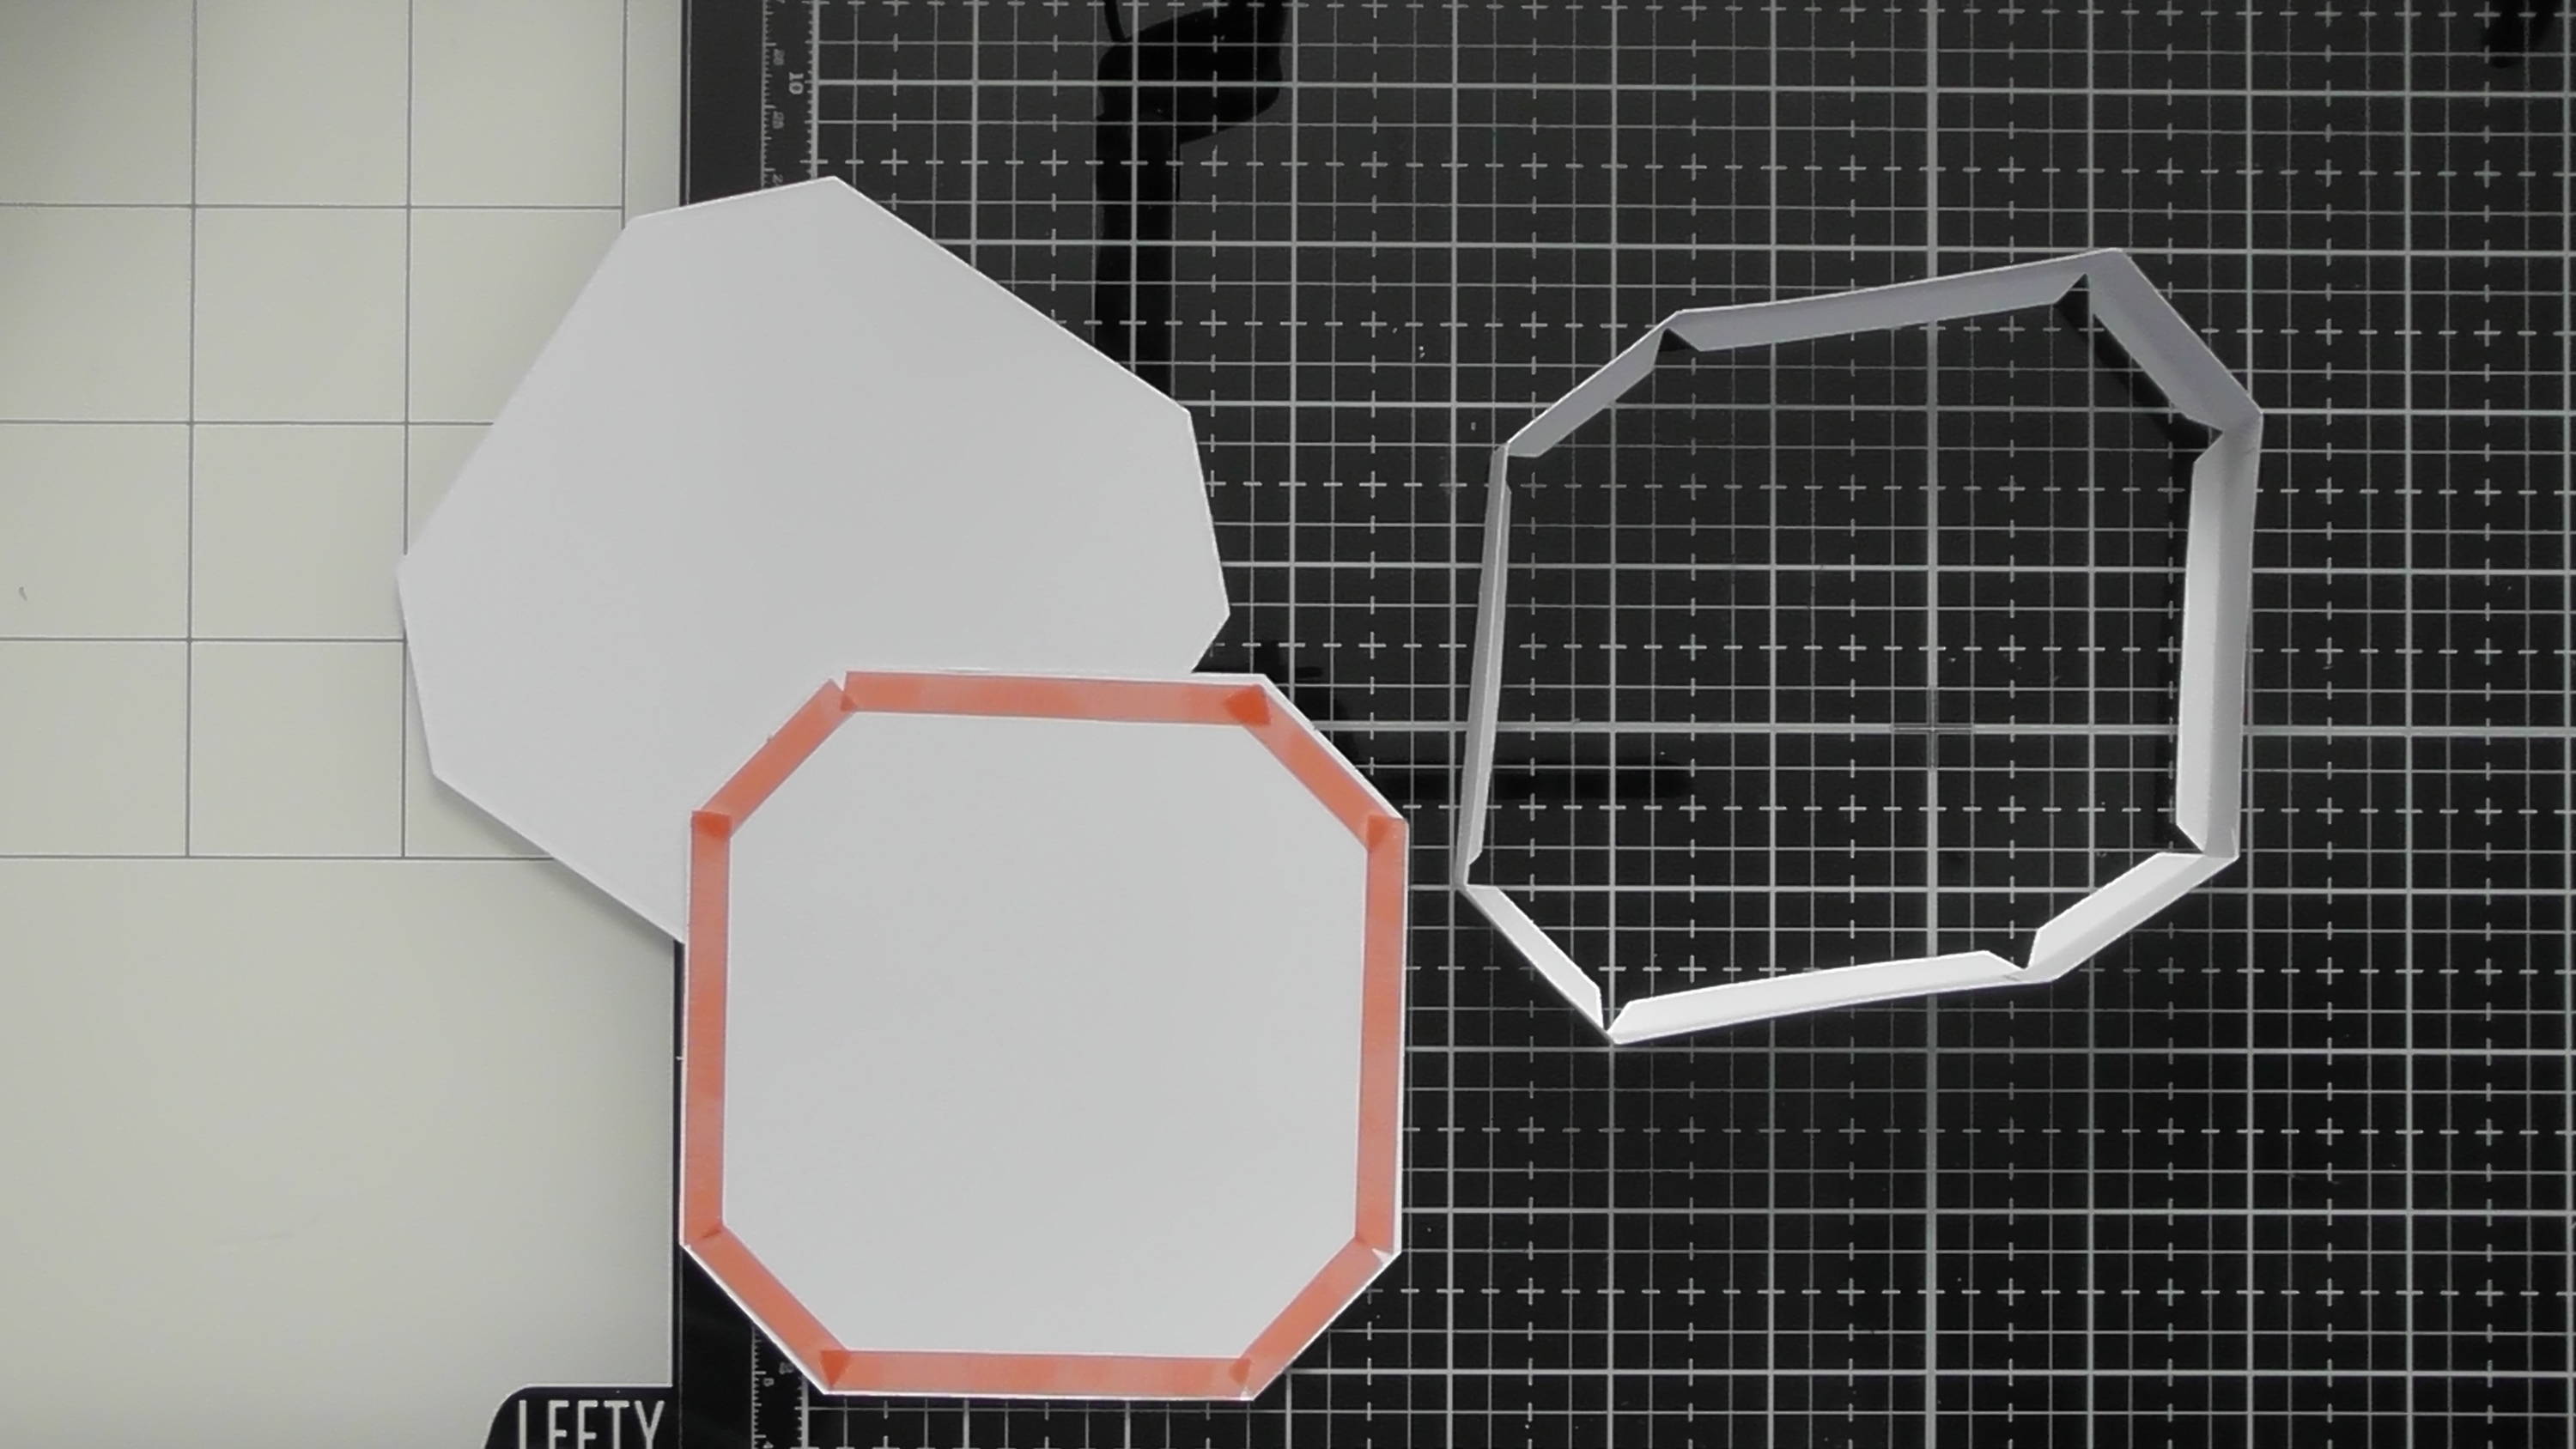
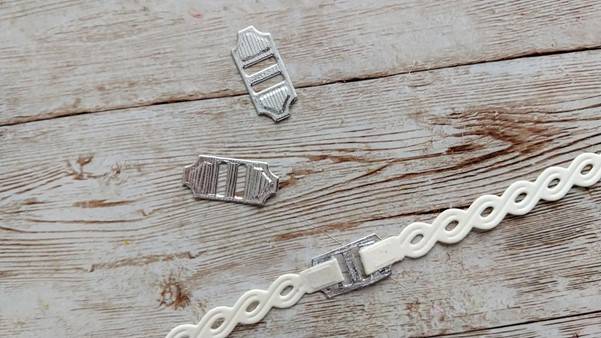
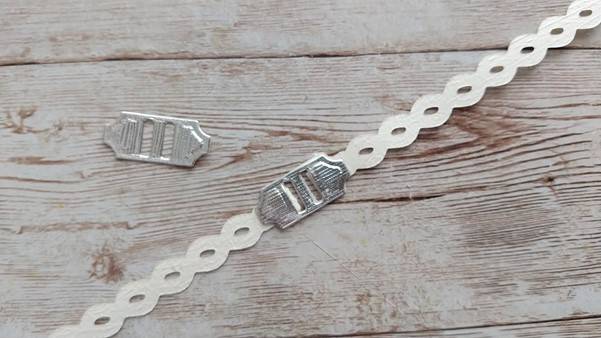
Die cut the decorative panels for the dies of the pockets and the top of the box with the dies shown and glue in place.
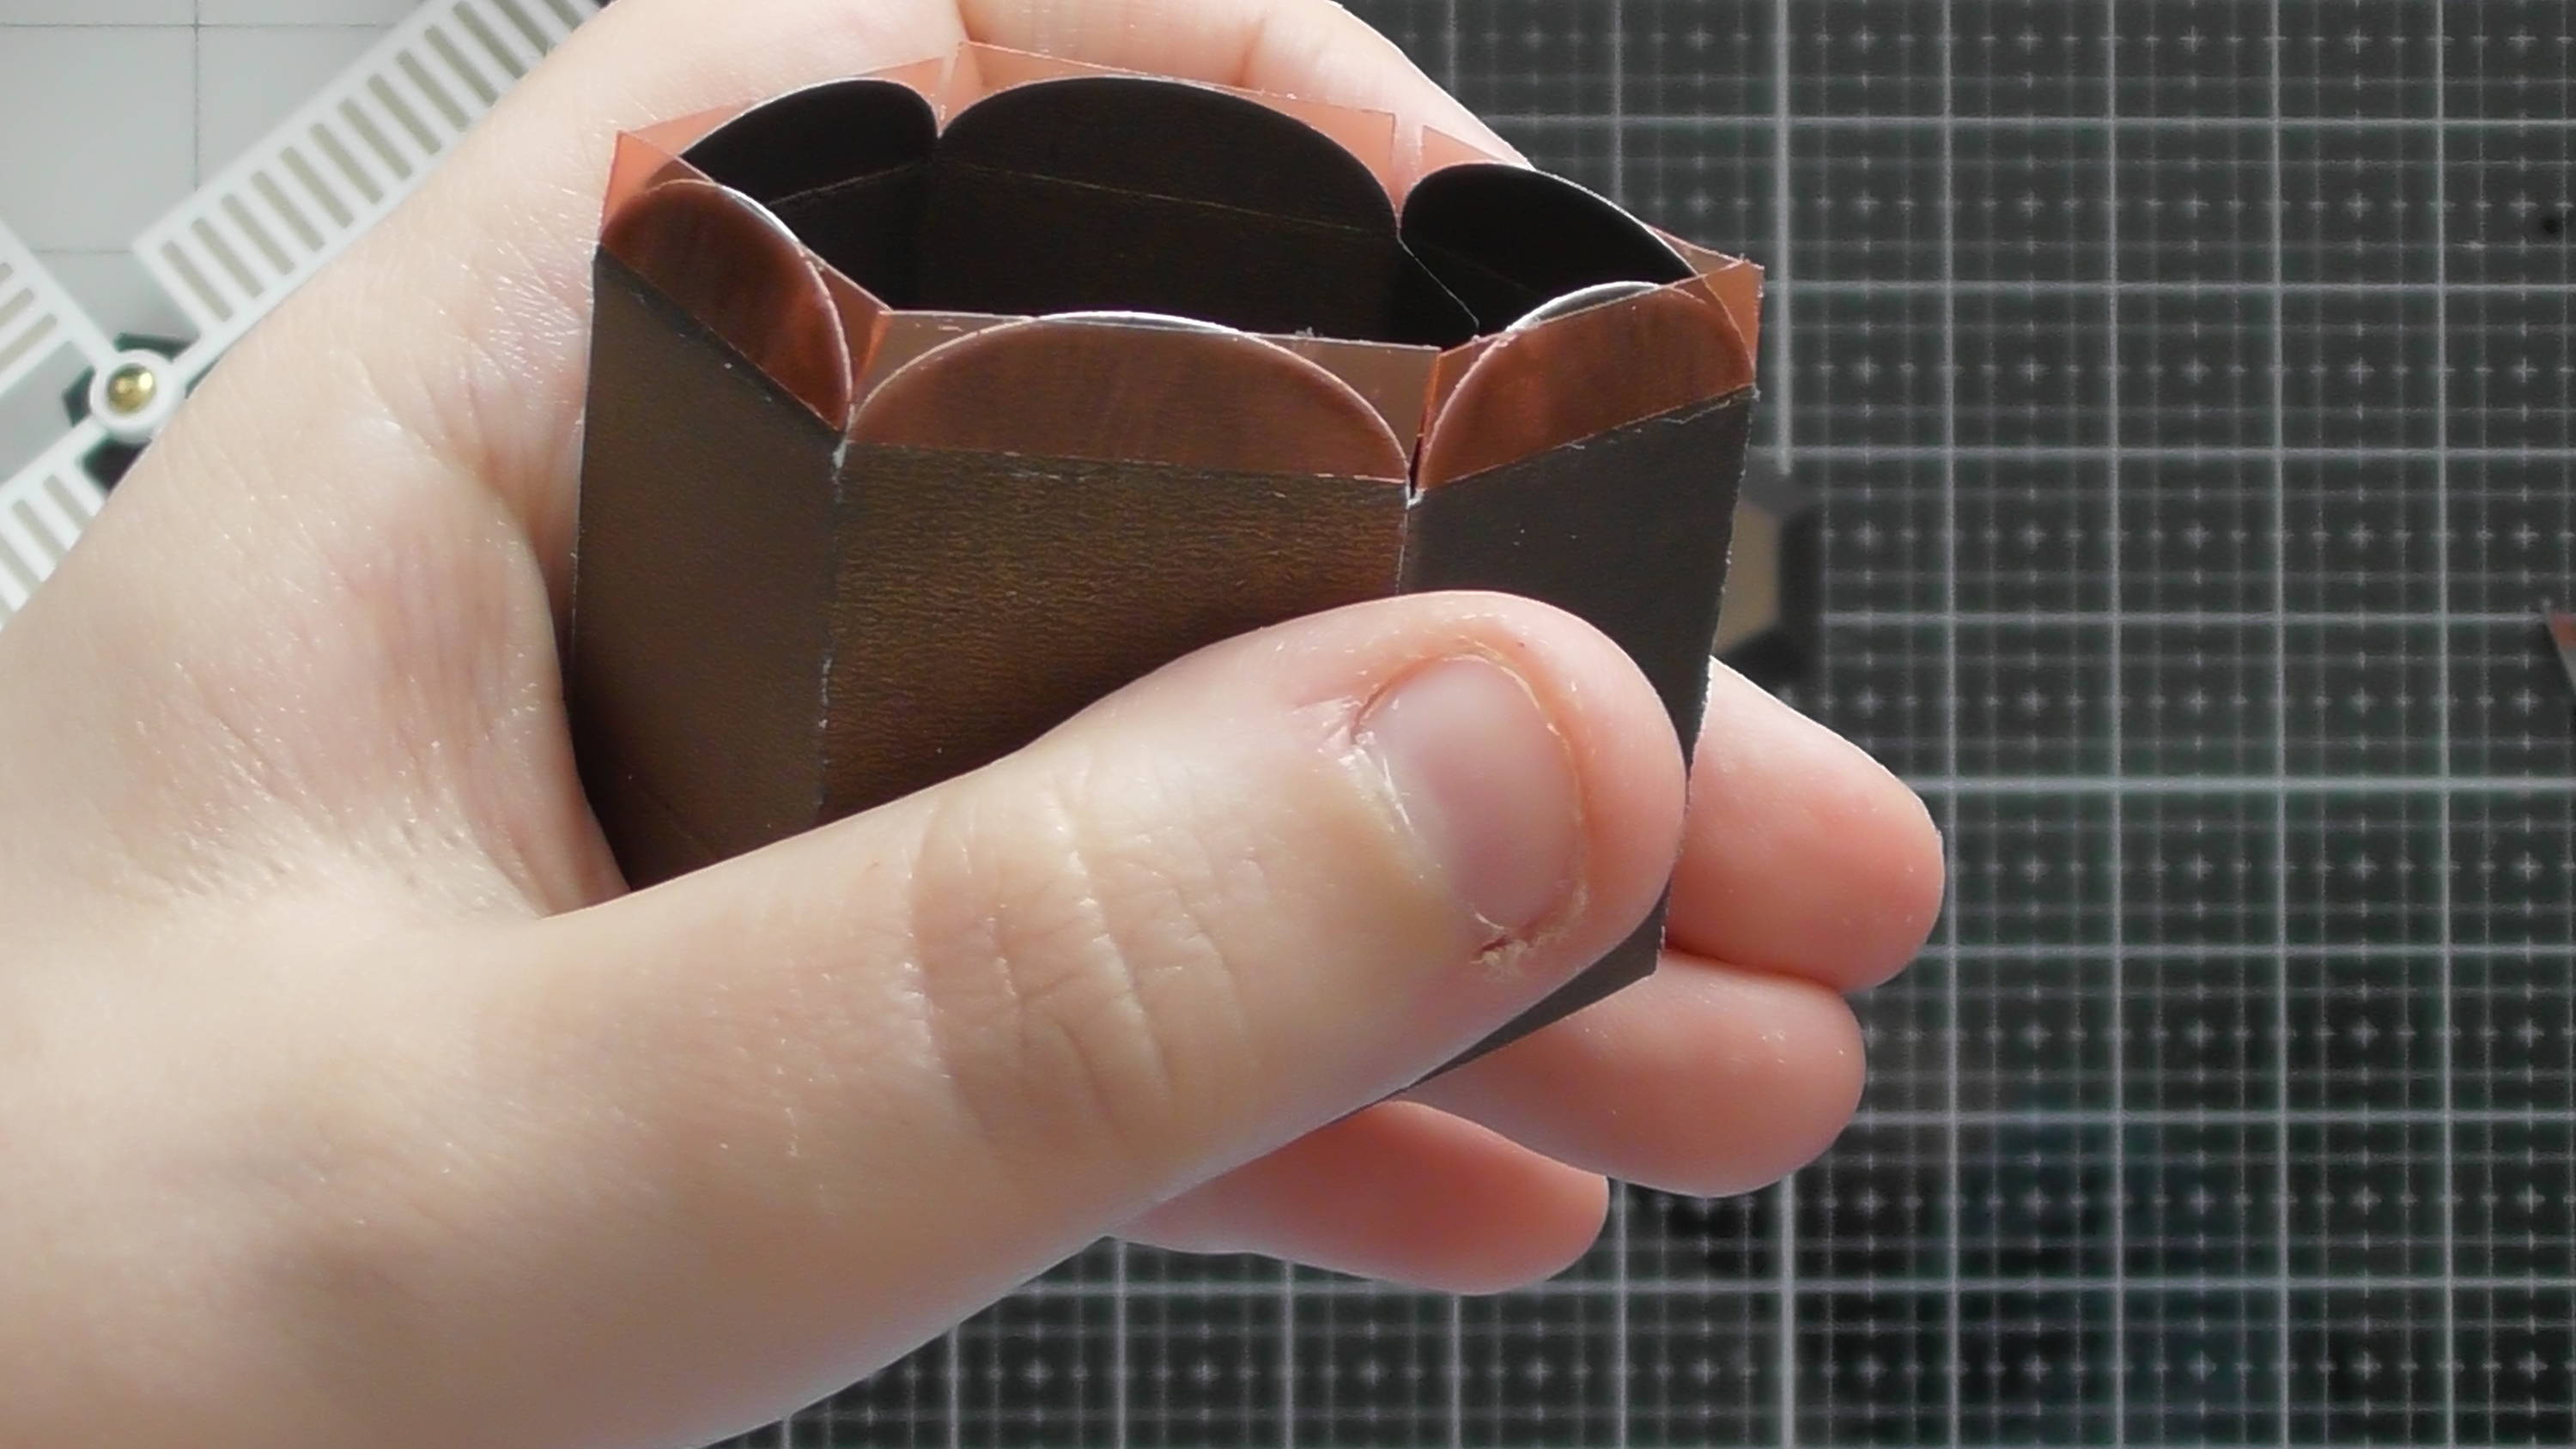
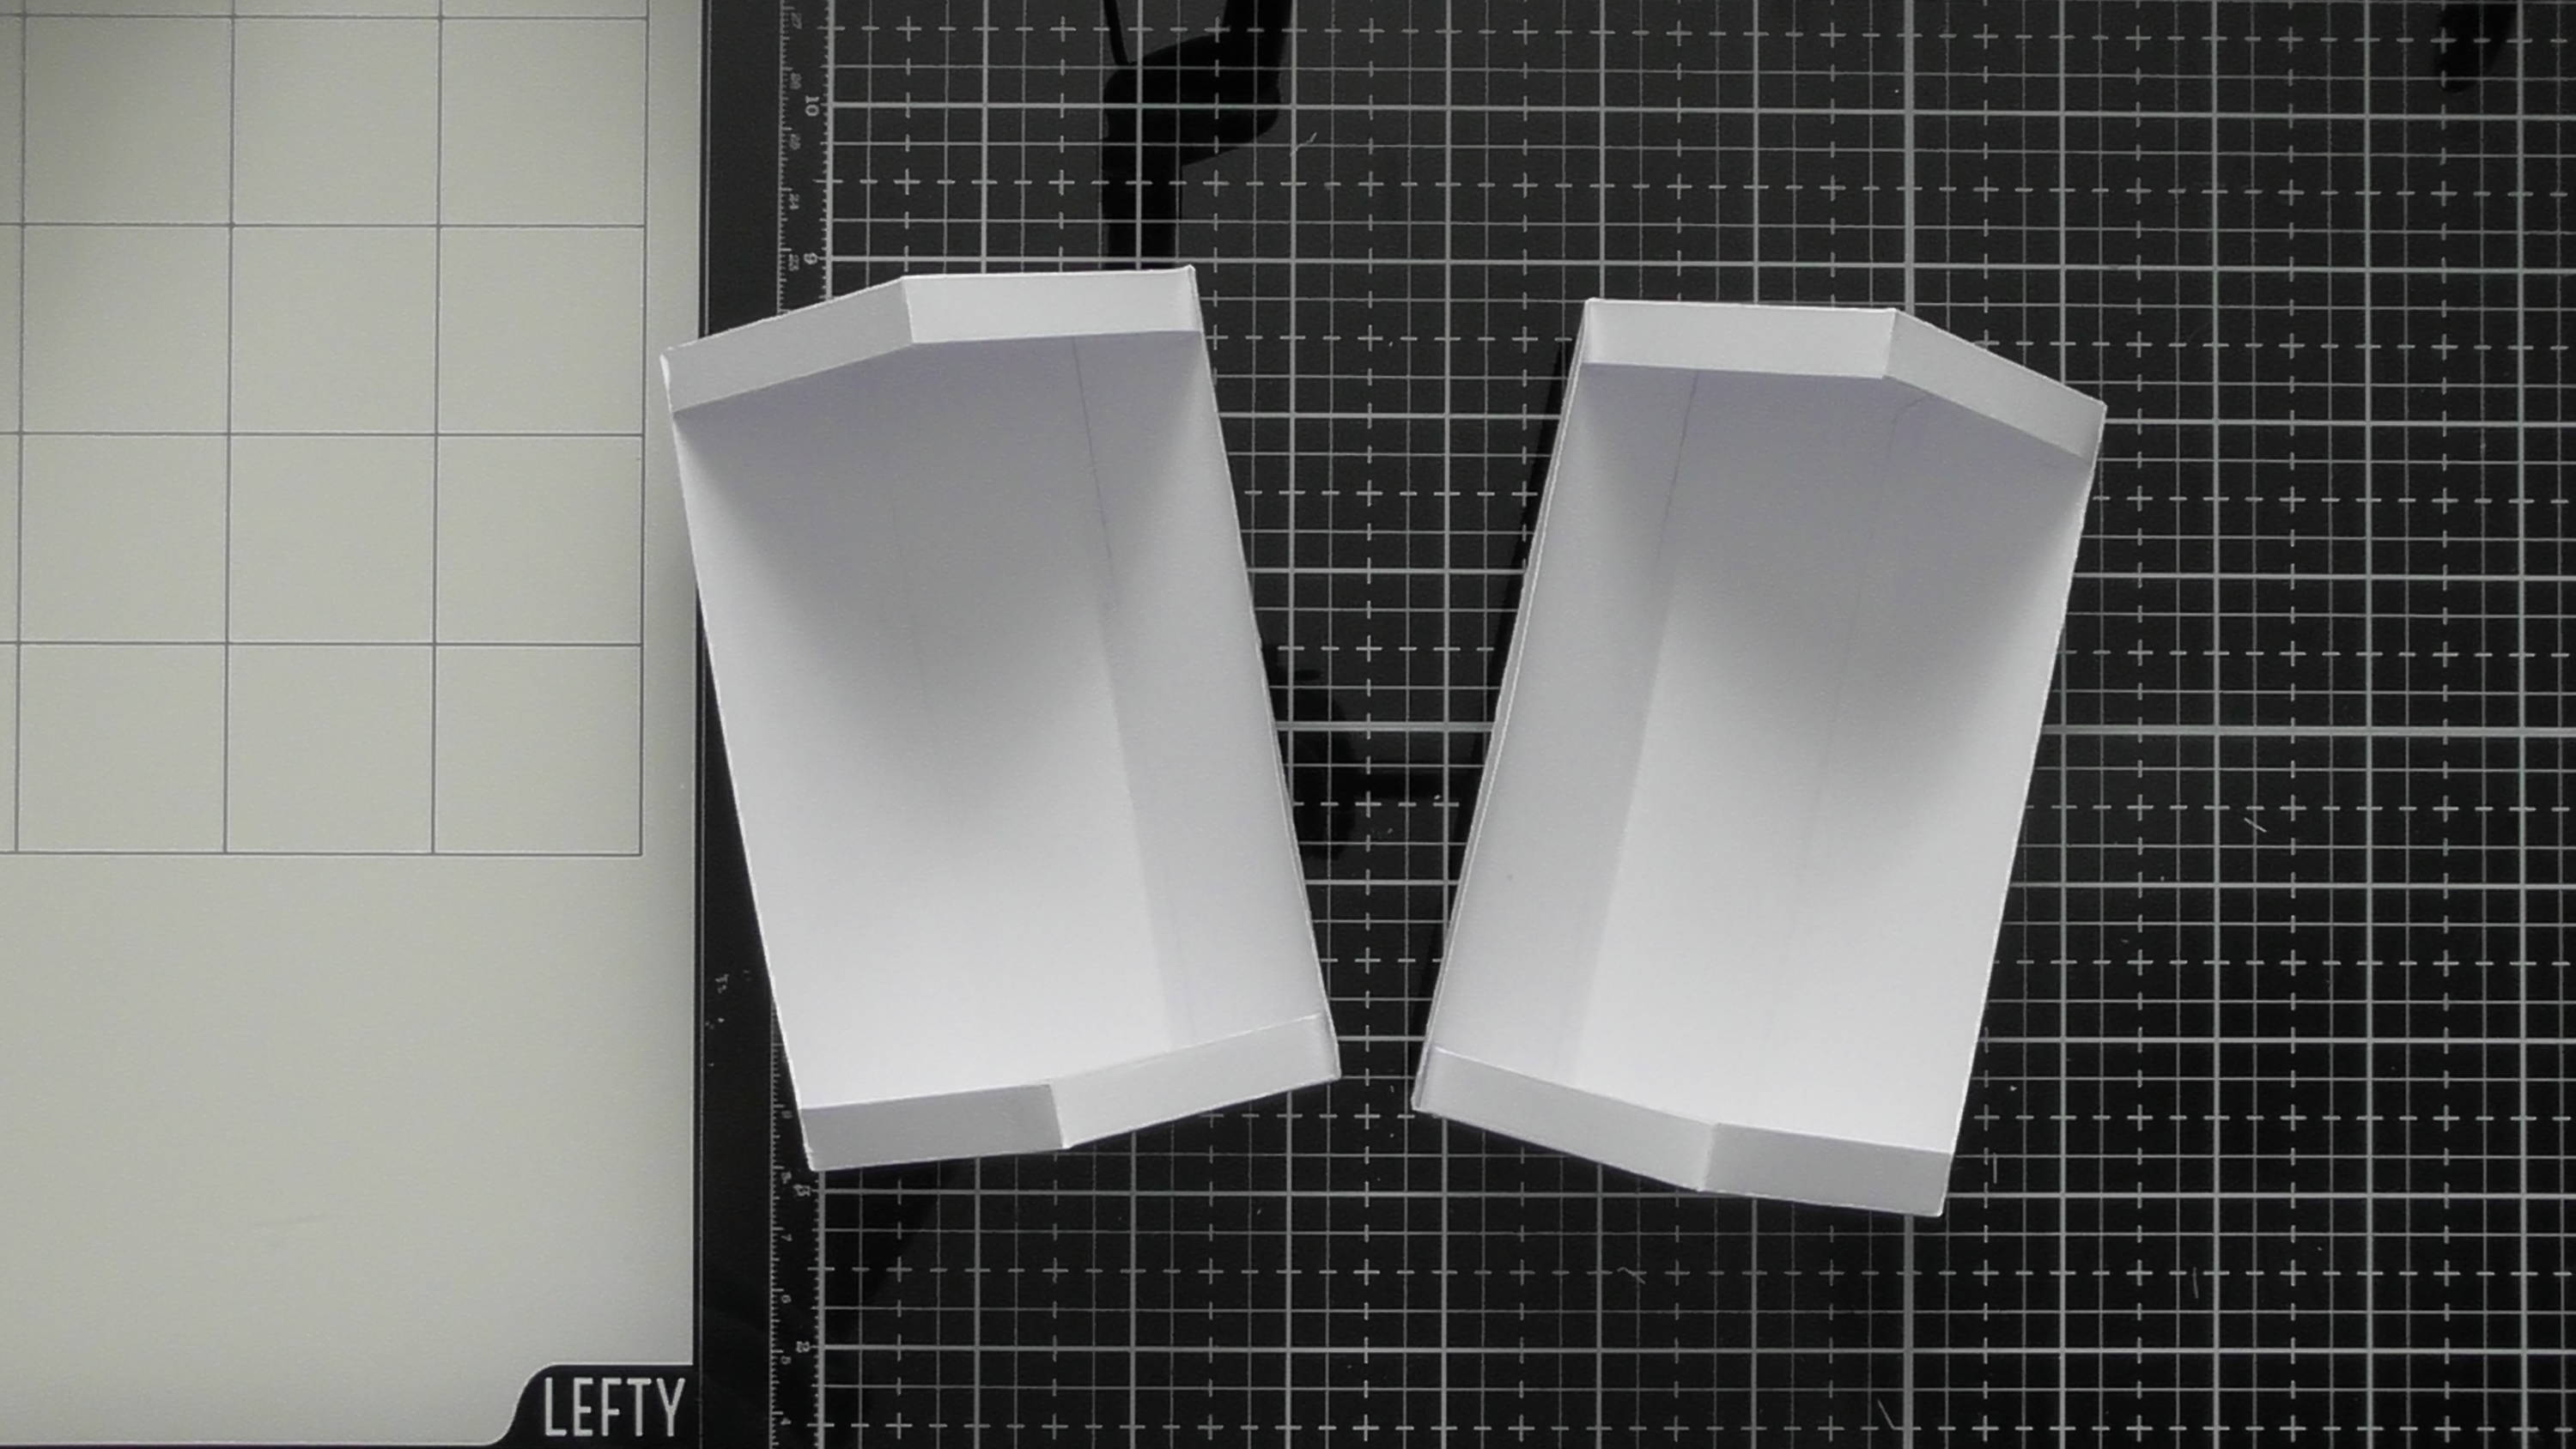
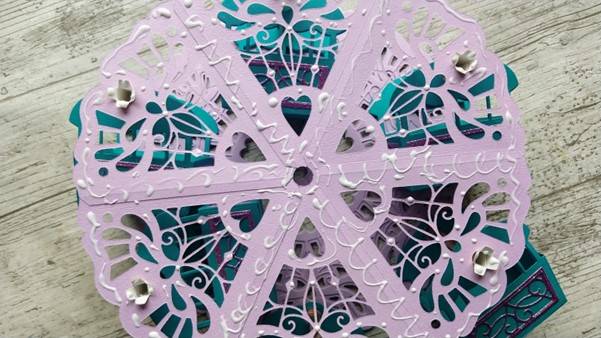
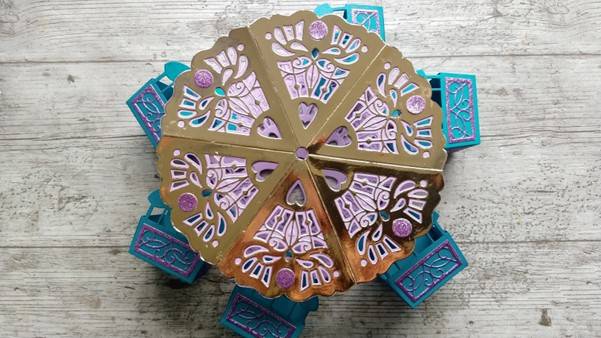
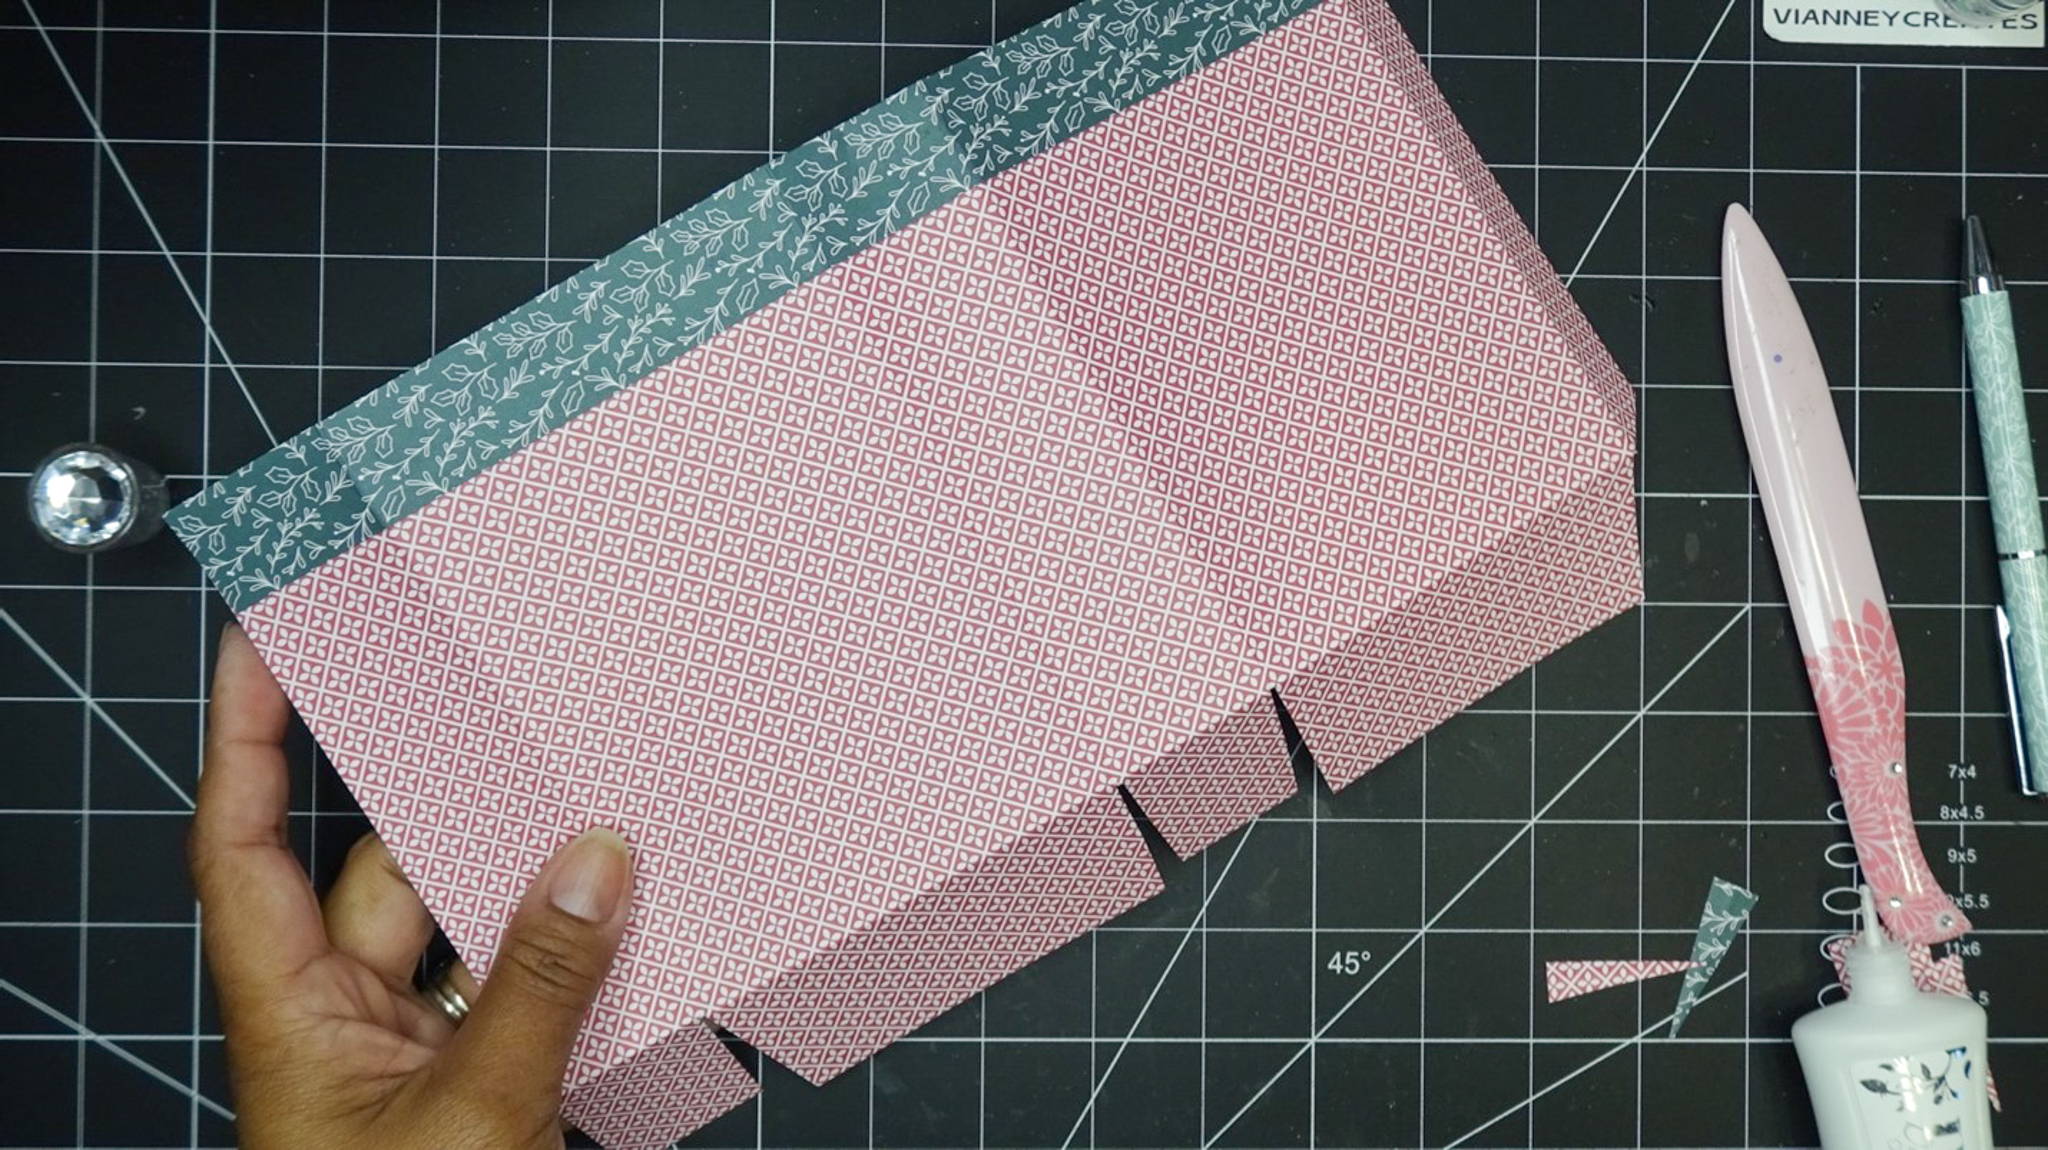
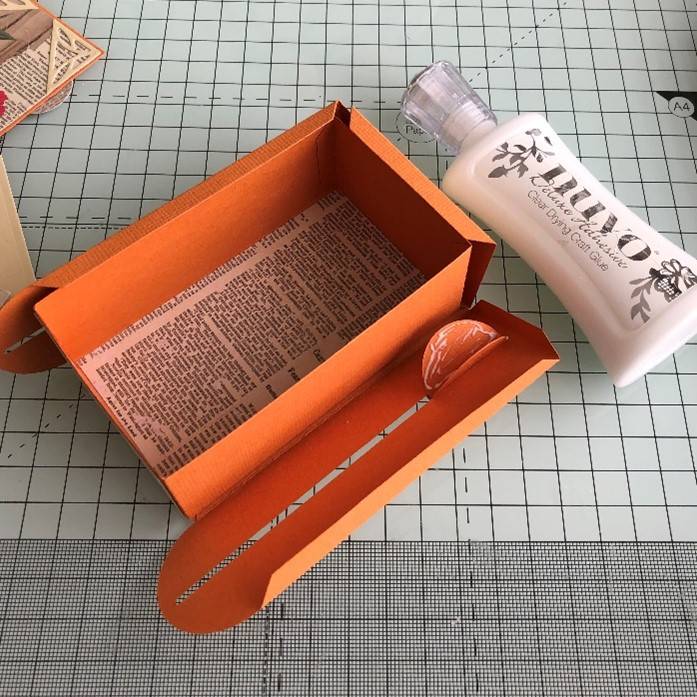
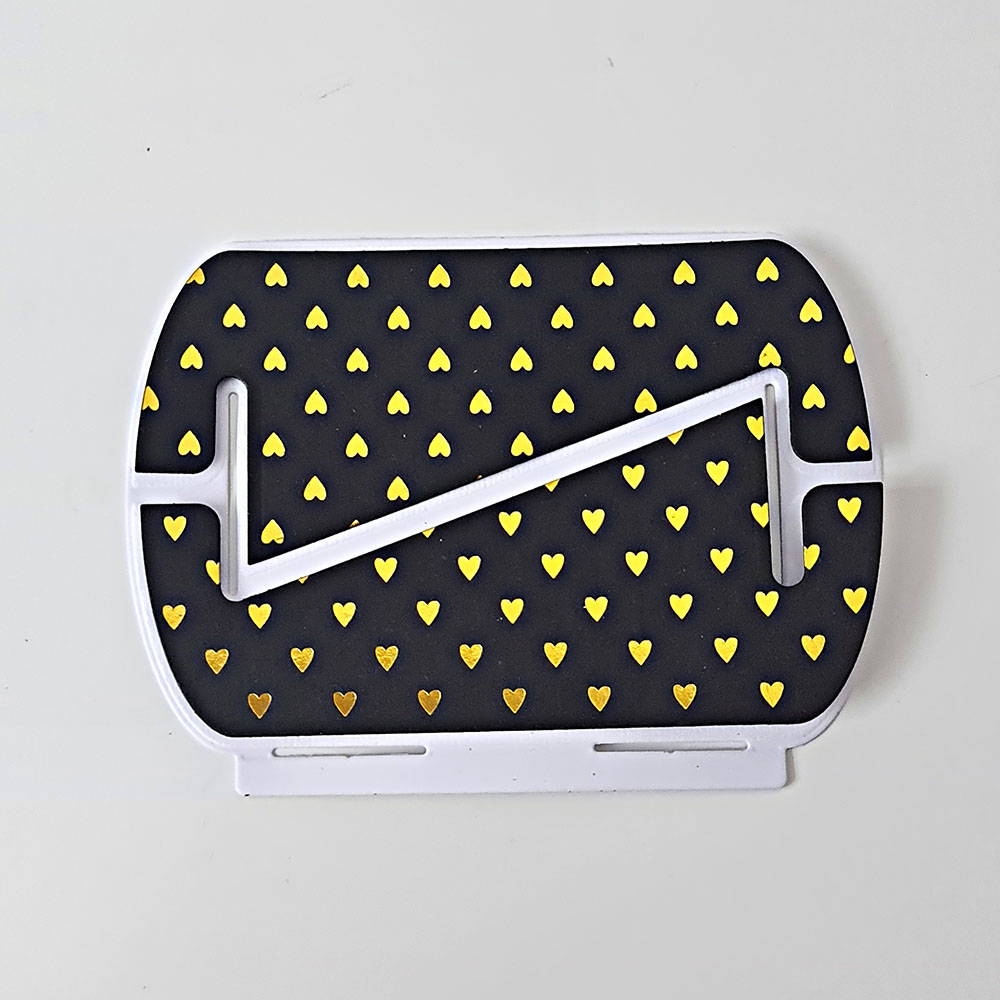
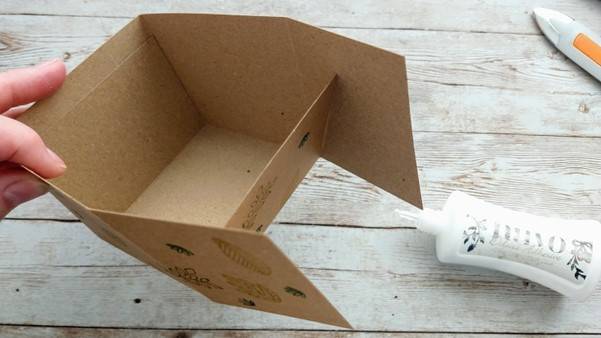
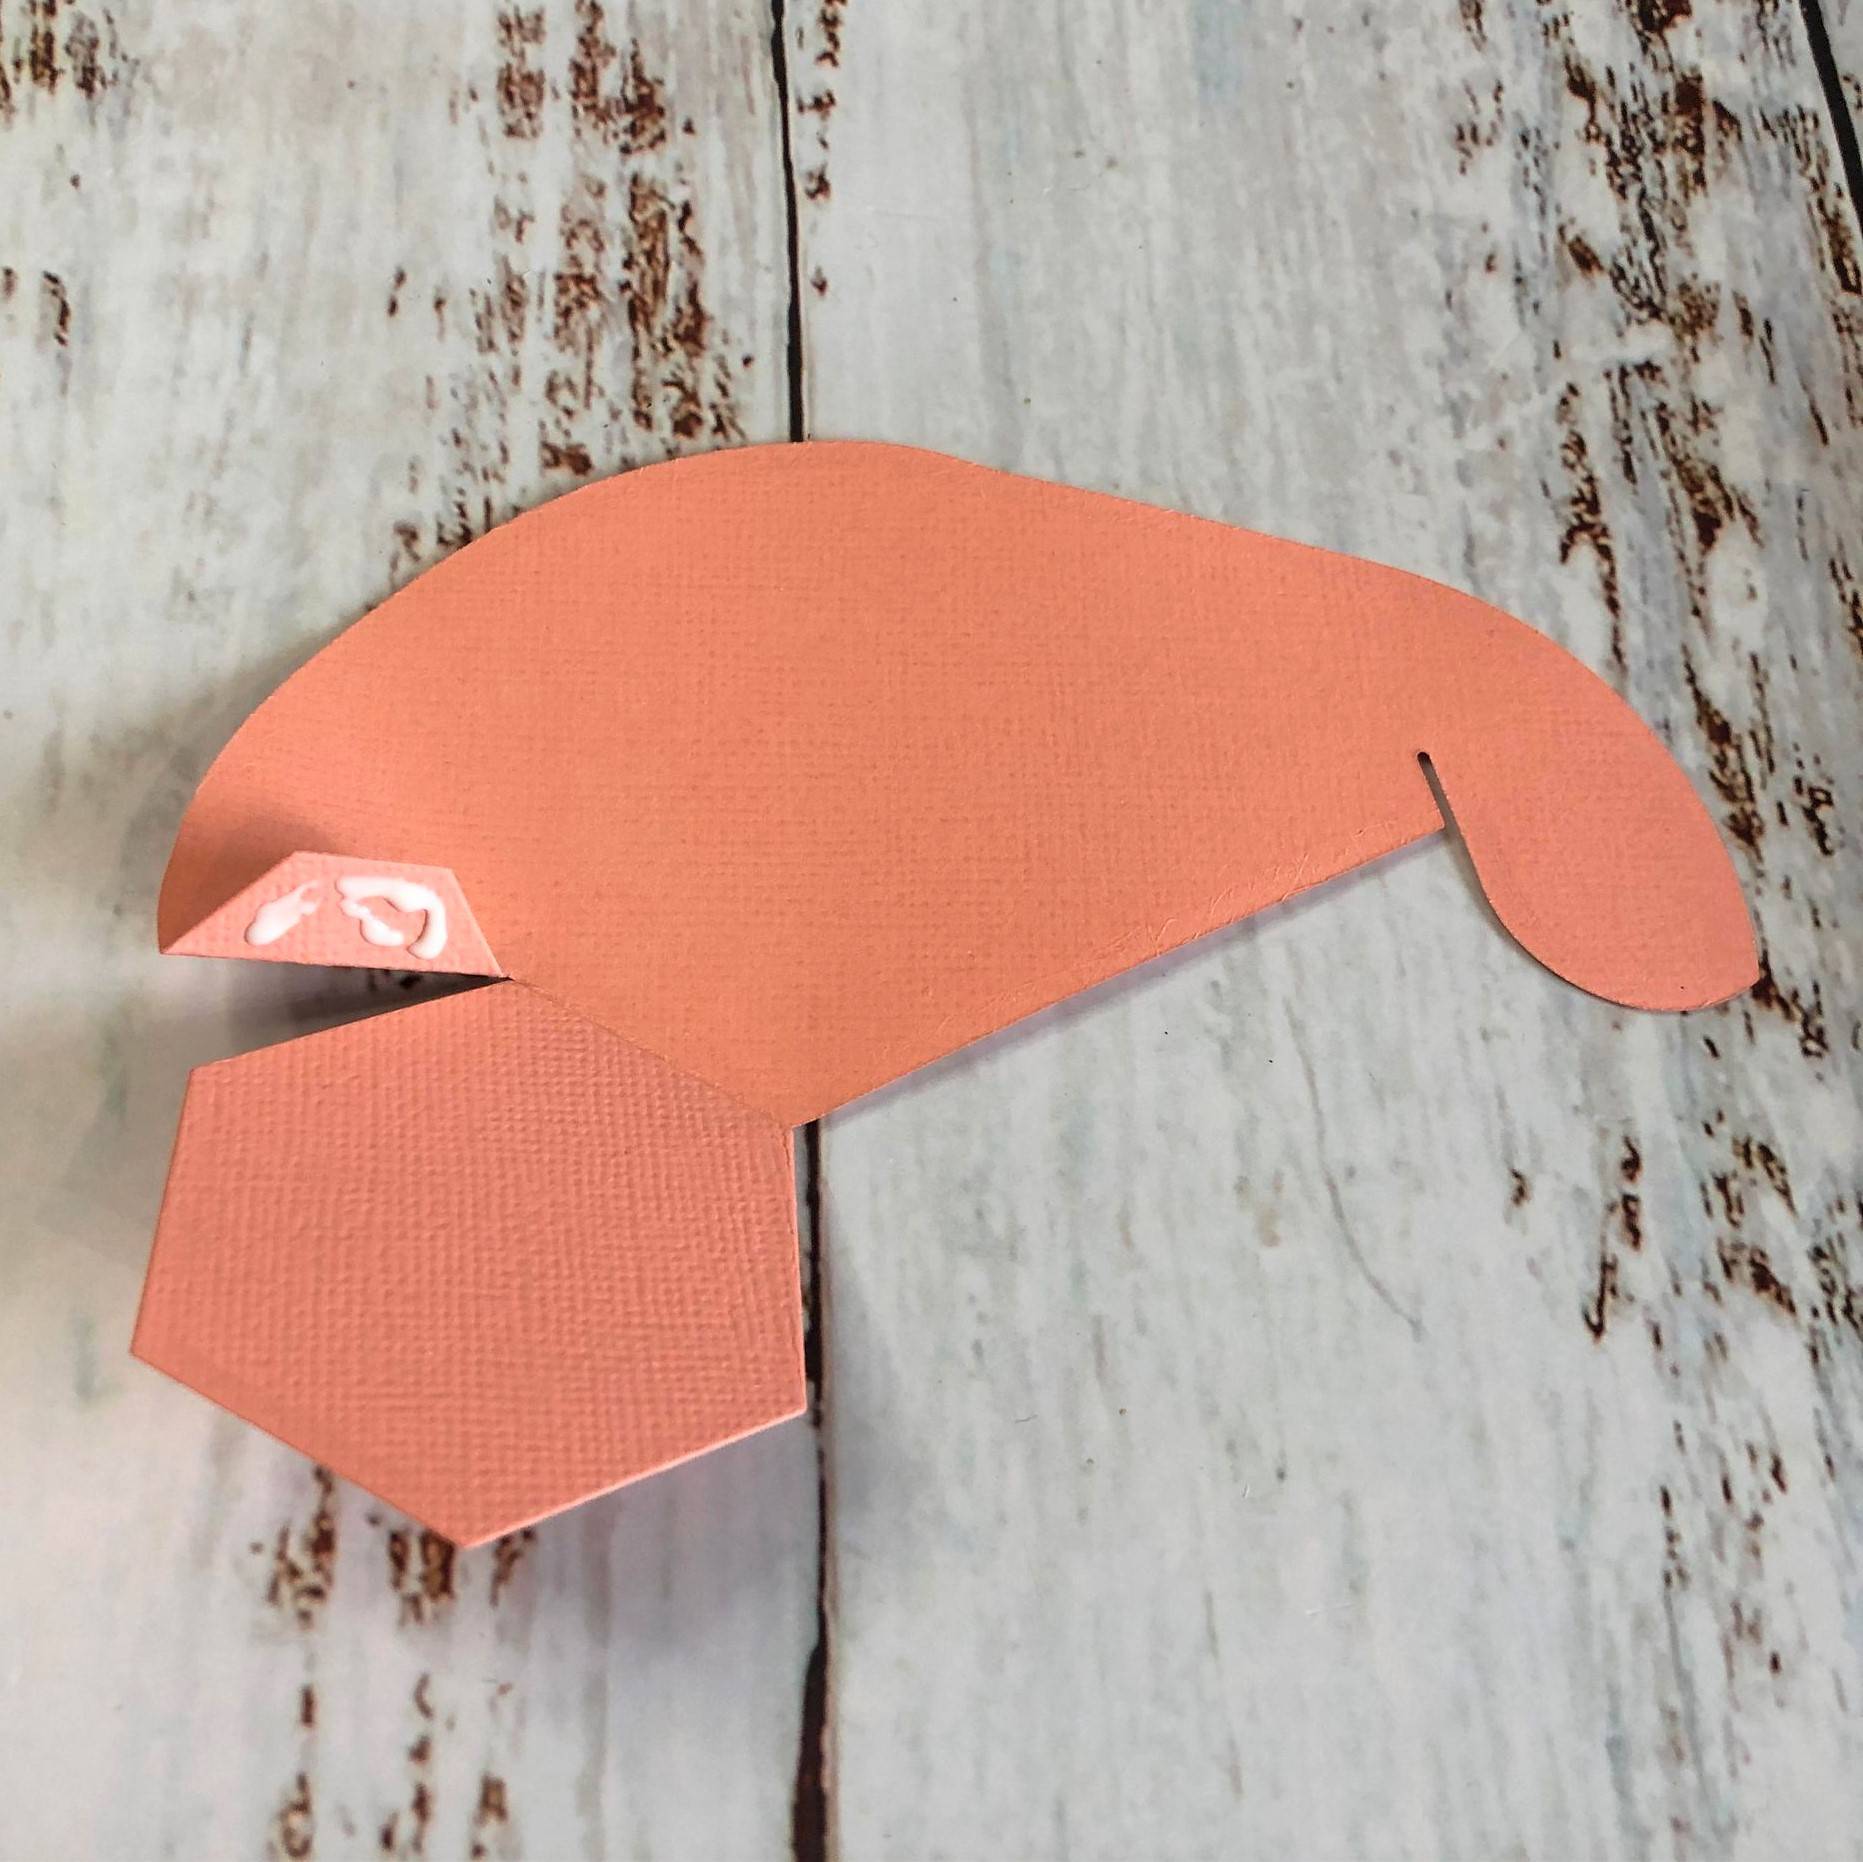
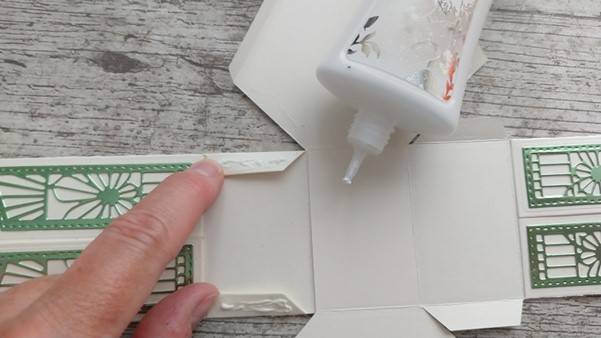
Step 5
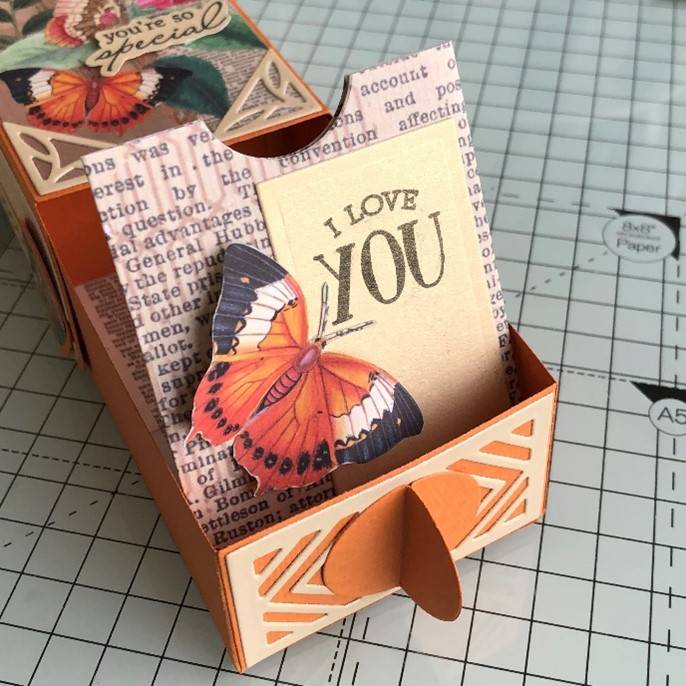
Fold inwards, glue the tab and along the bottom and fold the other side over to create a pocket.
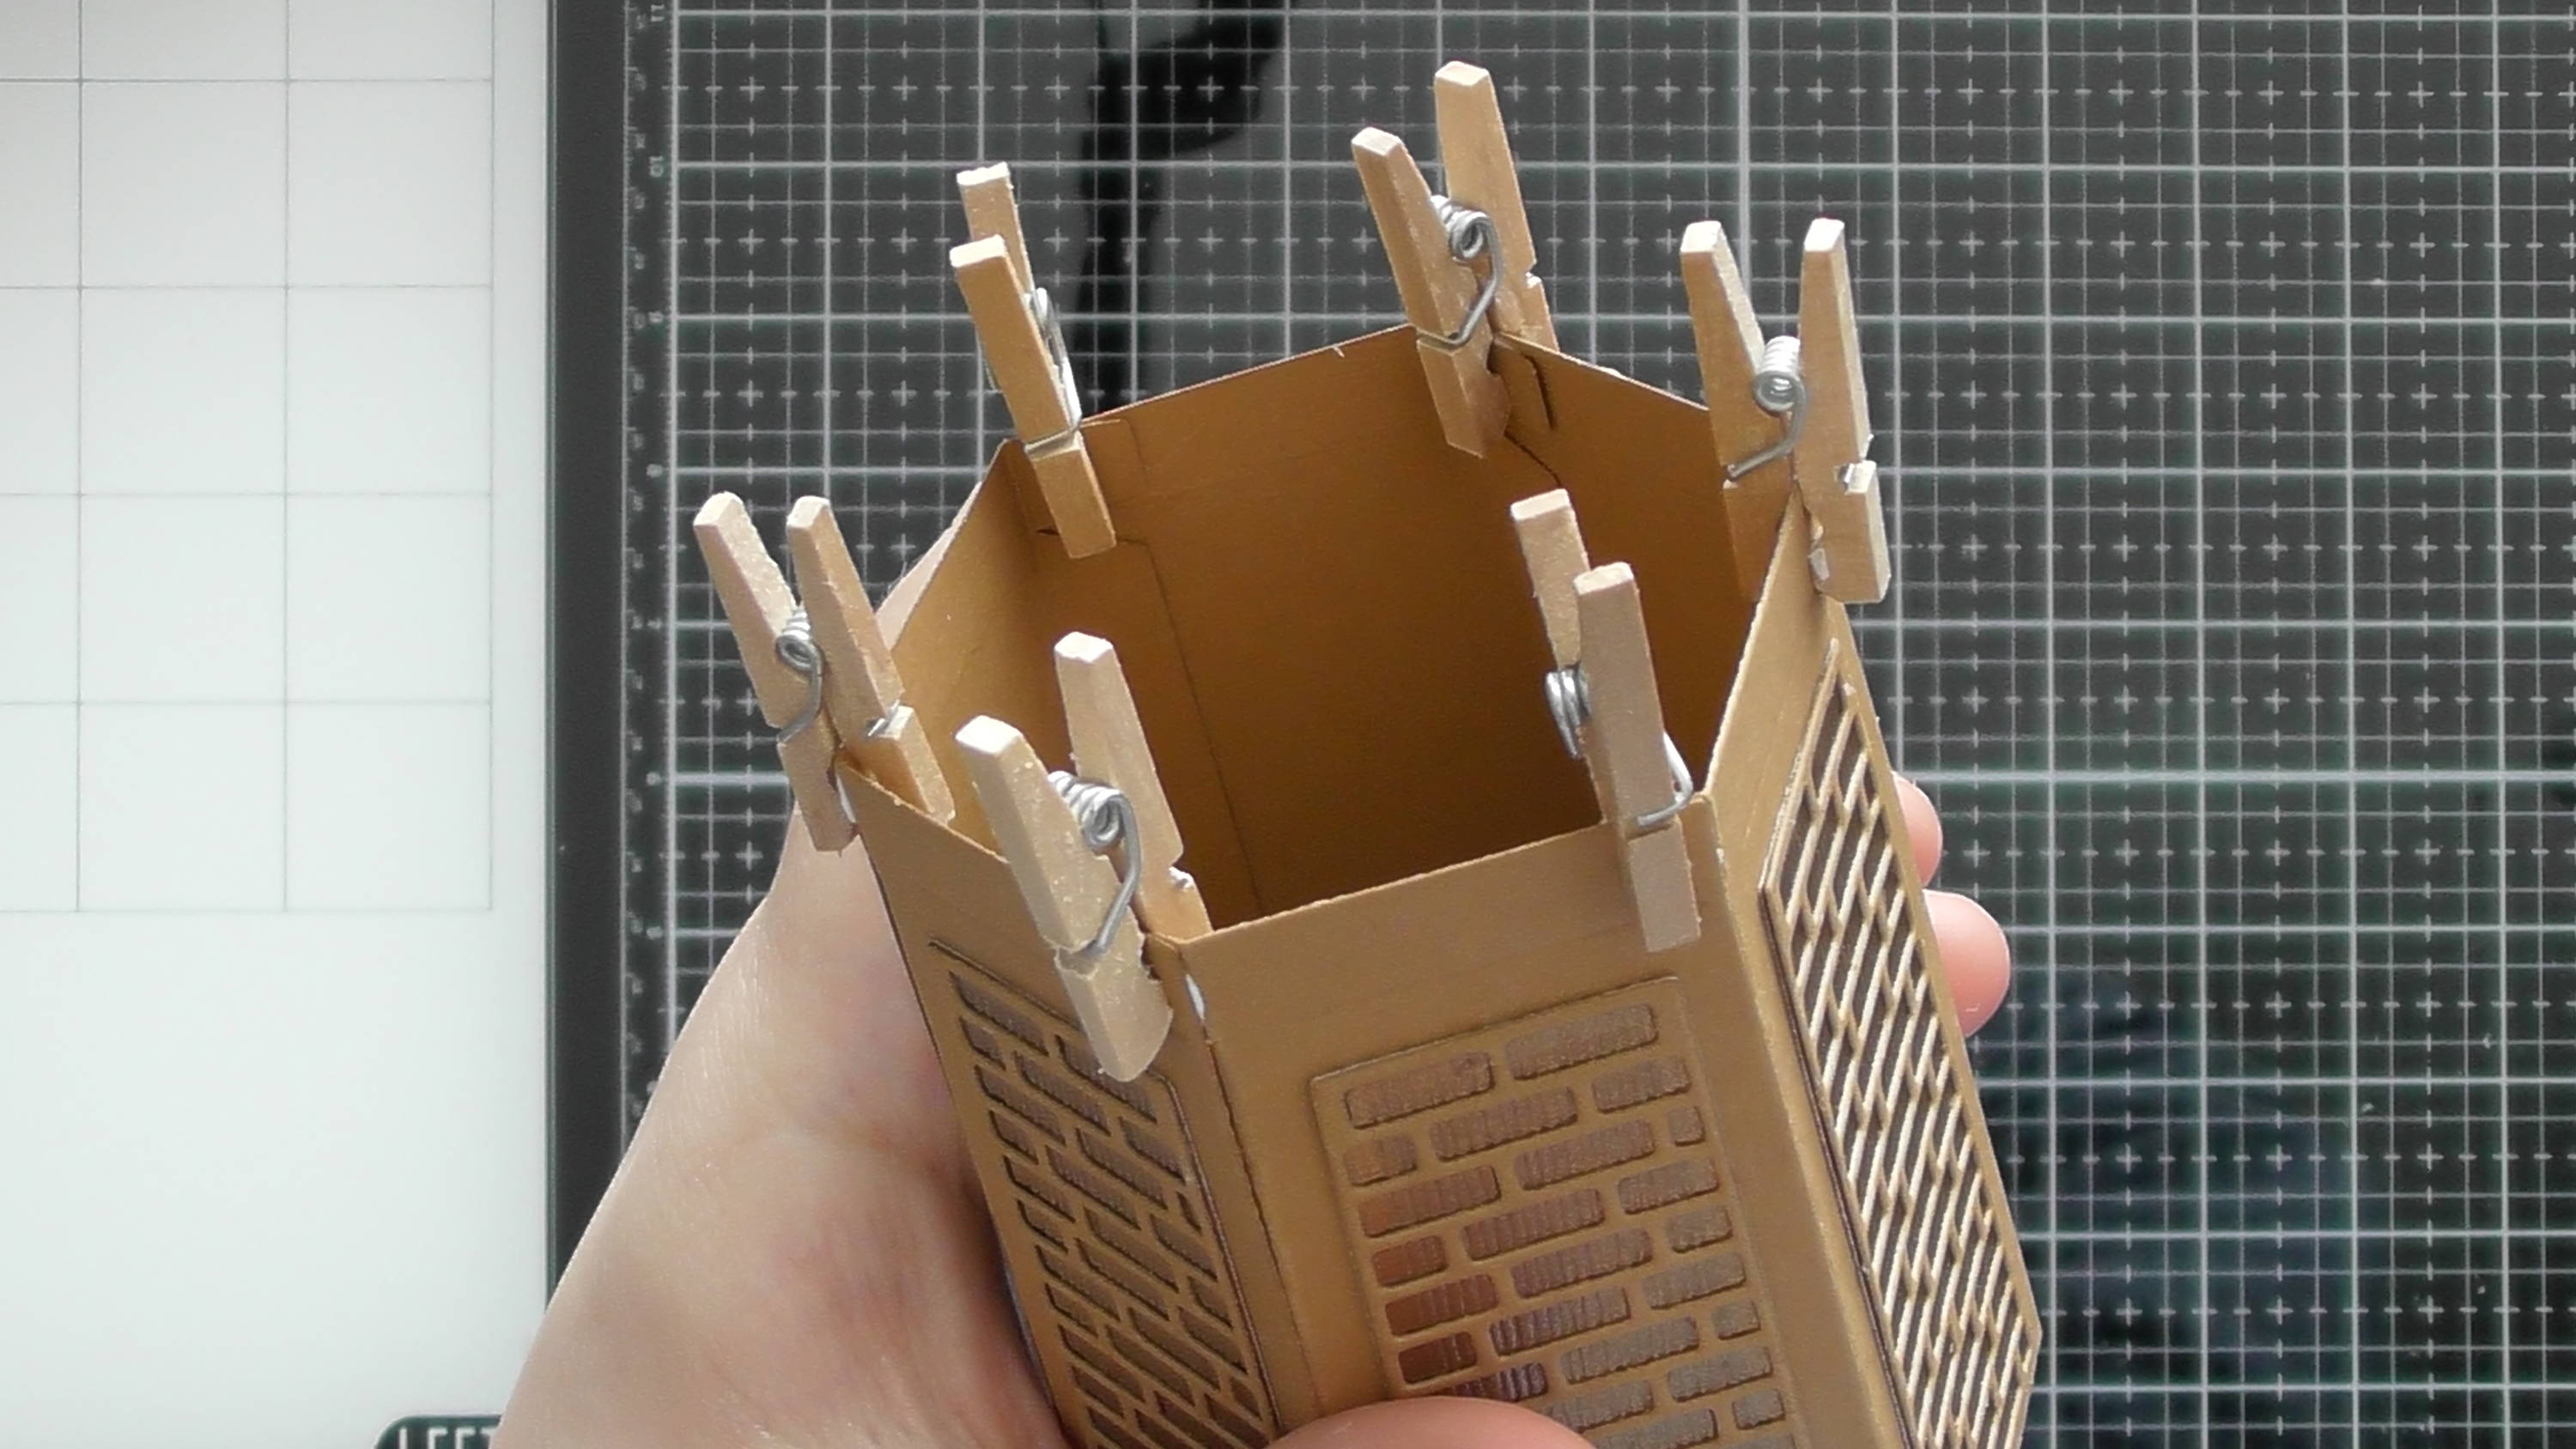
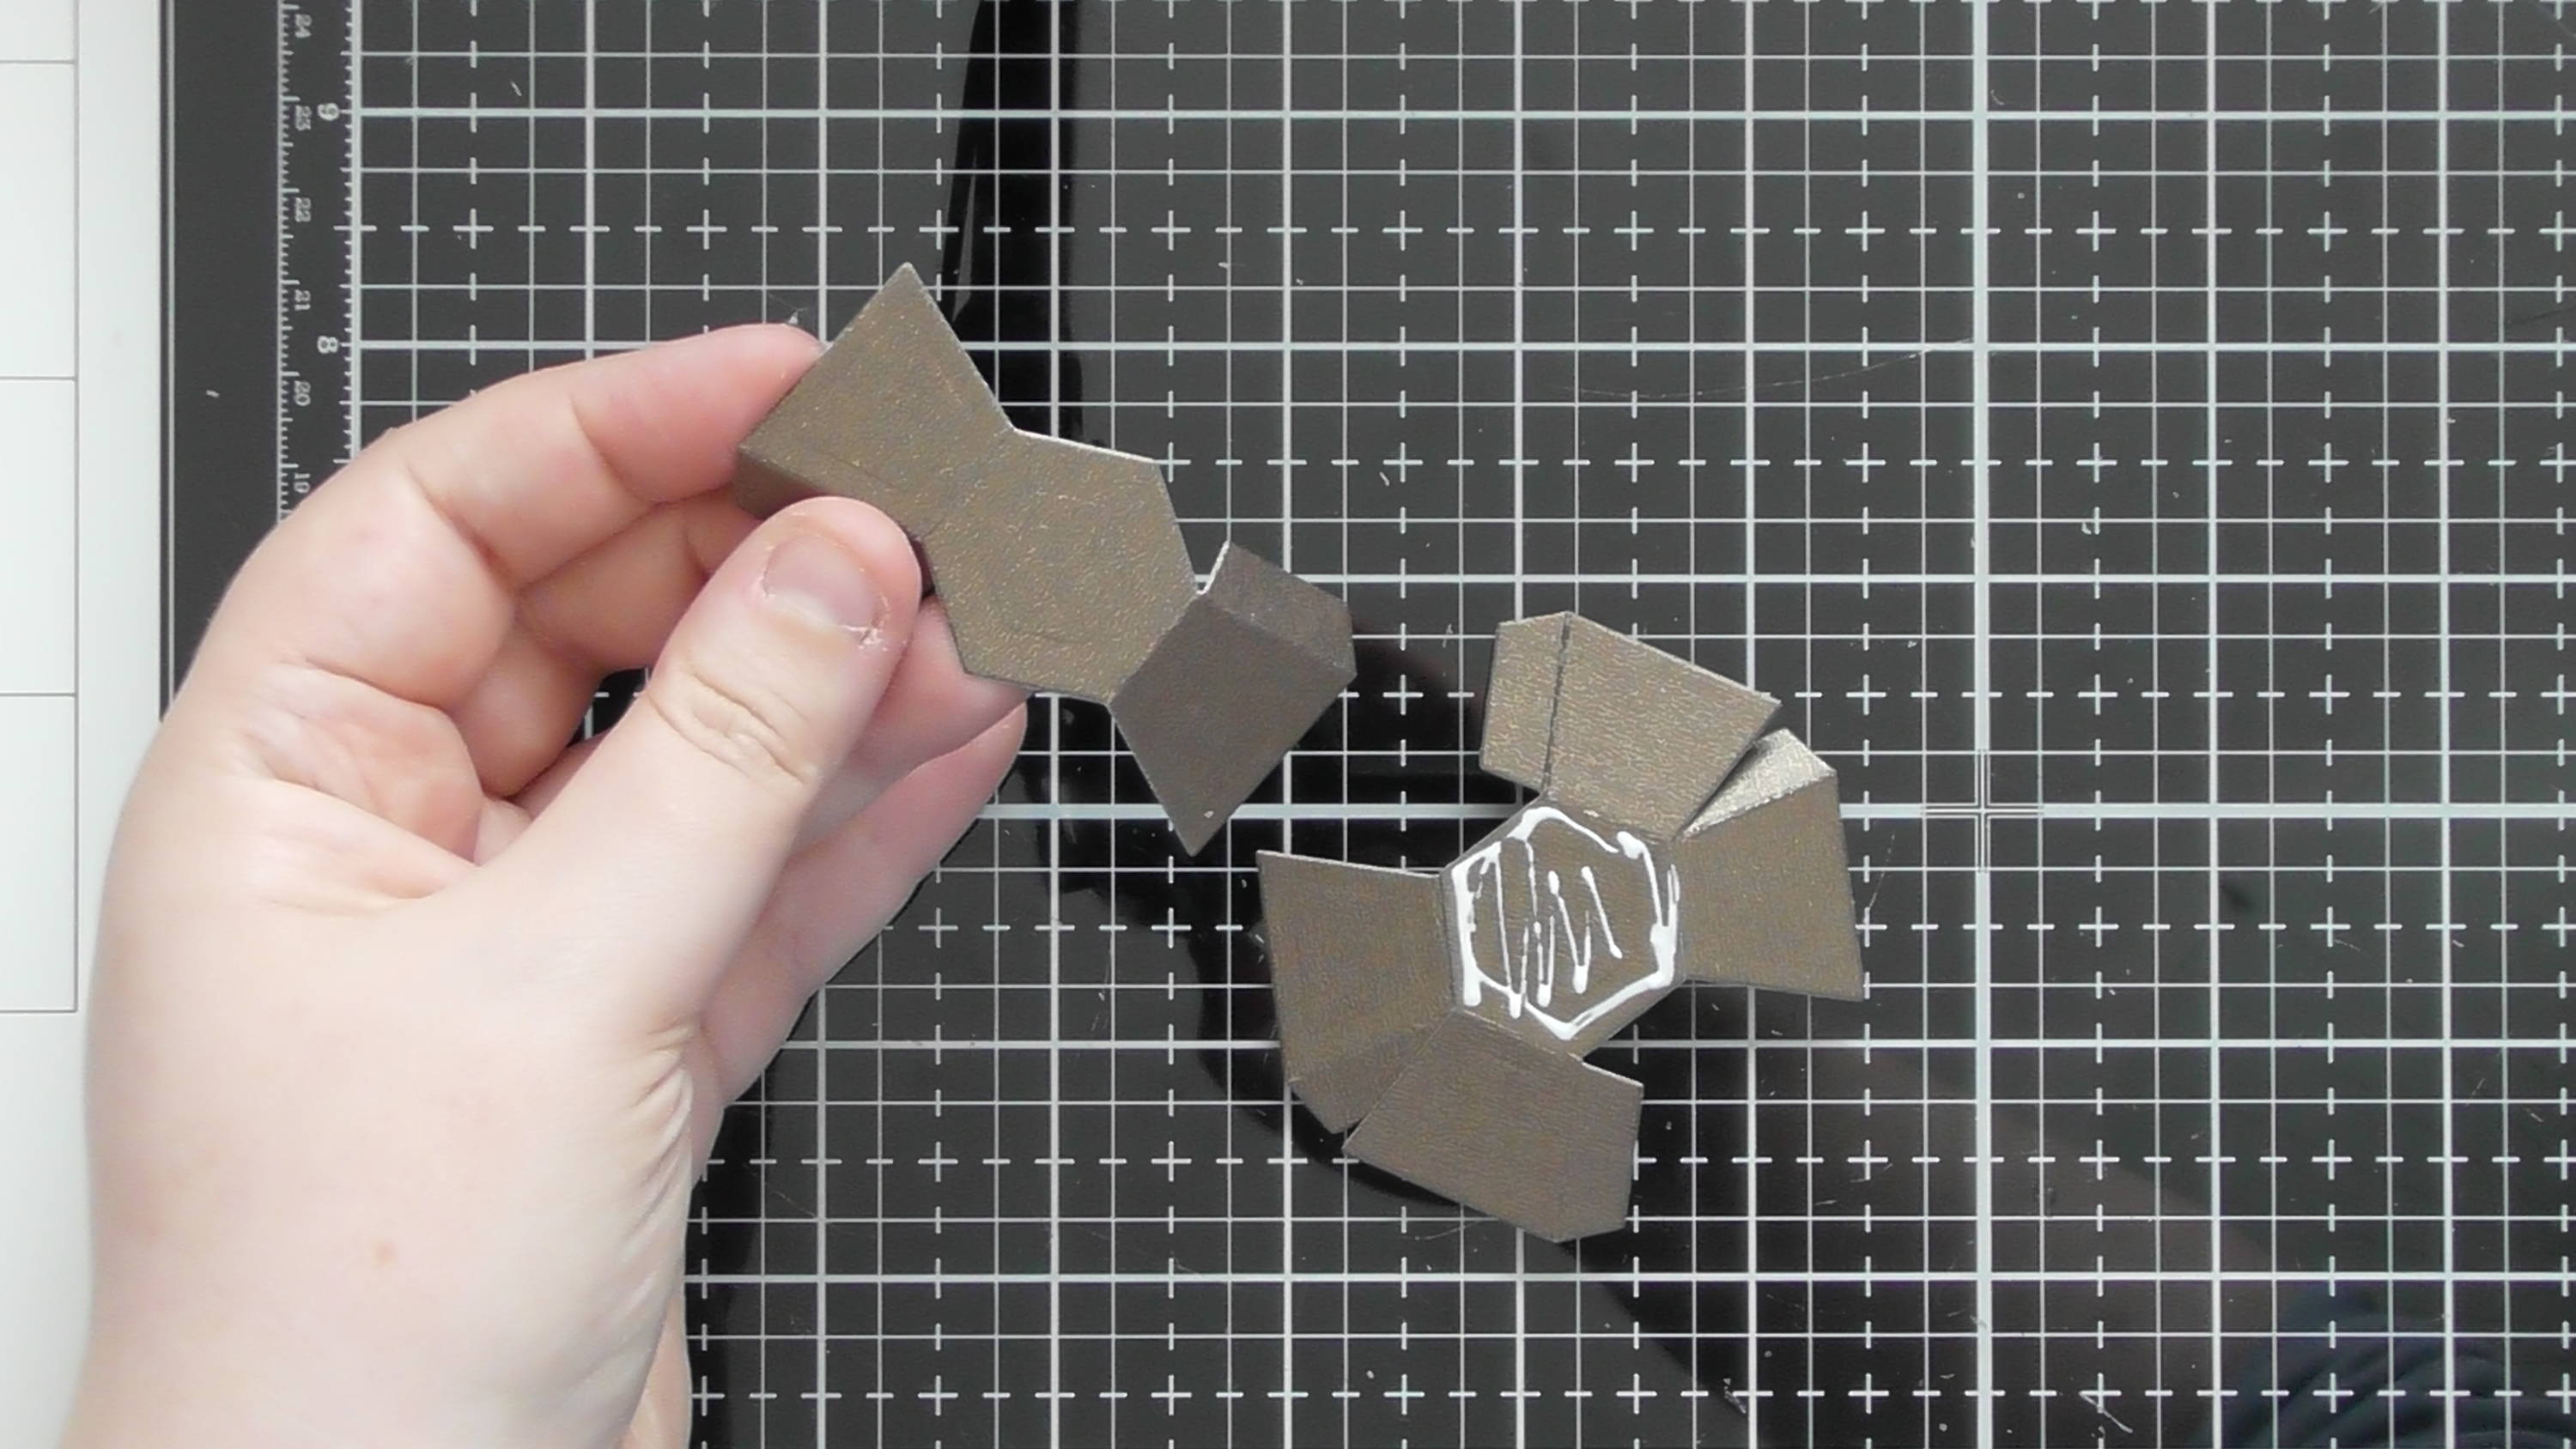
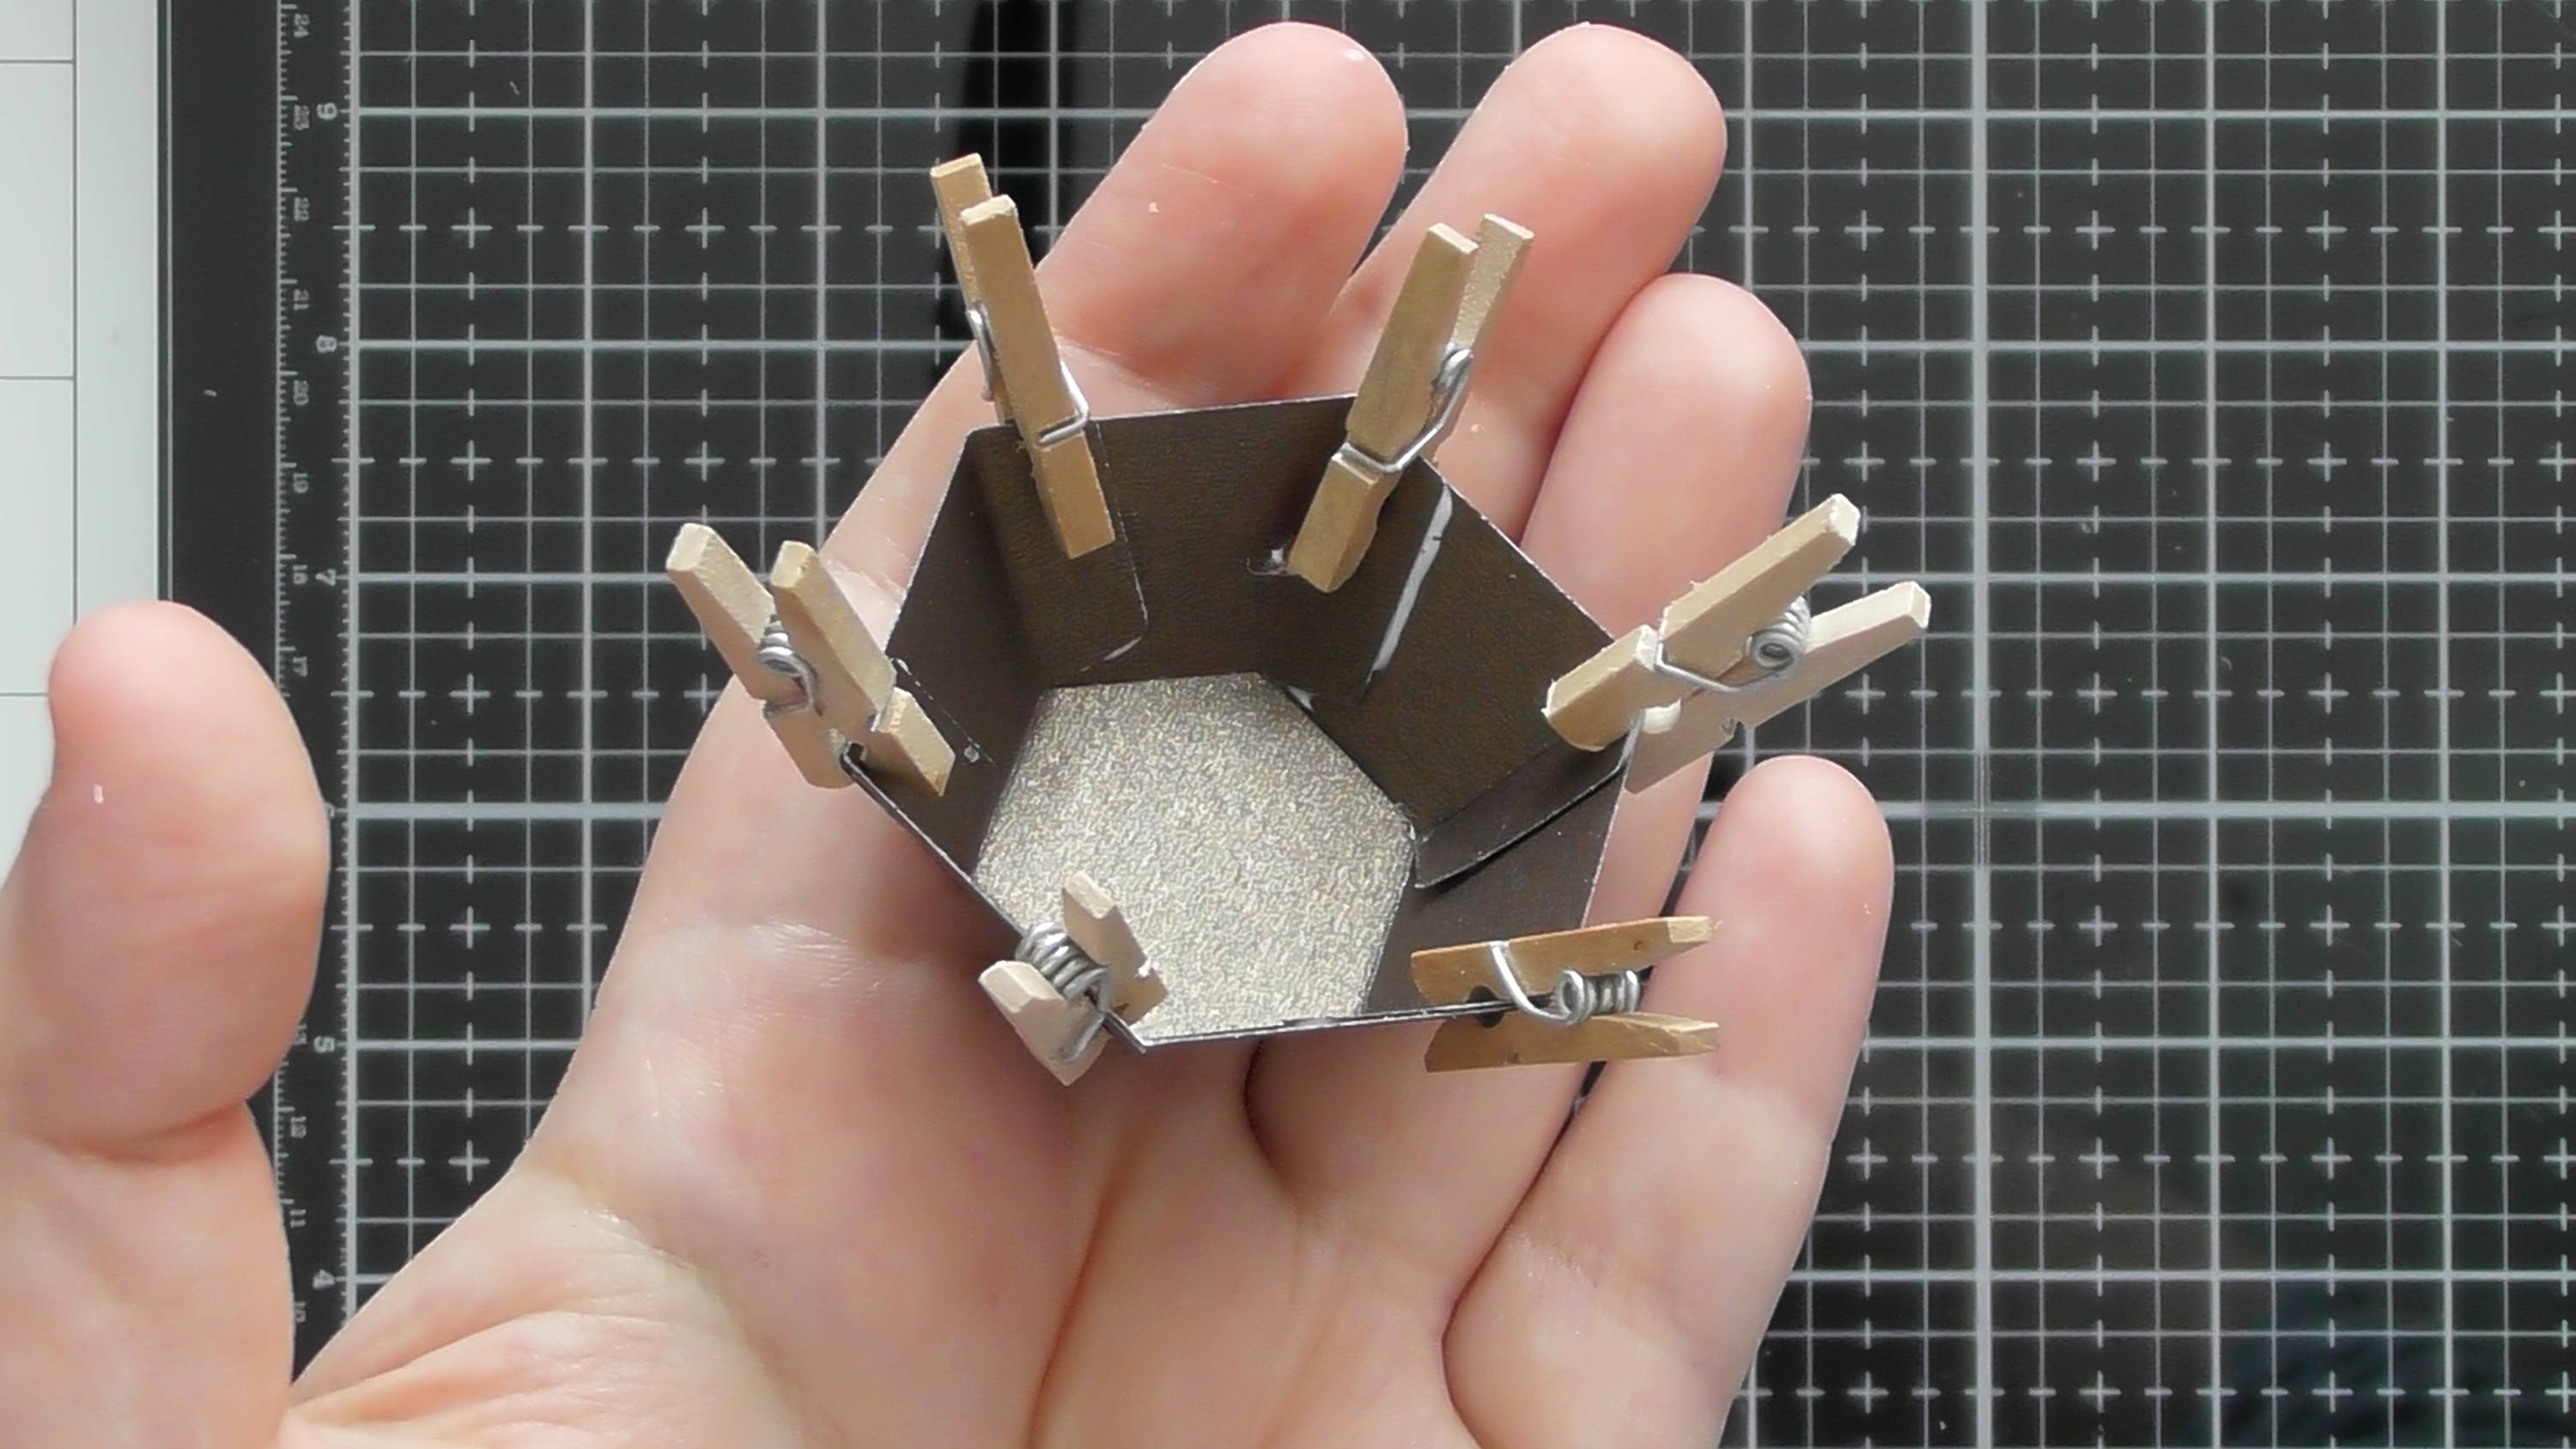
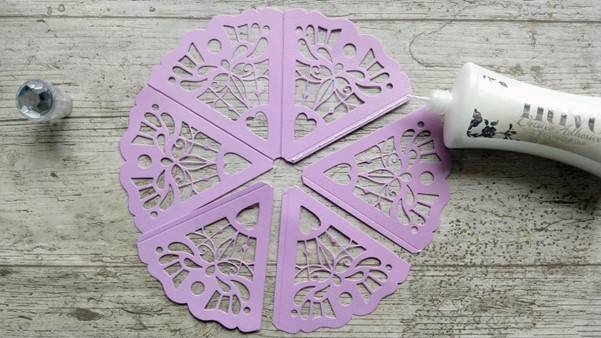
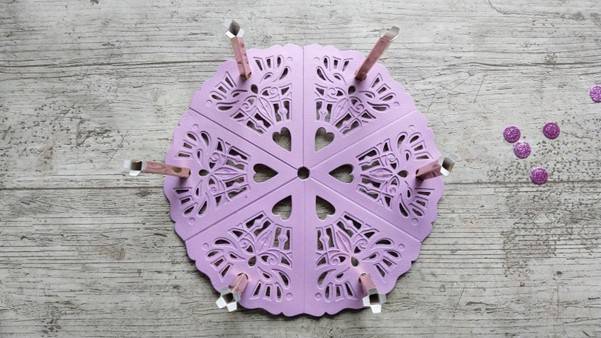
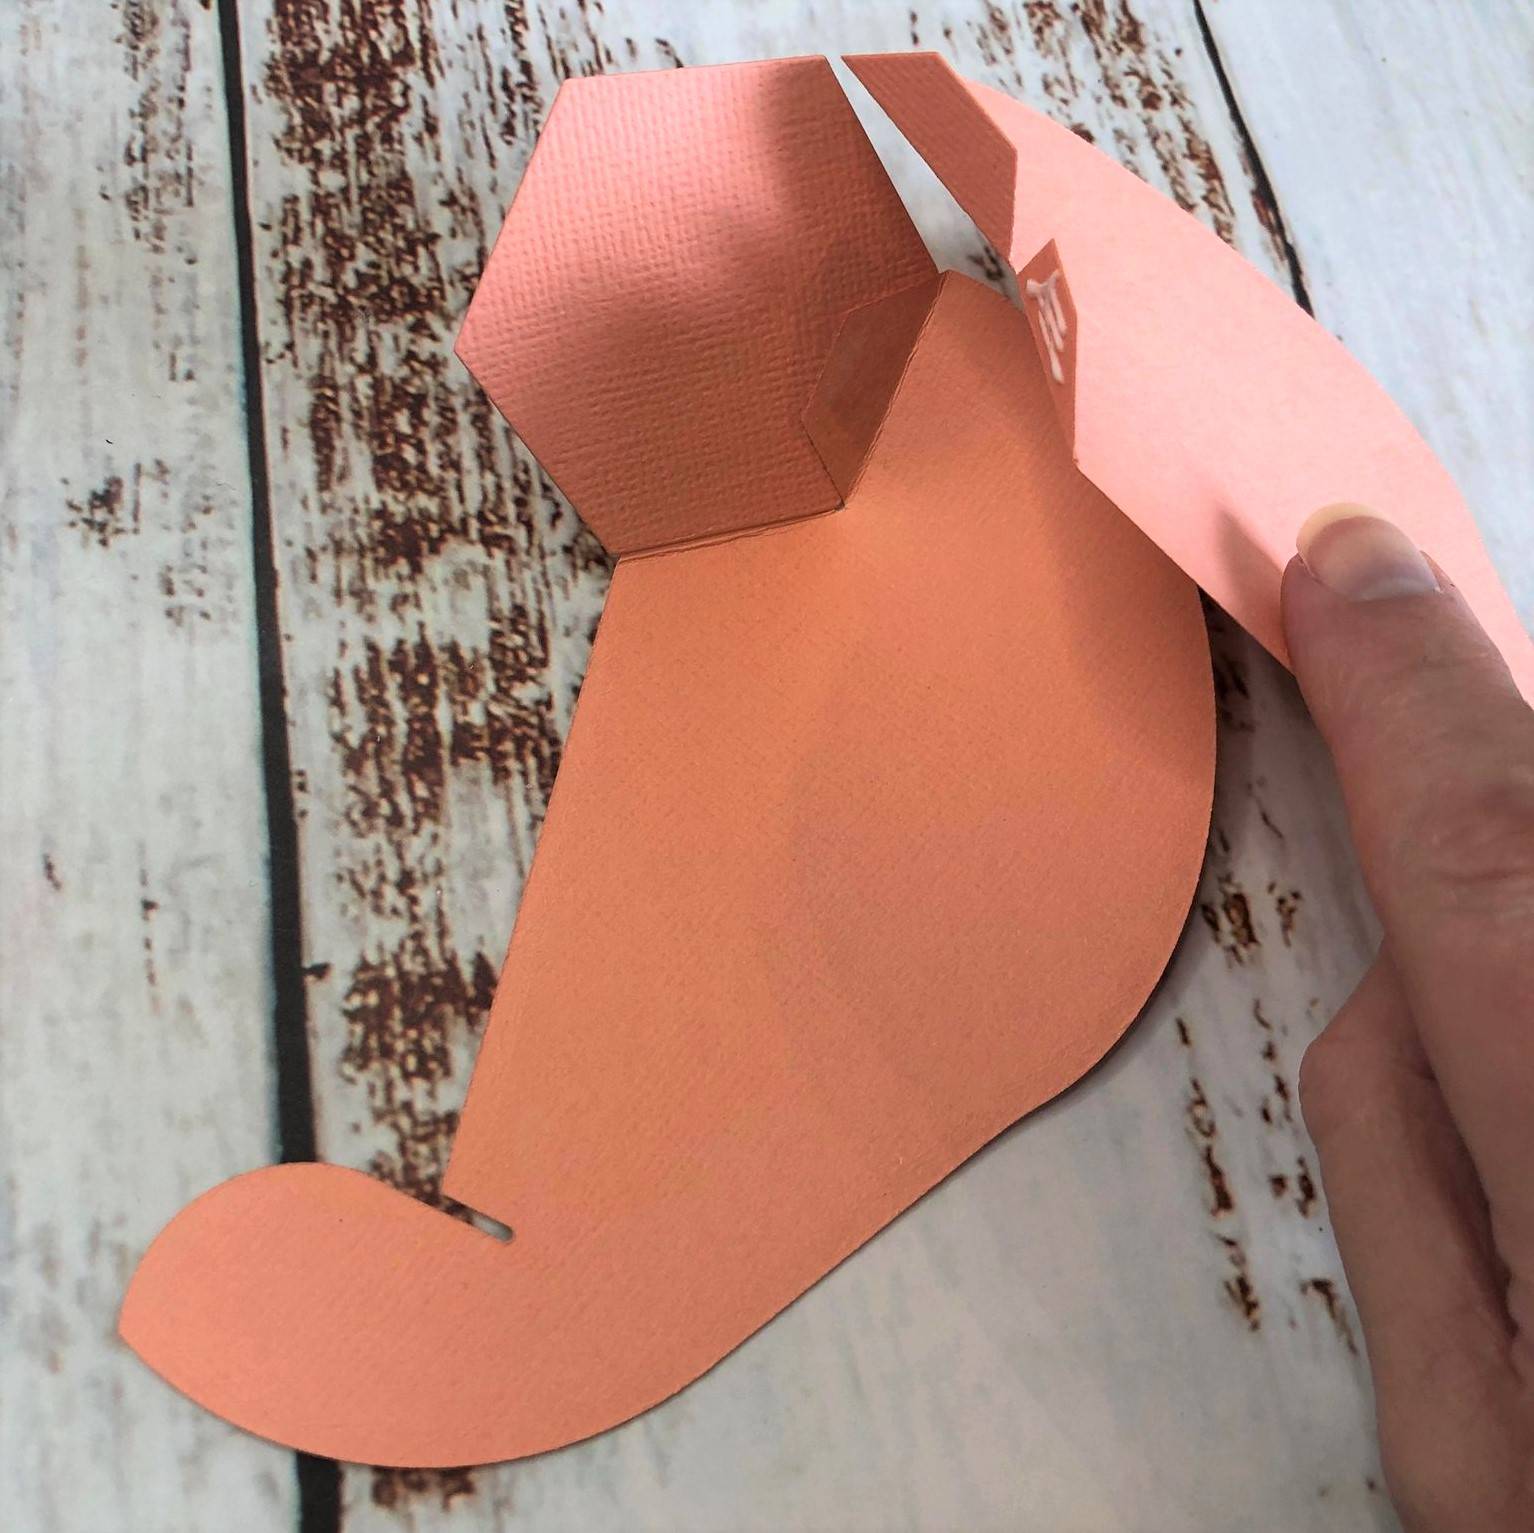
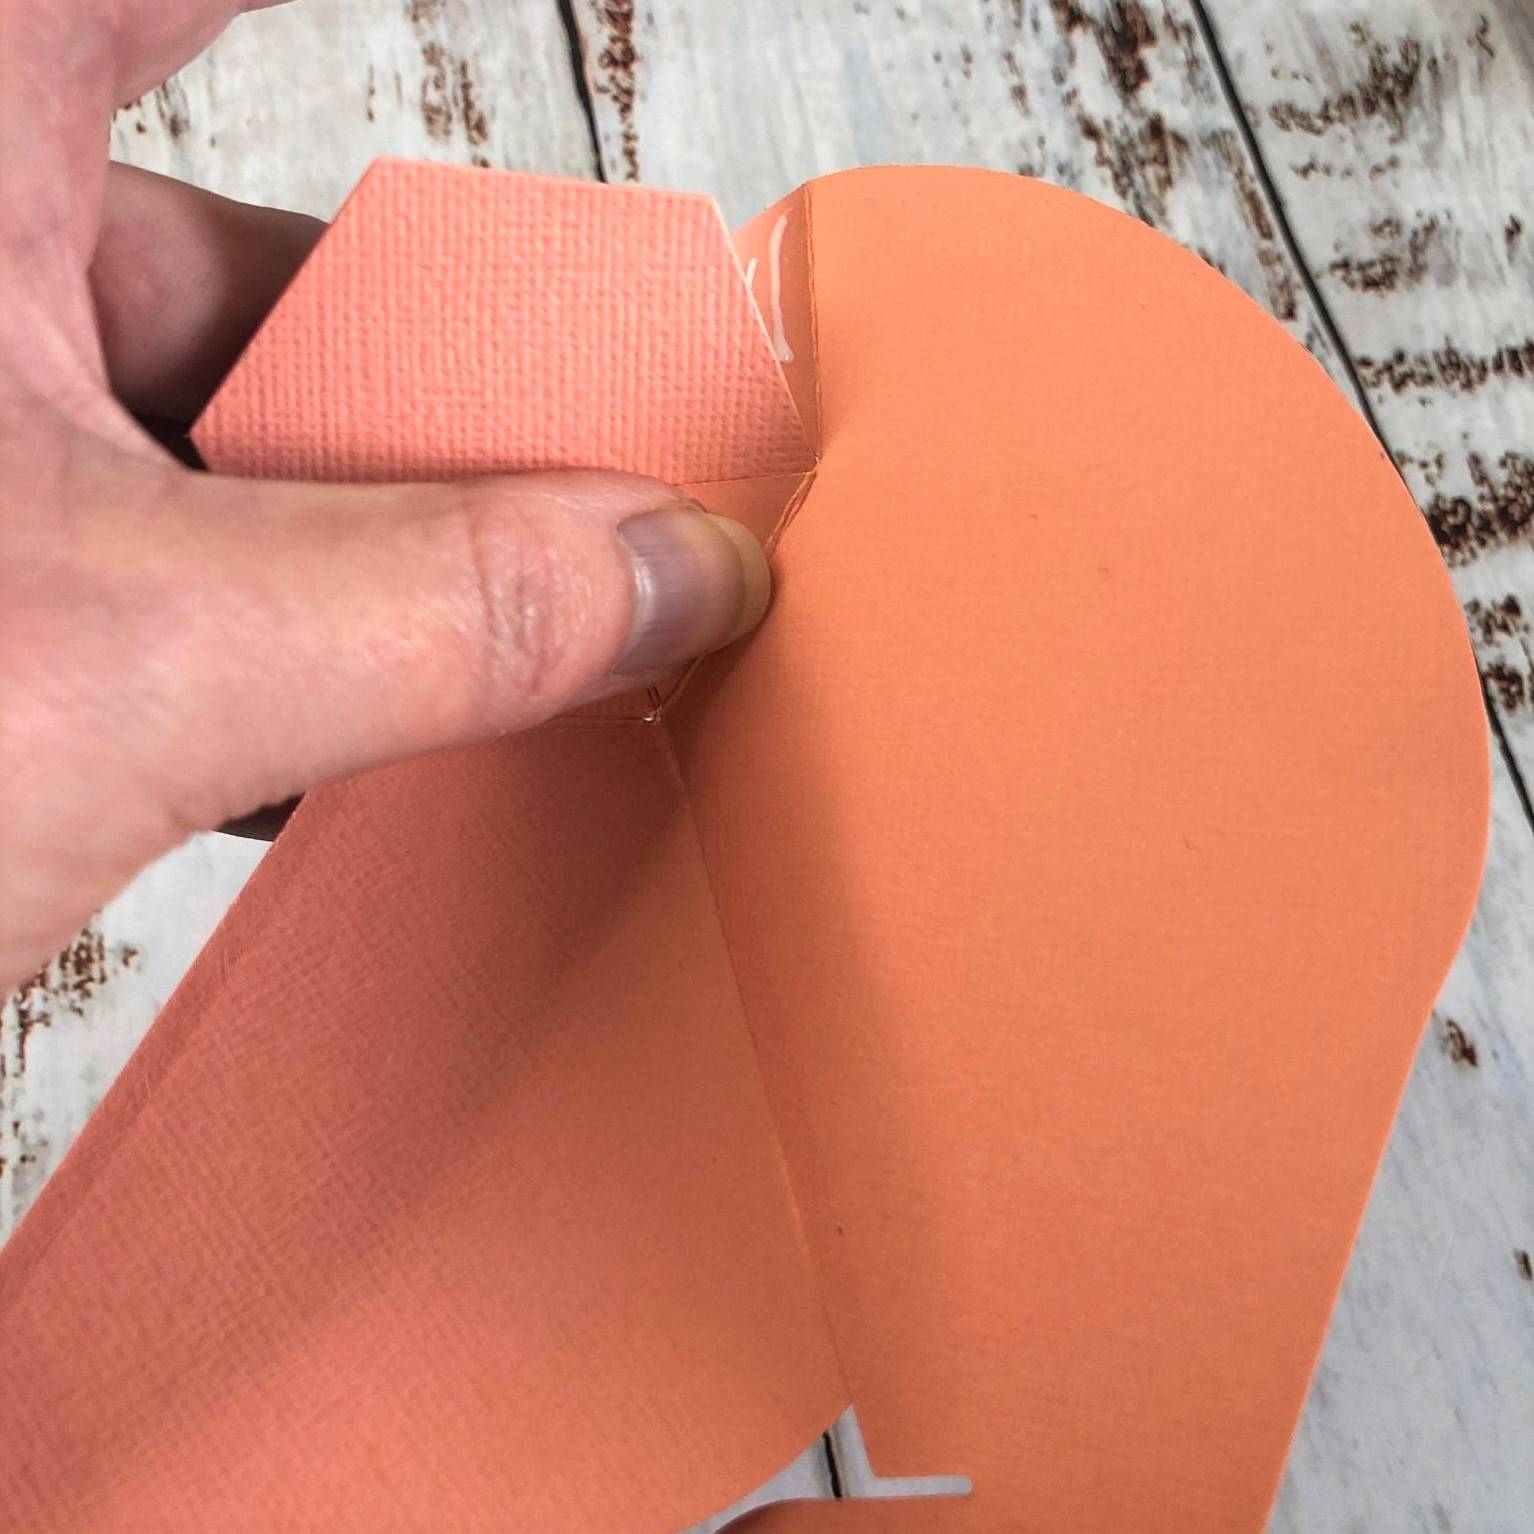
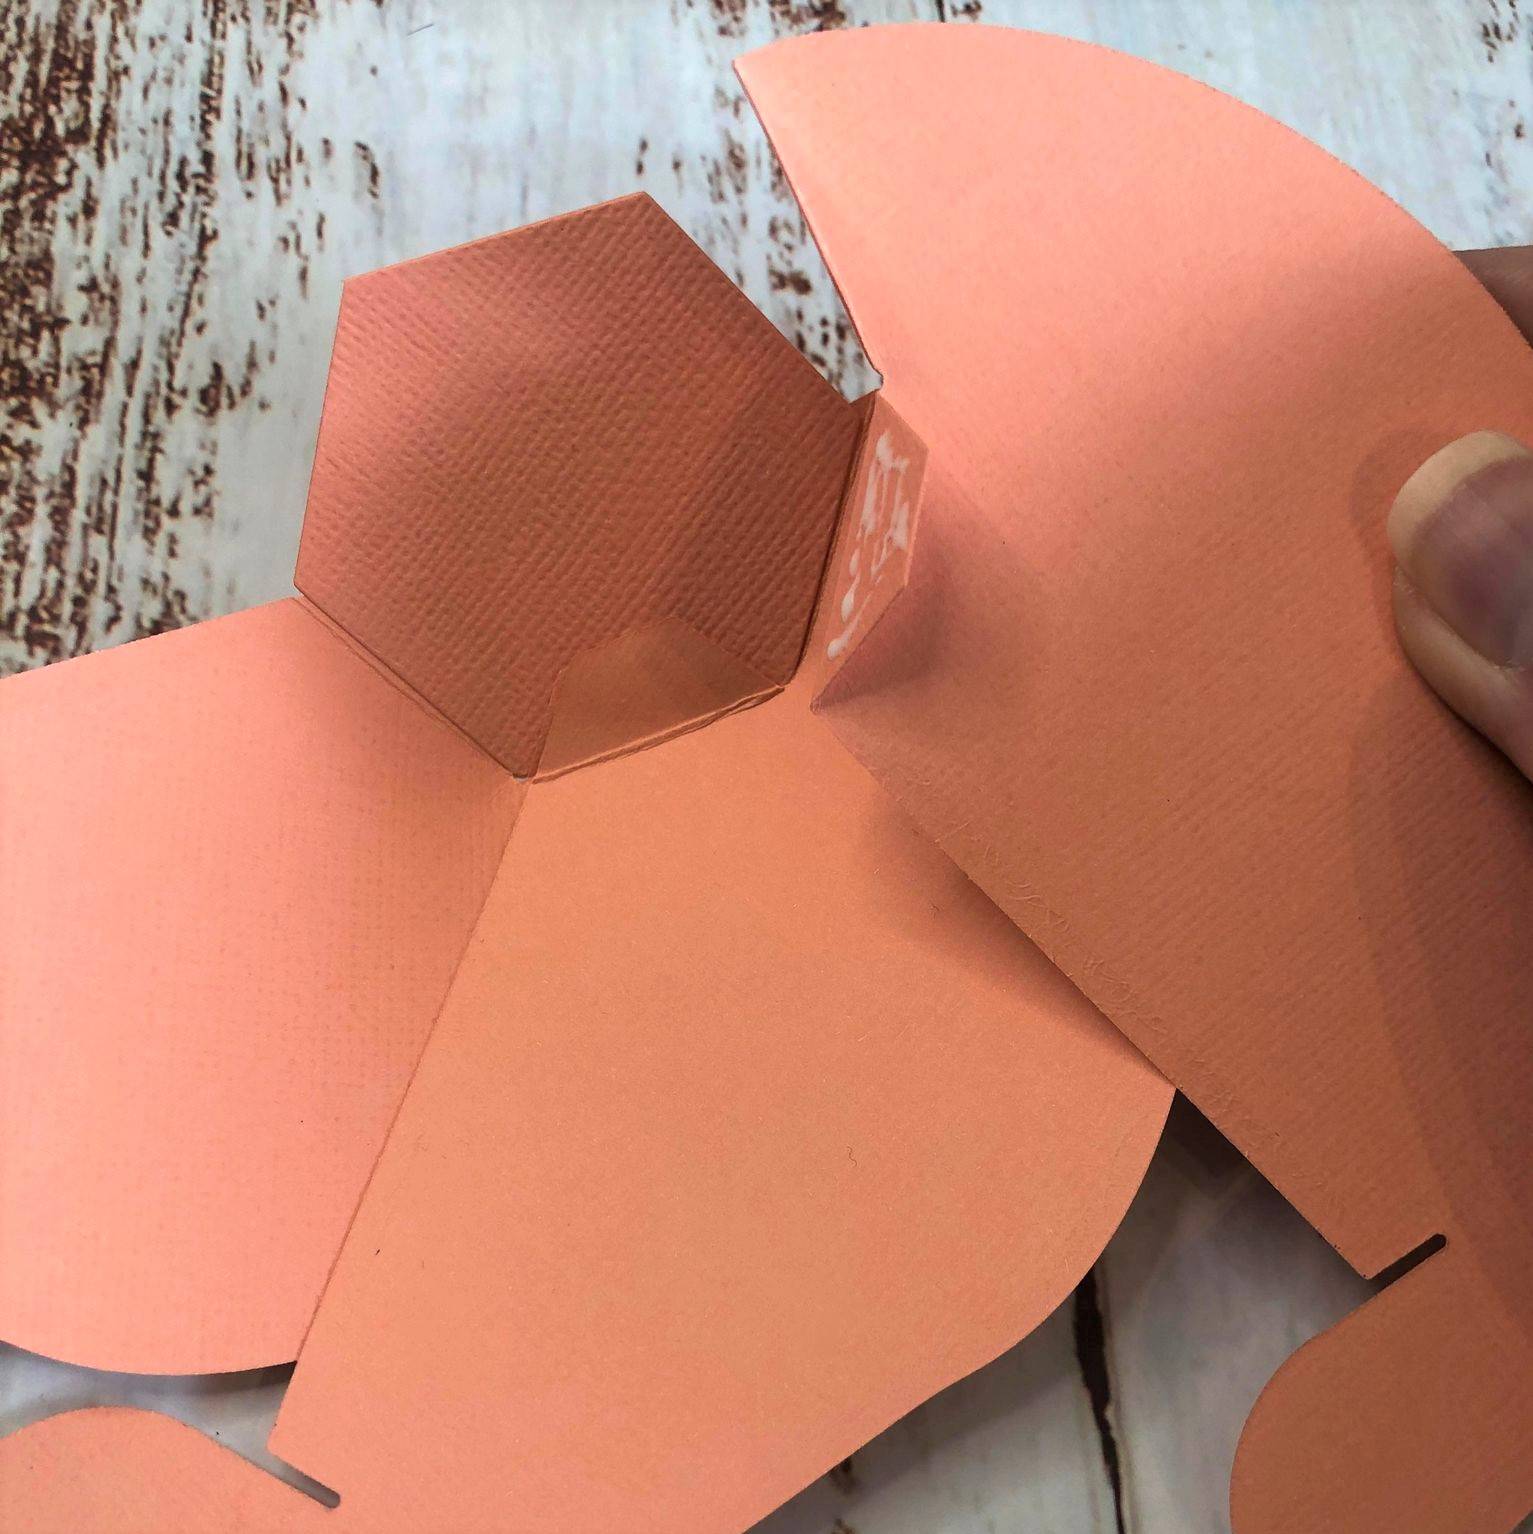
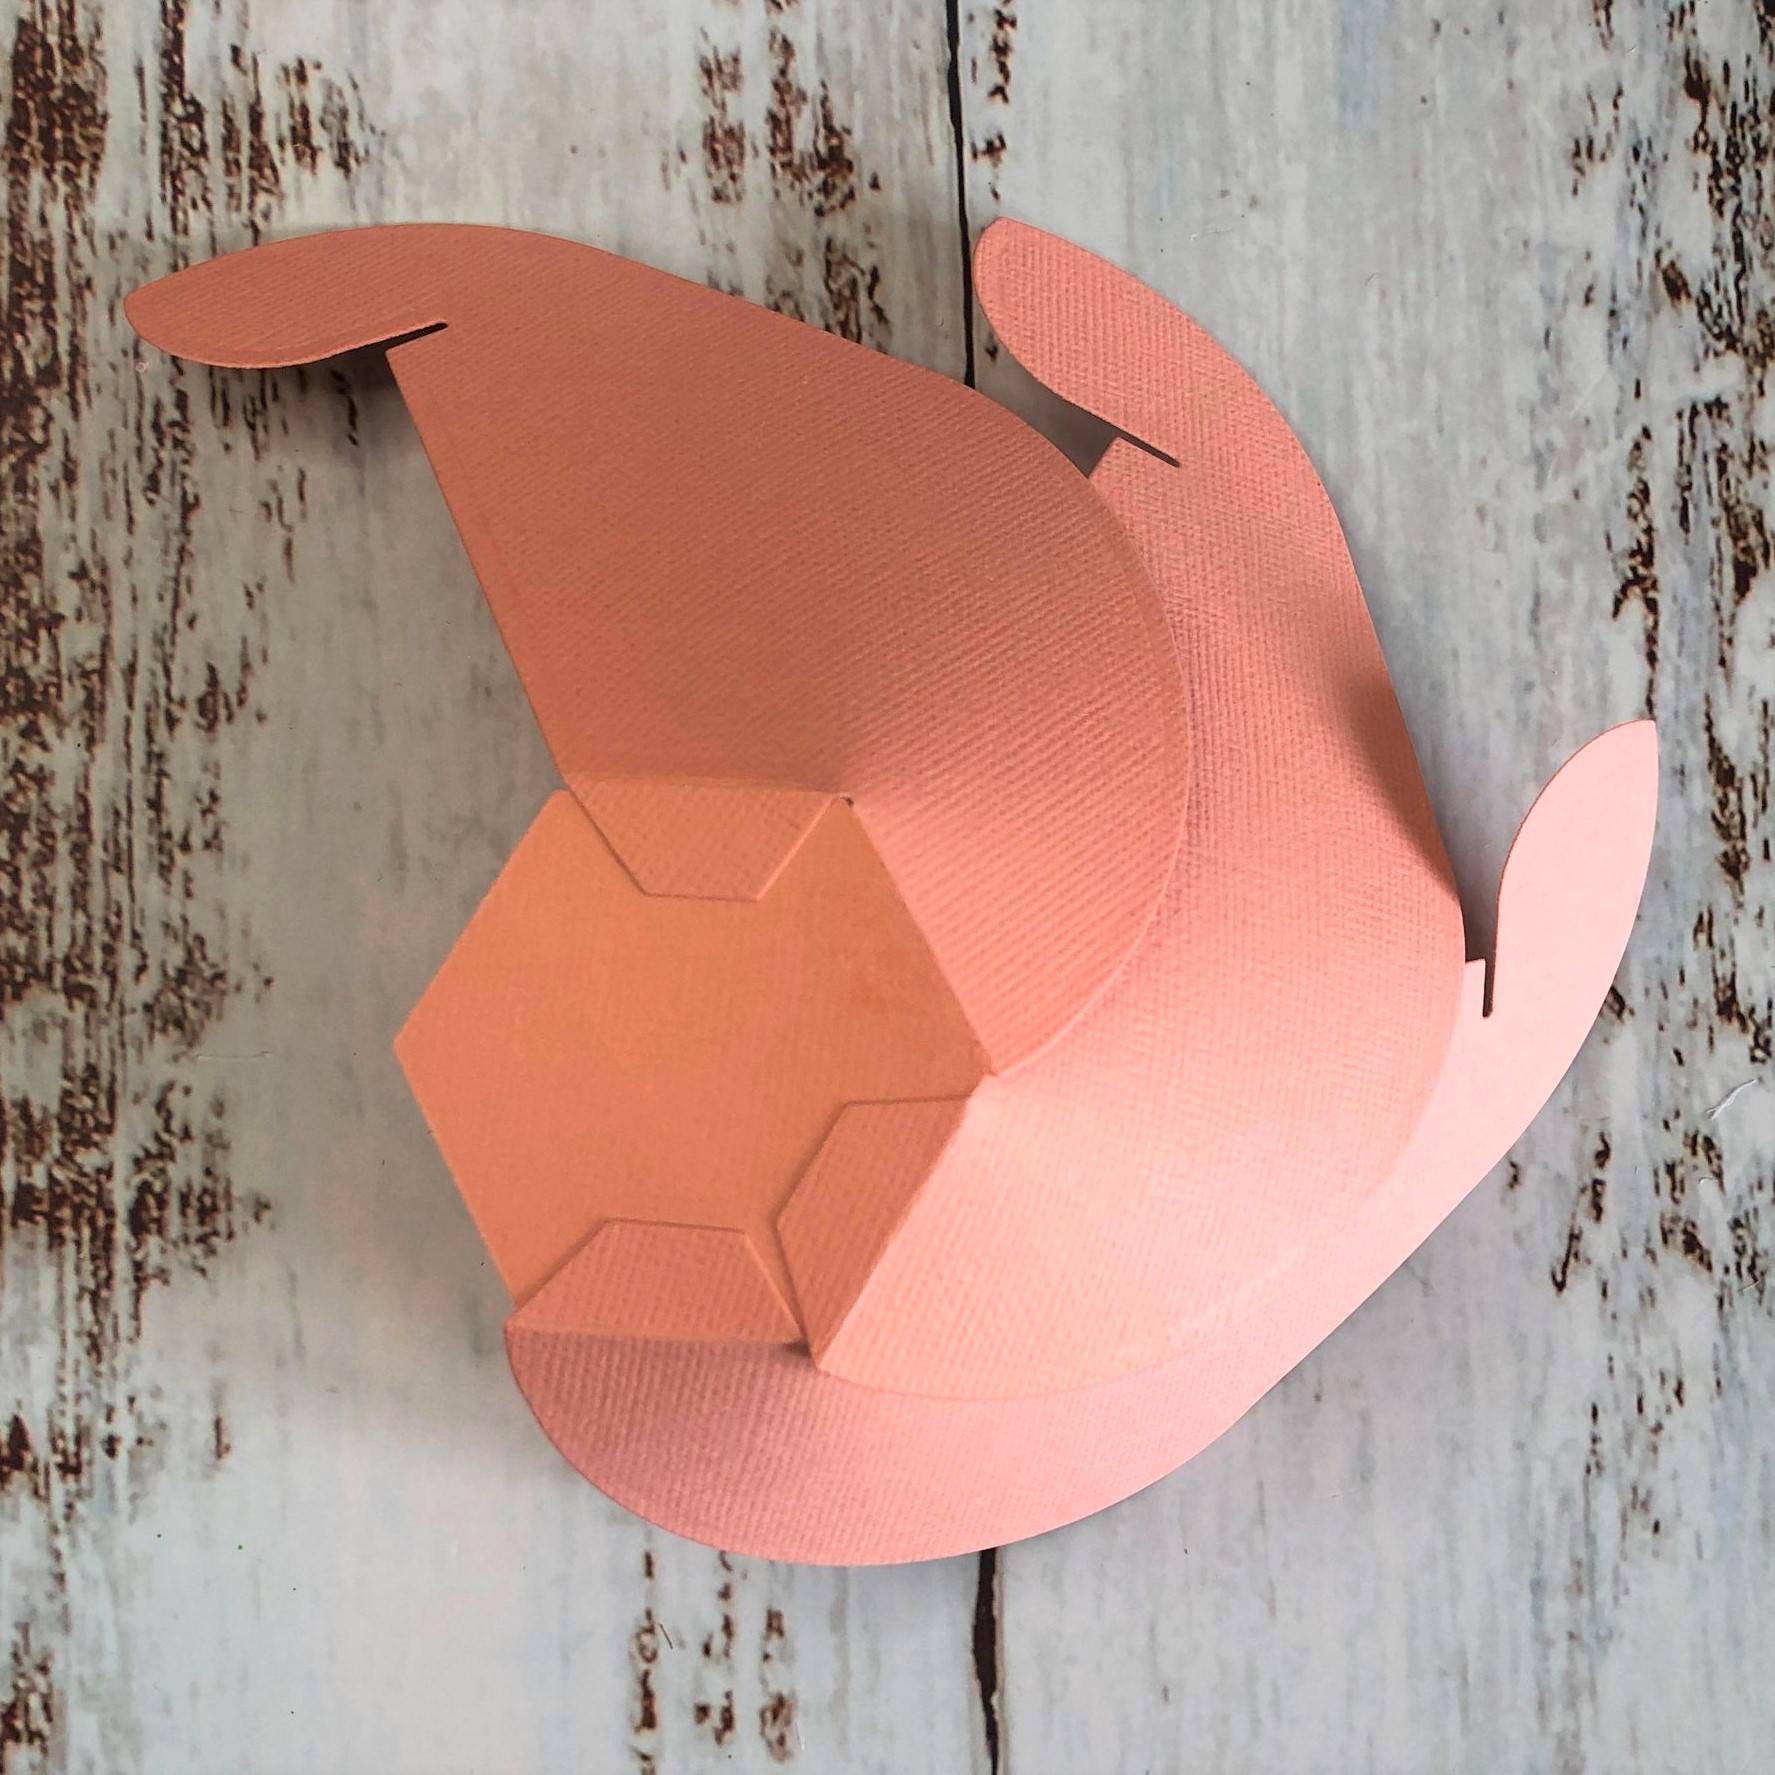
Step 6
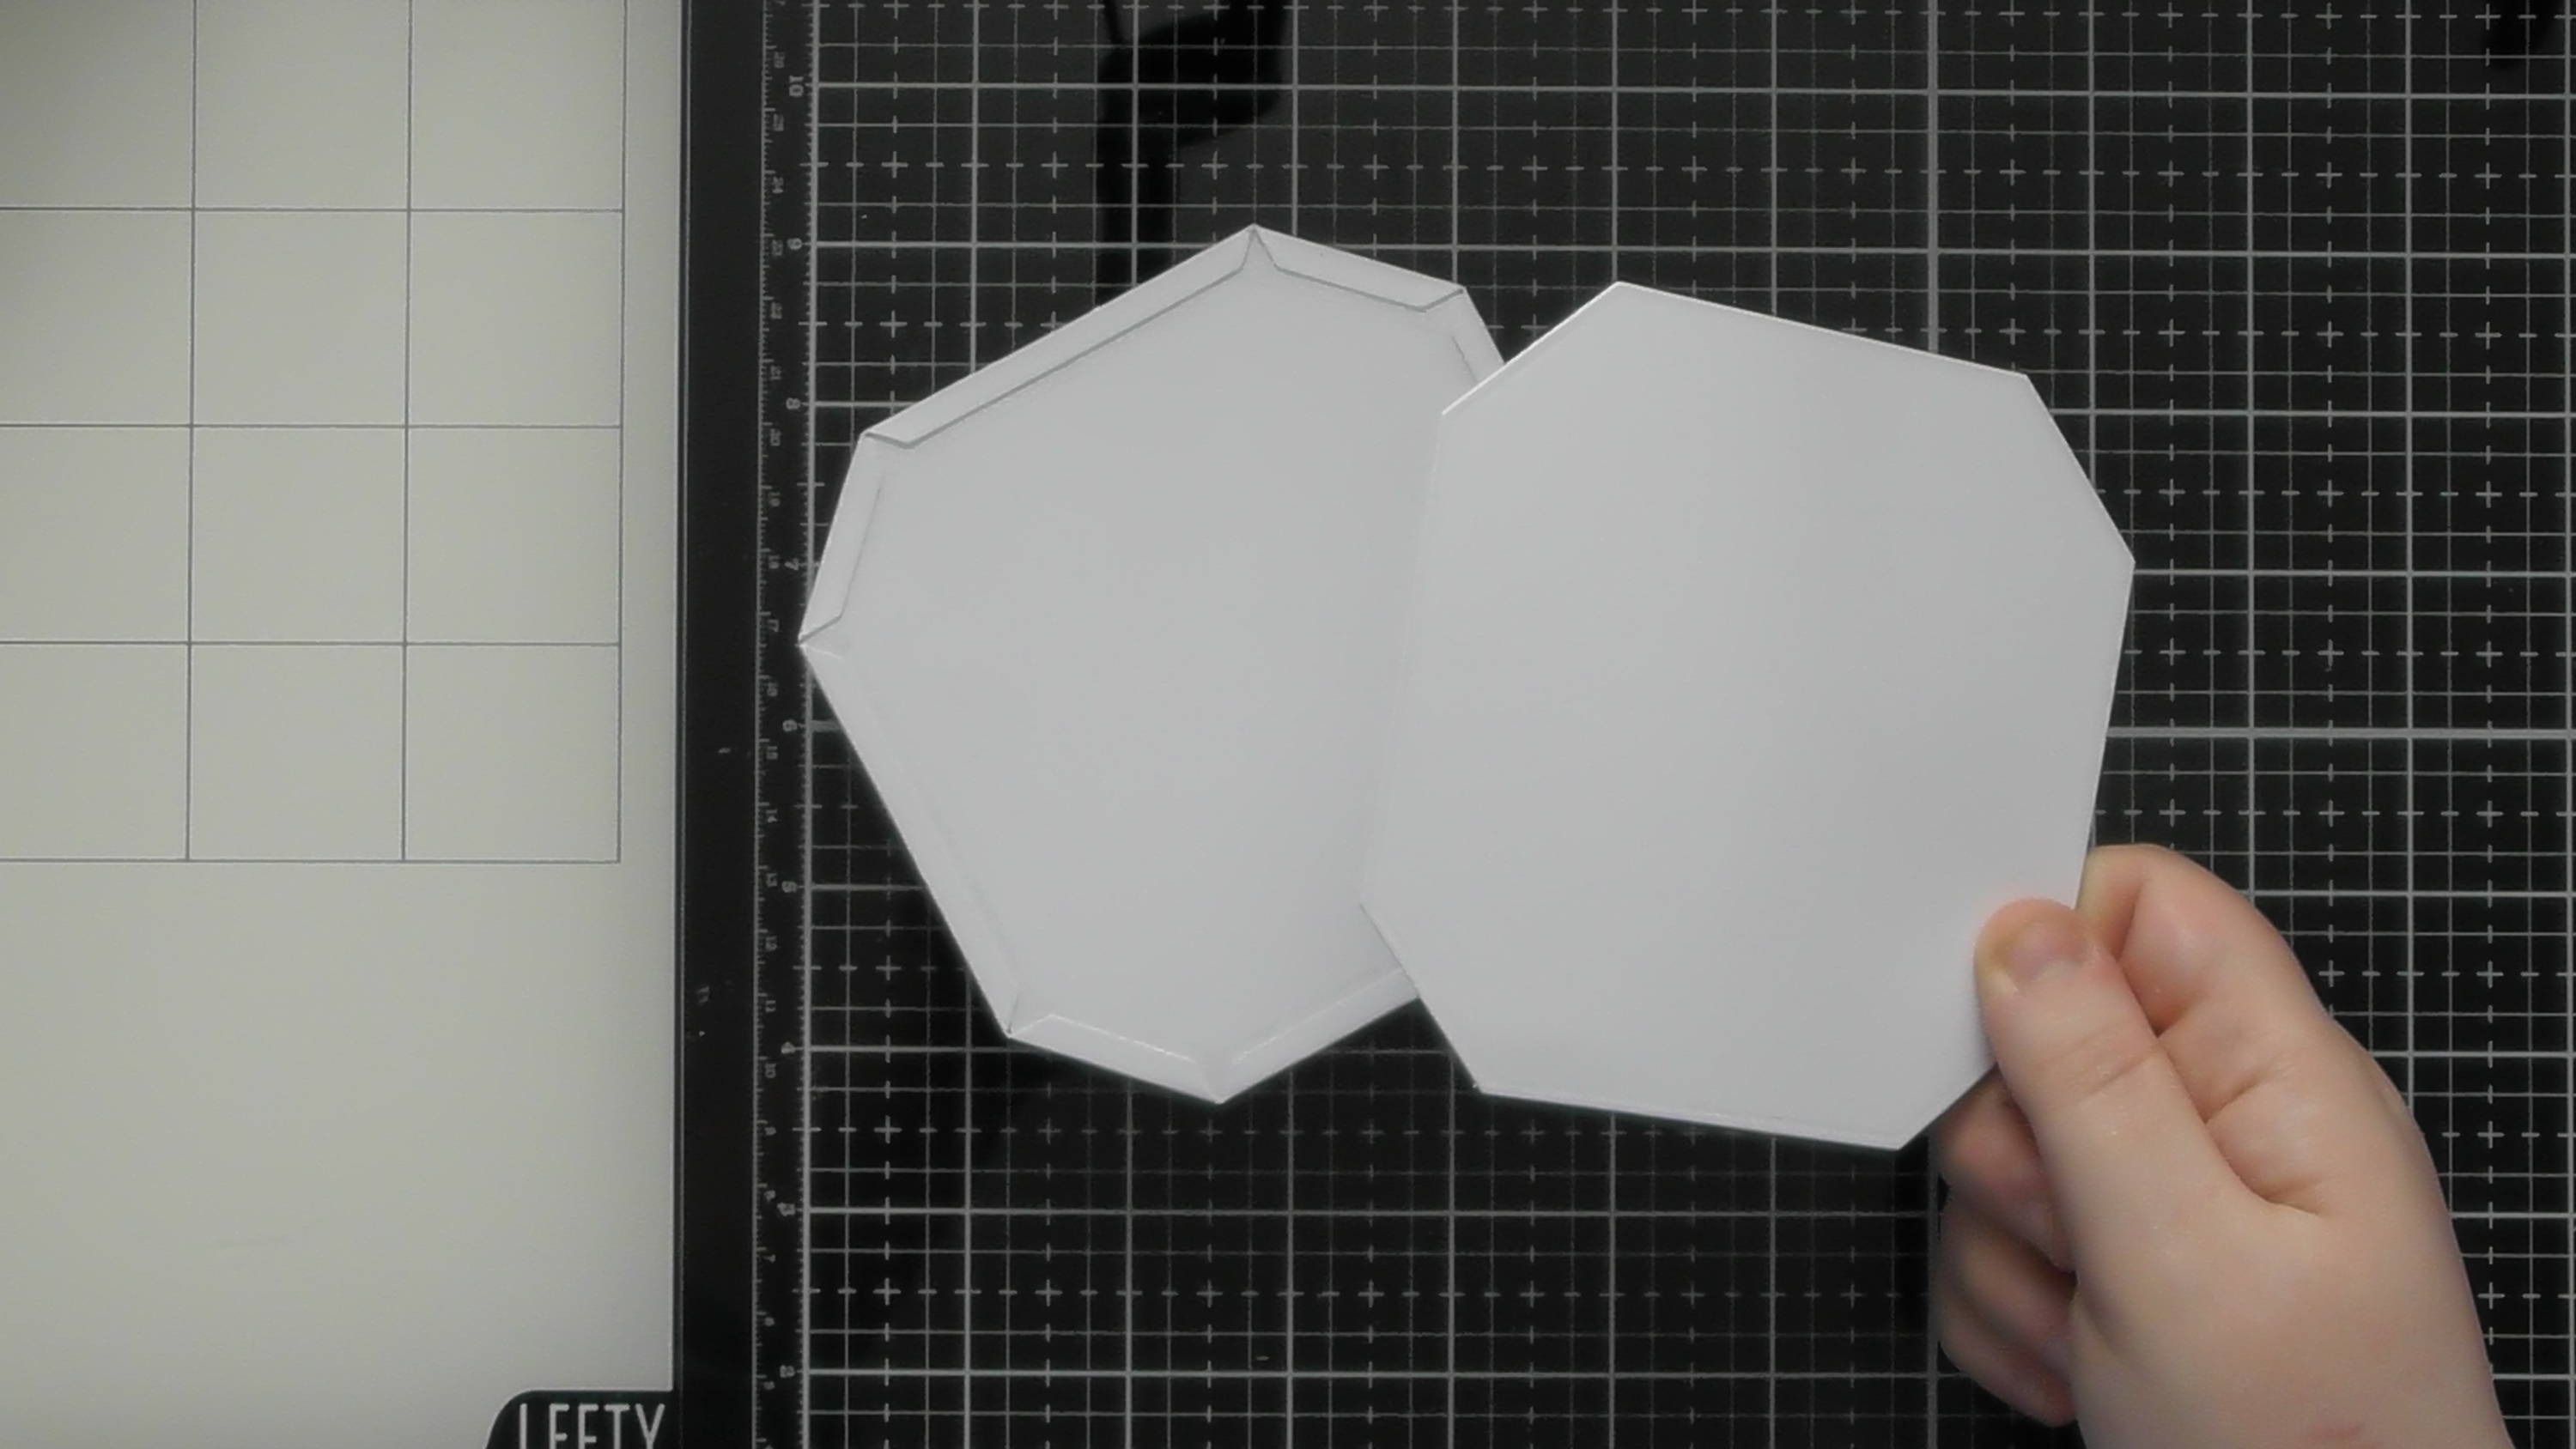
Turn one panel at 180 degrees to the other and glue together by the central tabs as shown.
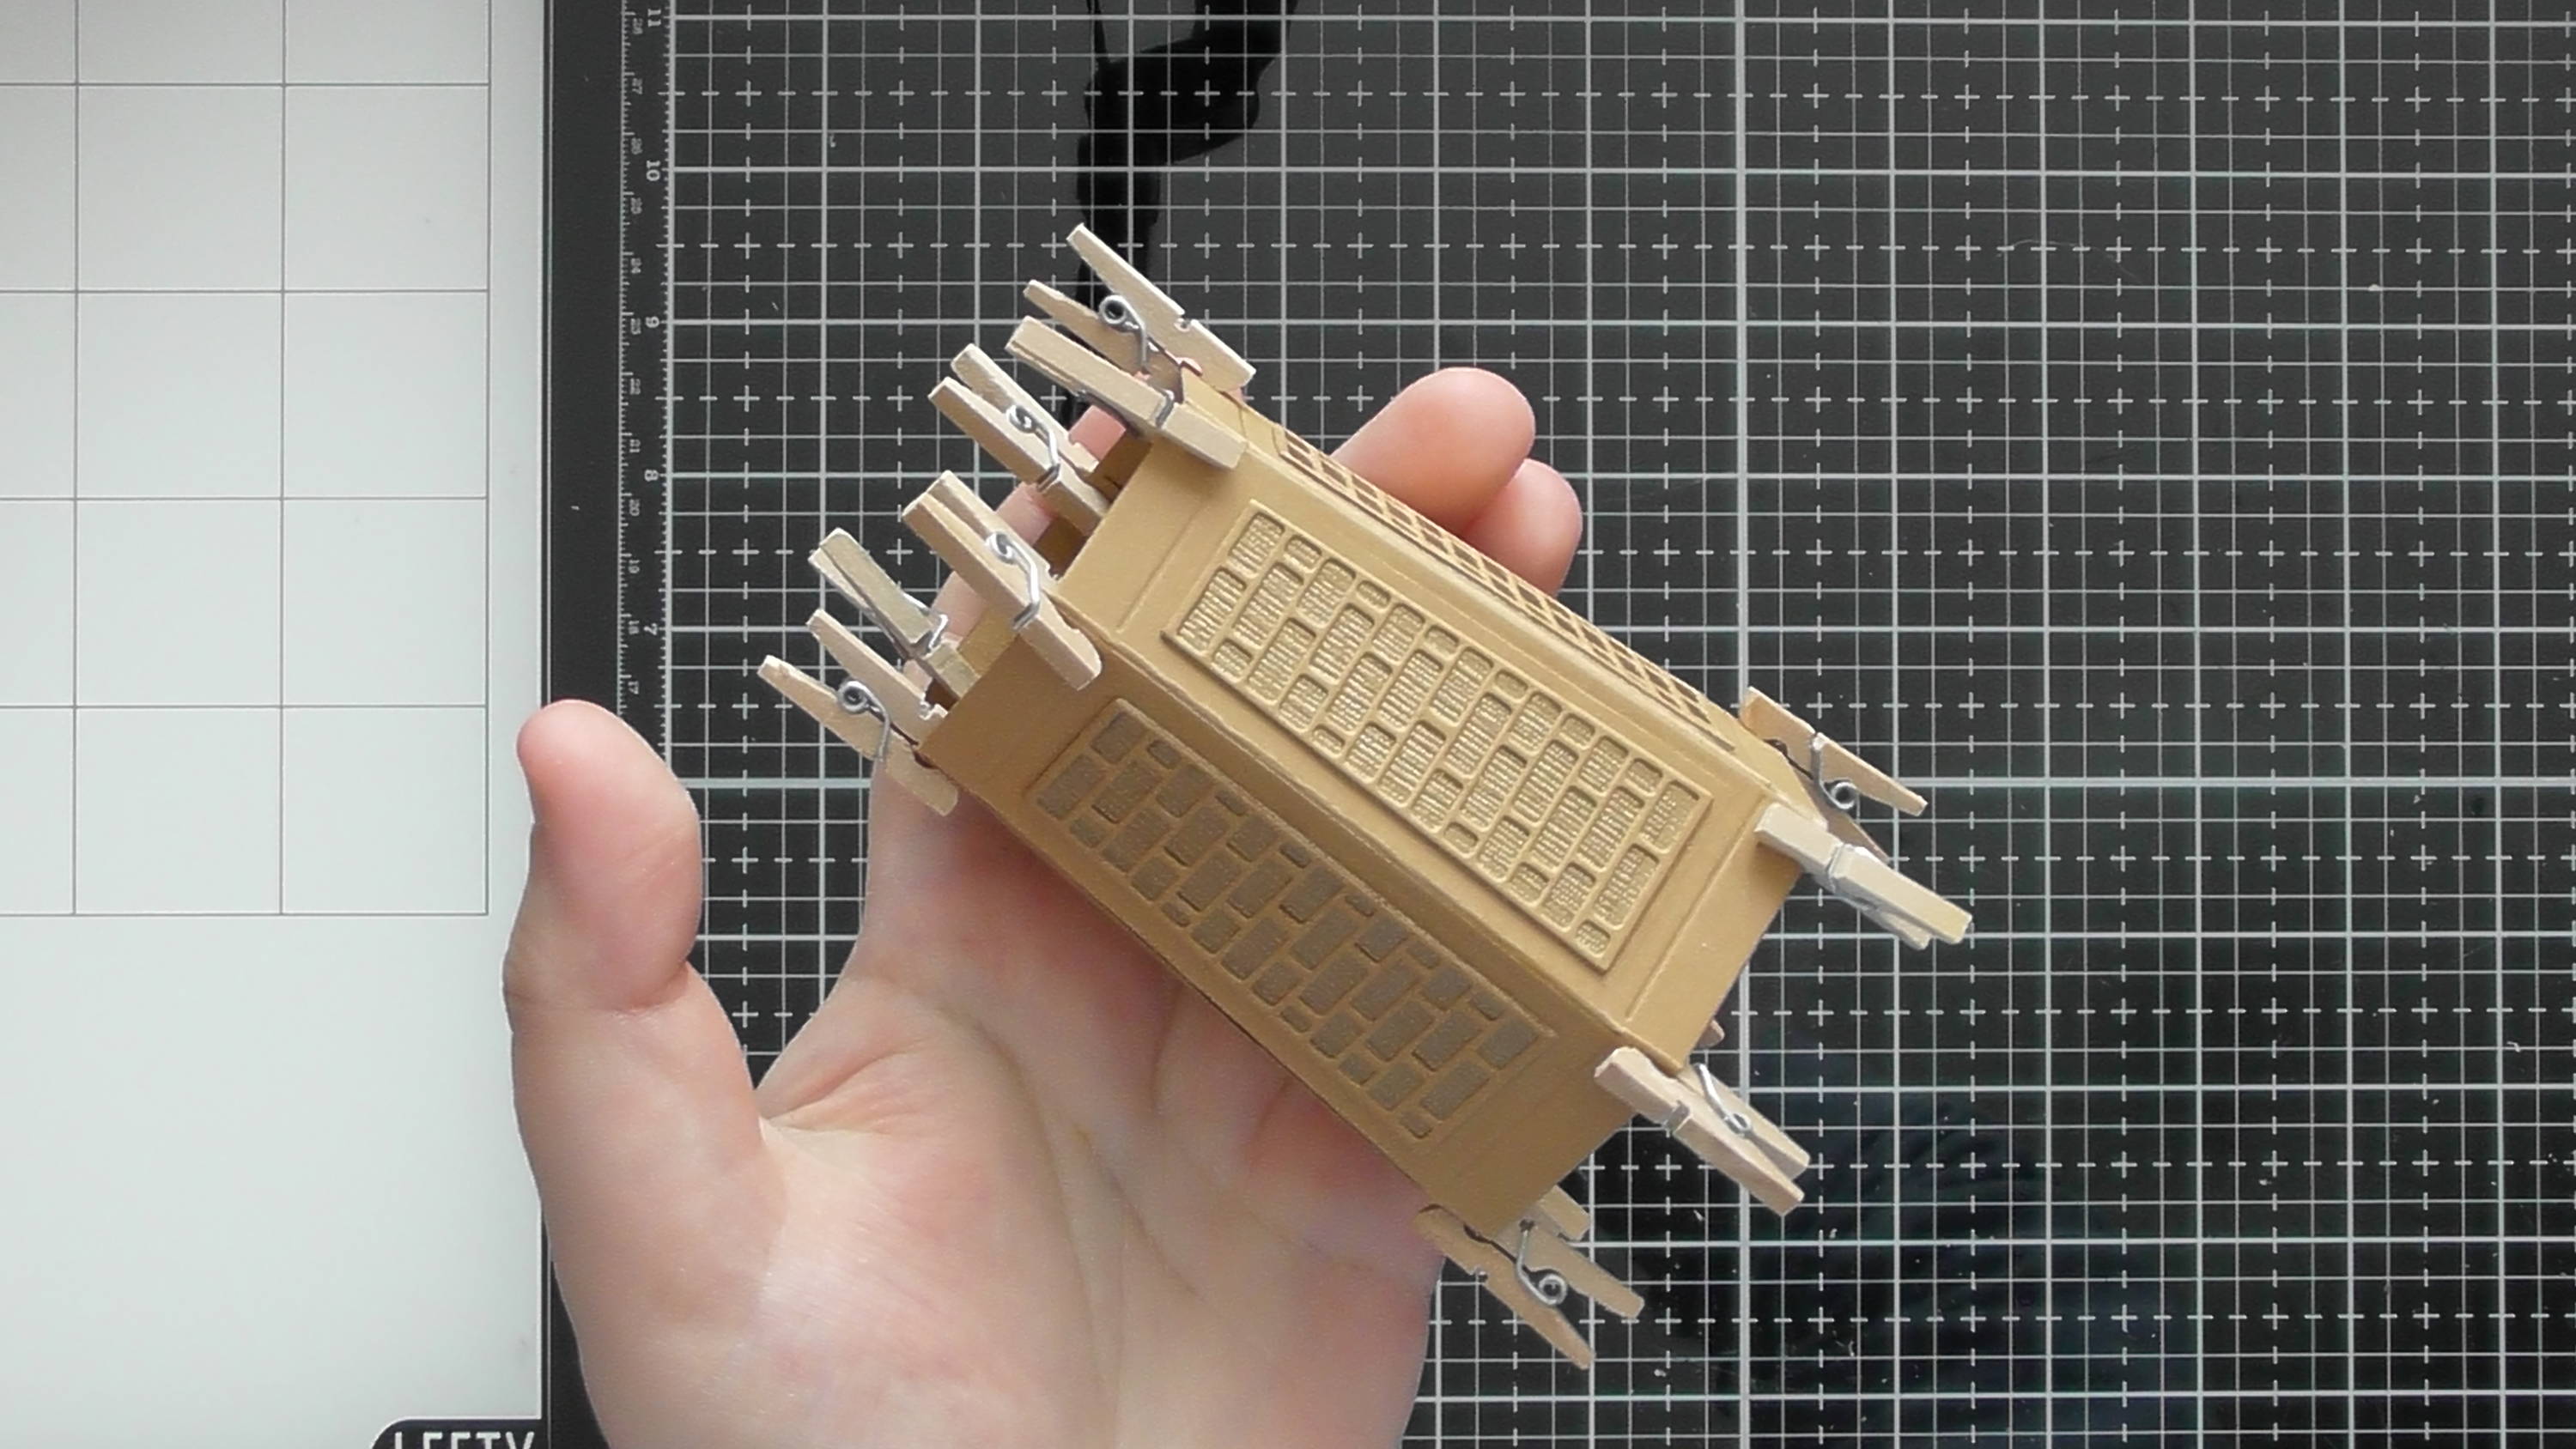
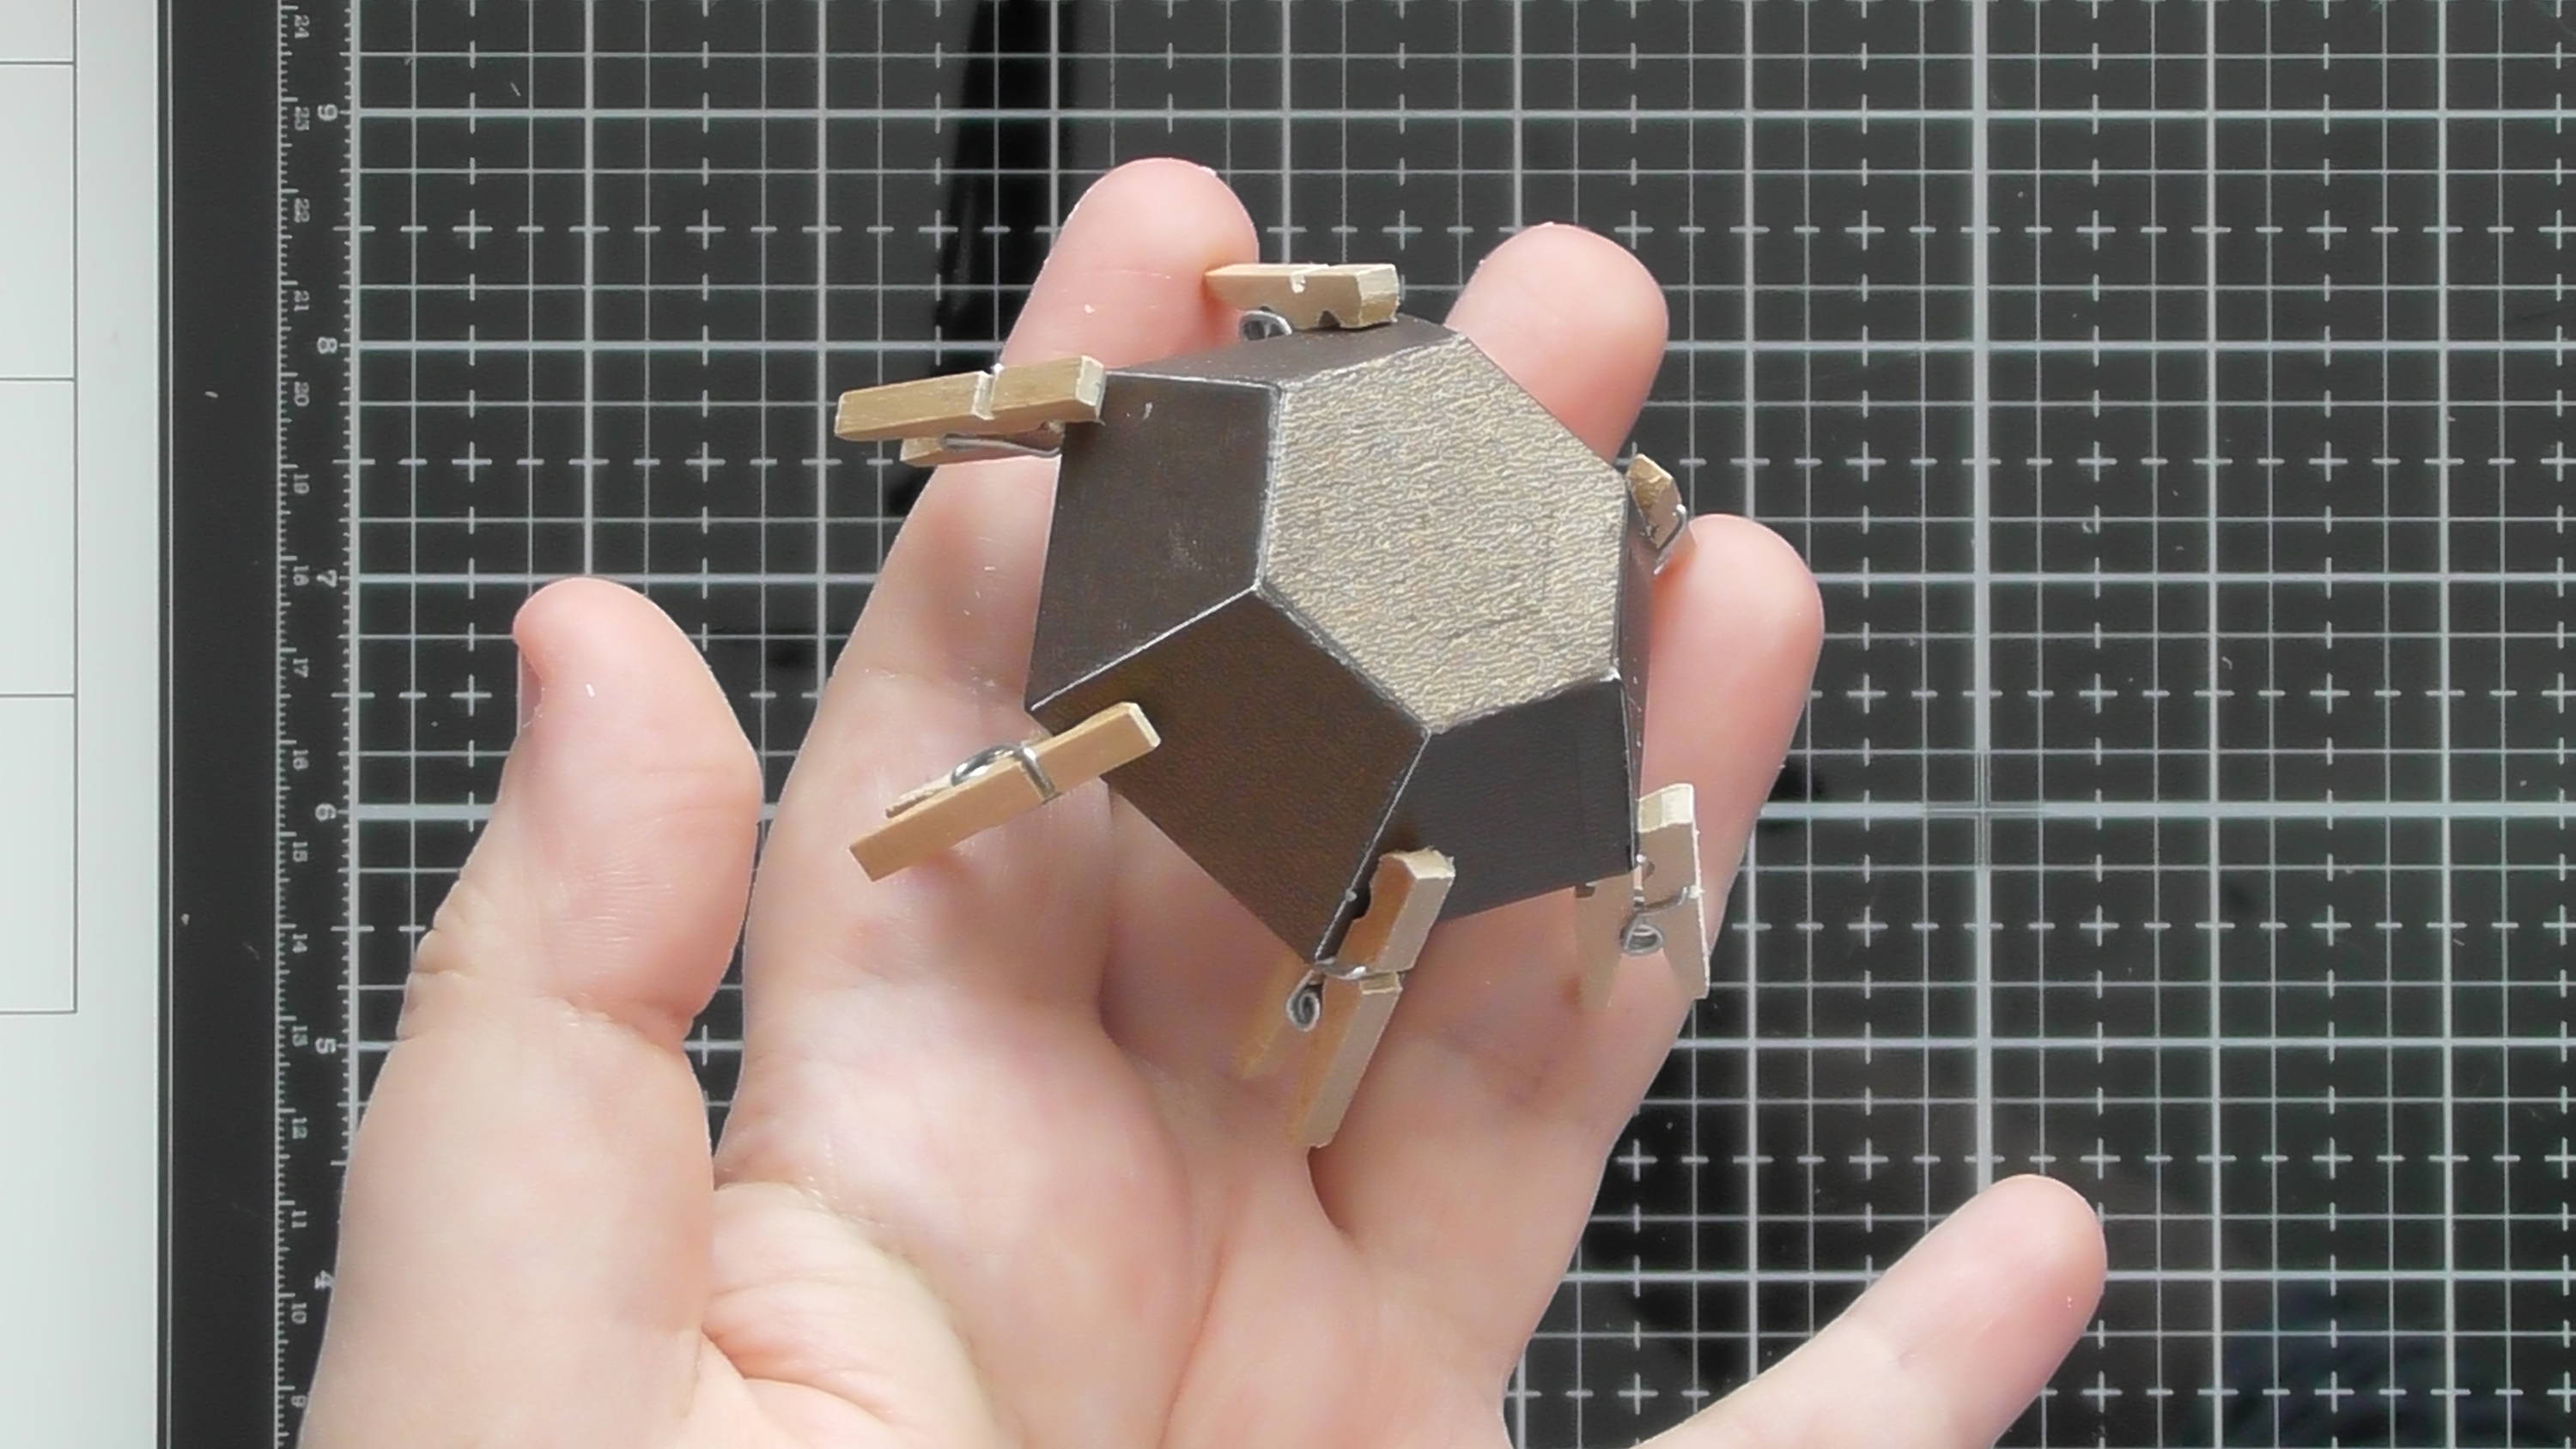
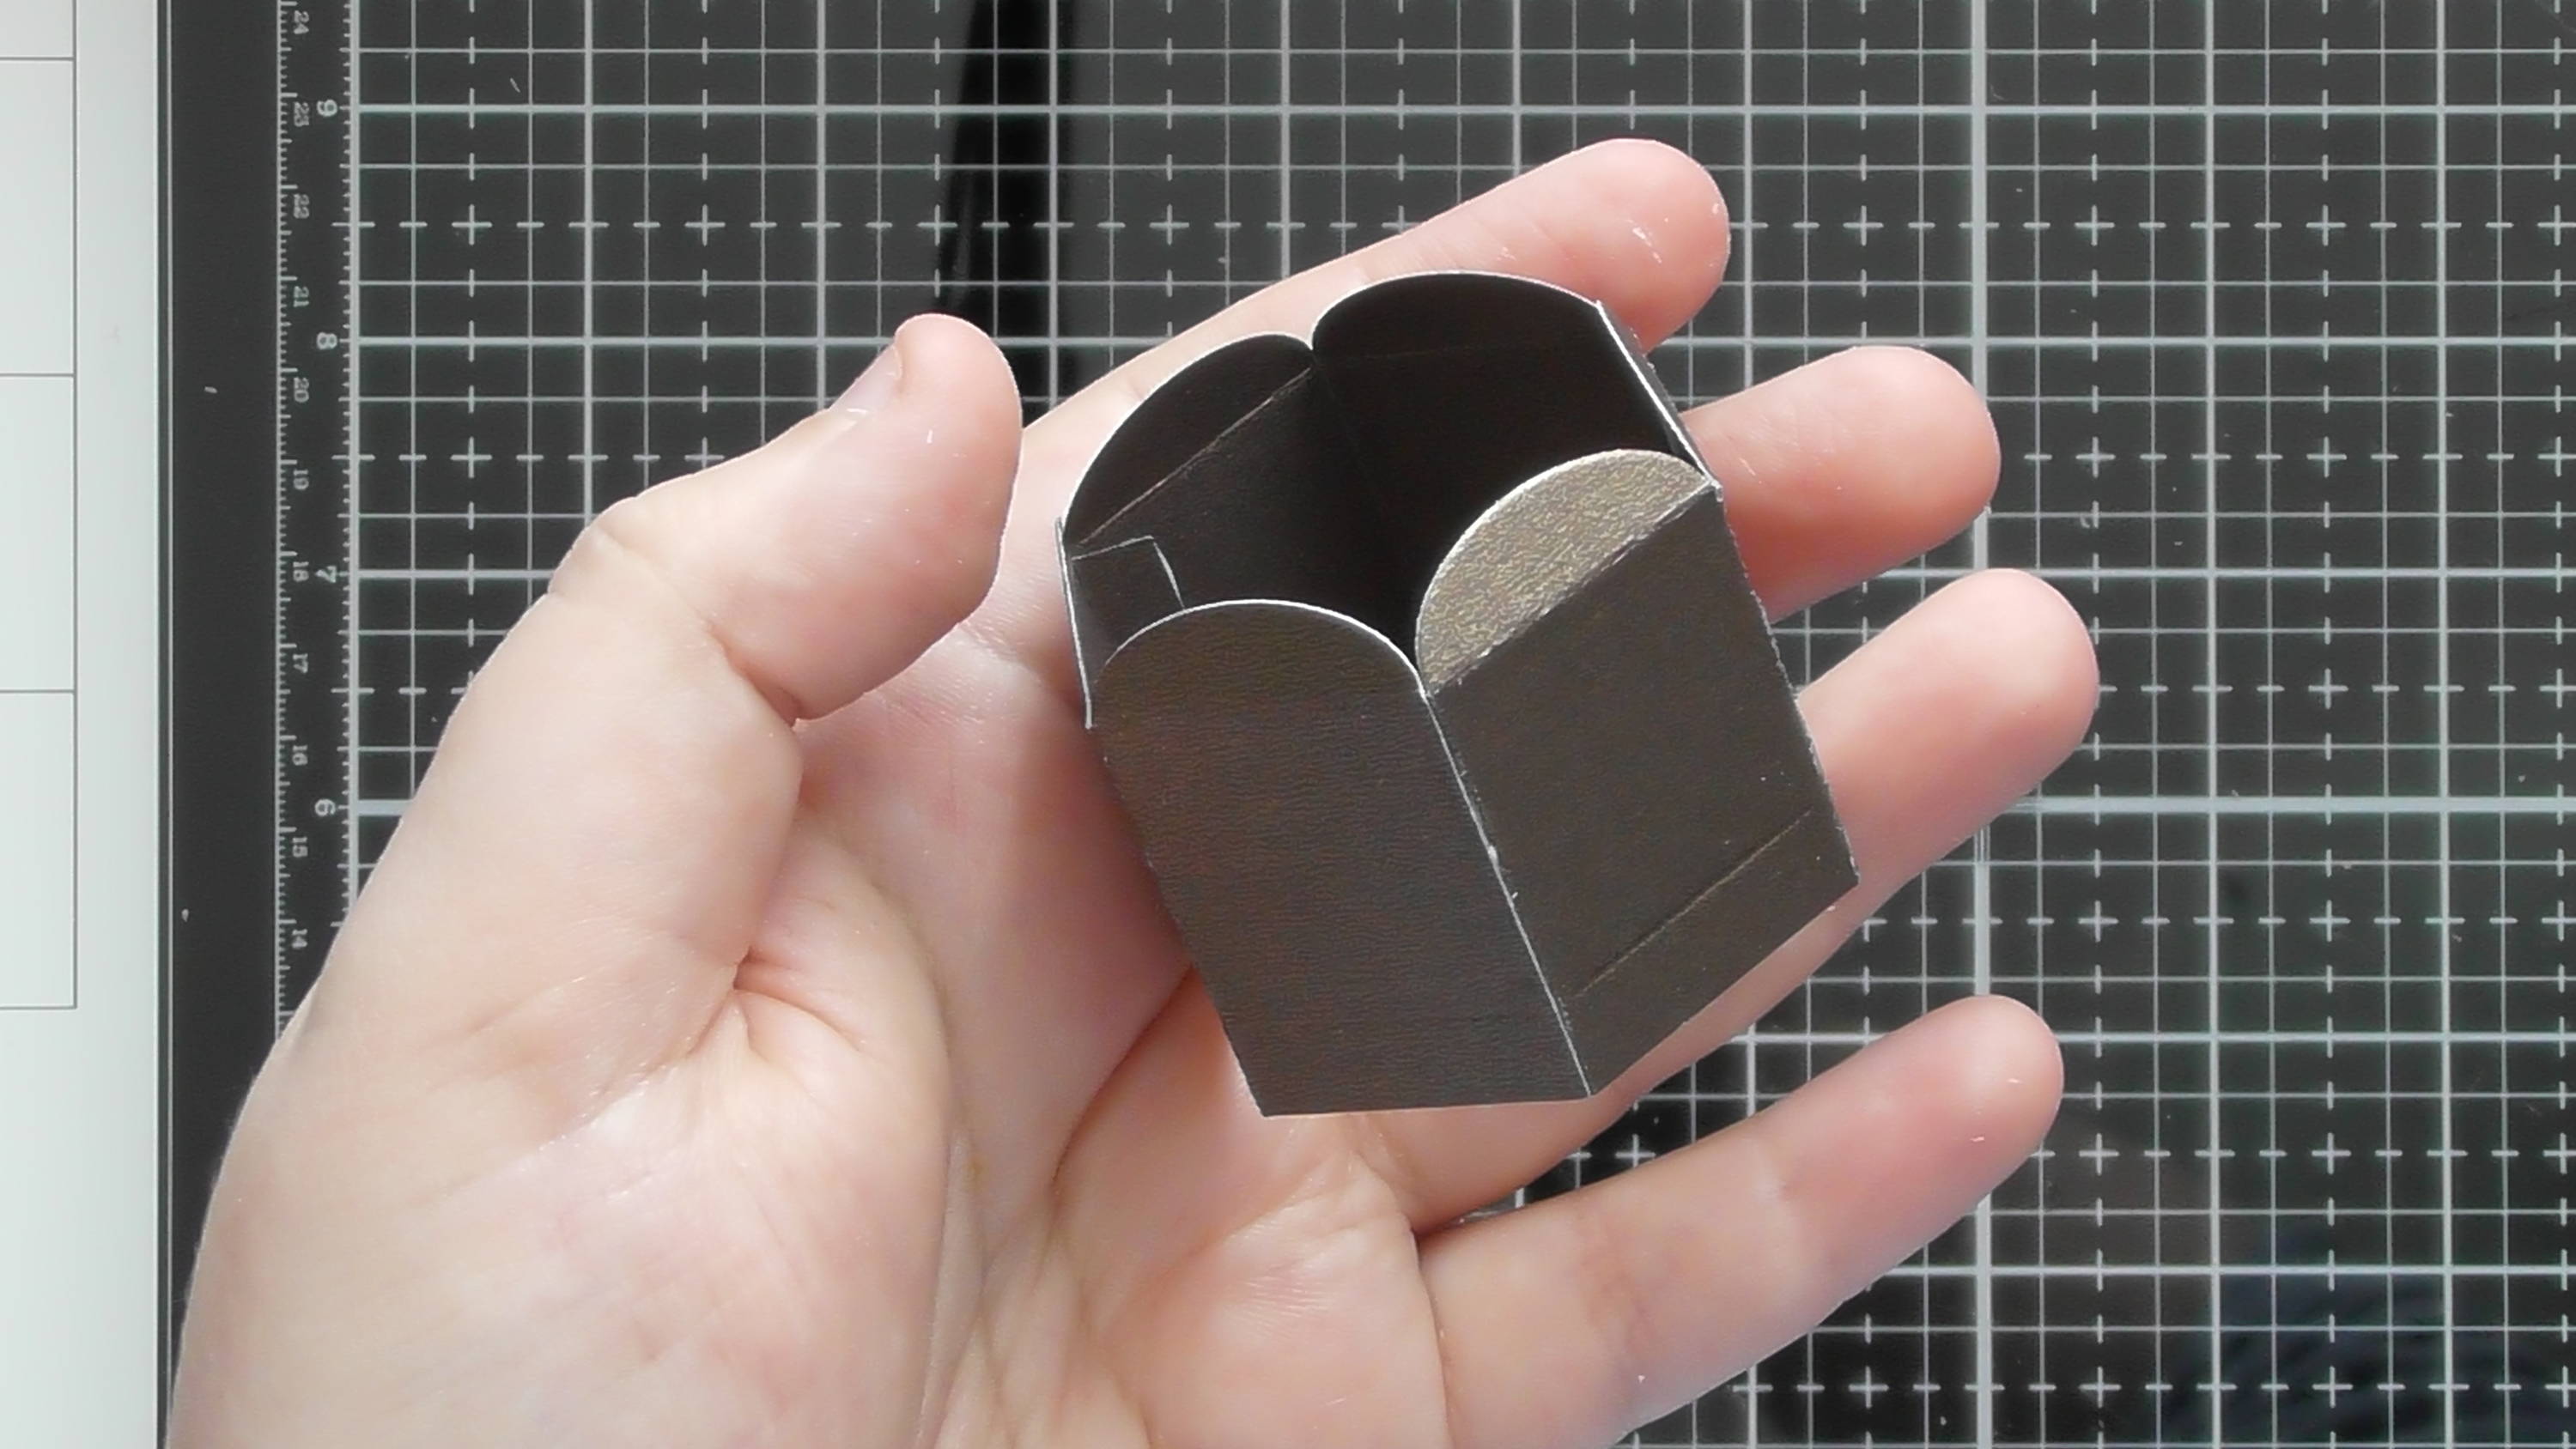
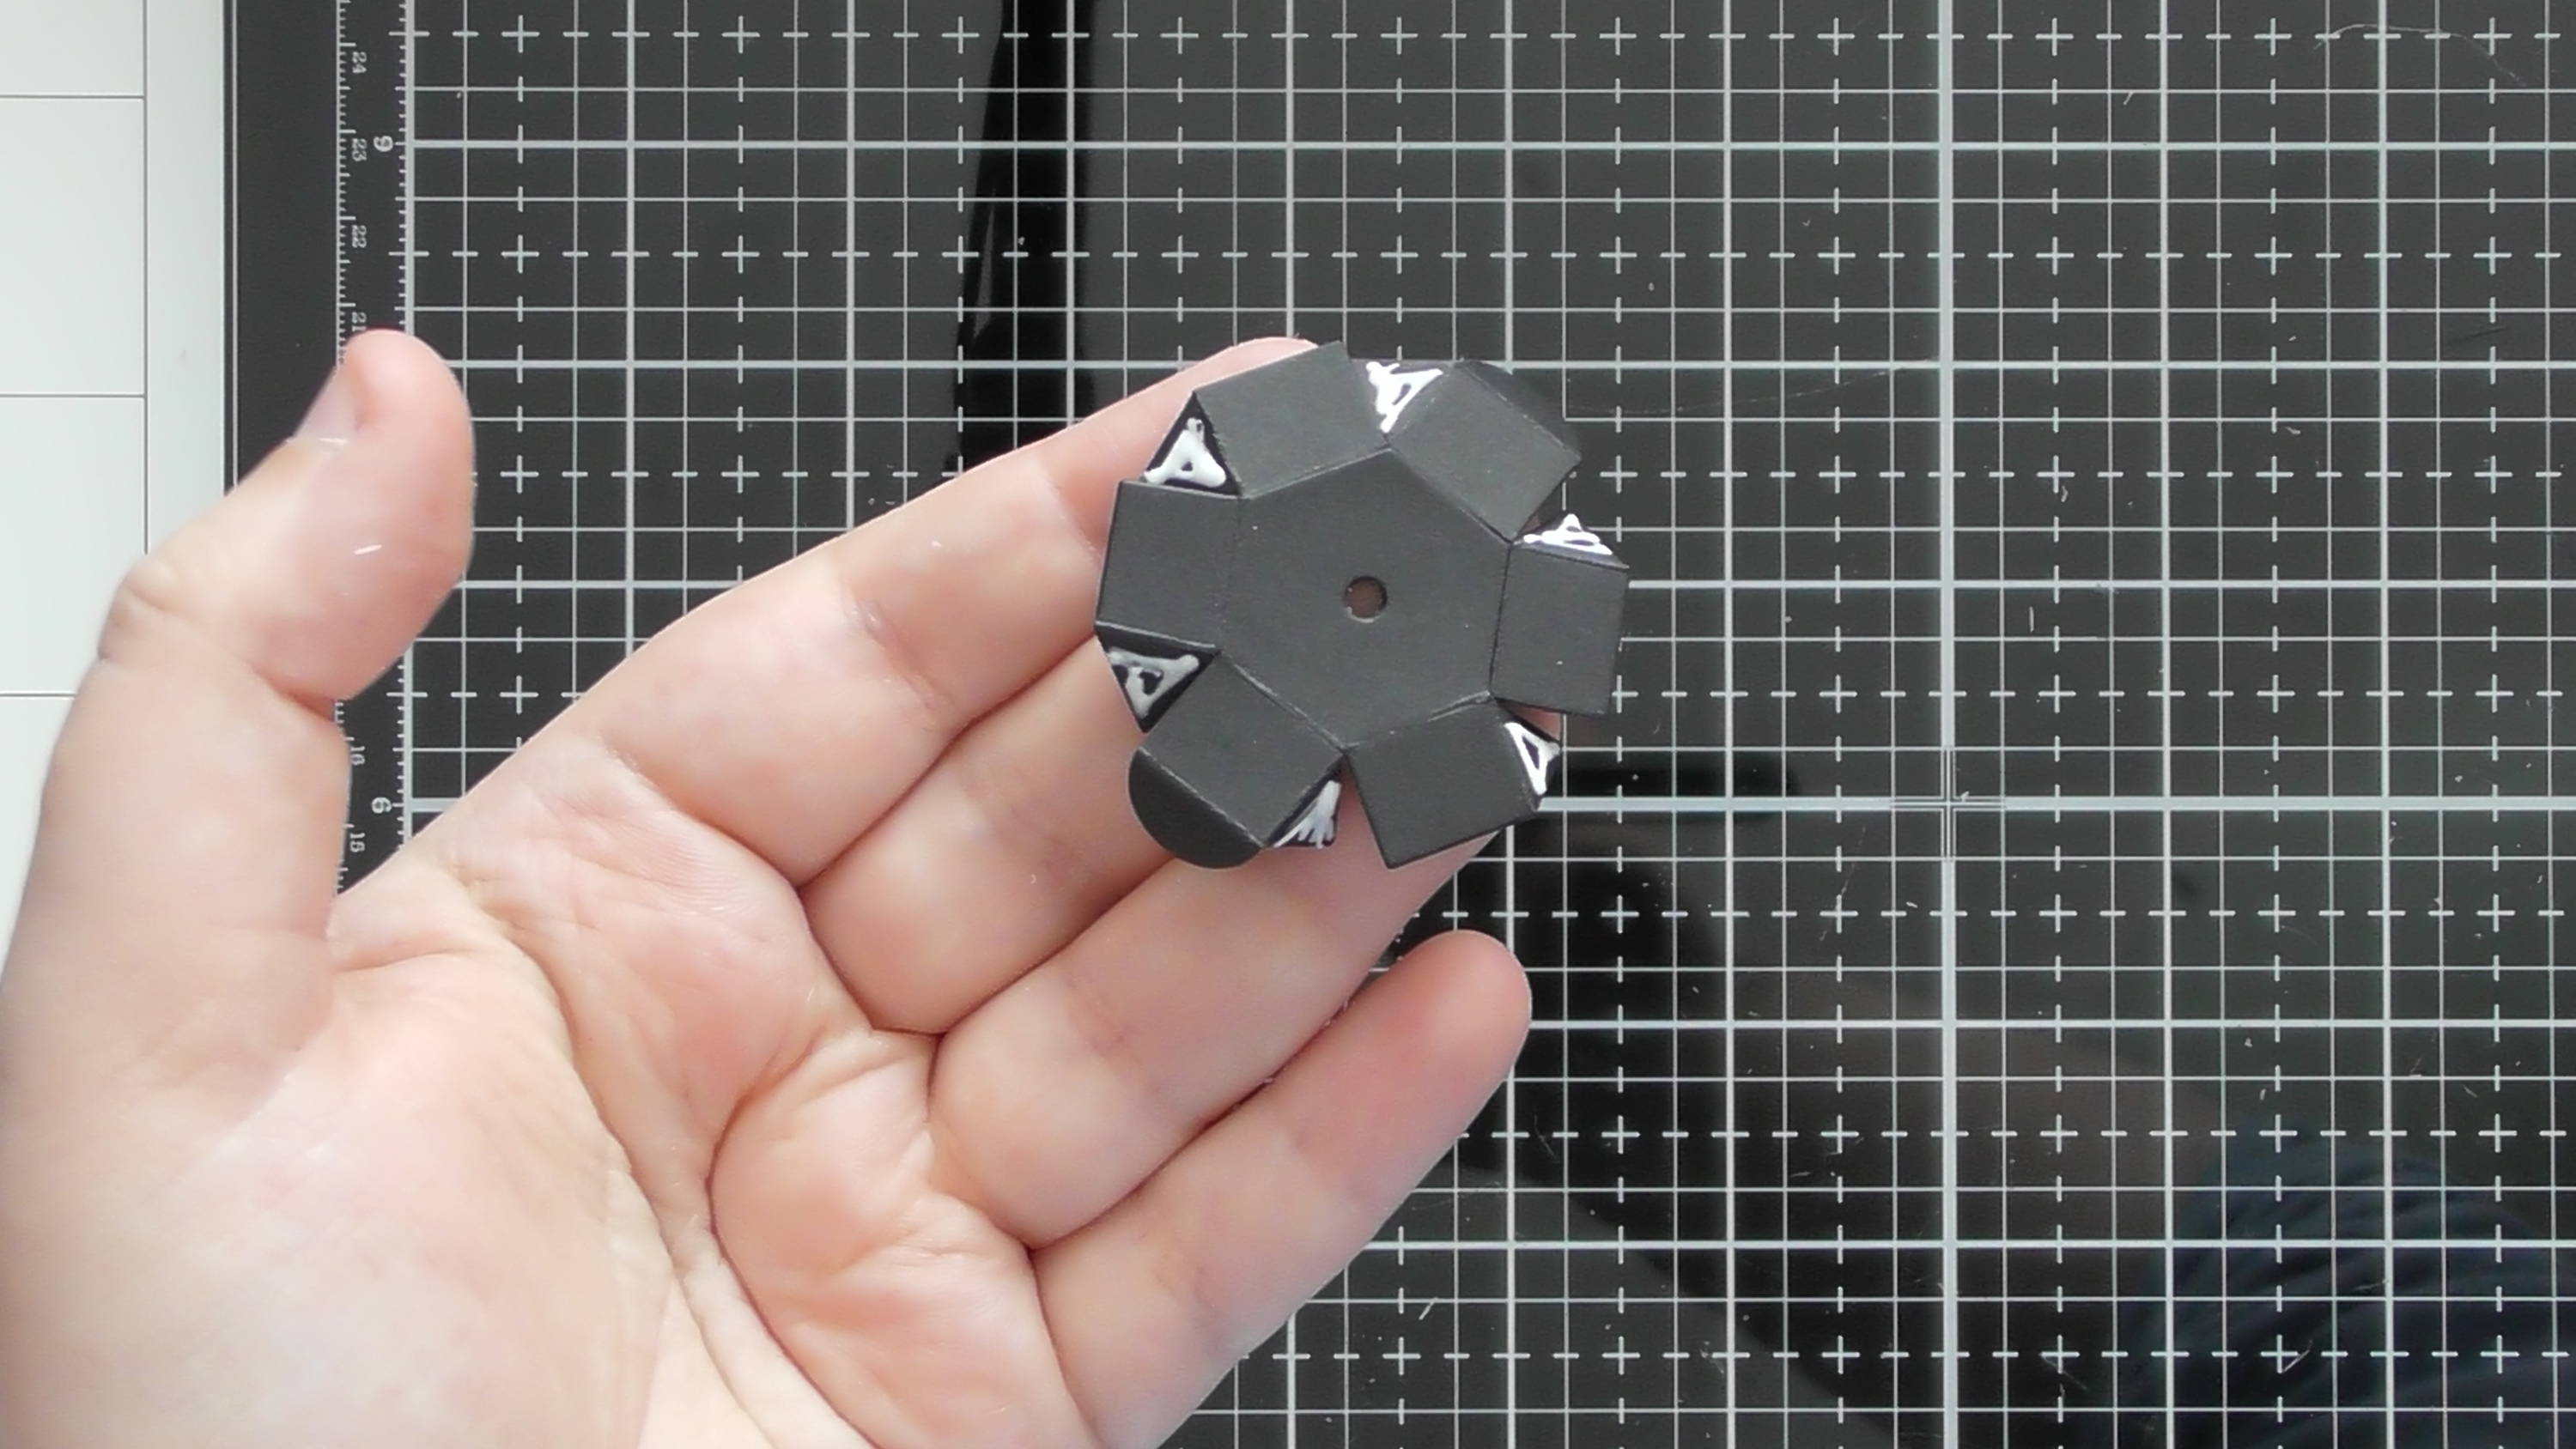
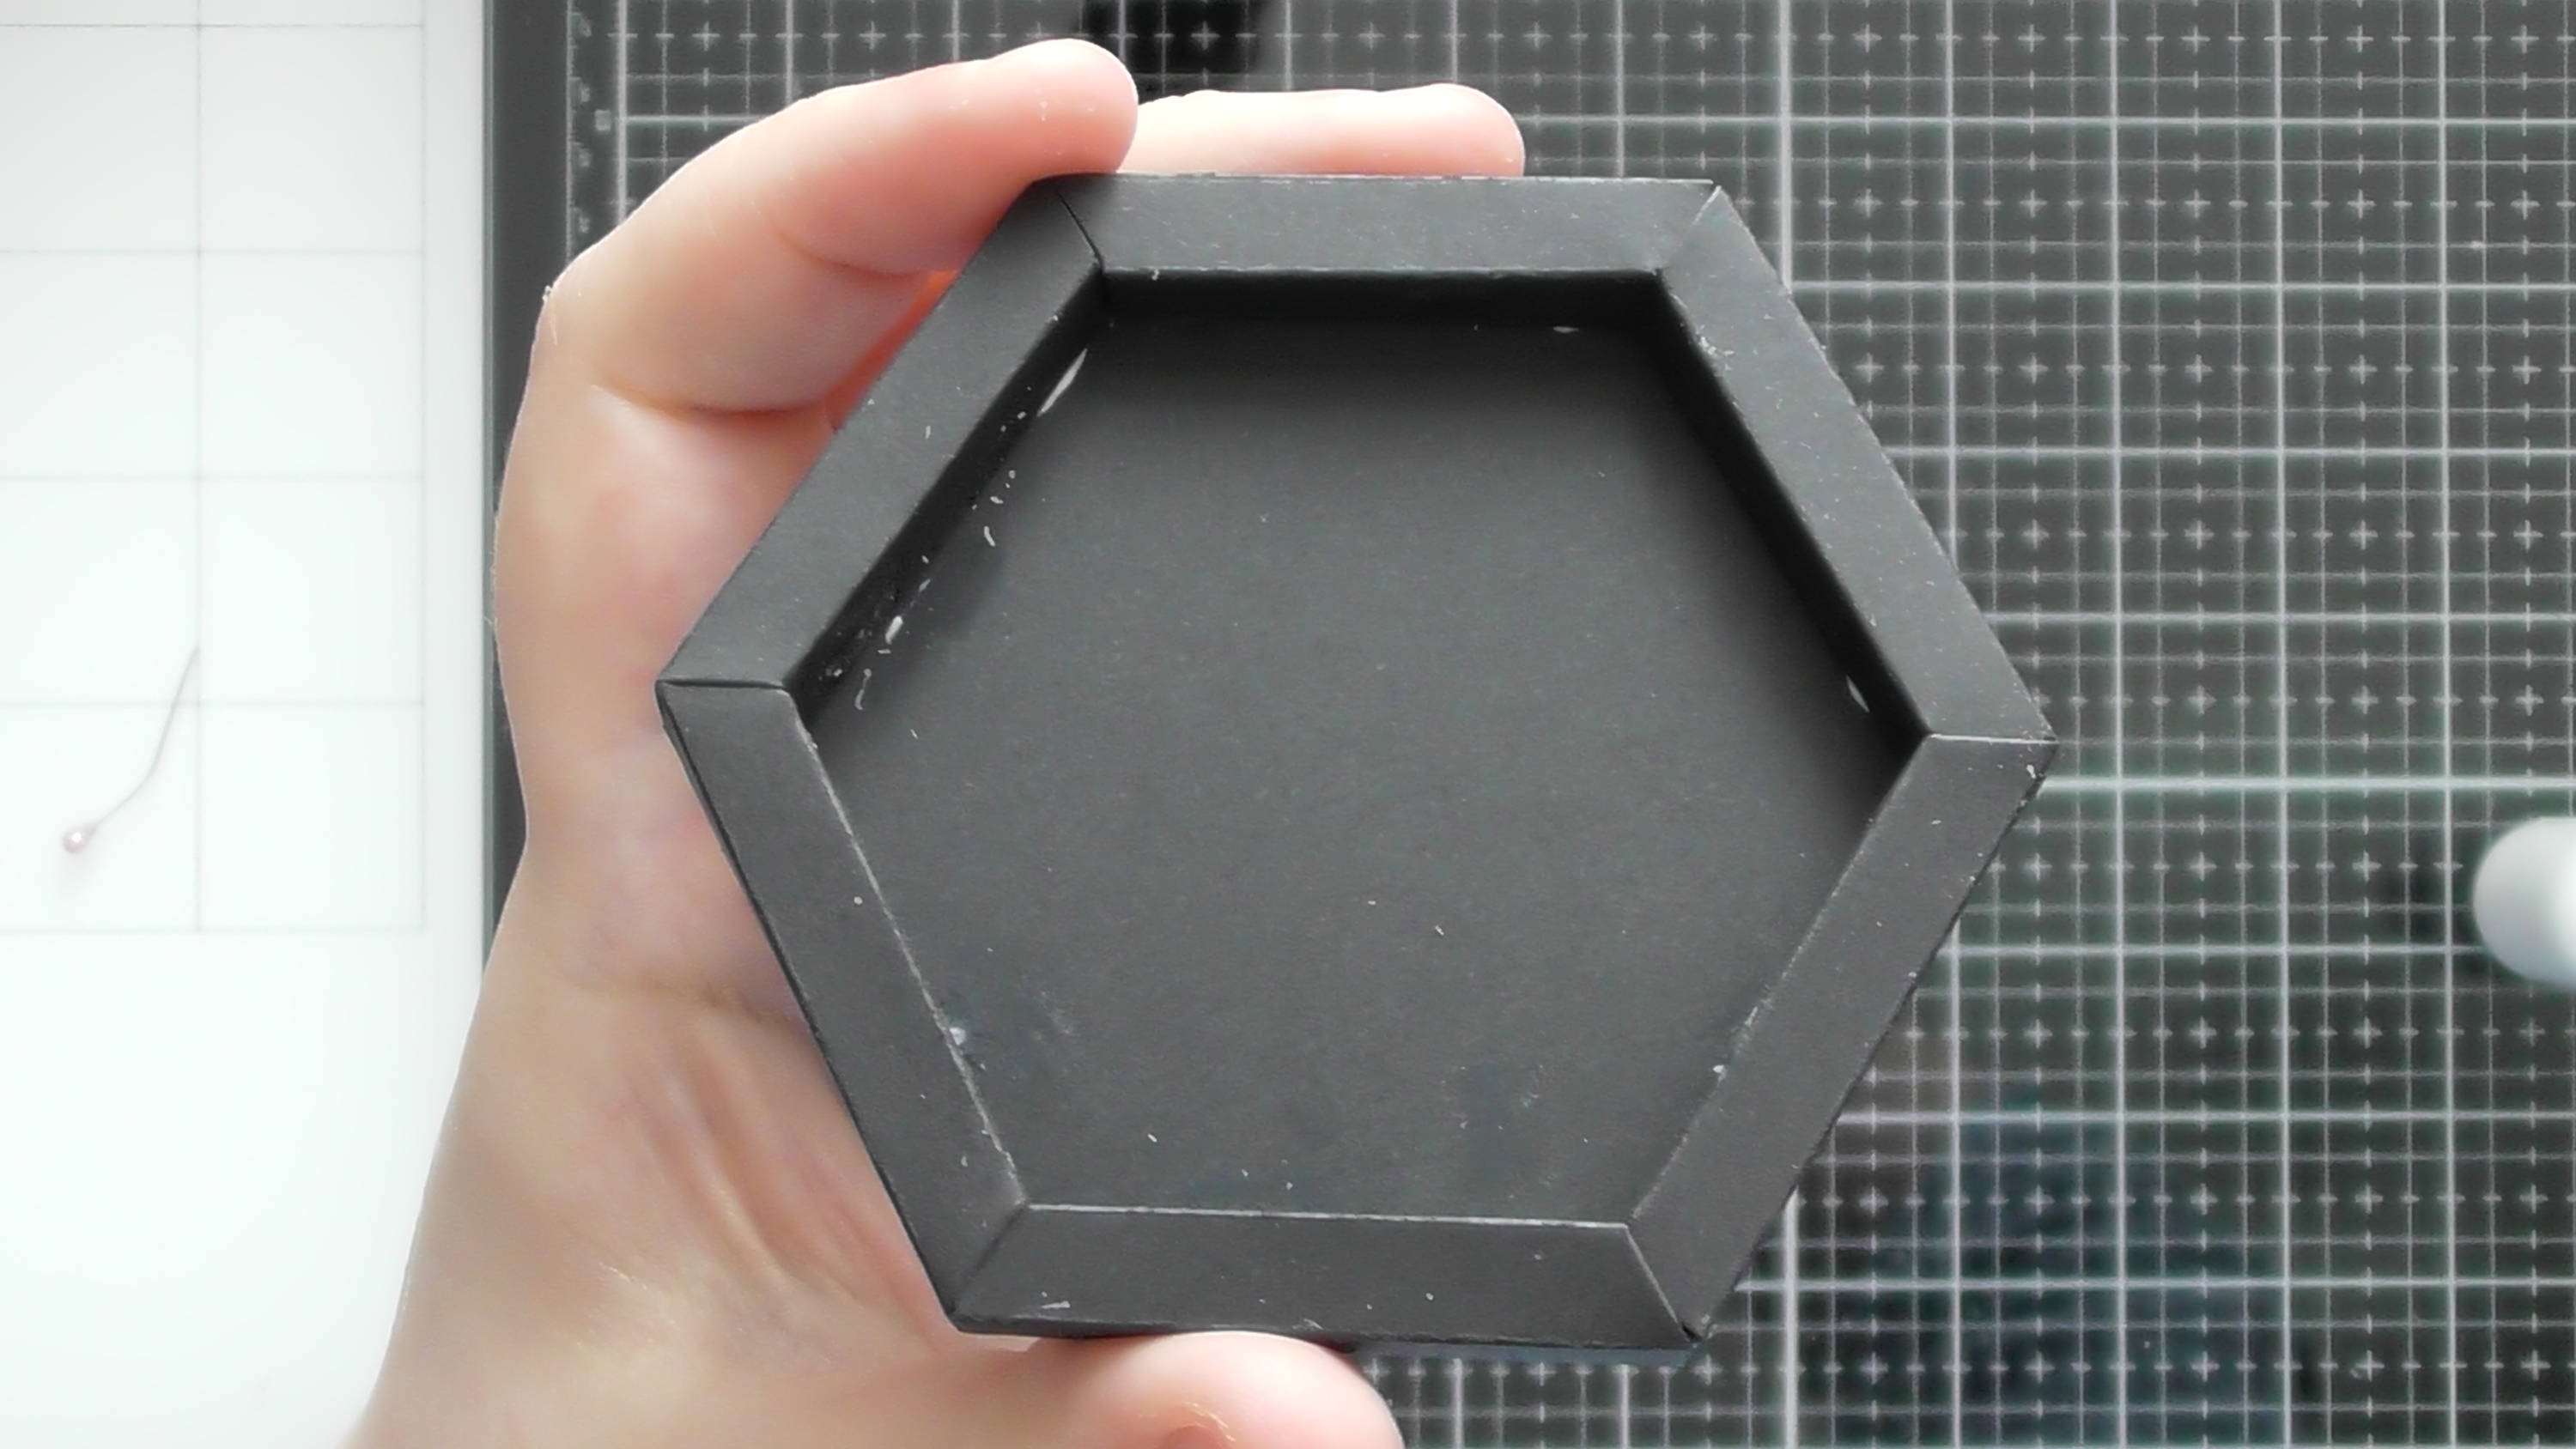
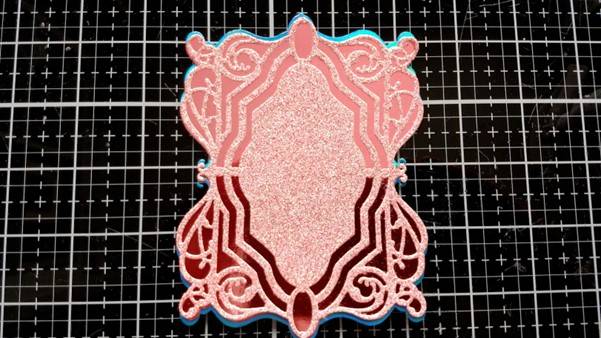
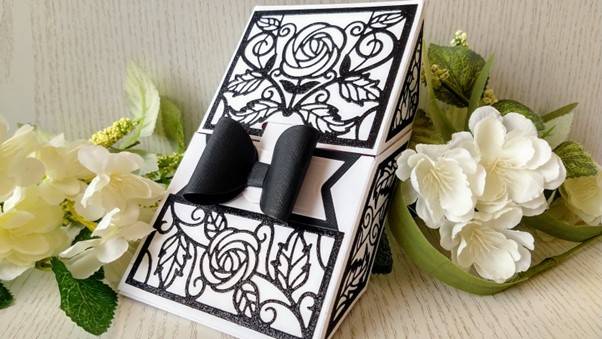
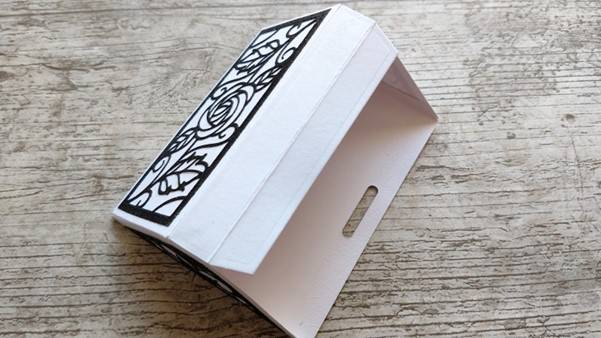
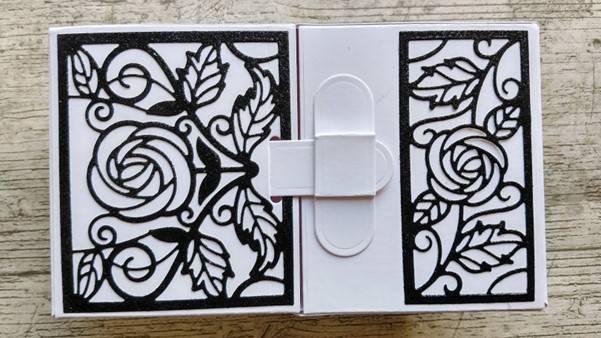
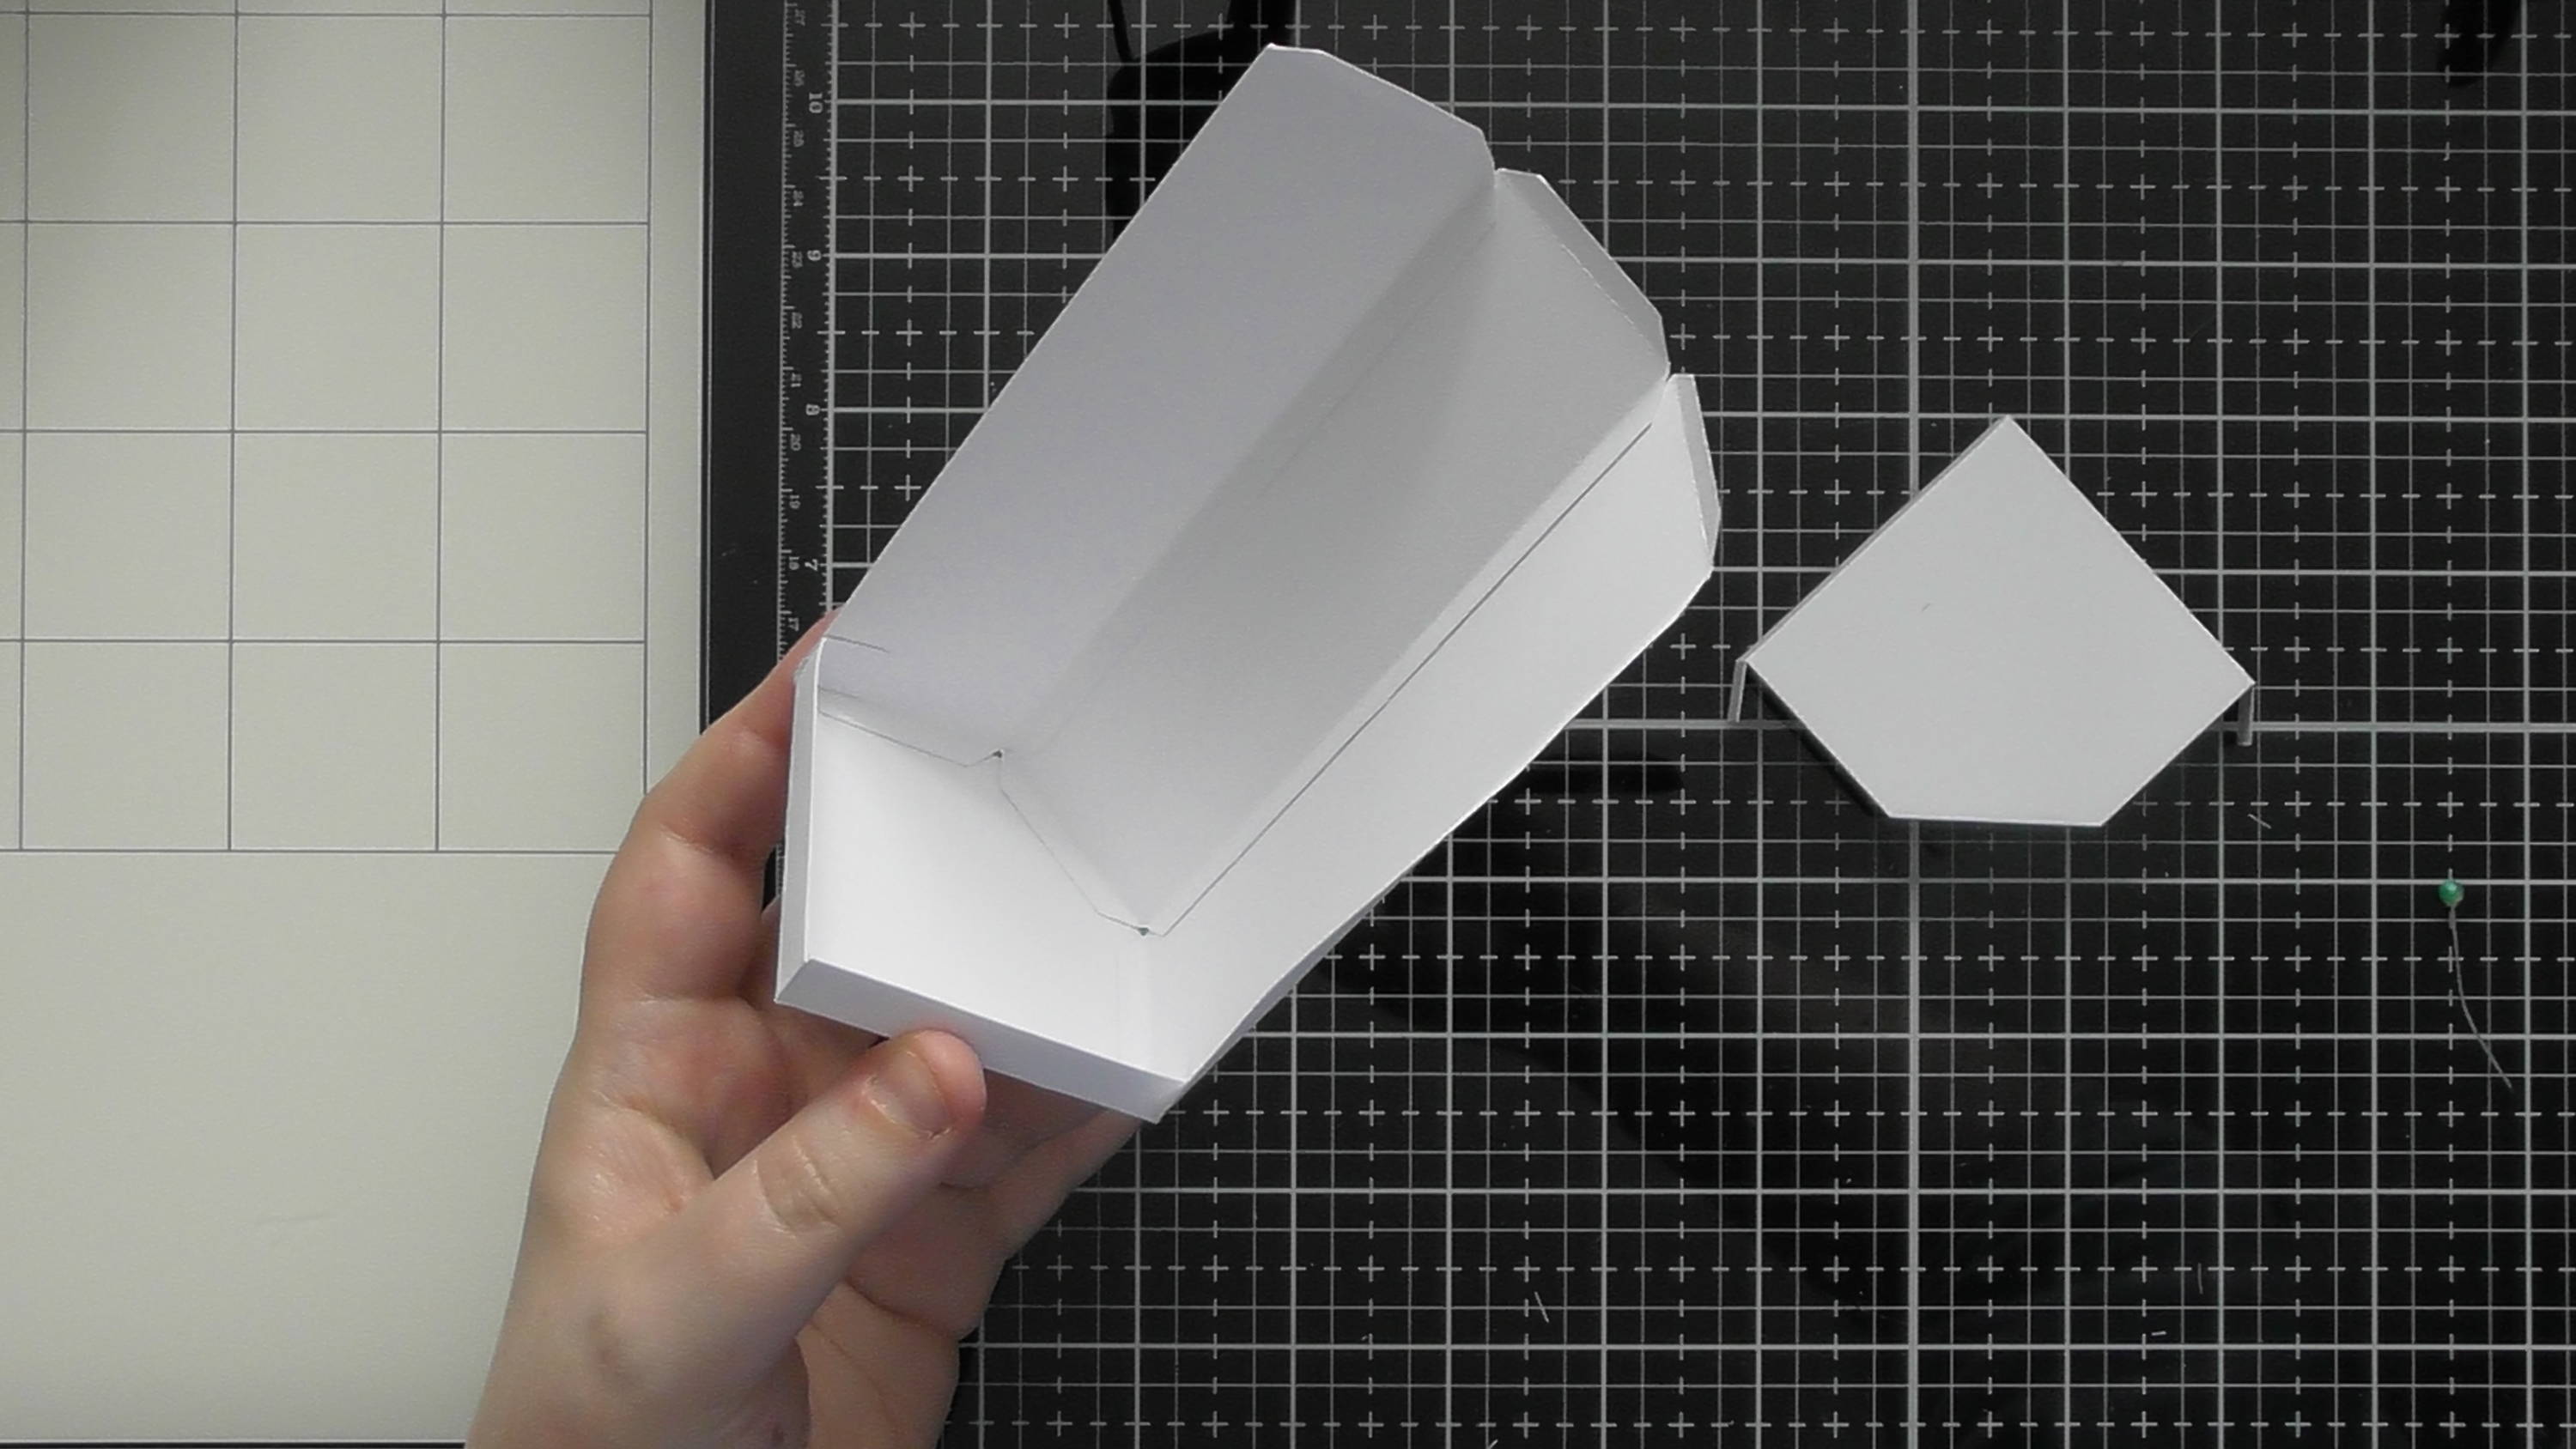
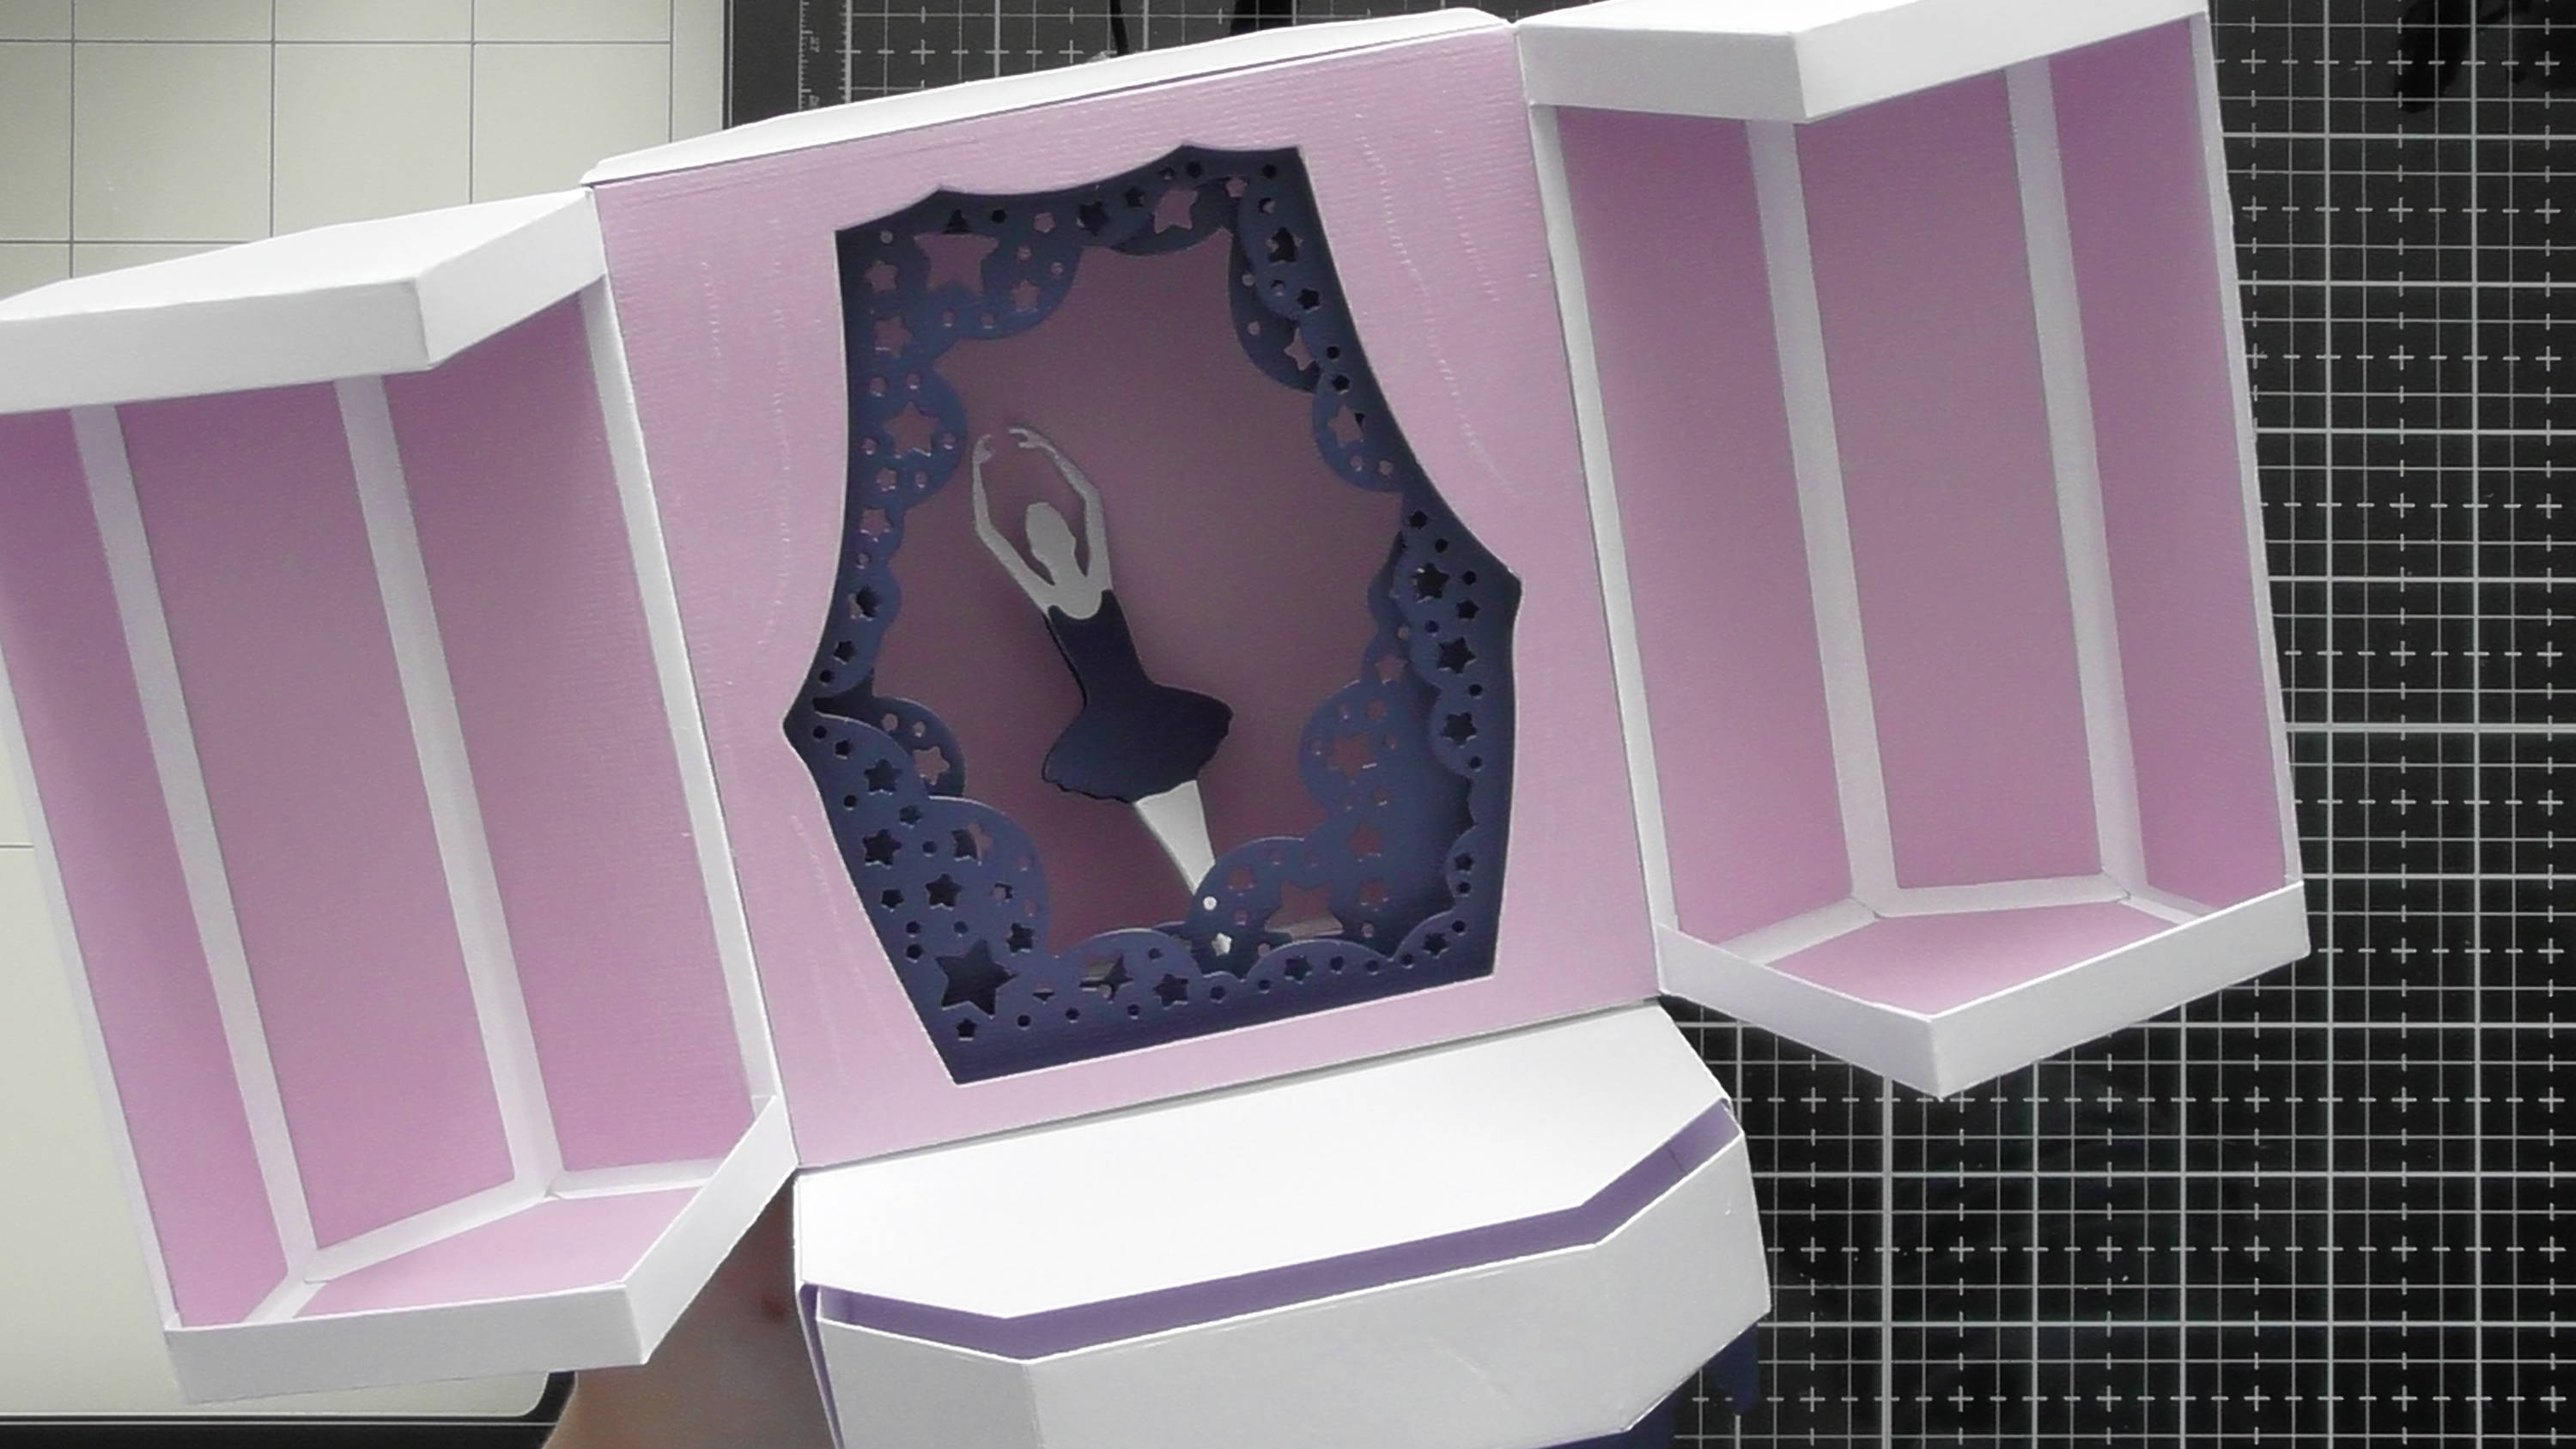
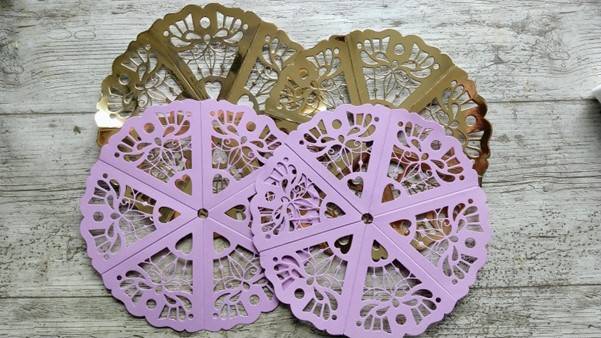
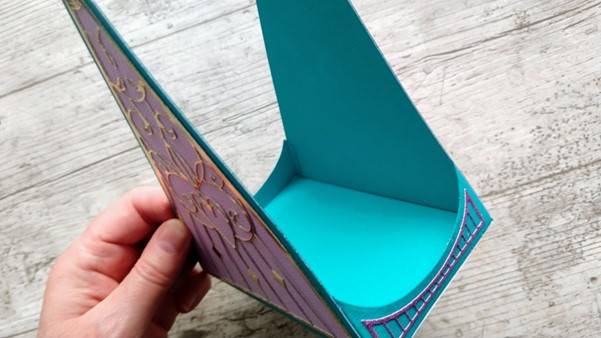
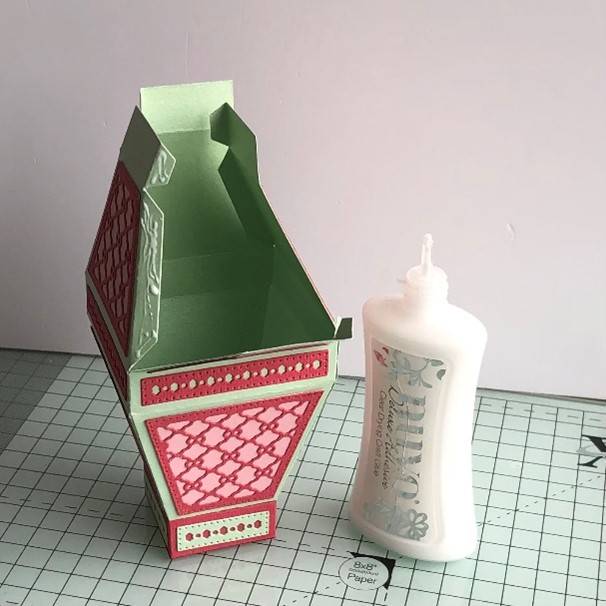
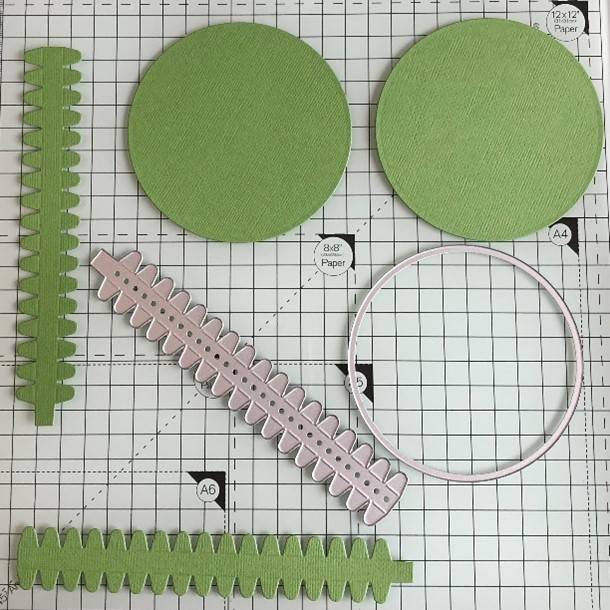
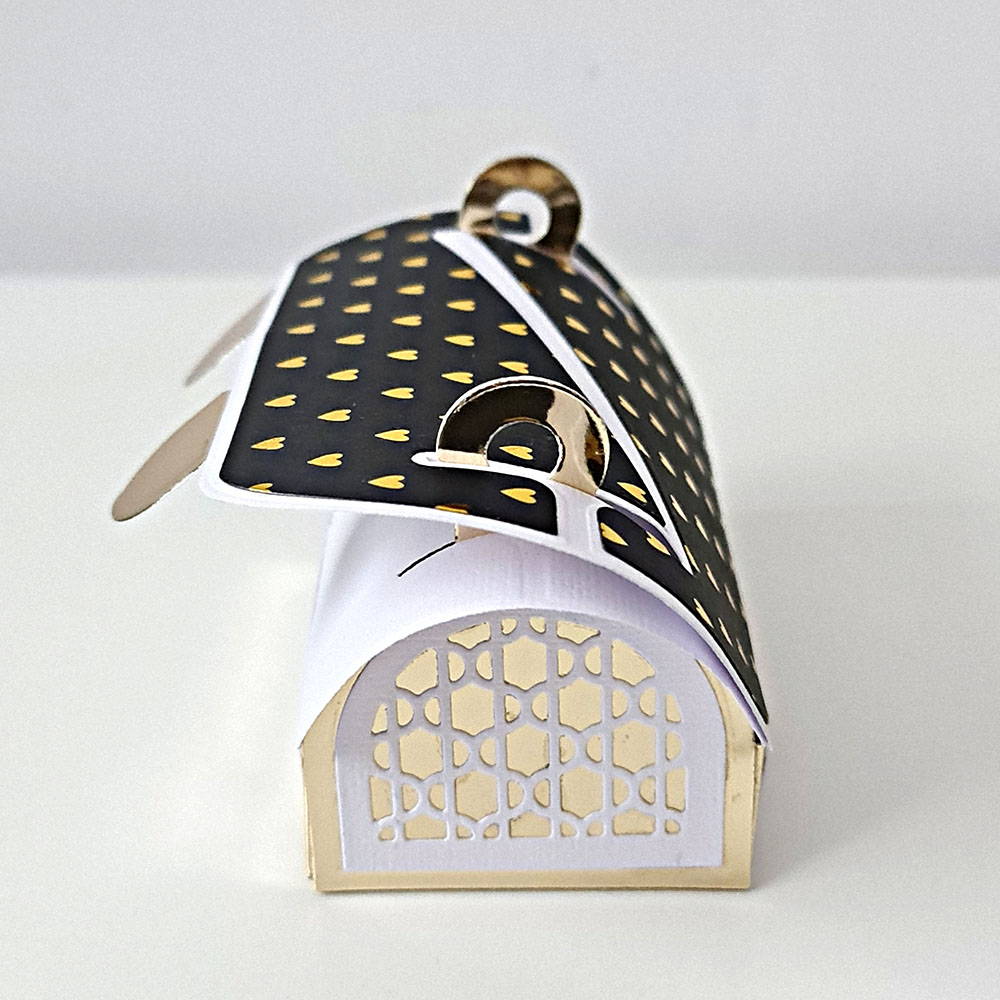
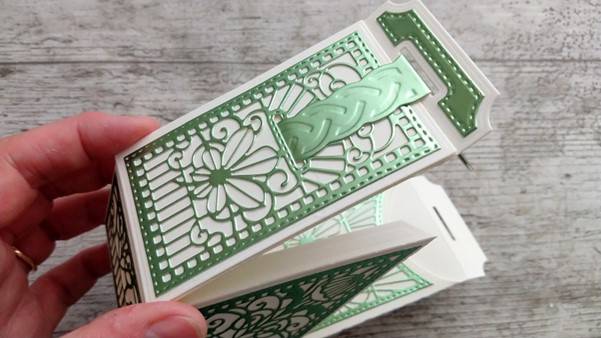
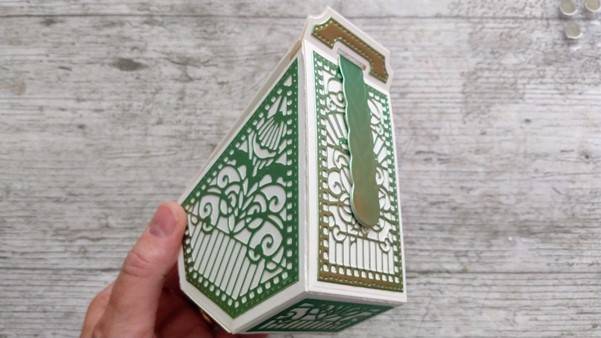
Step 7
It should then look like this.
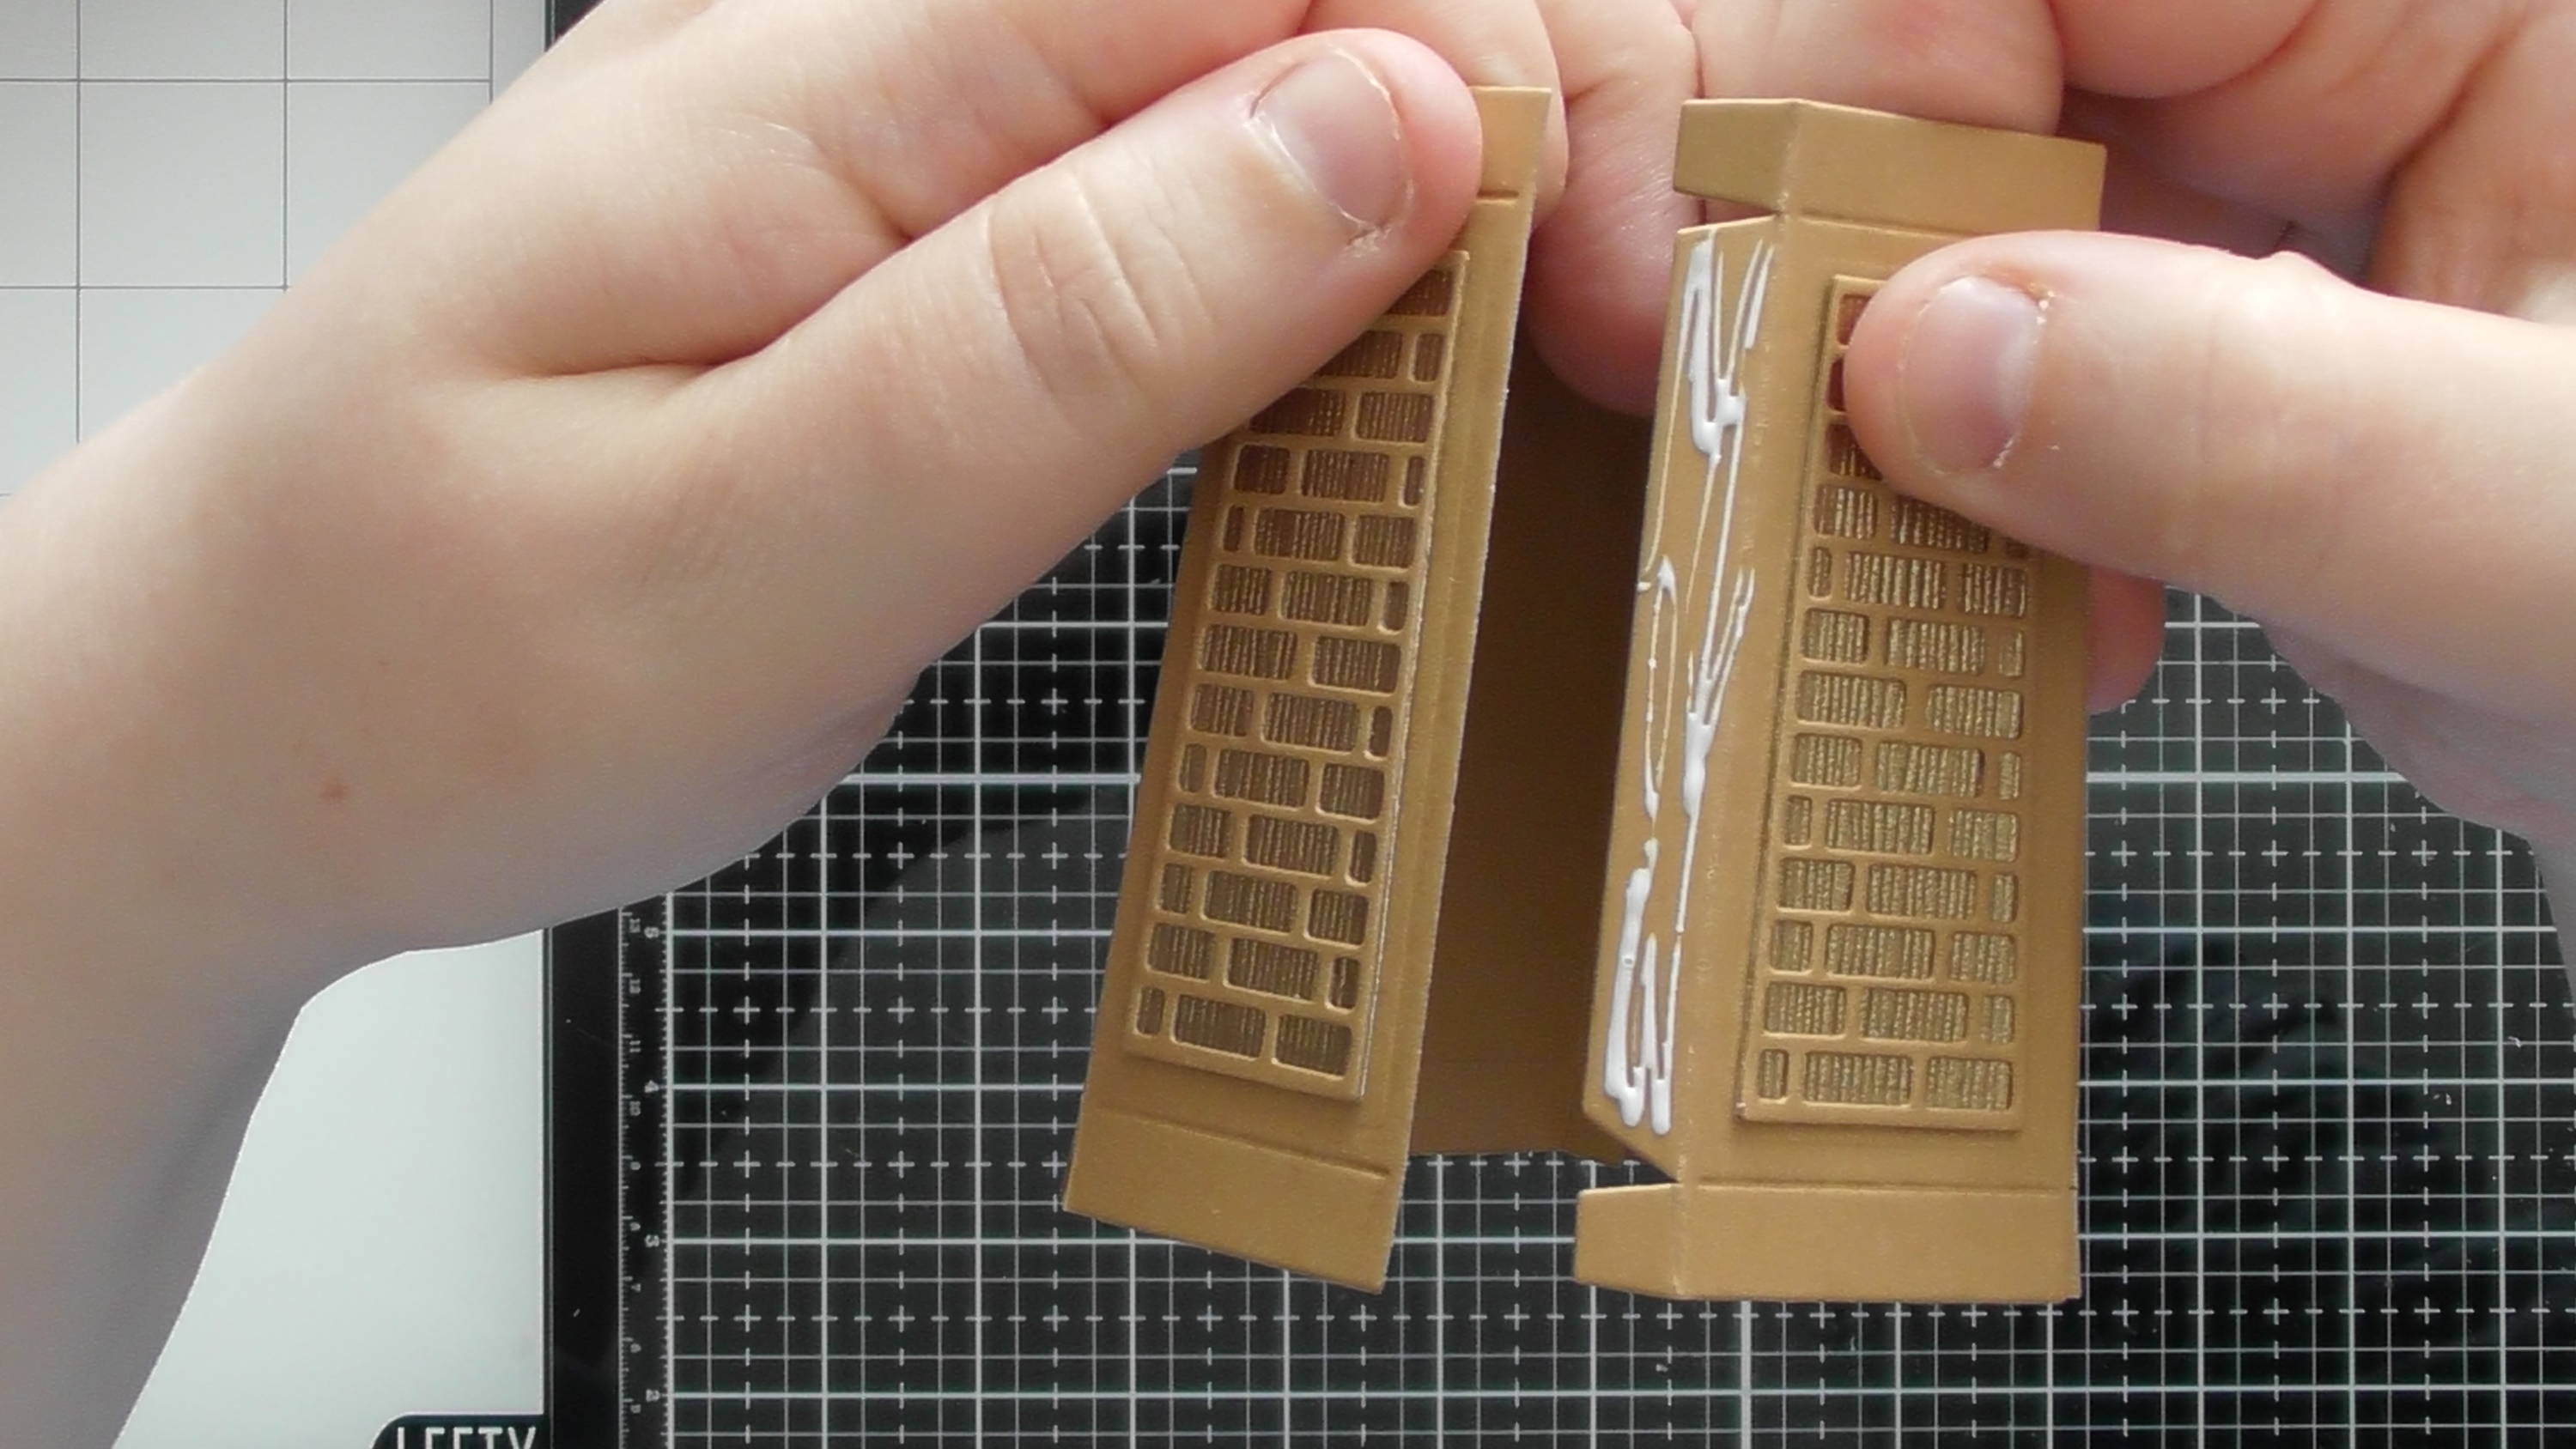
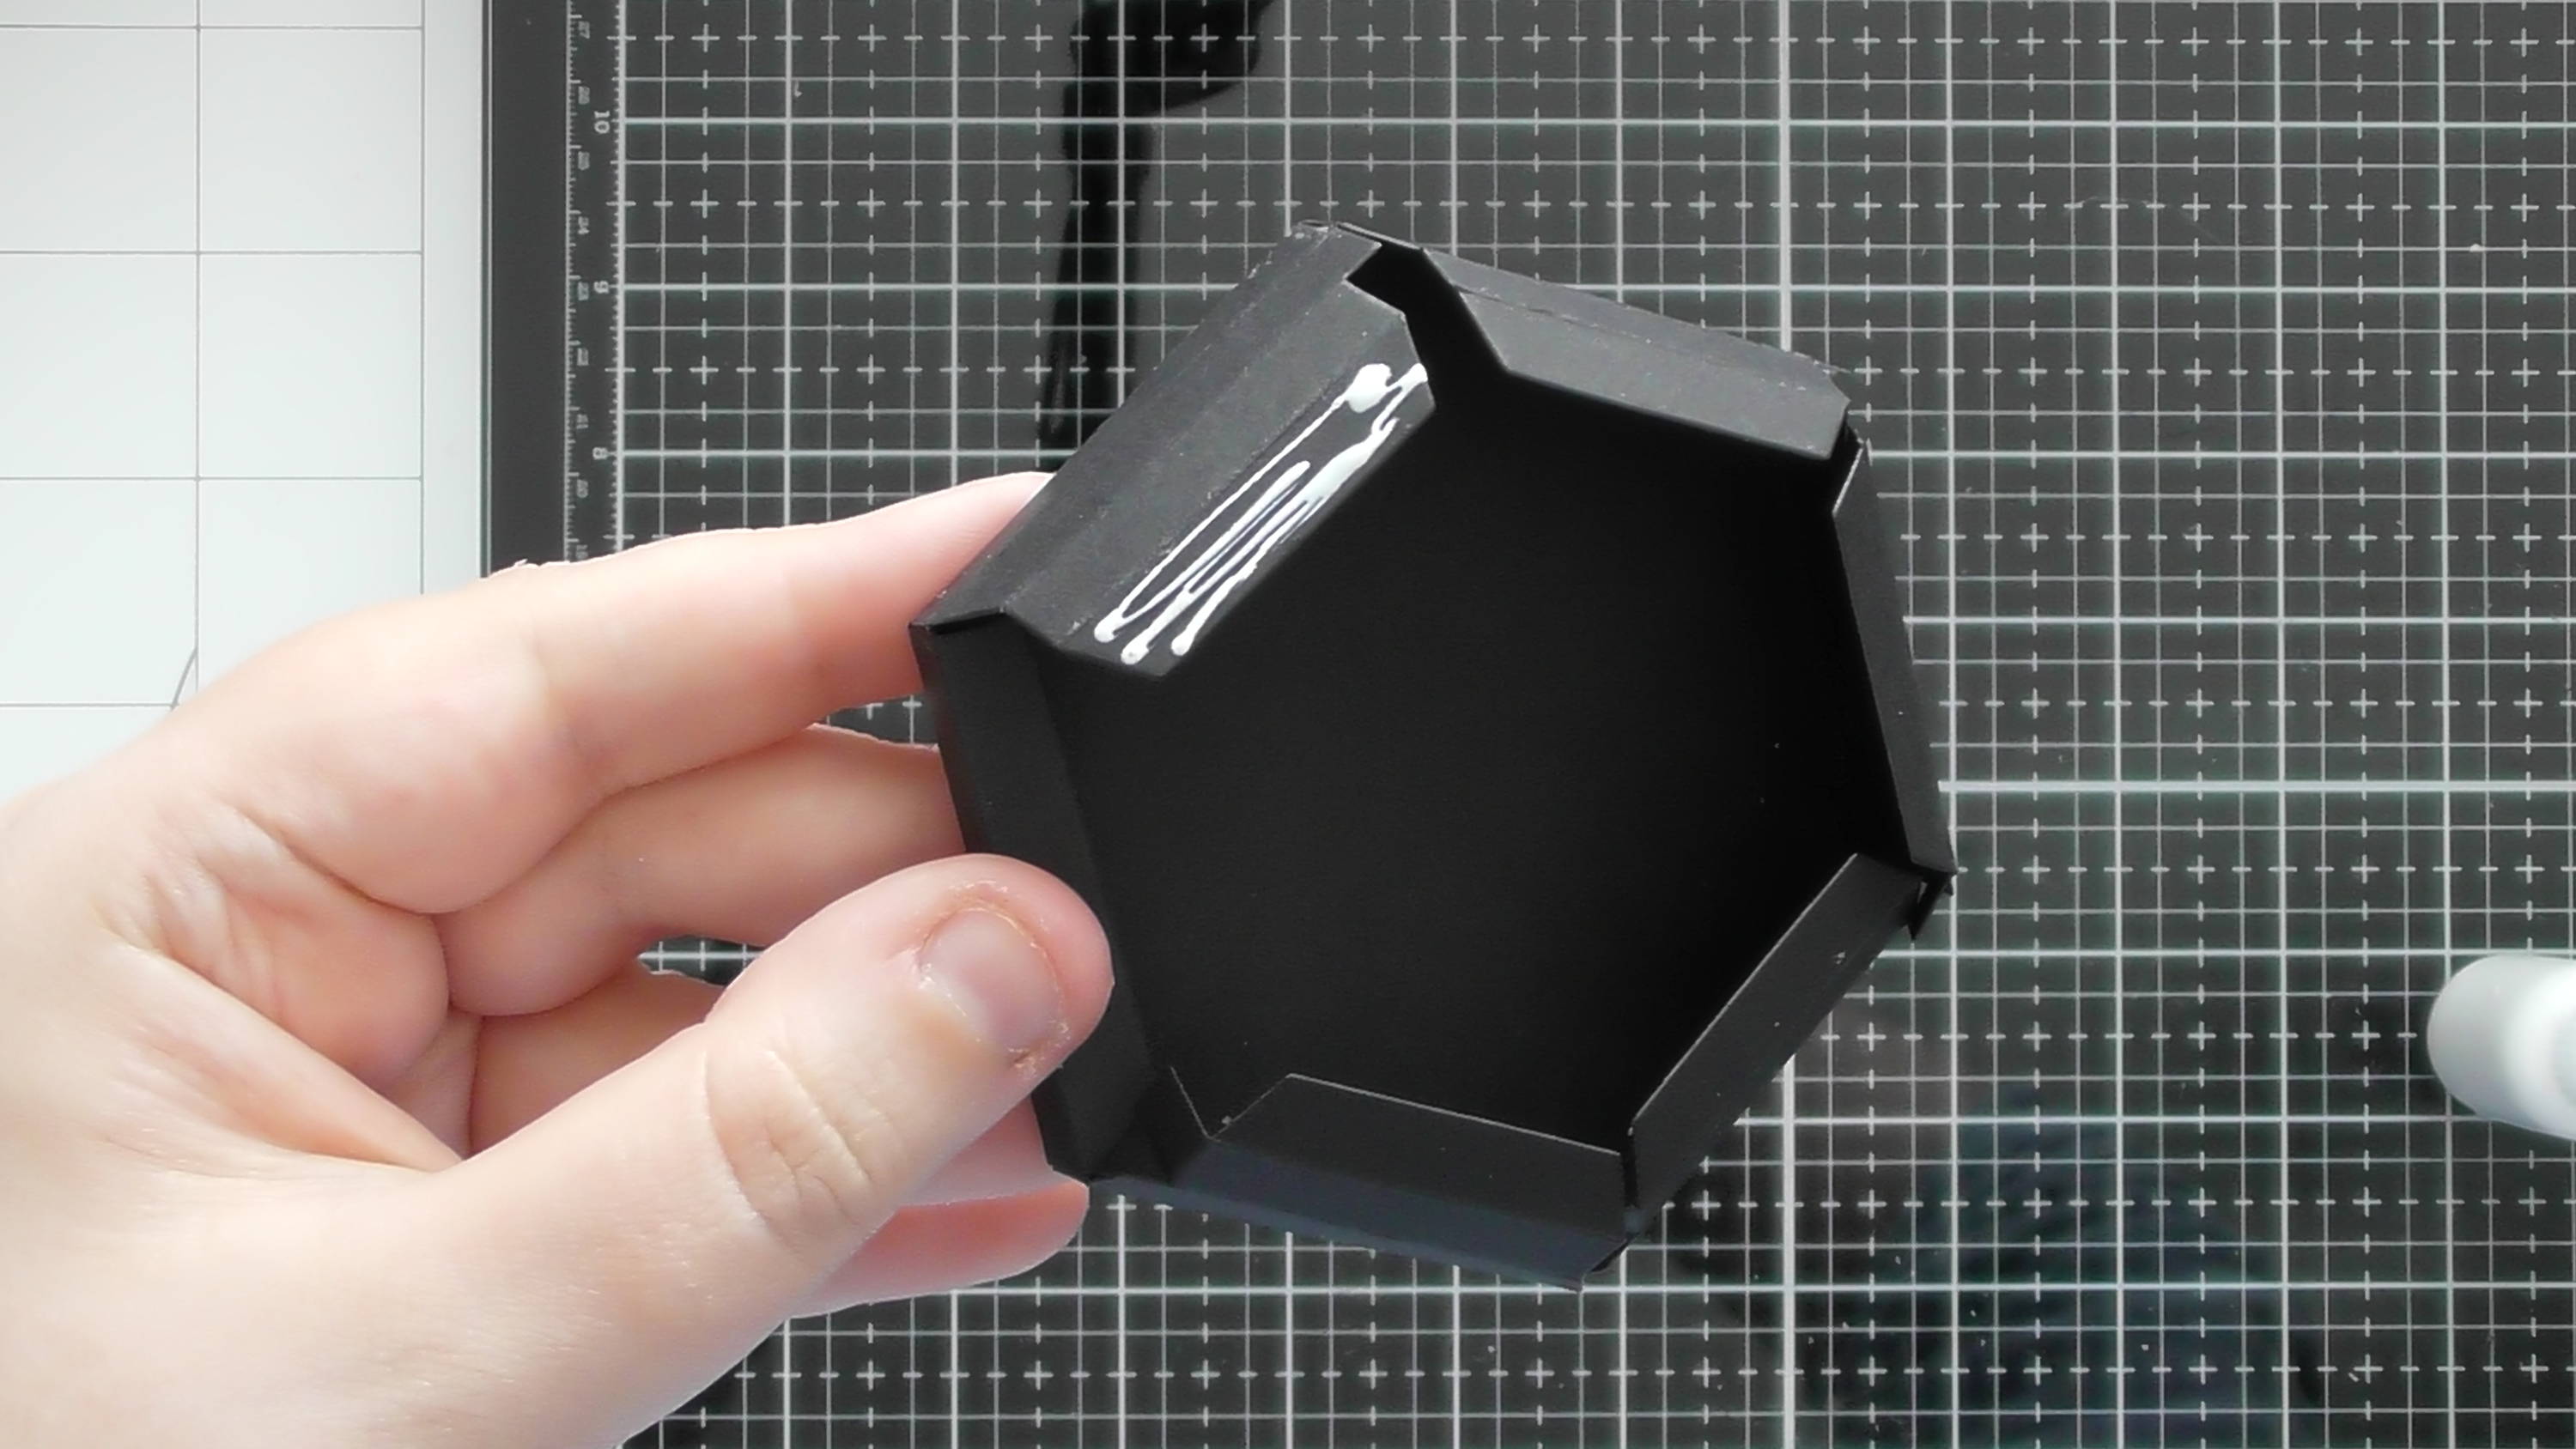
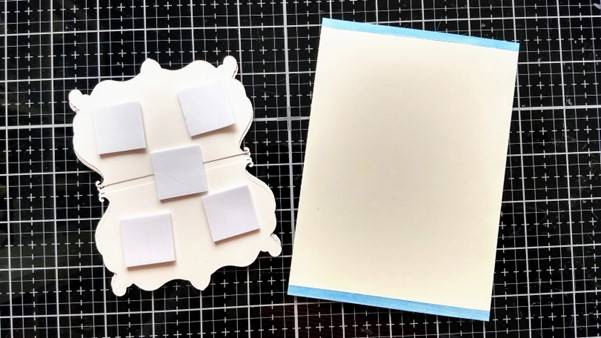
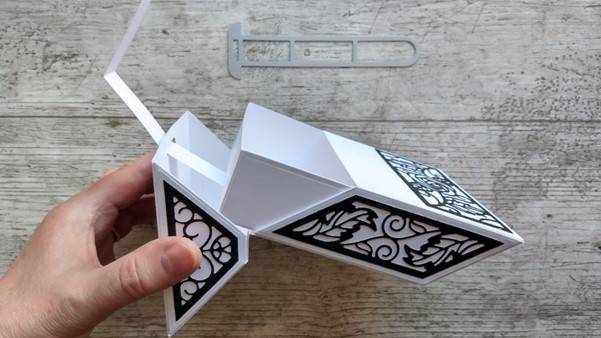
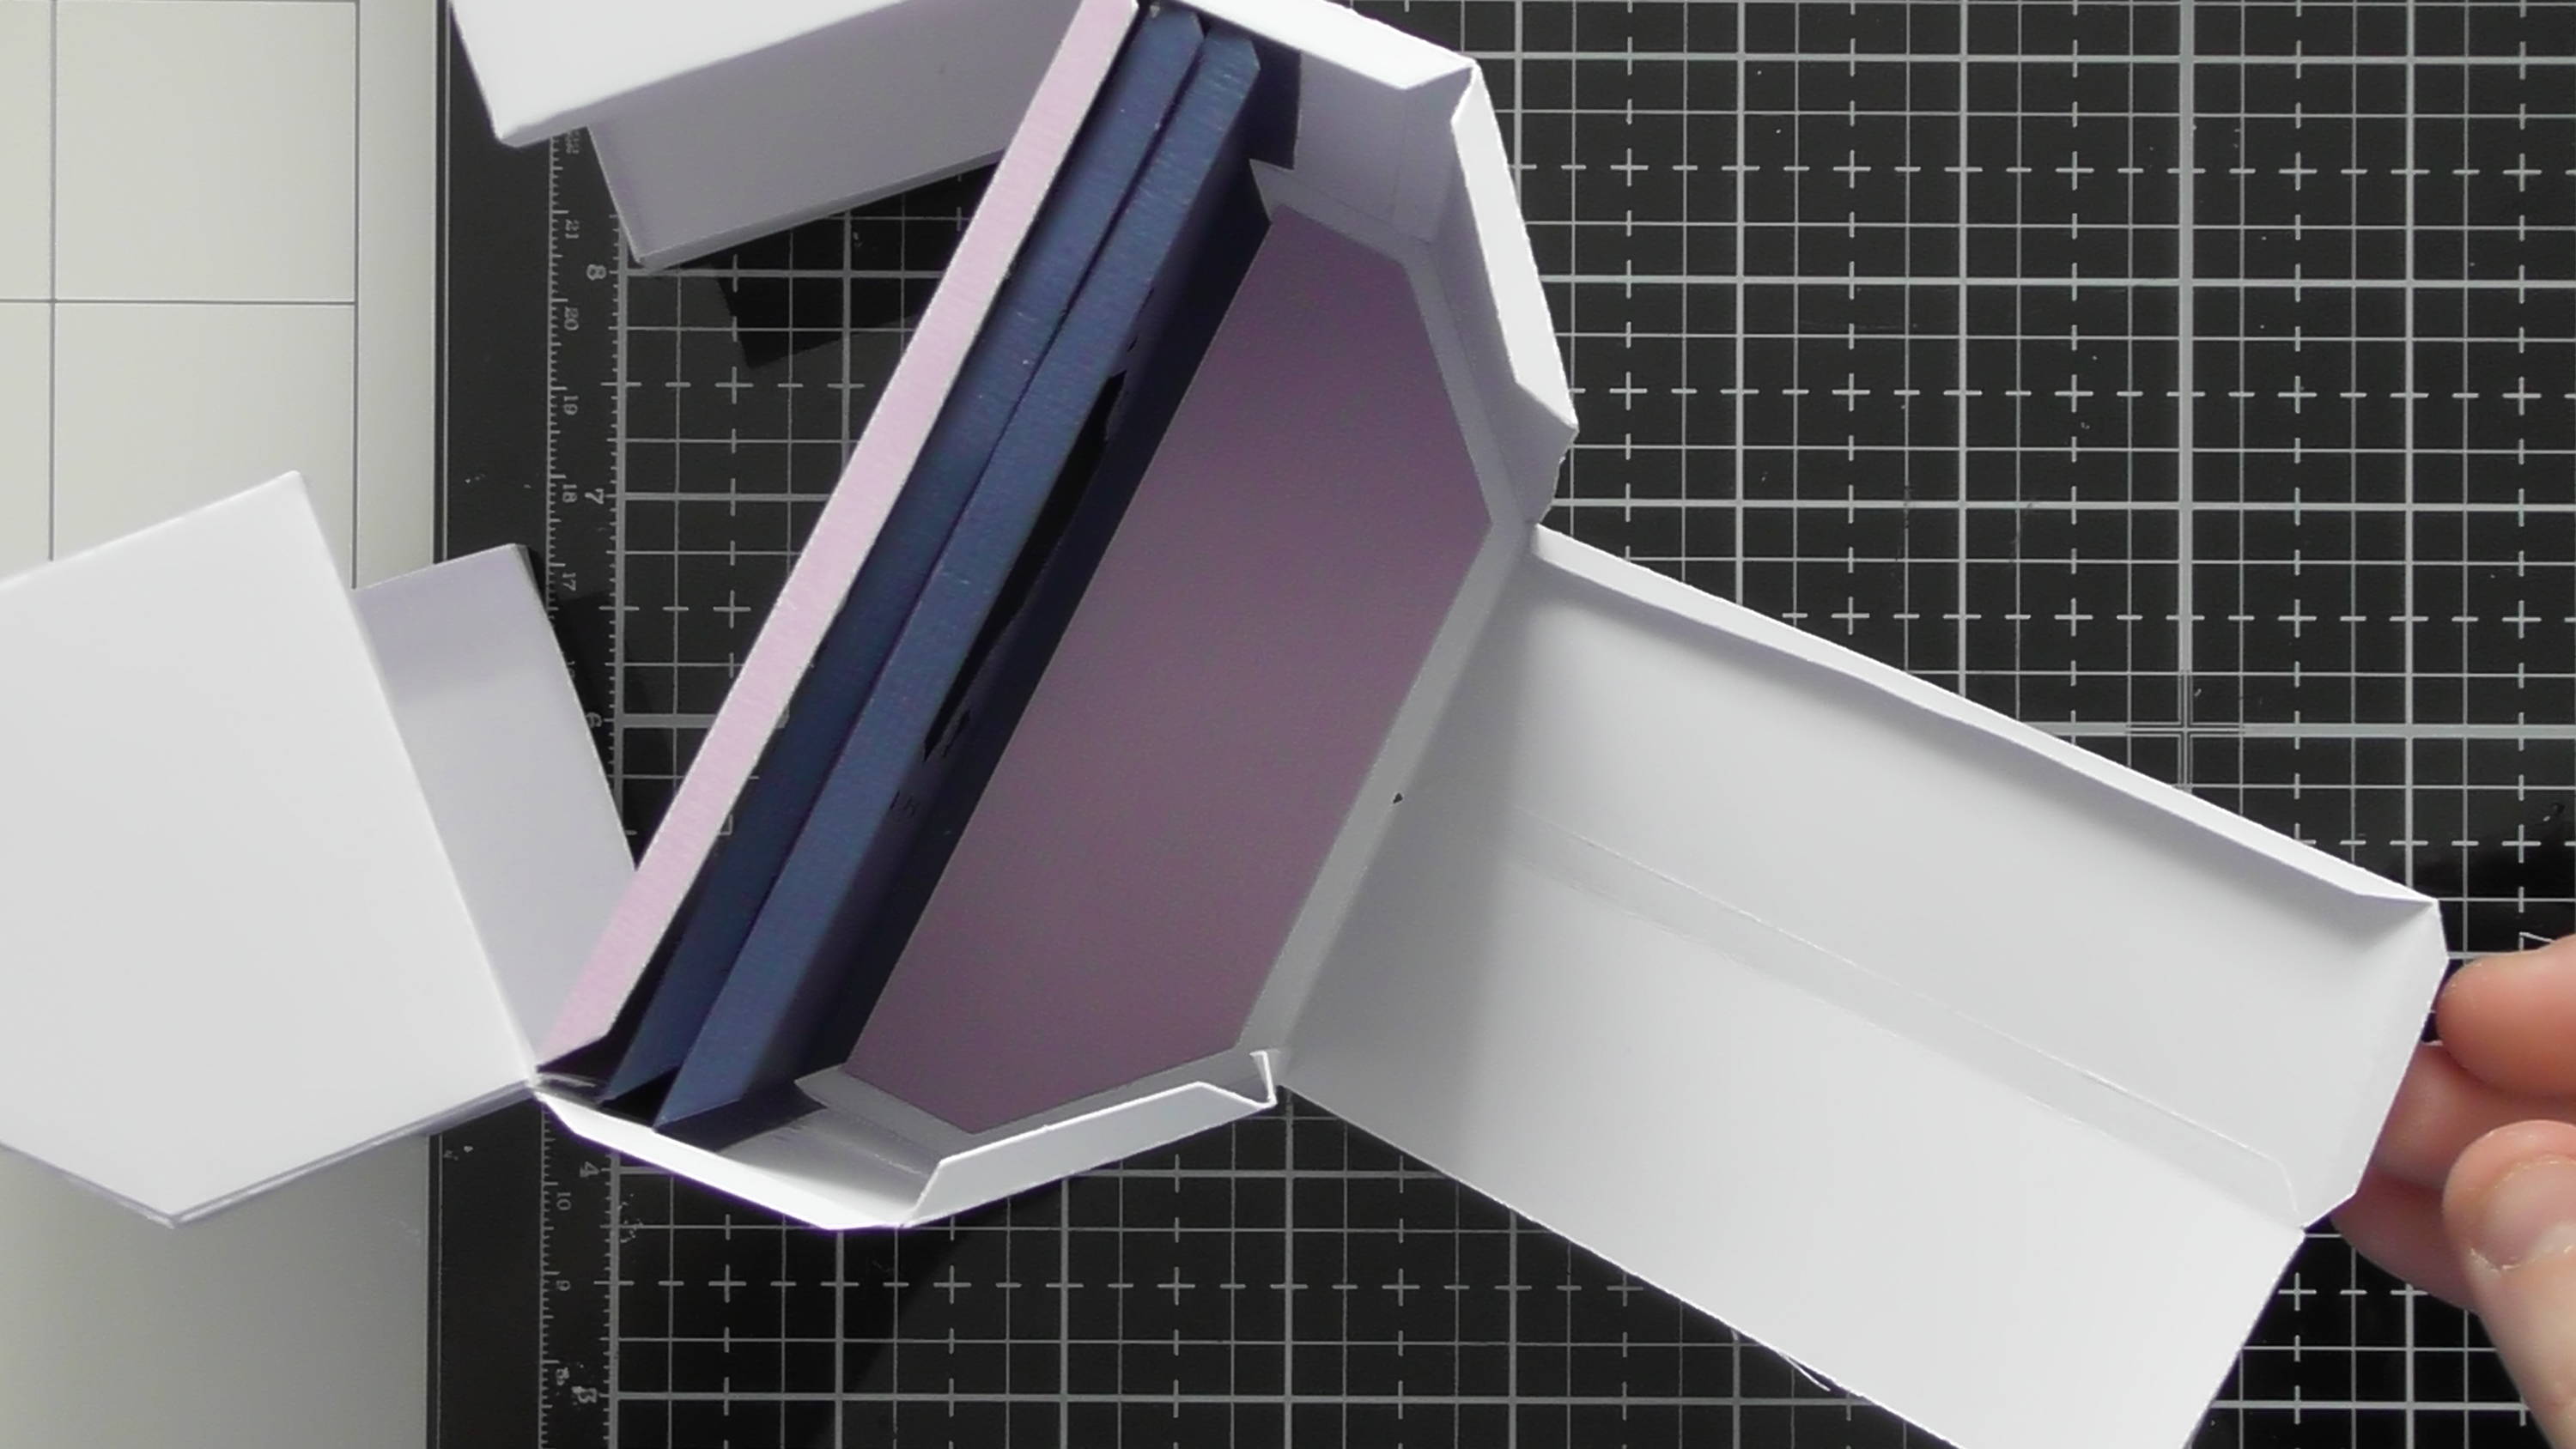
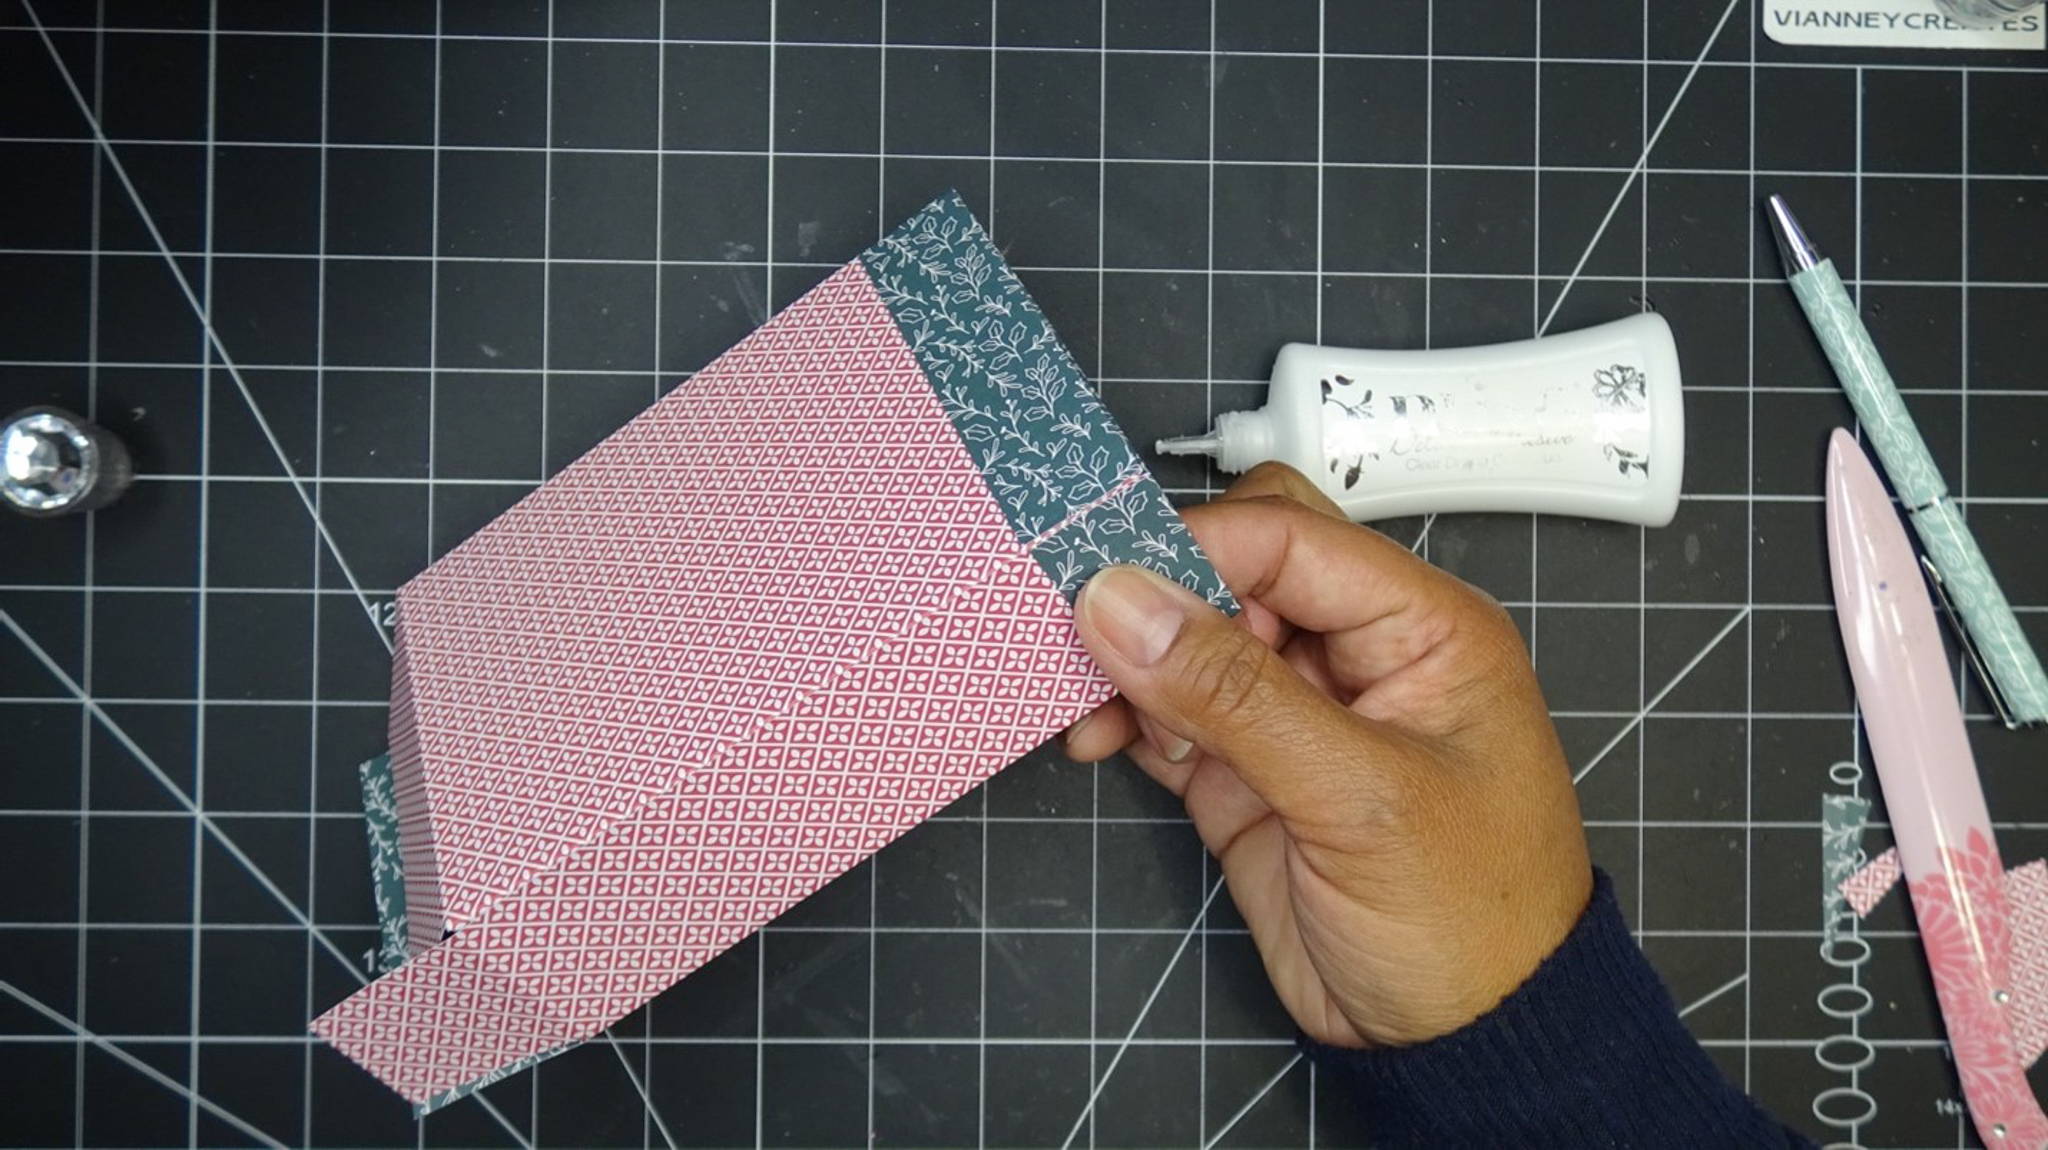
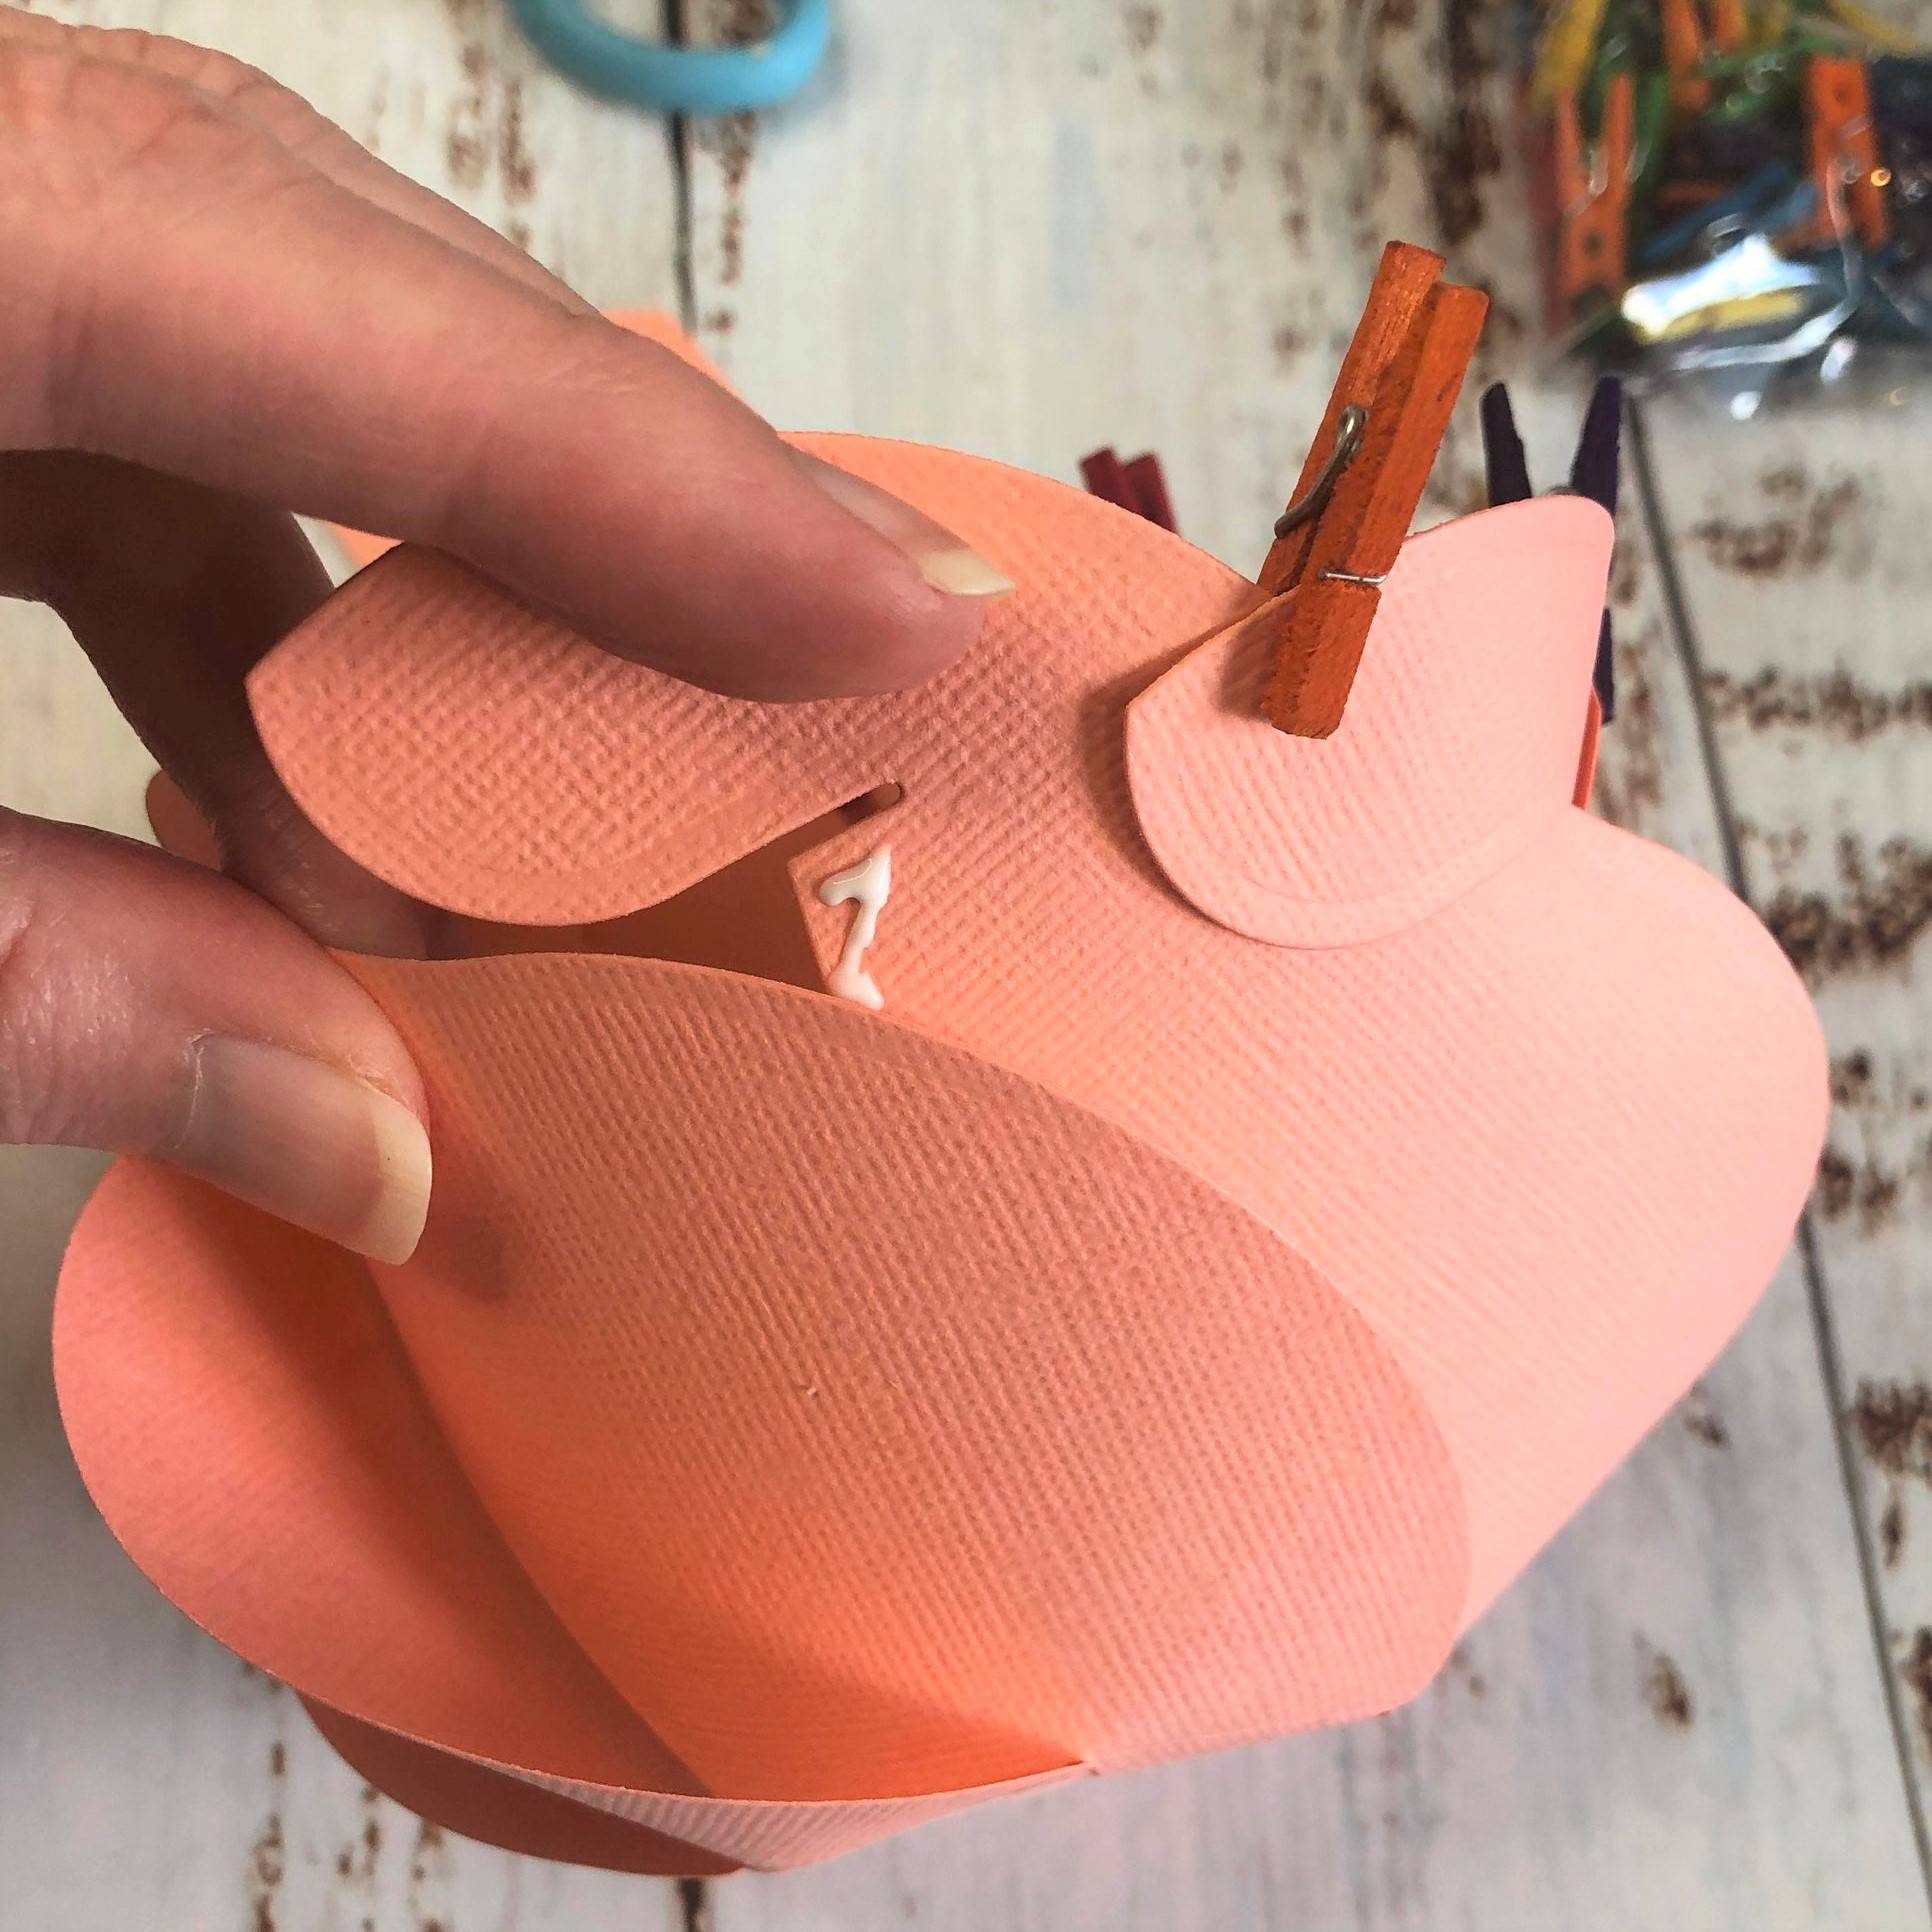
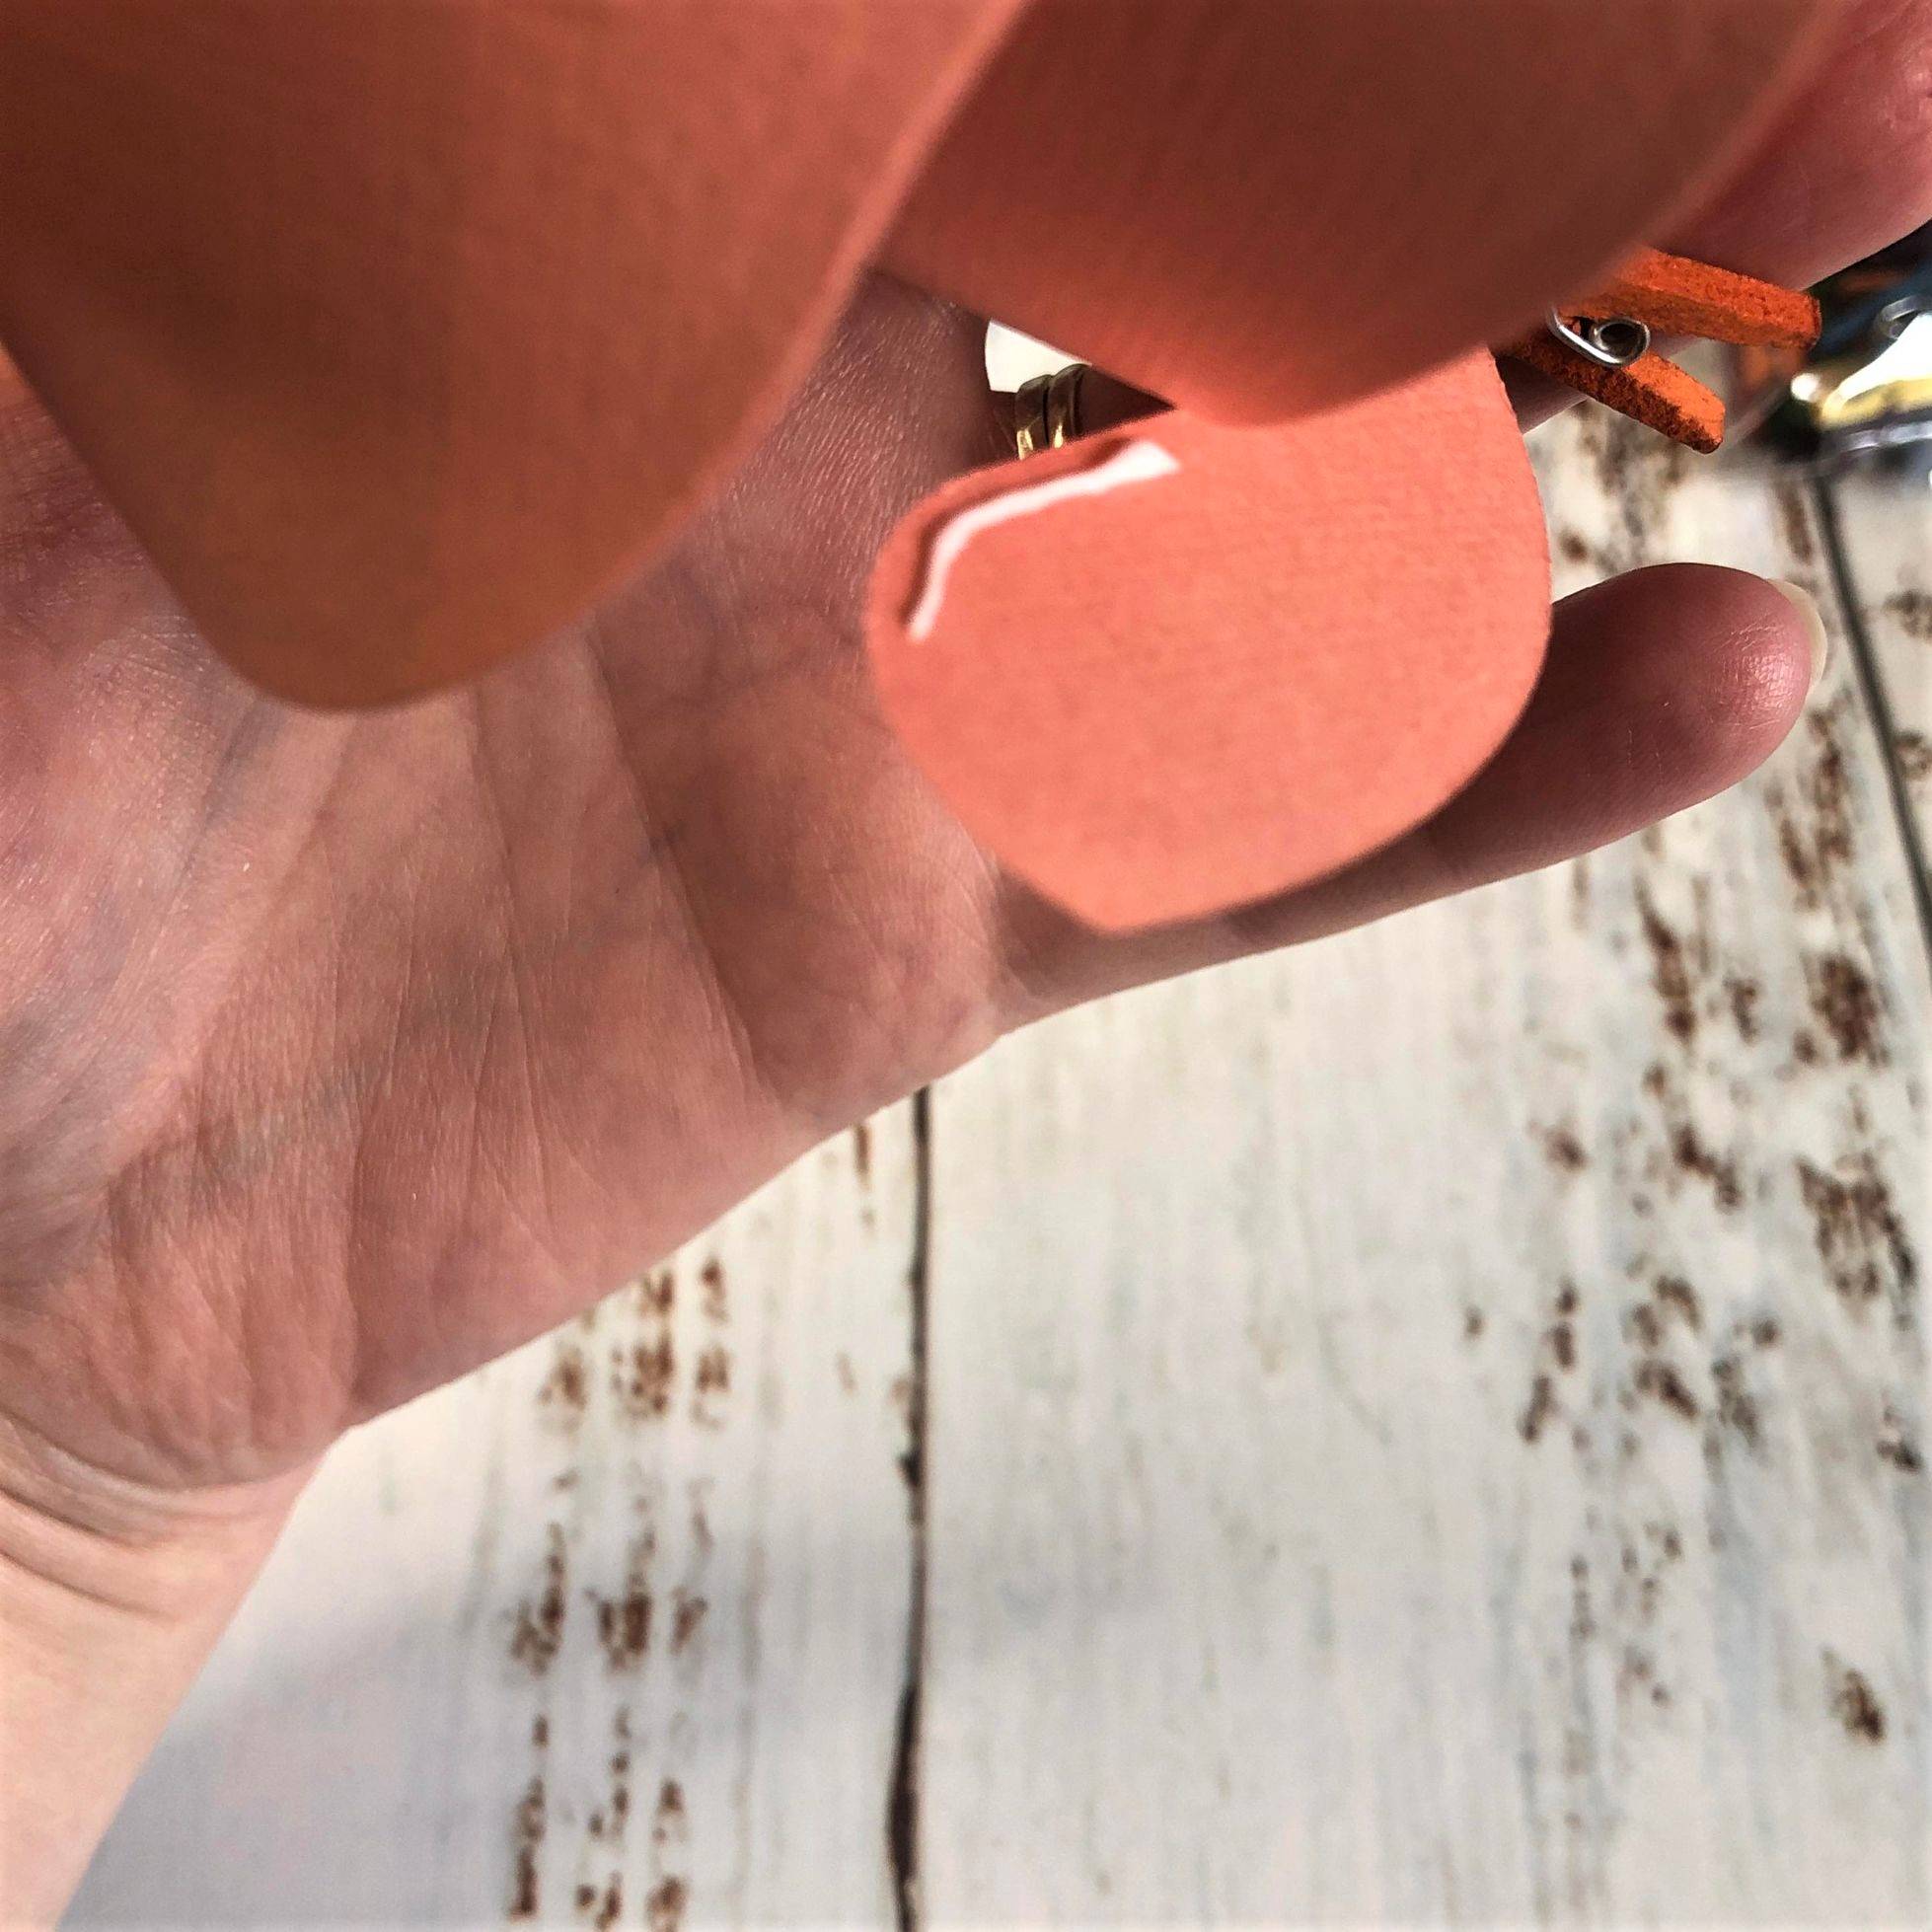
Step 8
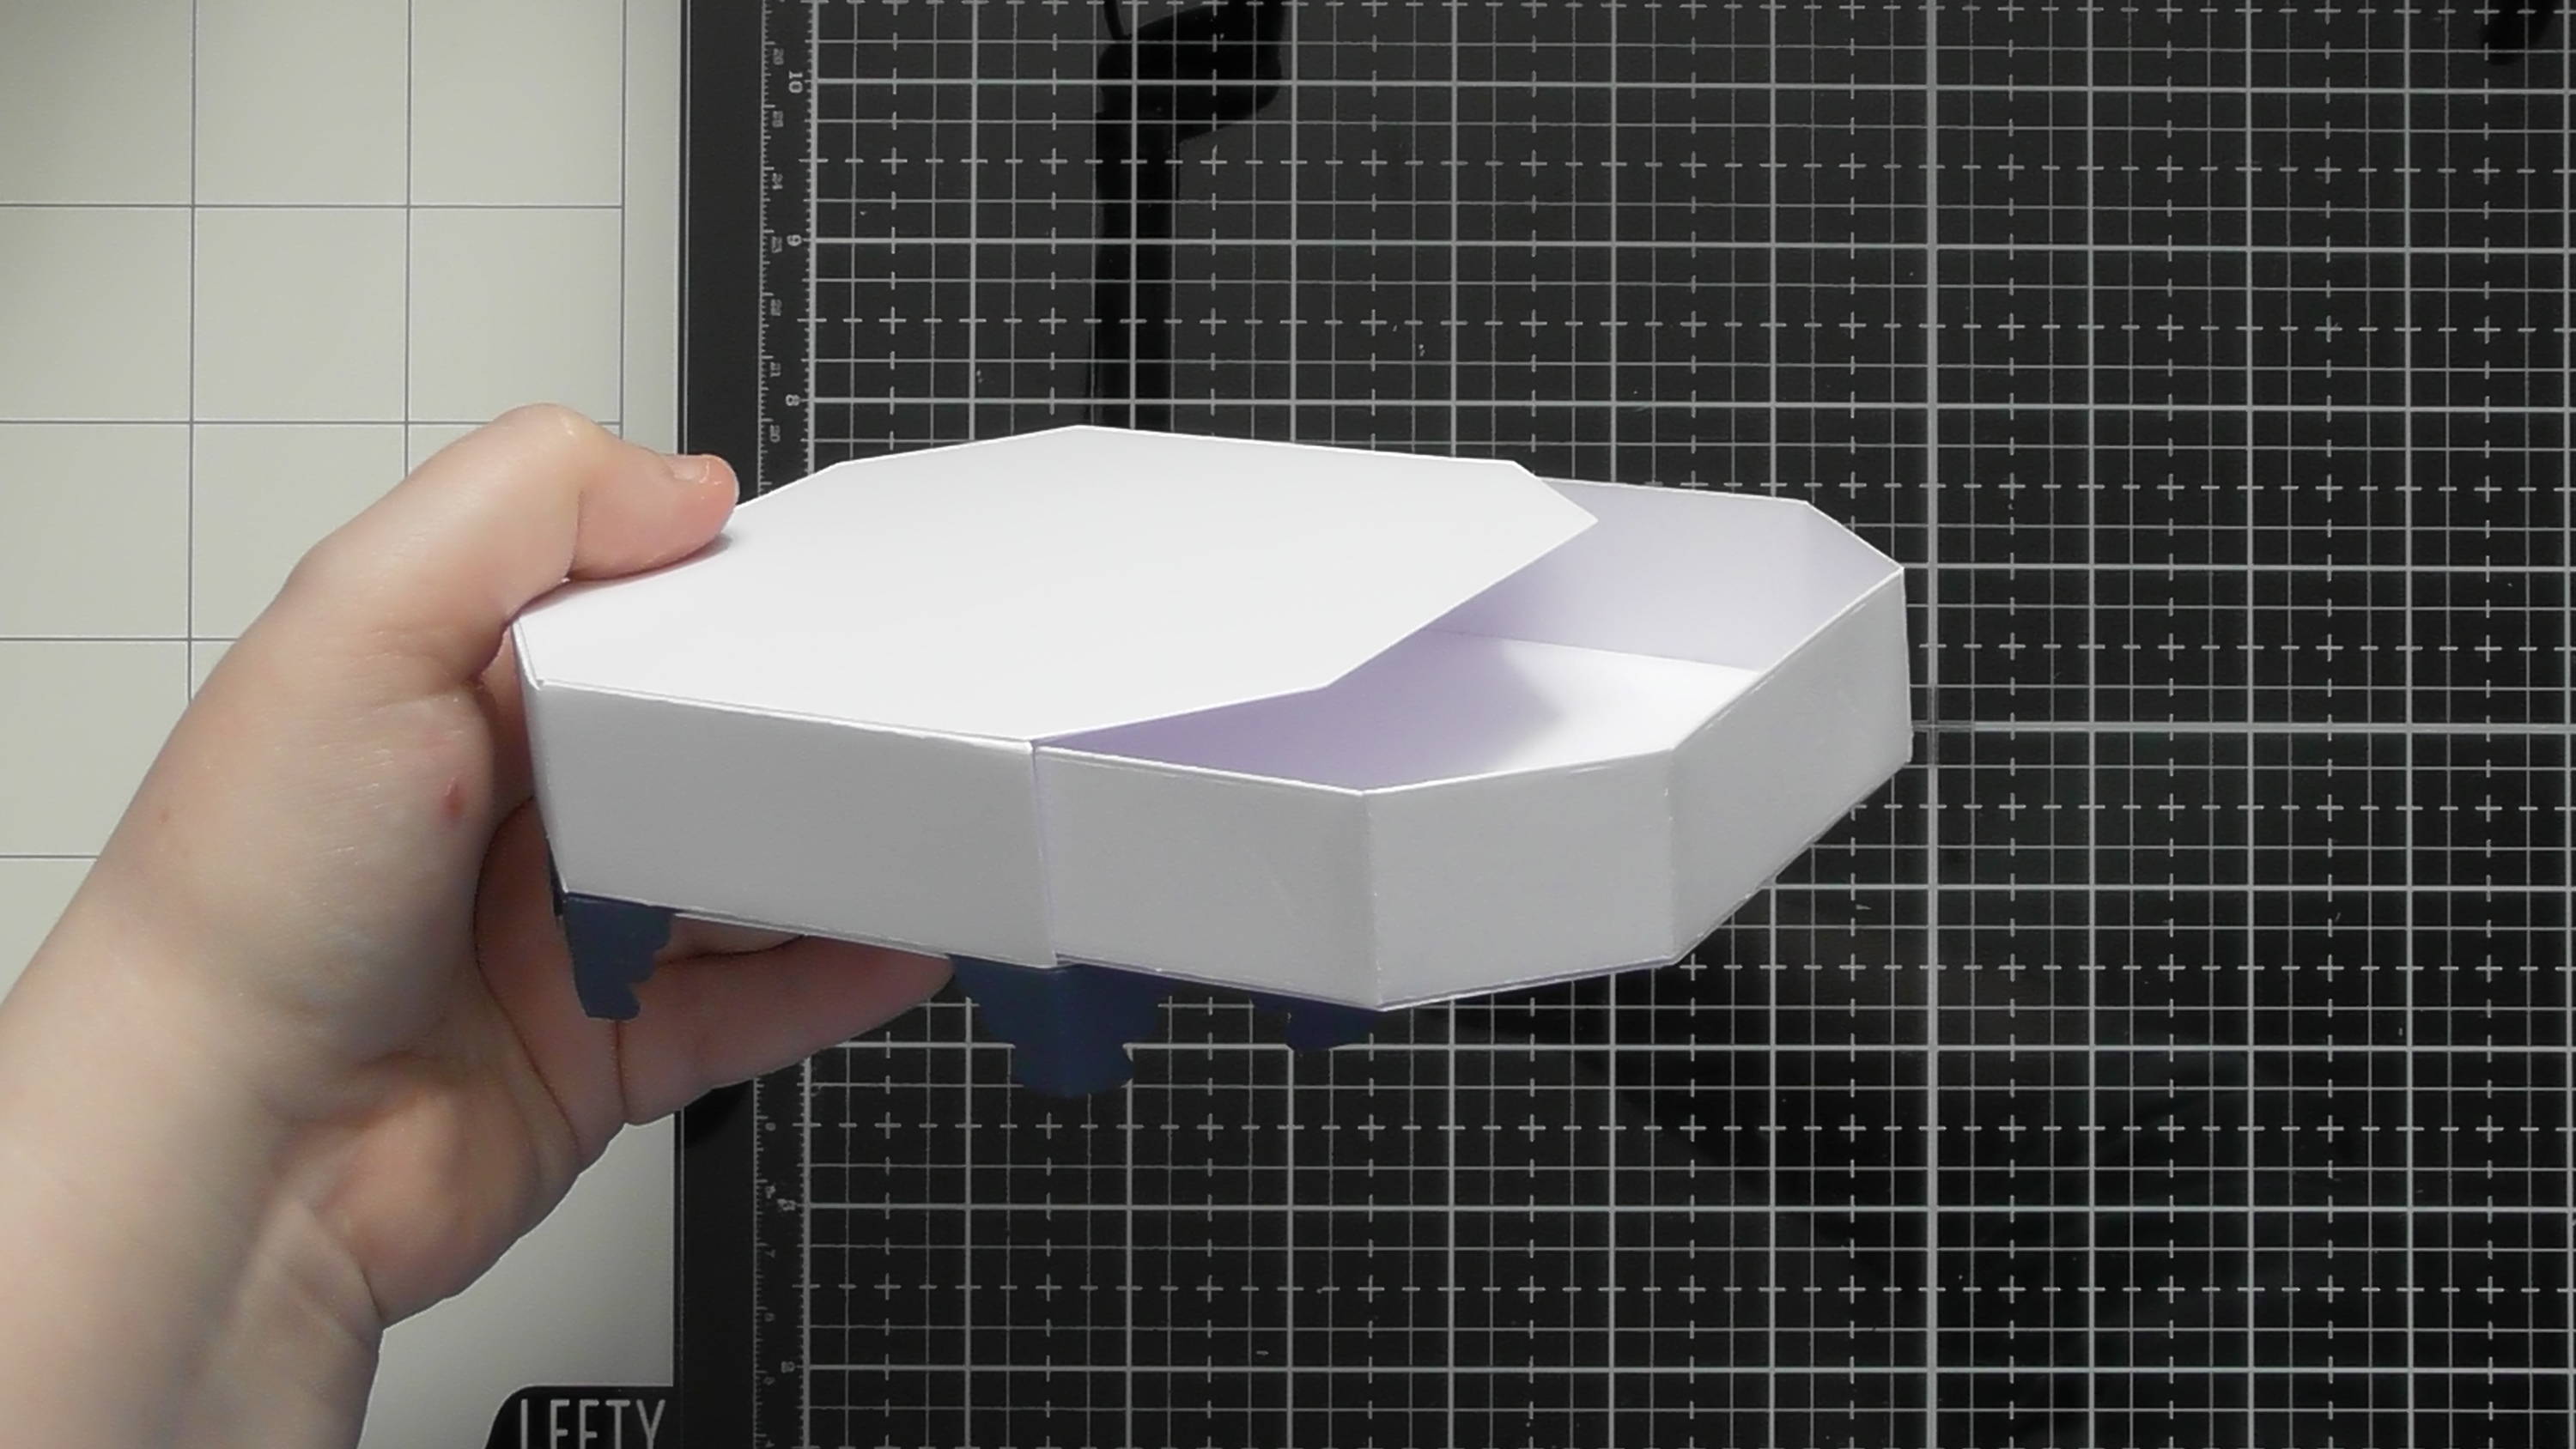
Glue the small tabs on each side of the next panel to the corresponding sides on the box front and back.
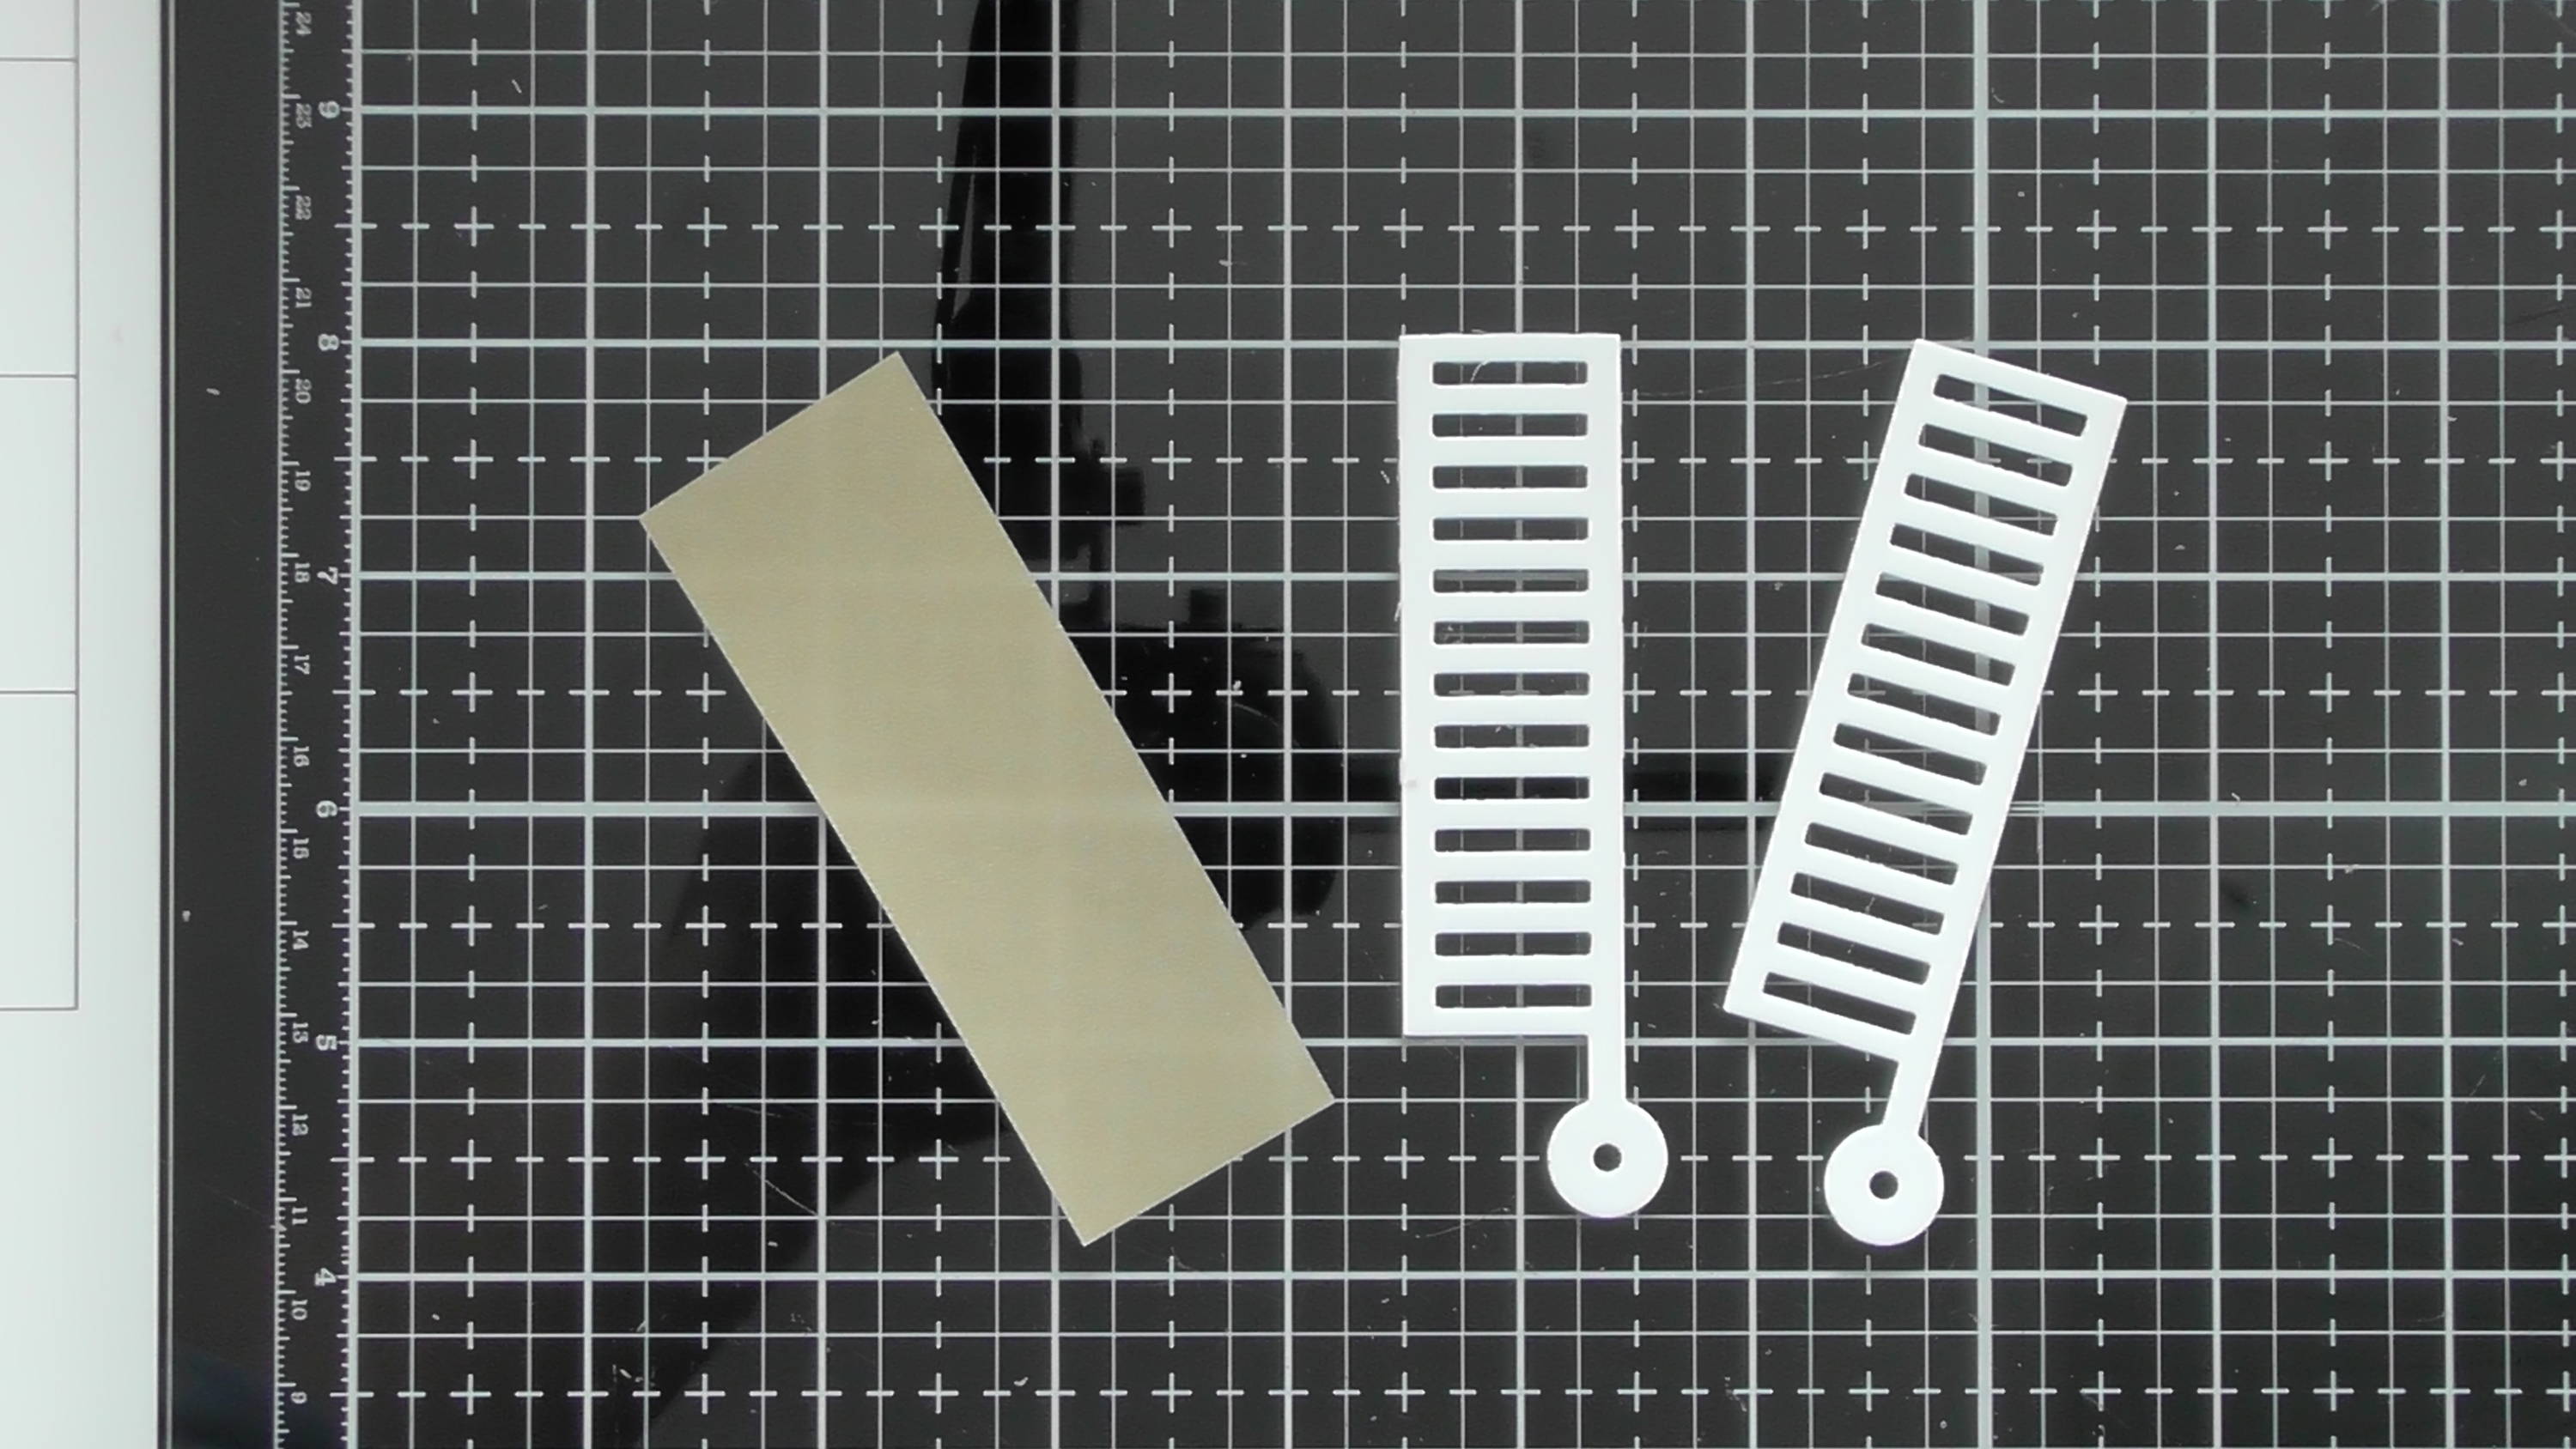
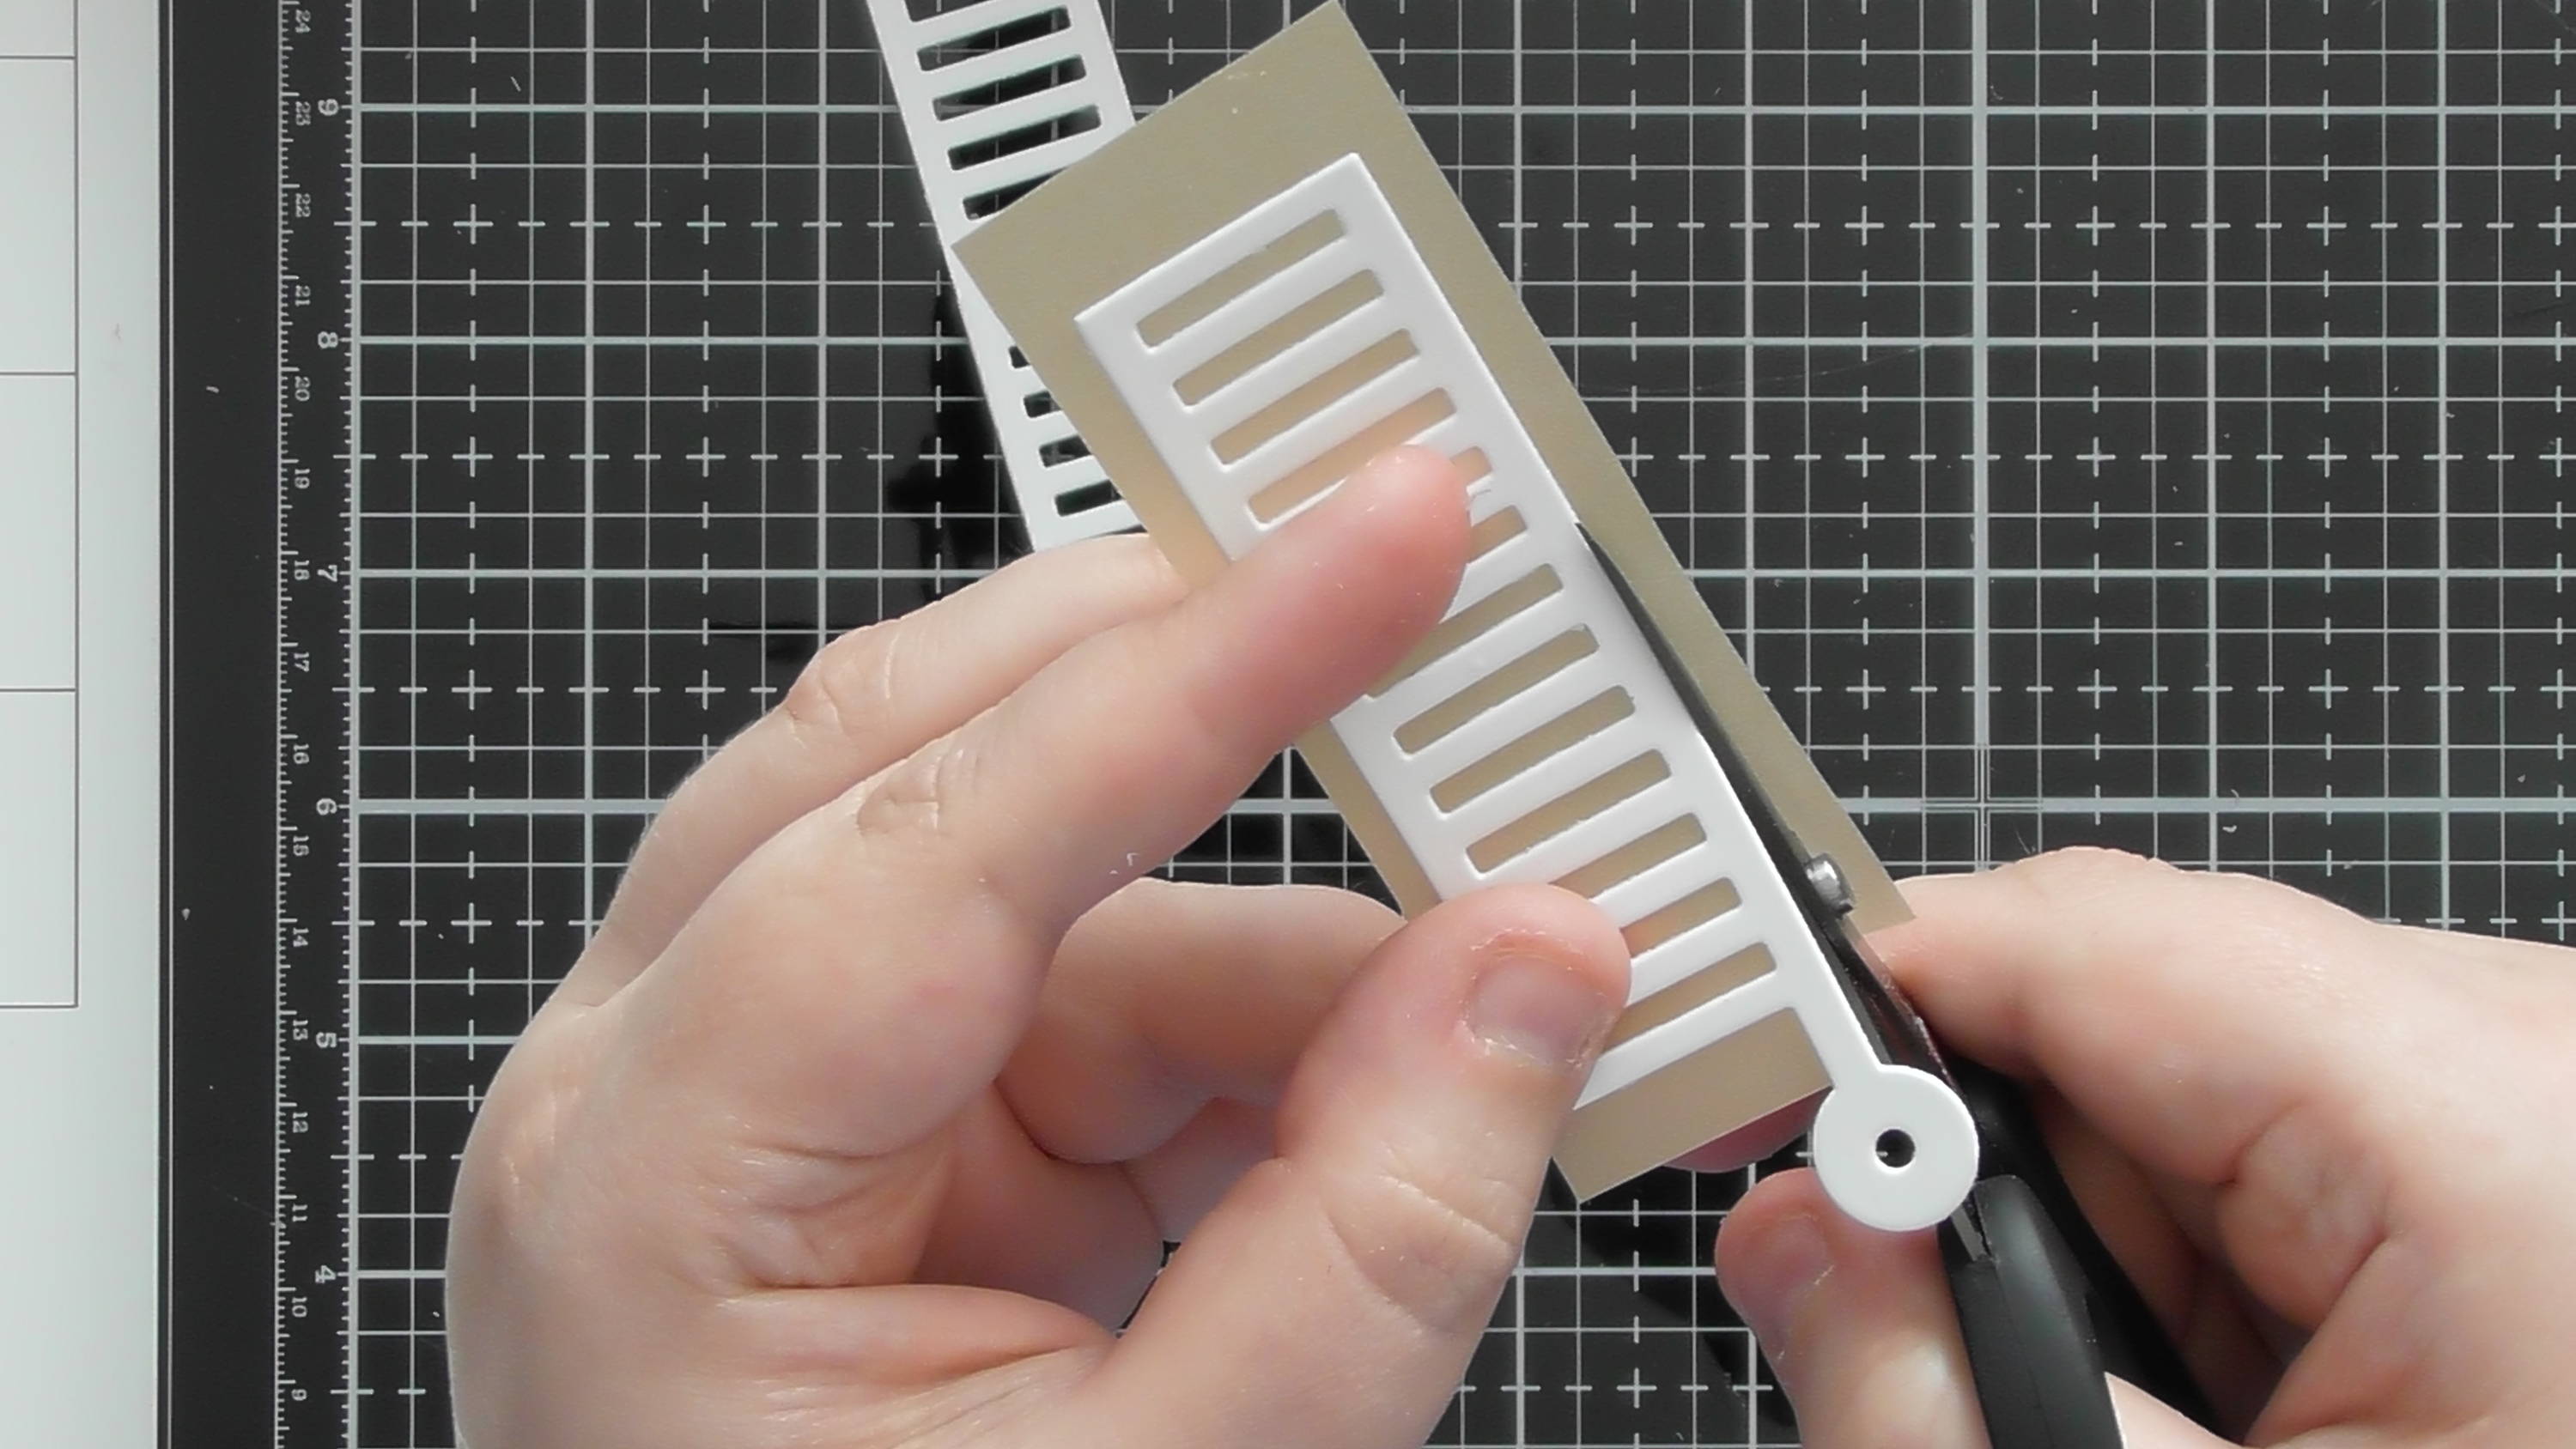
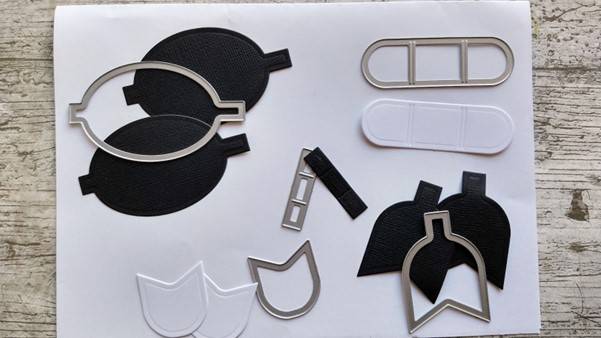
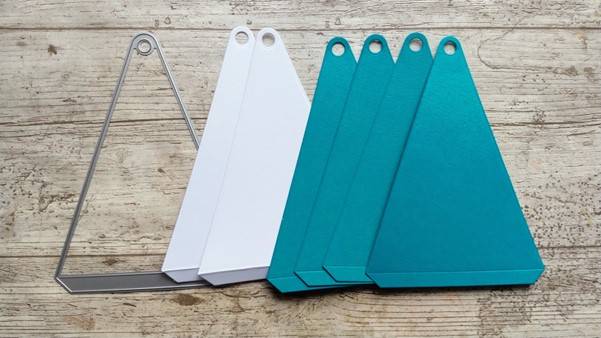
Step 9
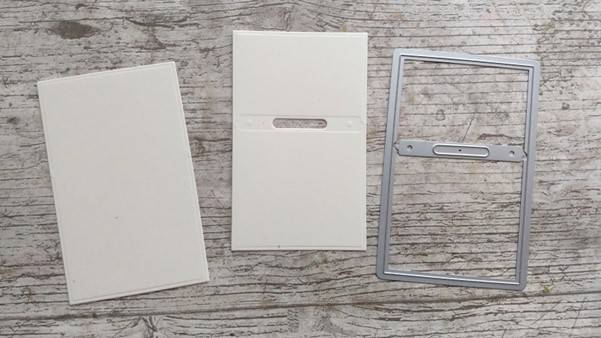
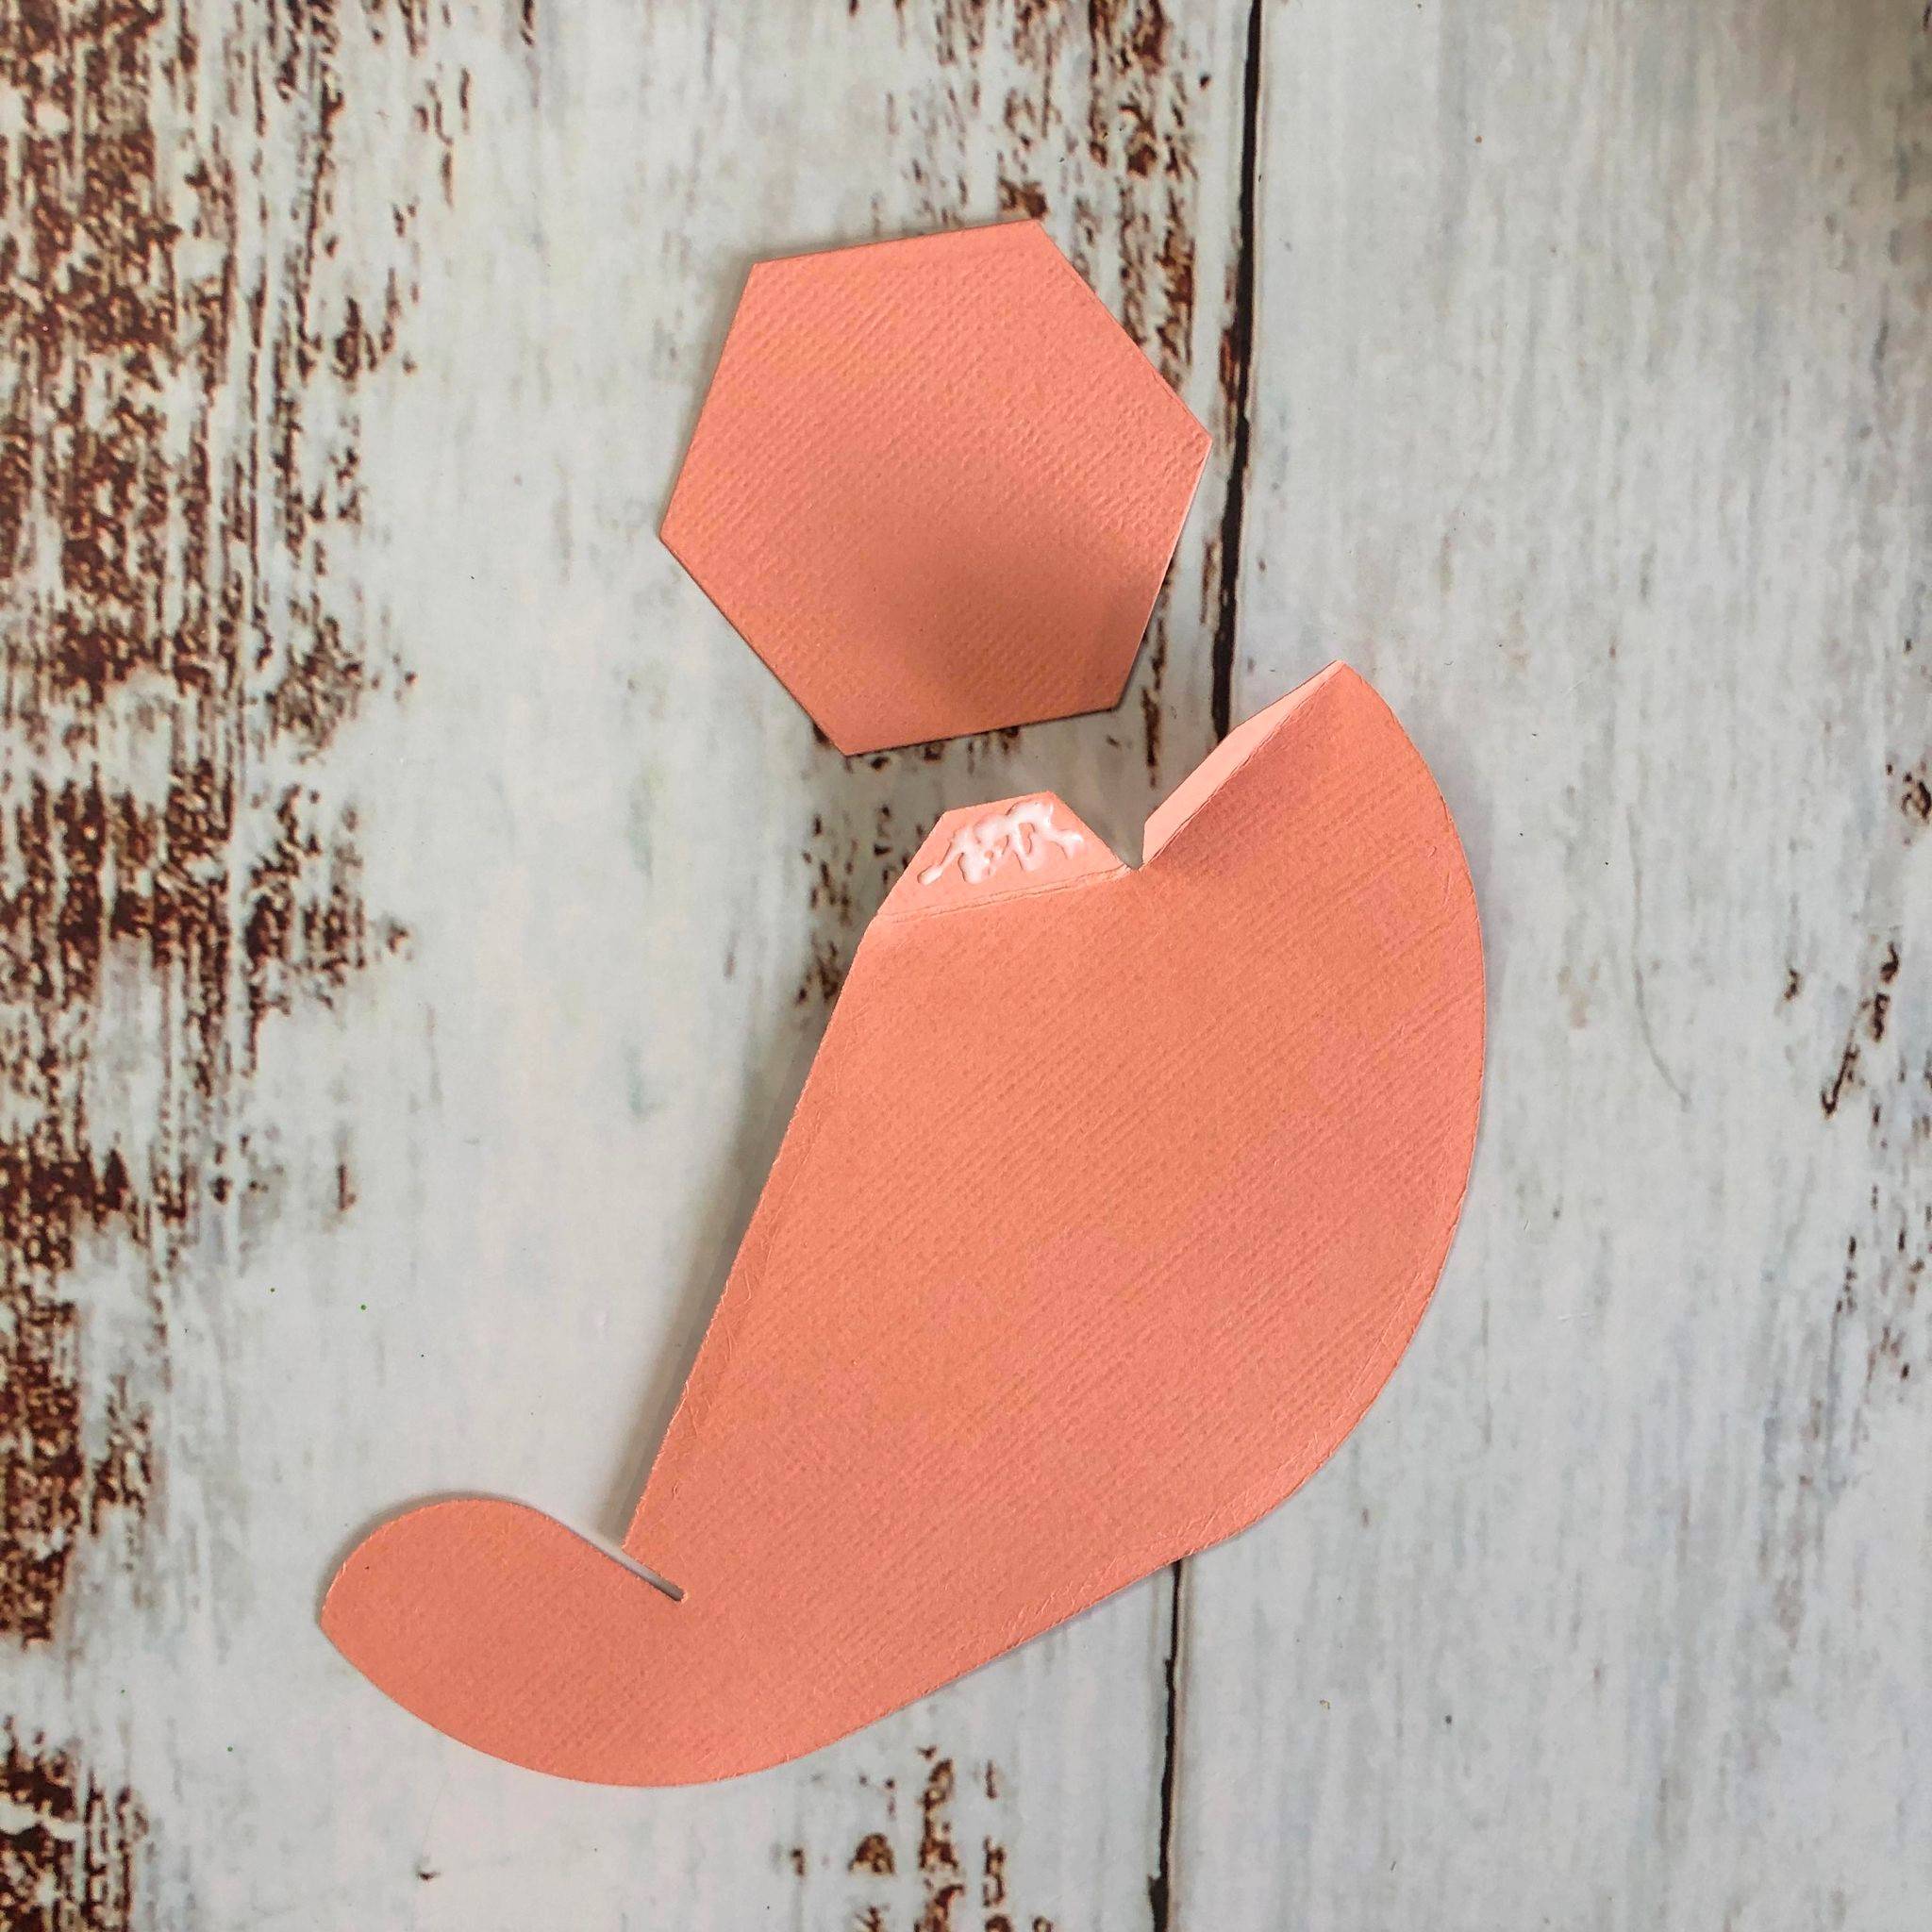
Use the outline shape shown to die cut one plain shape then tape the slit die into place using the notches as guides to create a panel with a slit.
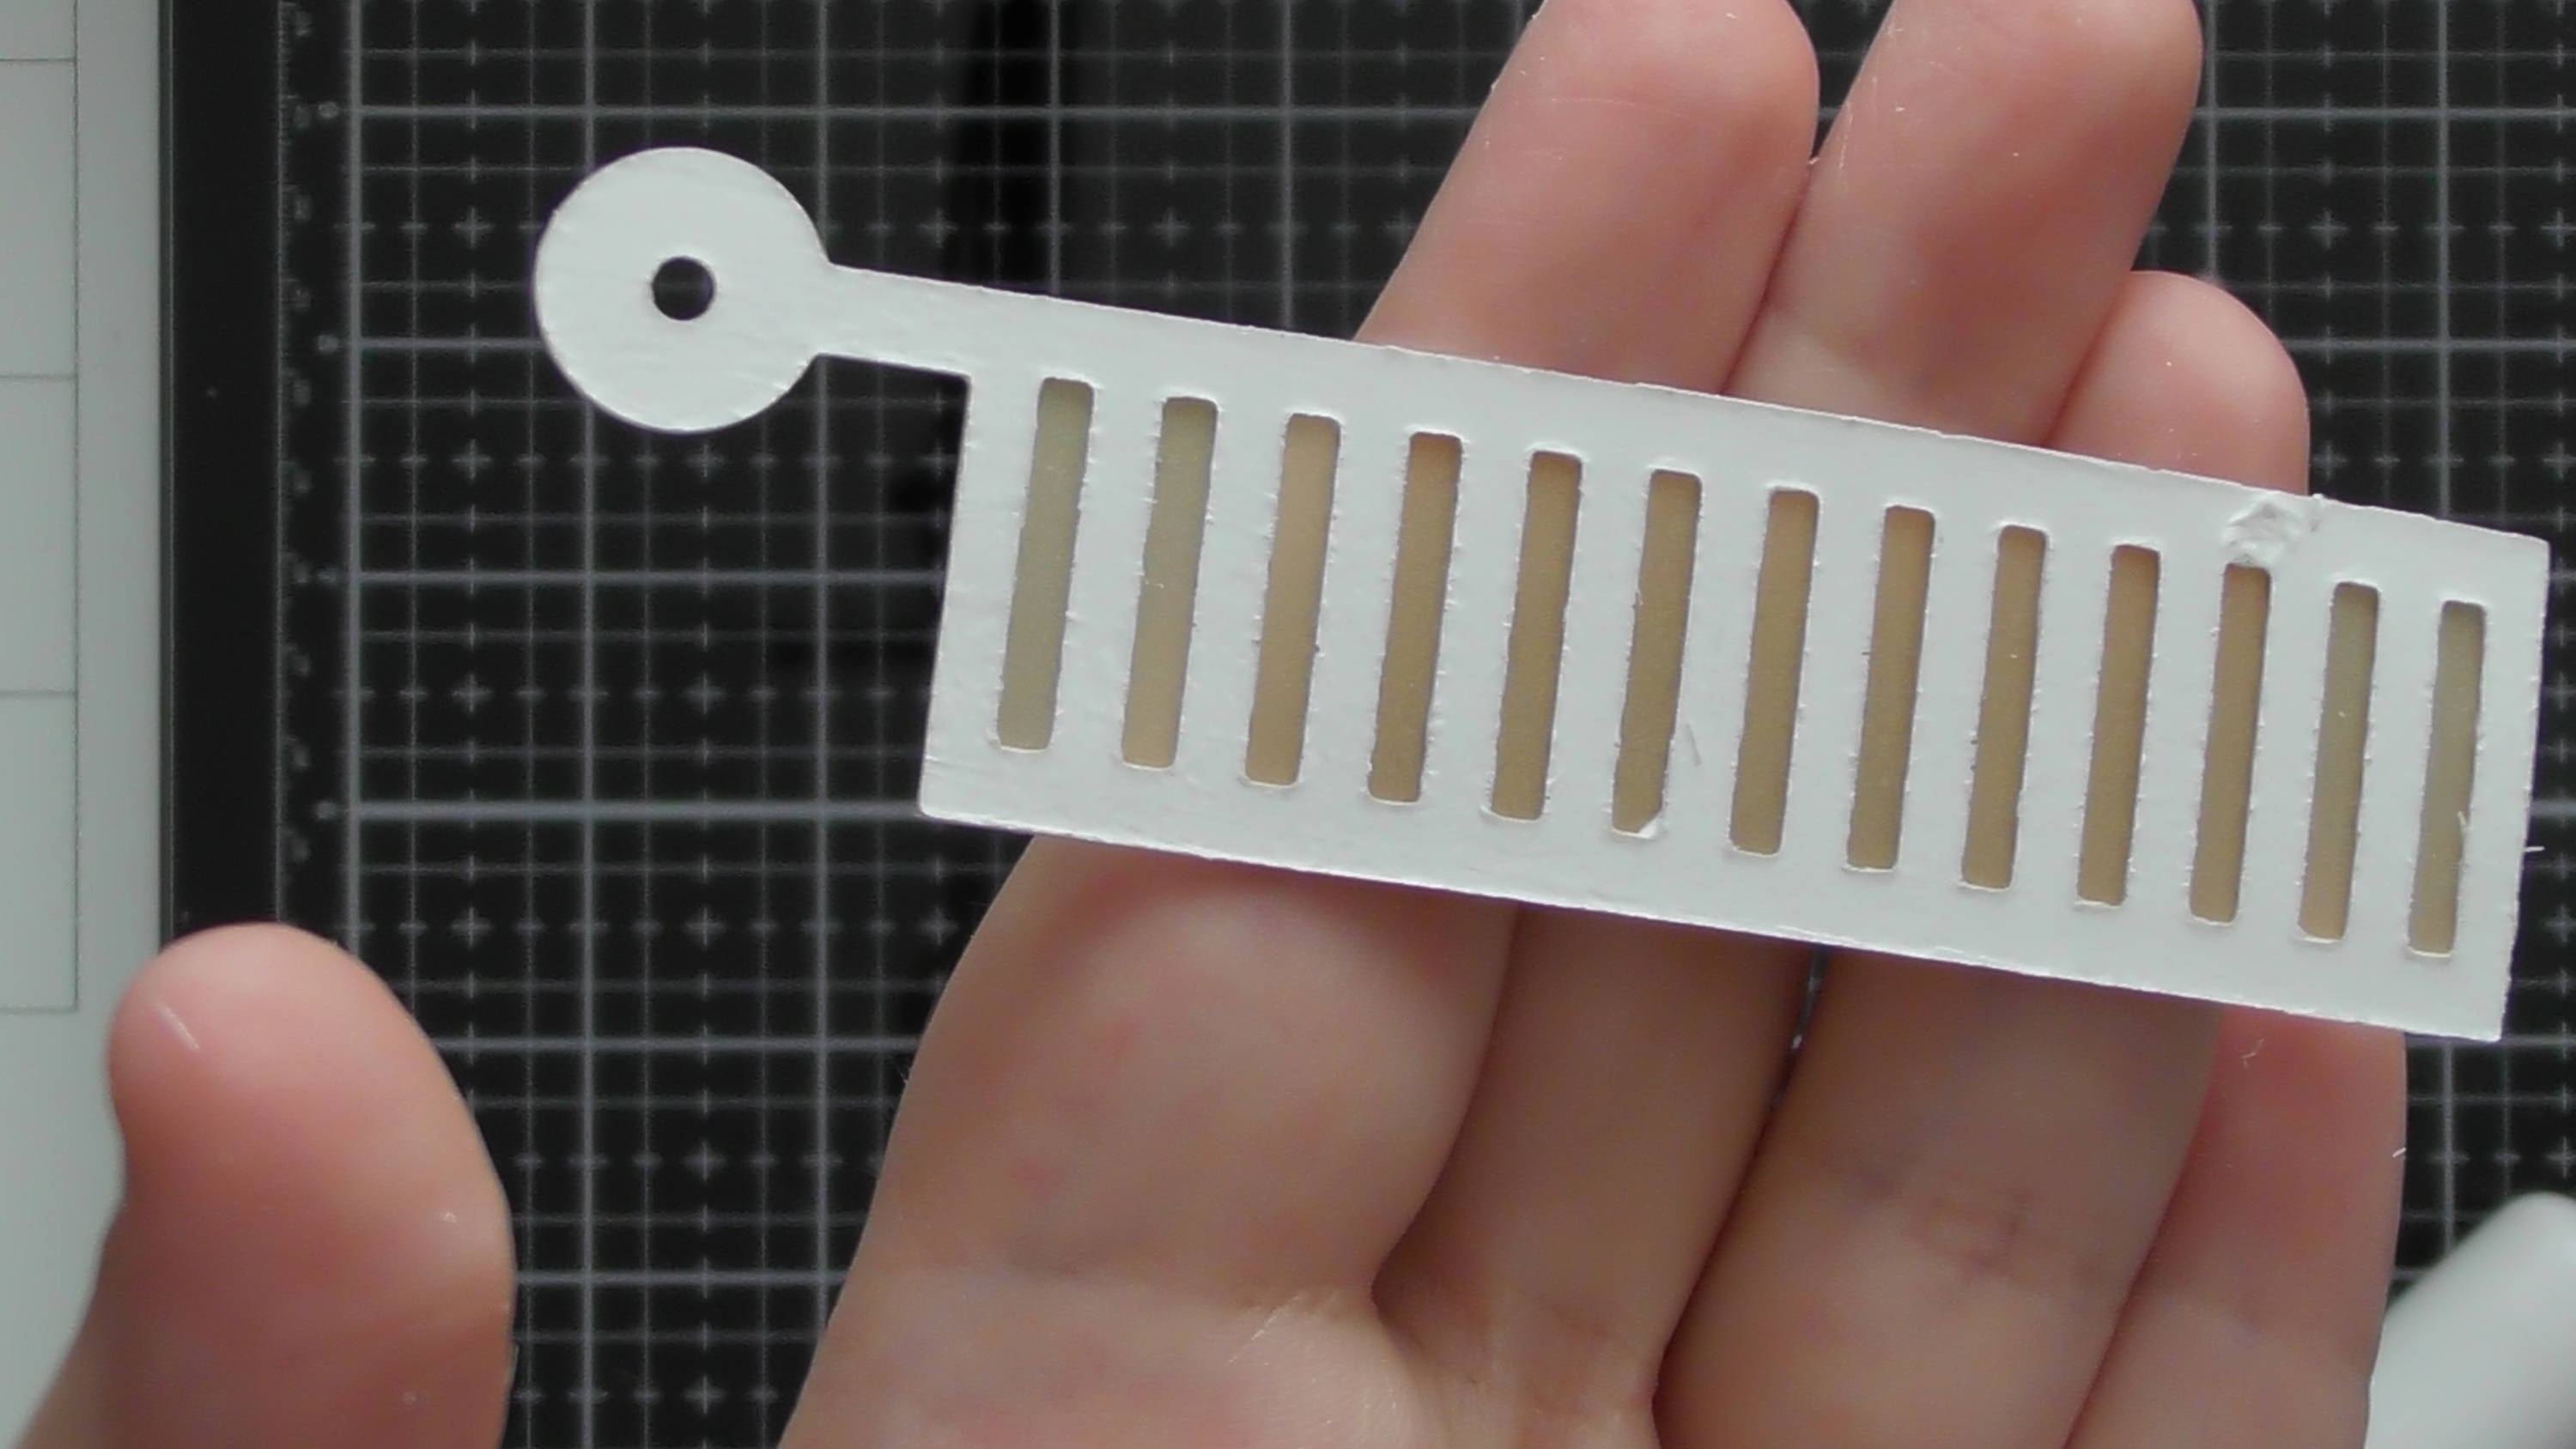
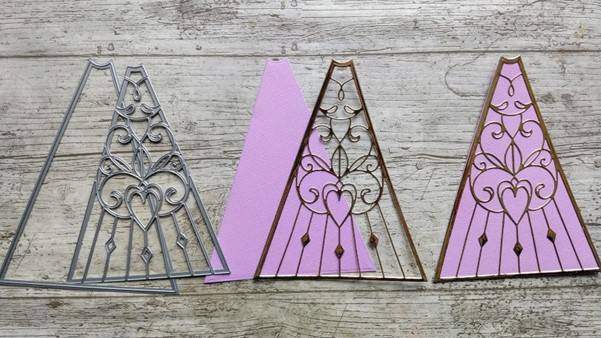
Step 10
Use both dies shown to create 2 patterned panels and glue these onto the plain shapes, making sure to line up the slit on one of them.
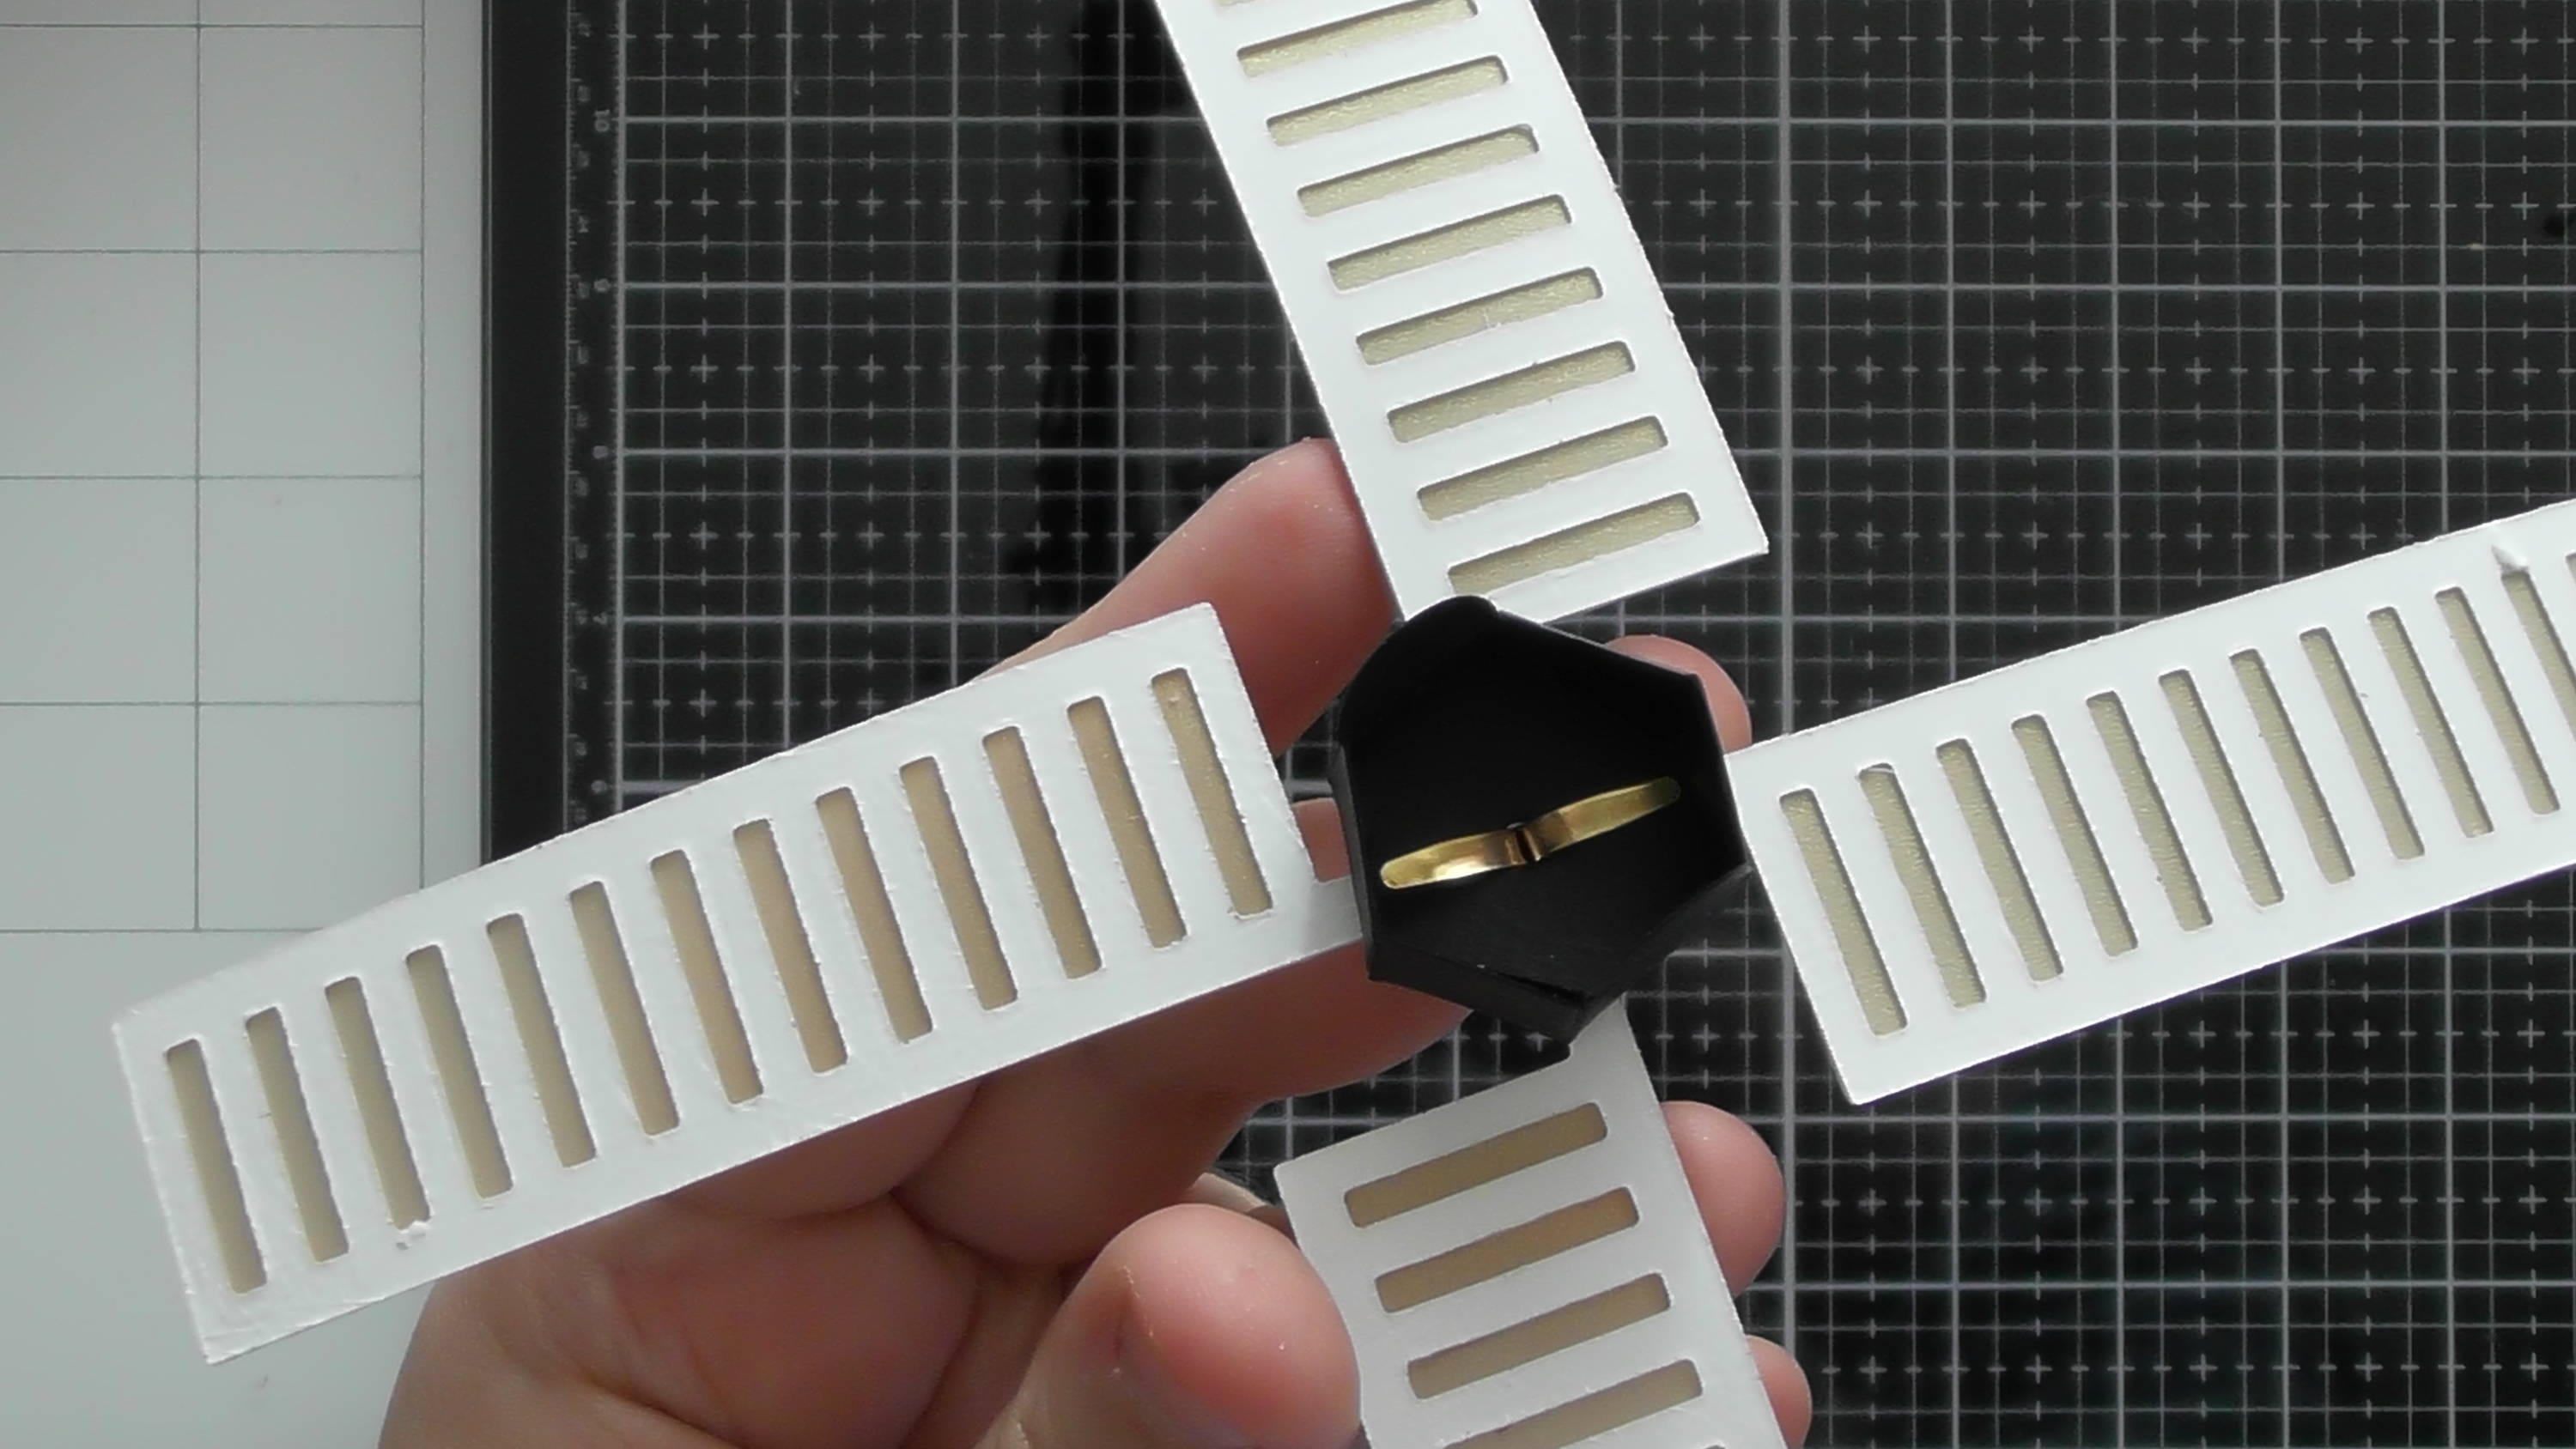
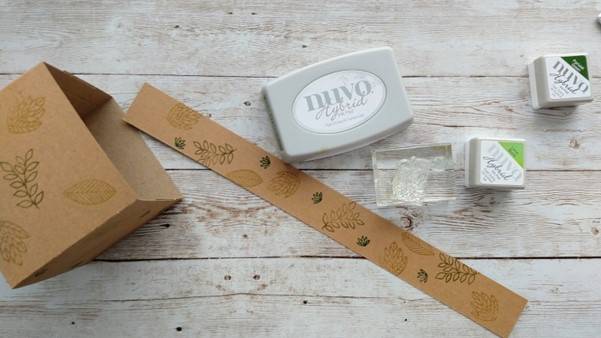
Step 11
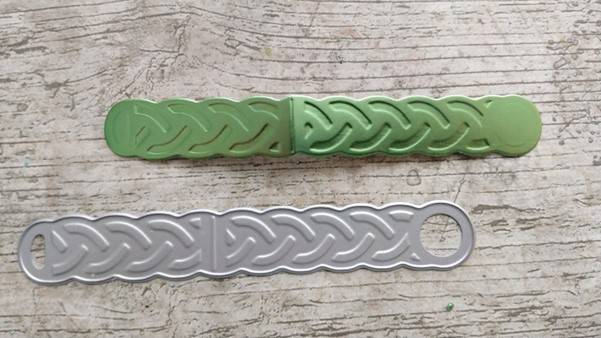
Die cut a strap and fold.
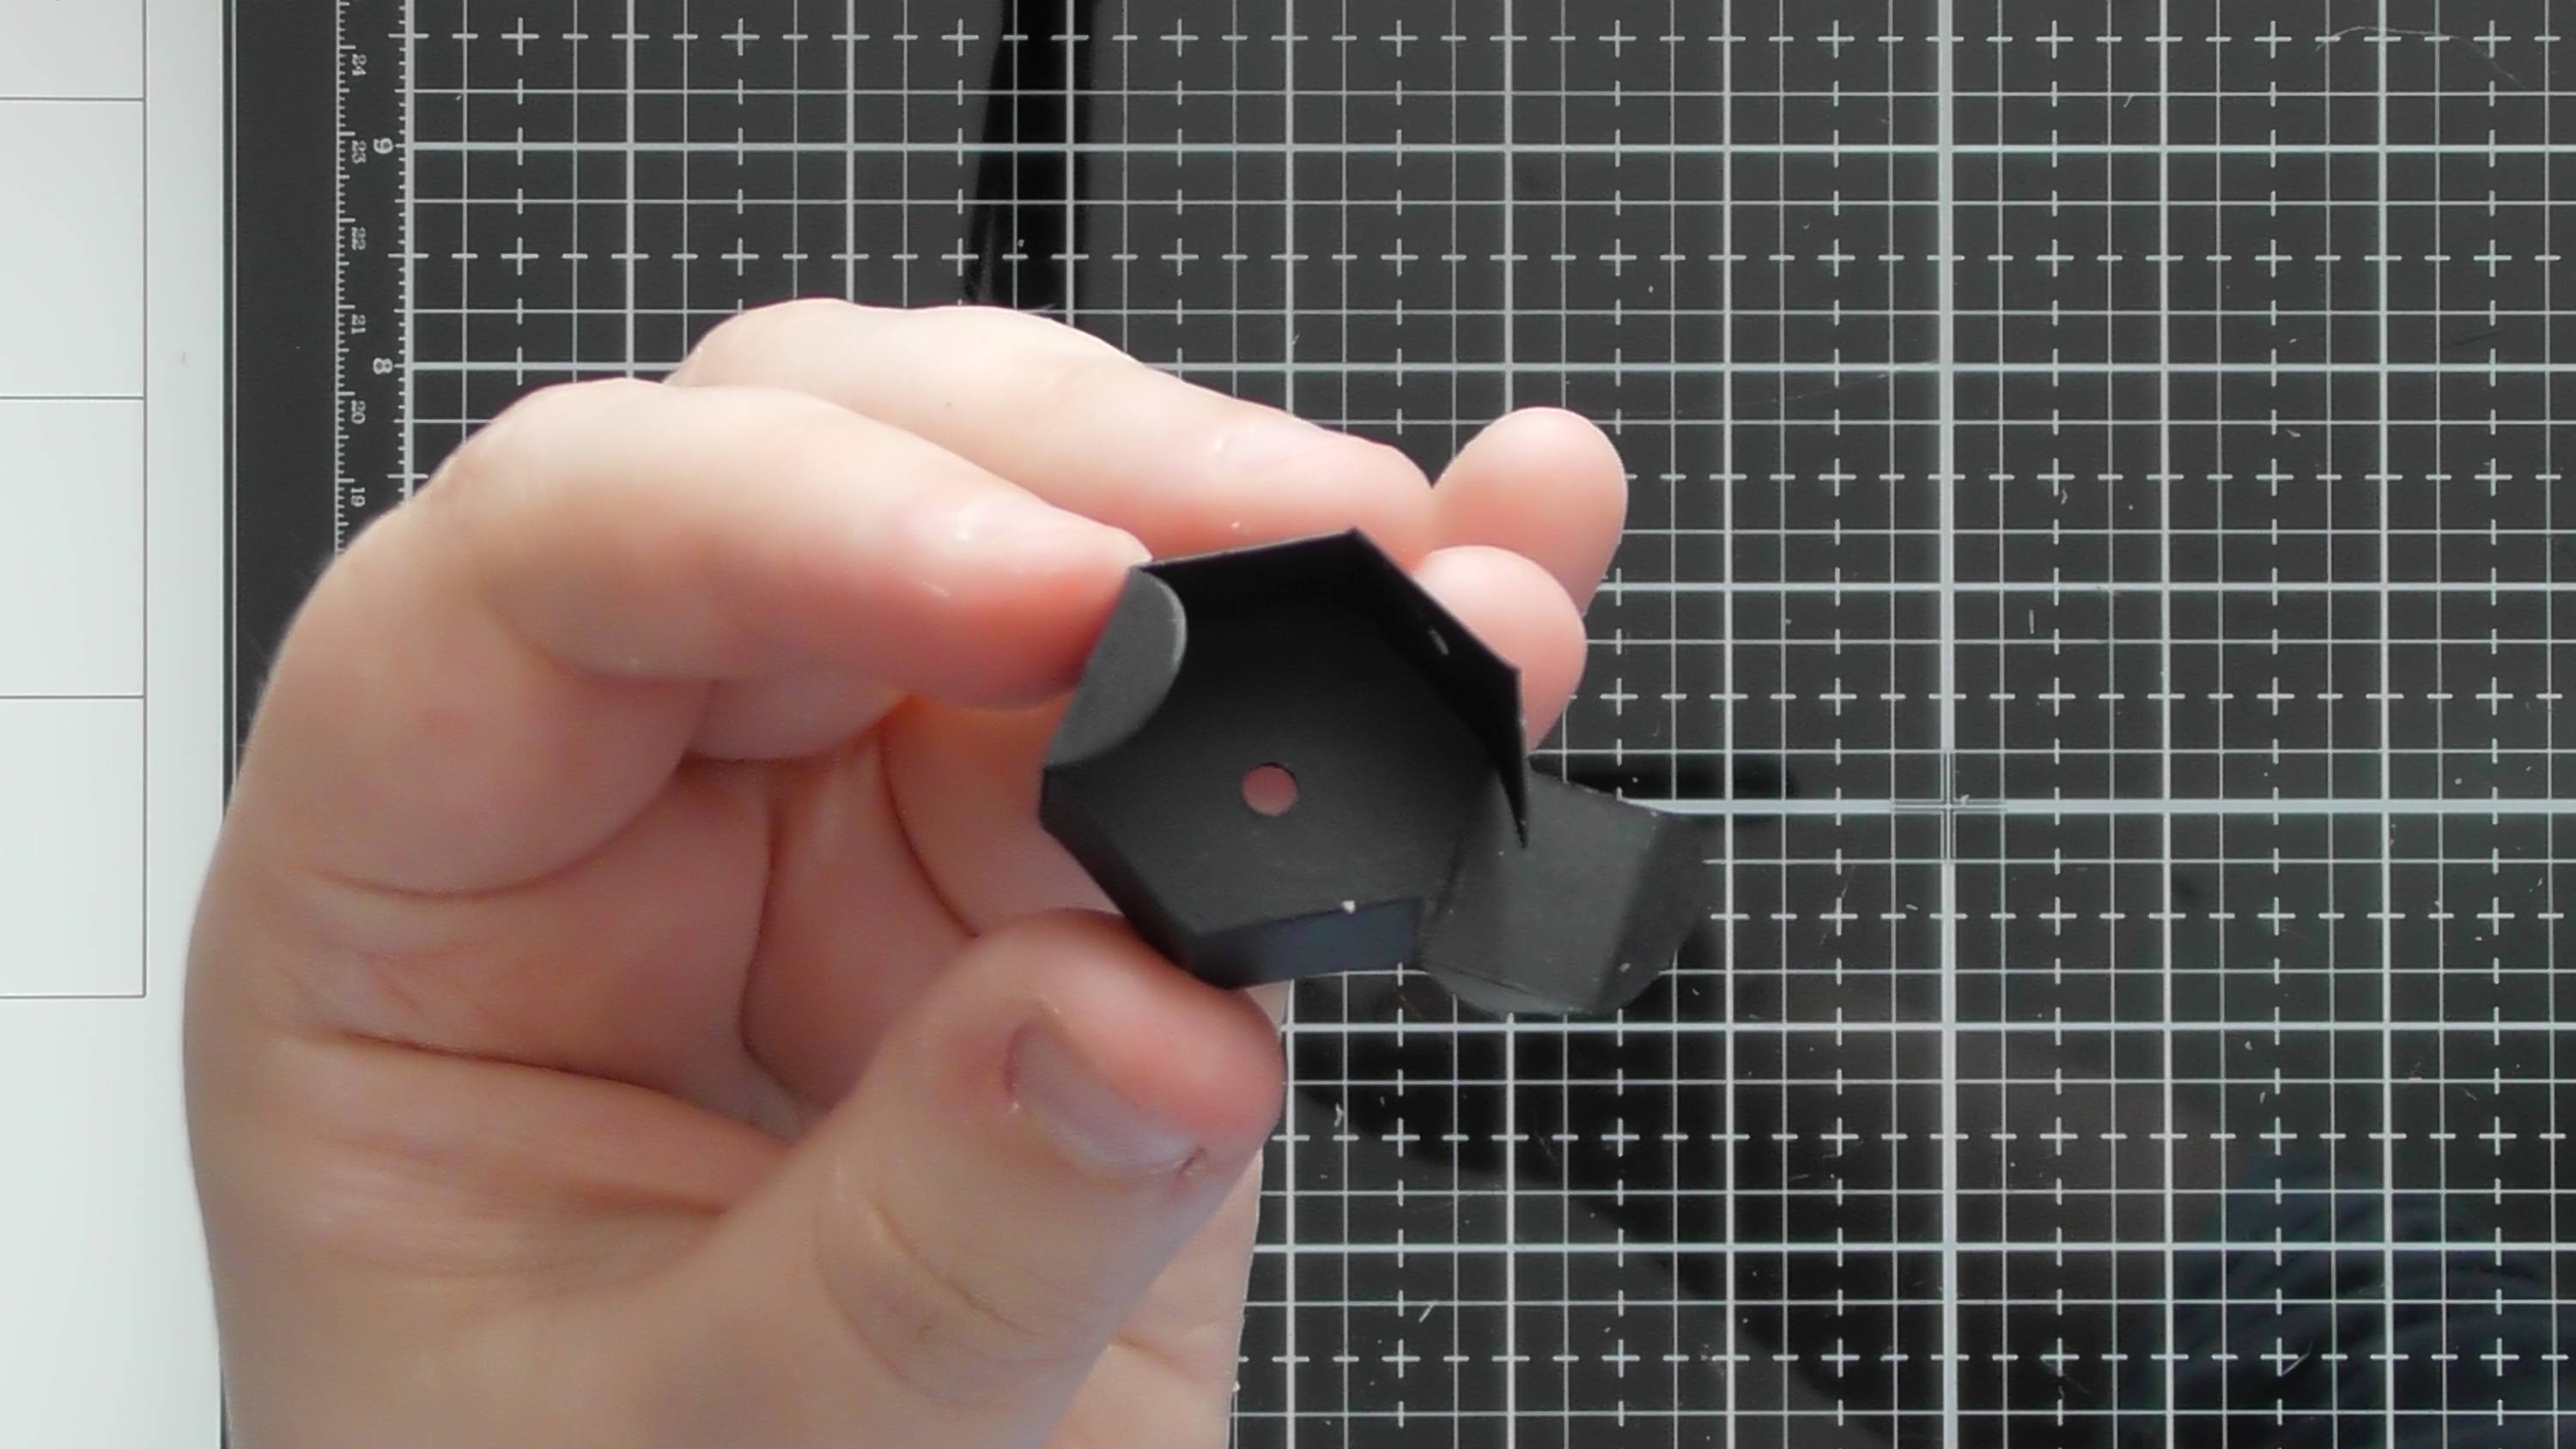
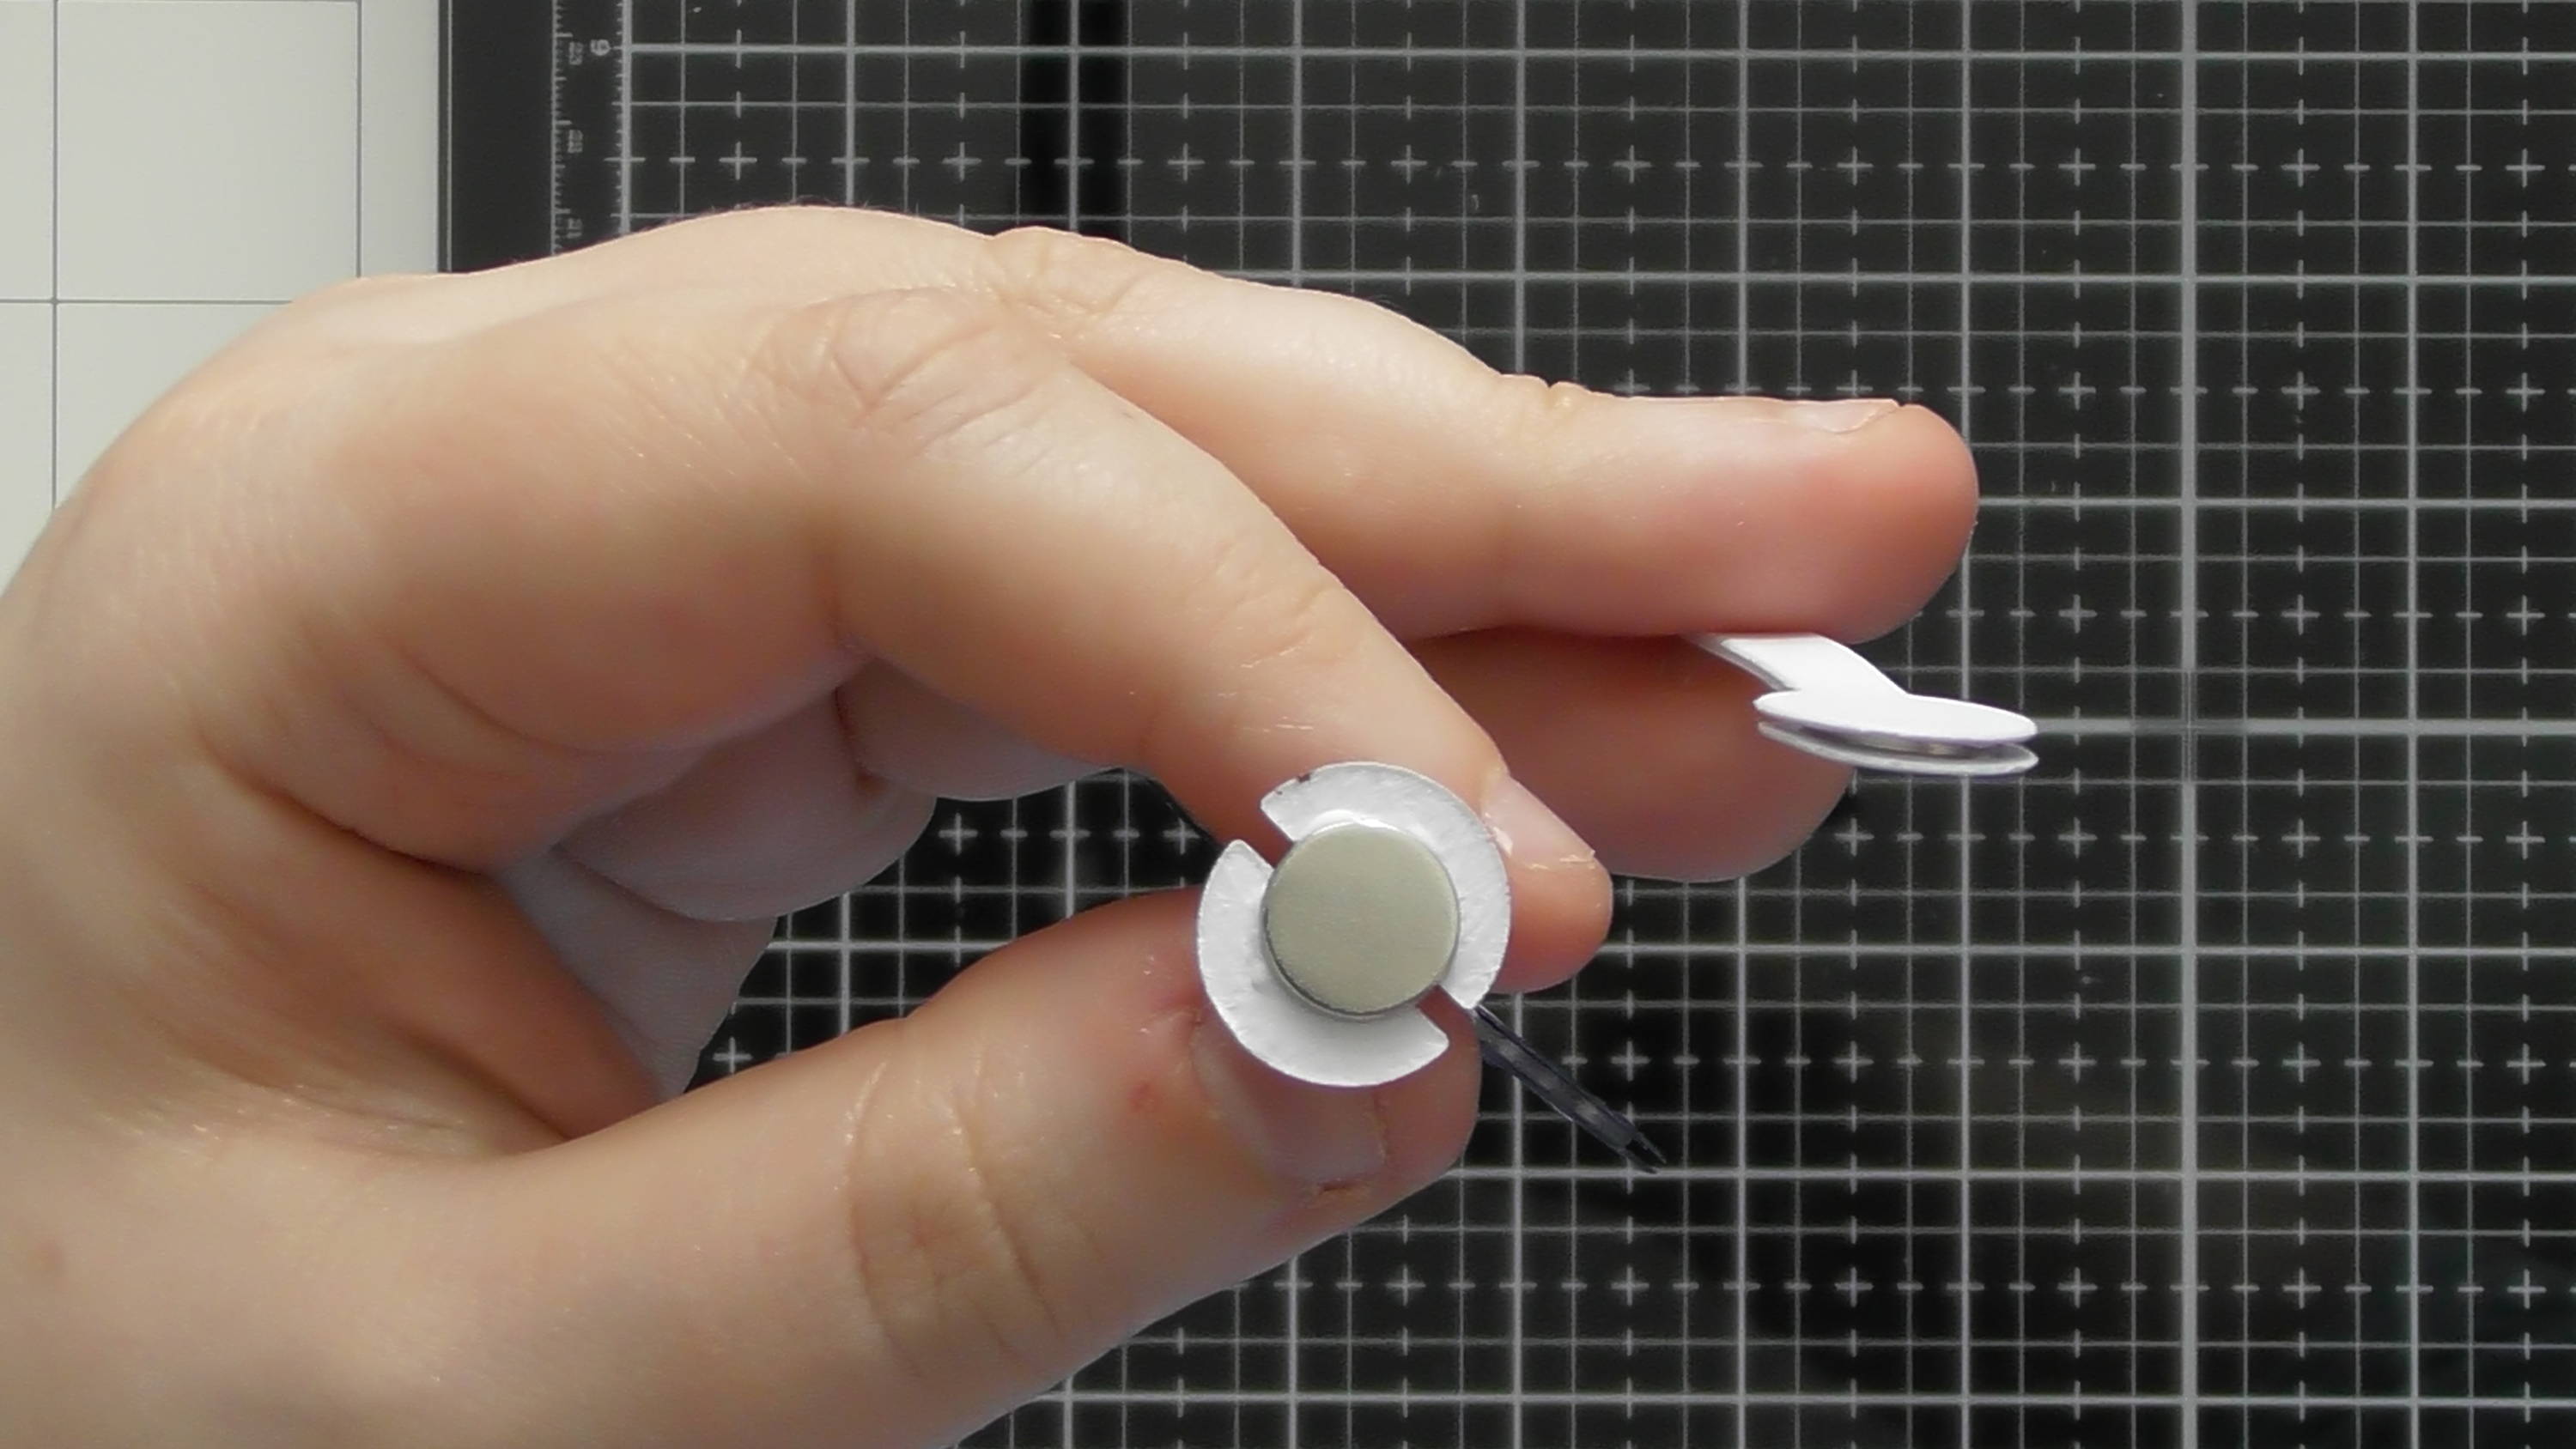
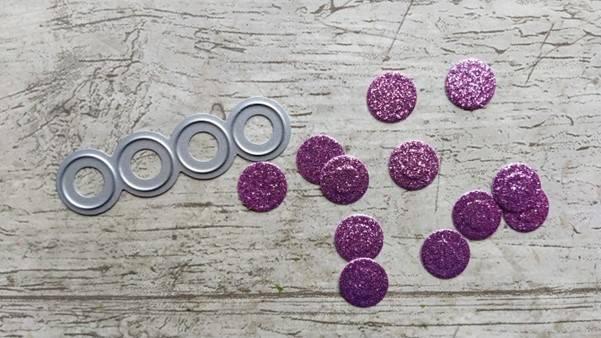
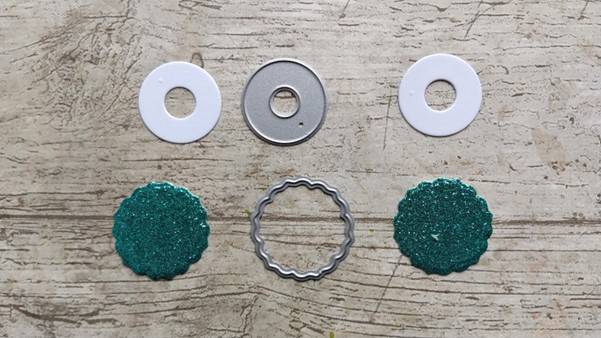
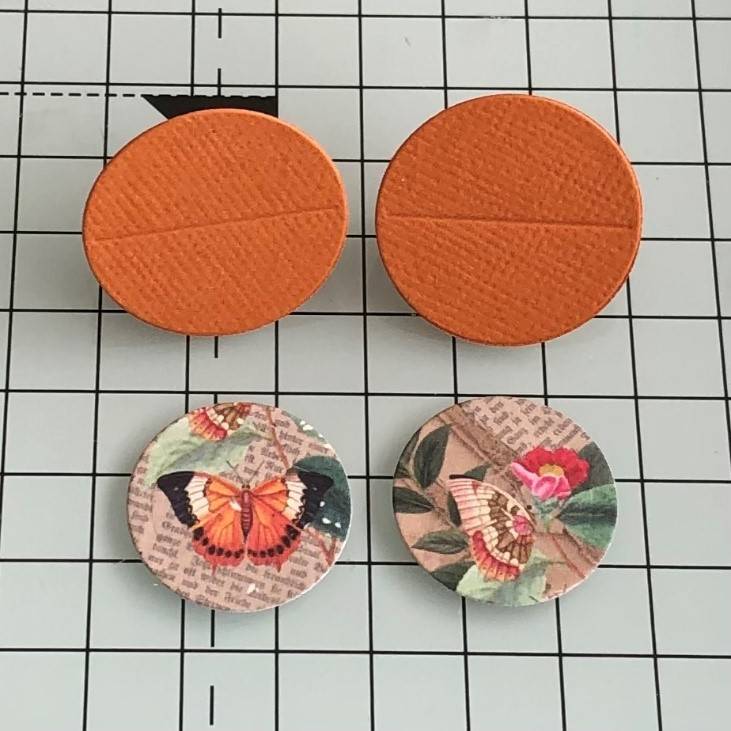
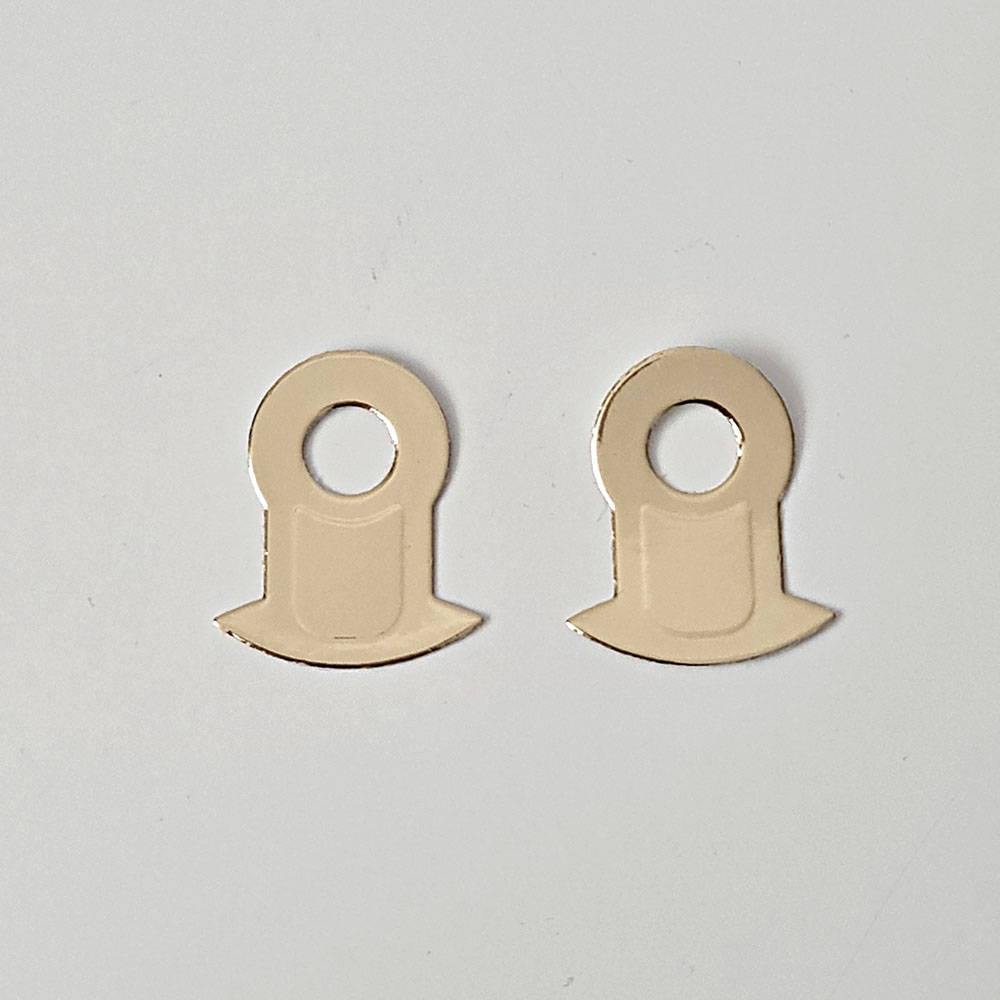
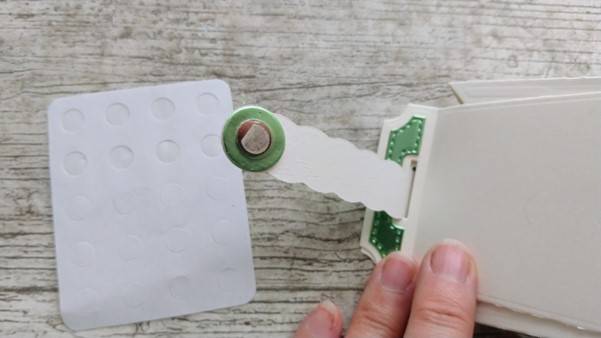
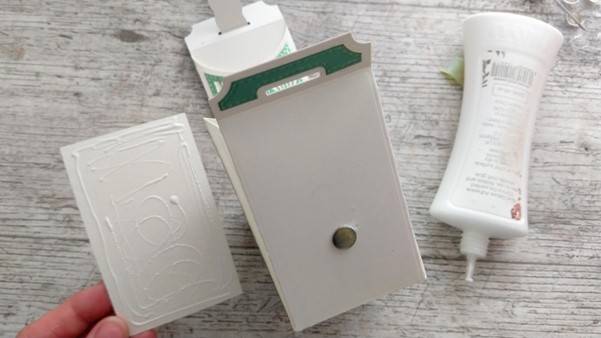
Step 12

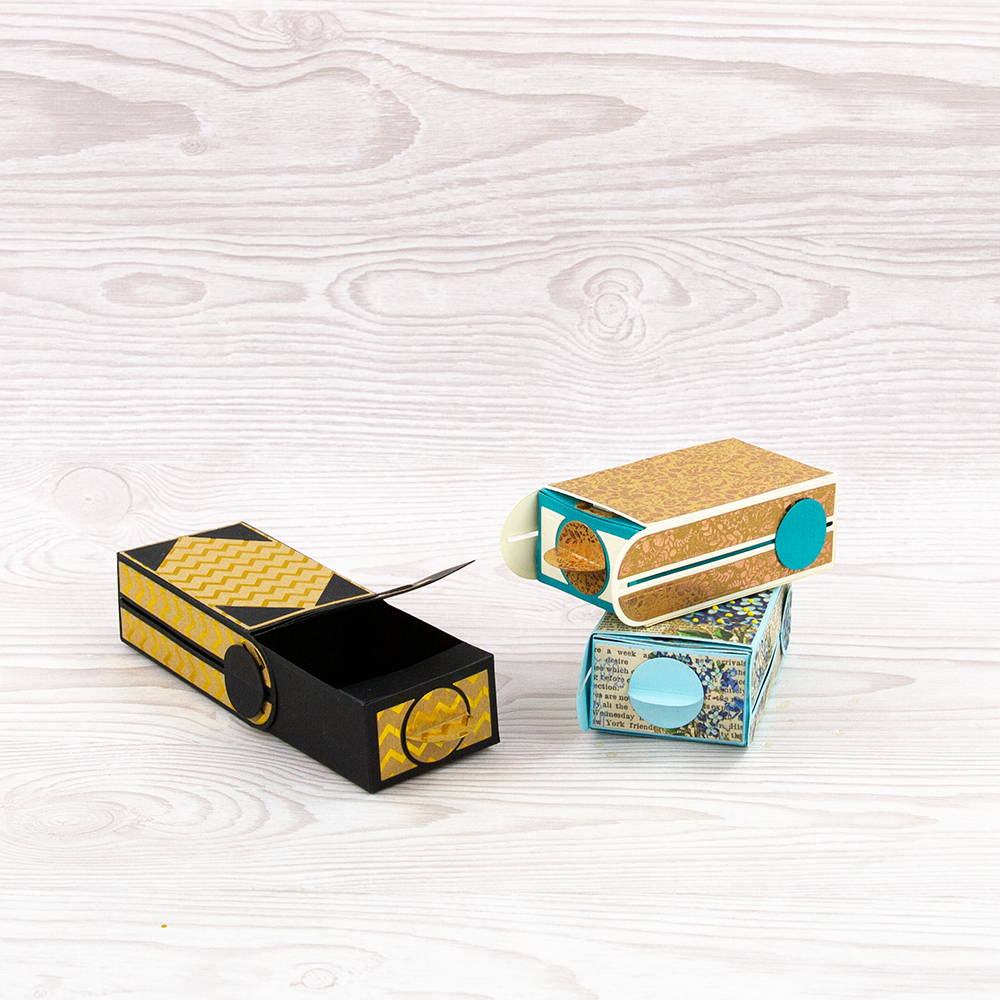
Attach a small magnet to the underside of the circle.
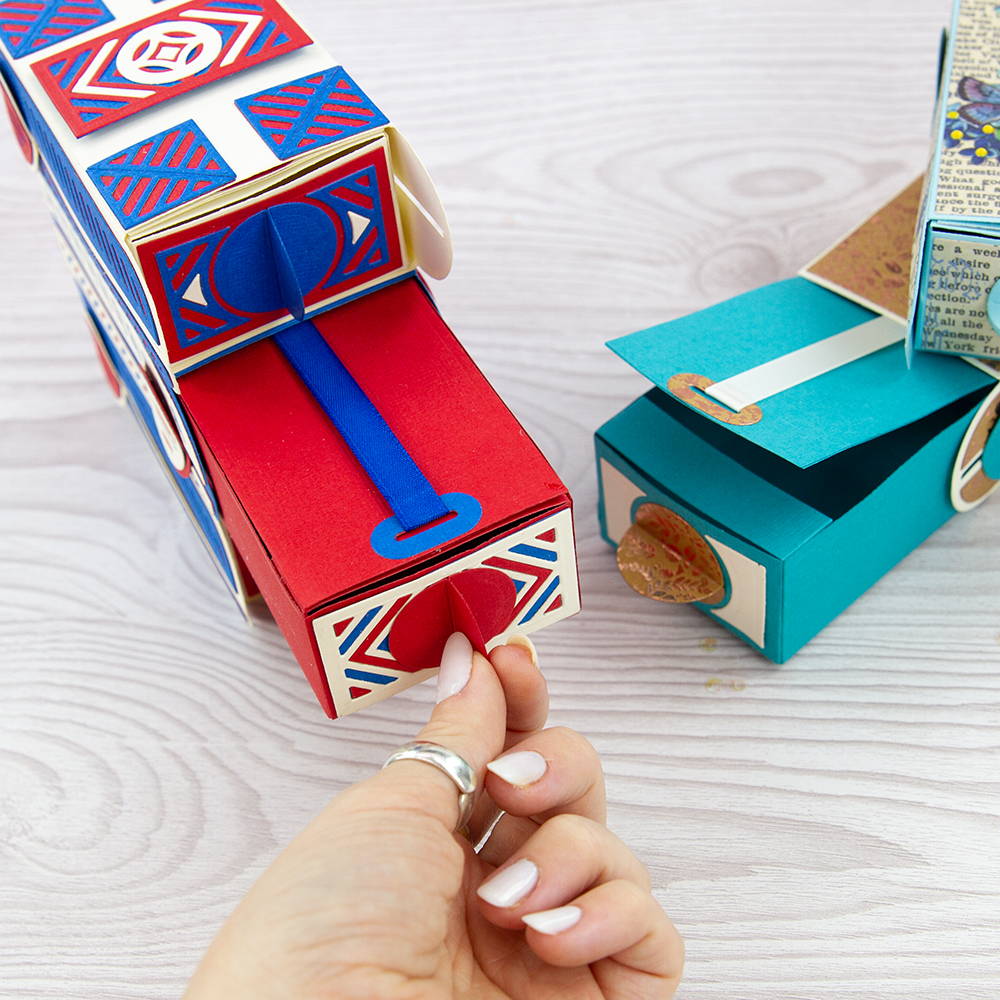
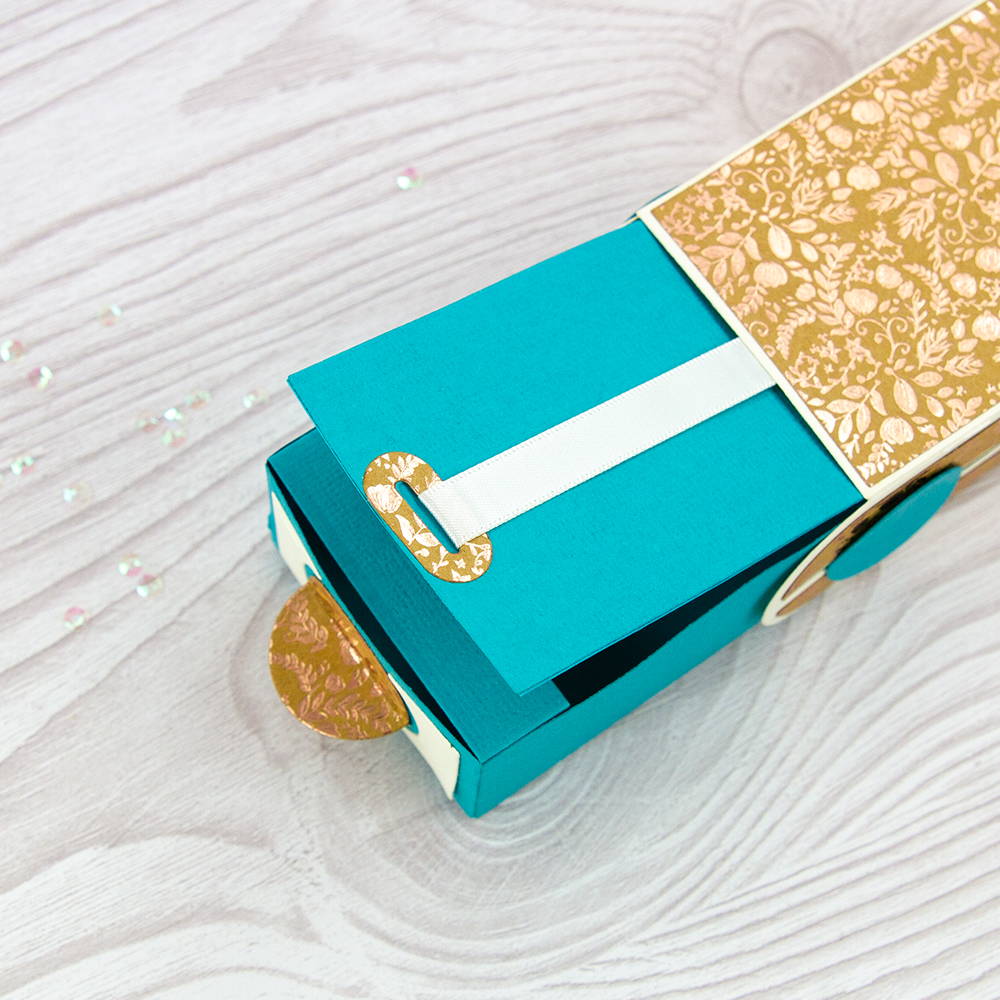
Step 13
Glue the panel with the slit onto one side of the box. Tuck the short end of the strap into the slit and glue in place.
Step 14
Place another magnet on top of the one already glued and add the adhesive circle on top. Then fold over the strap and press into place on the side of the box.
Step 15
Glue the second side panel (without the slit) on top, covering the magnet.
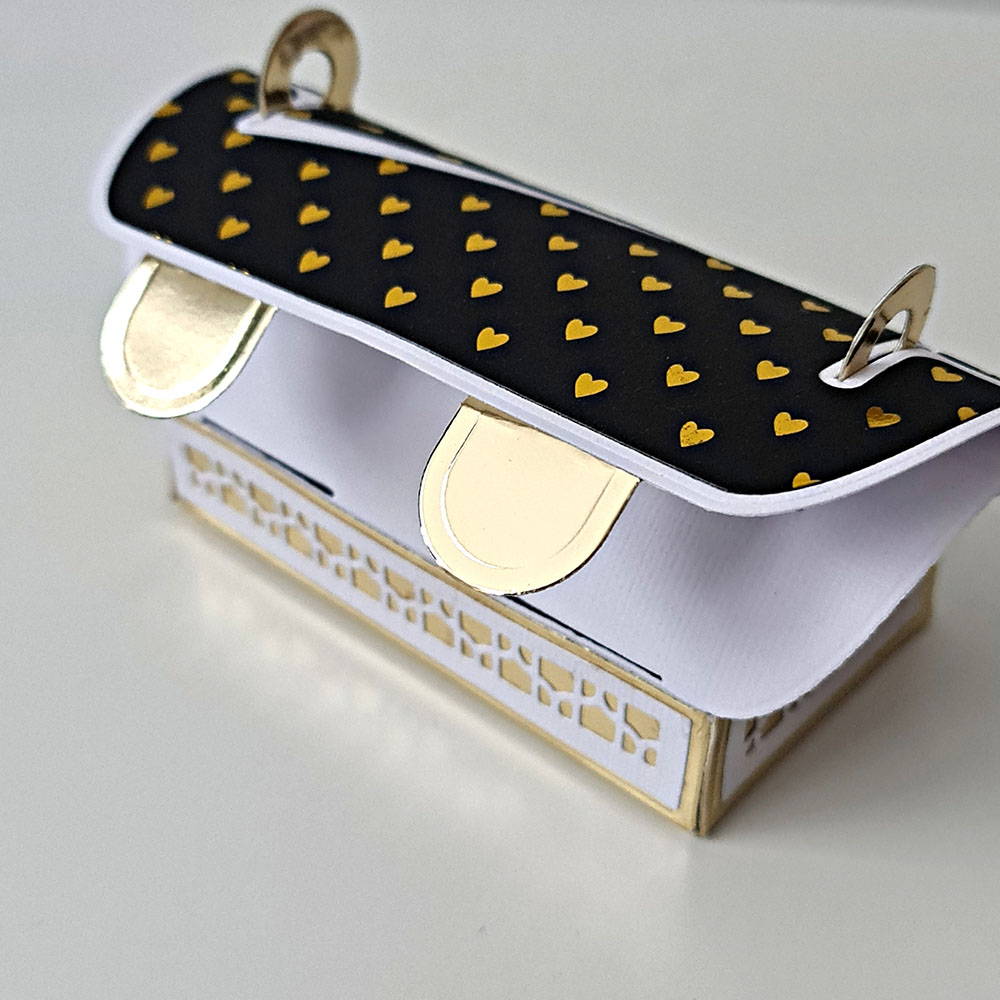
Step 16
Now the strap will close over and be held in place with the magnets.
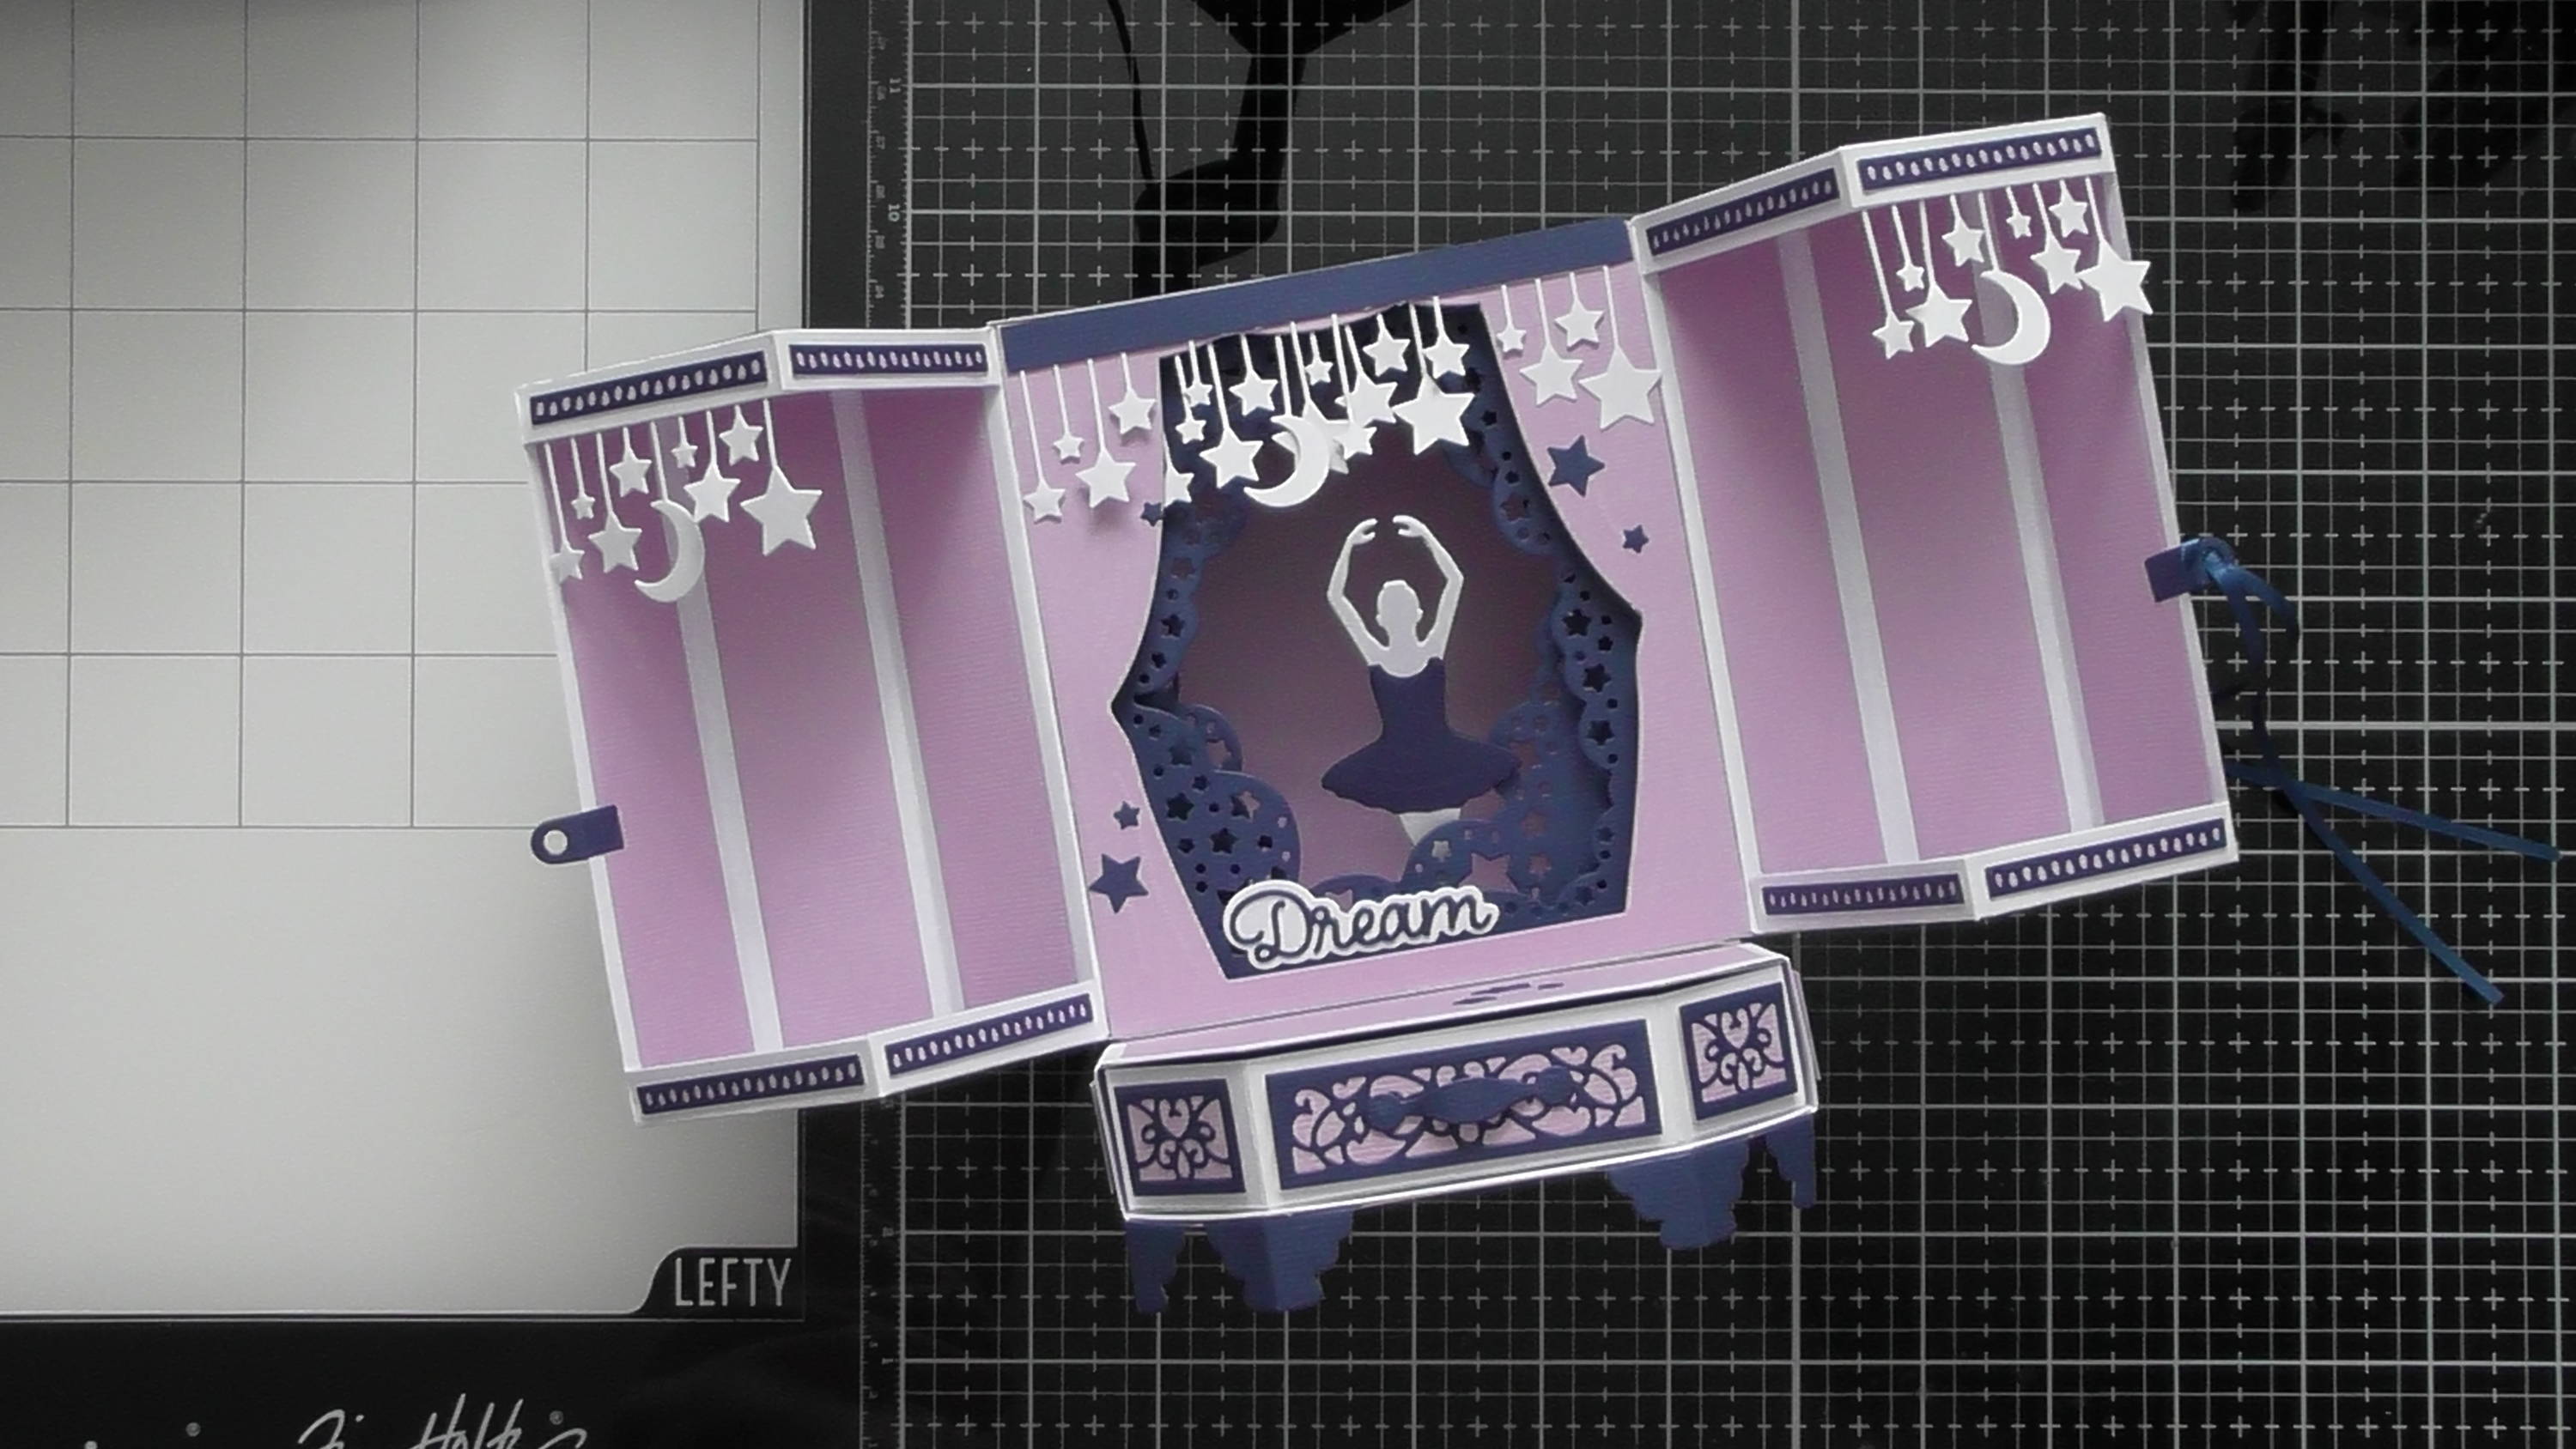
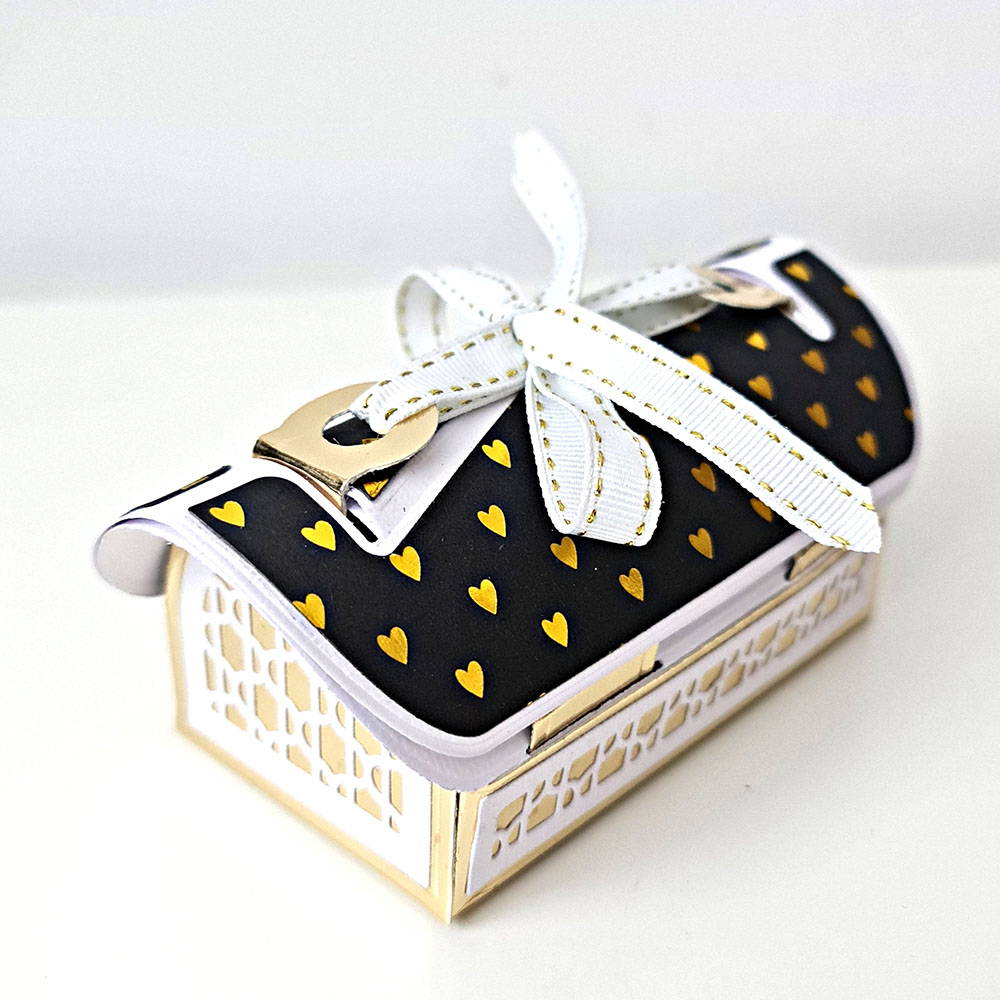
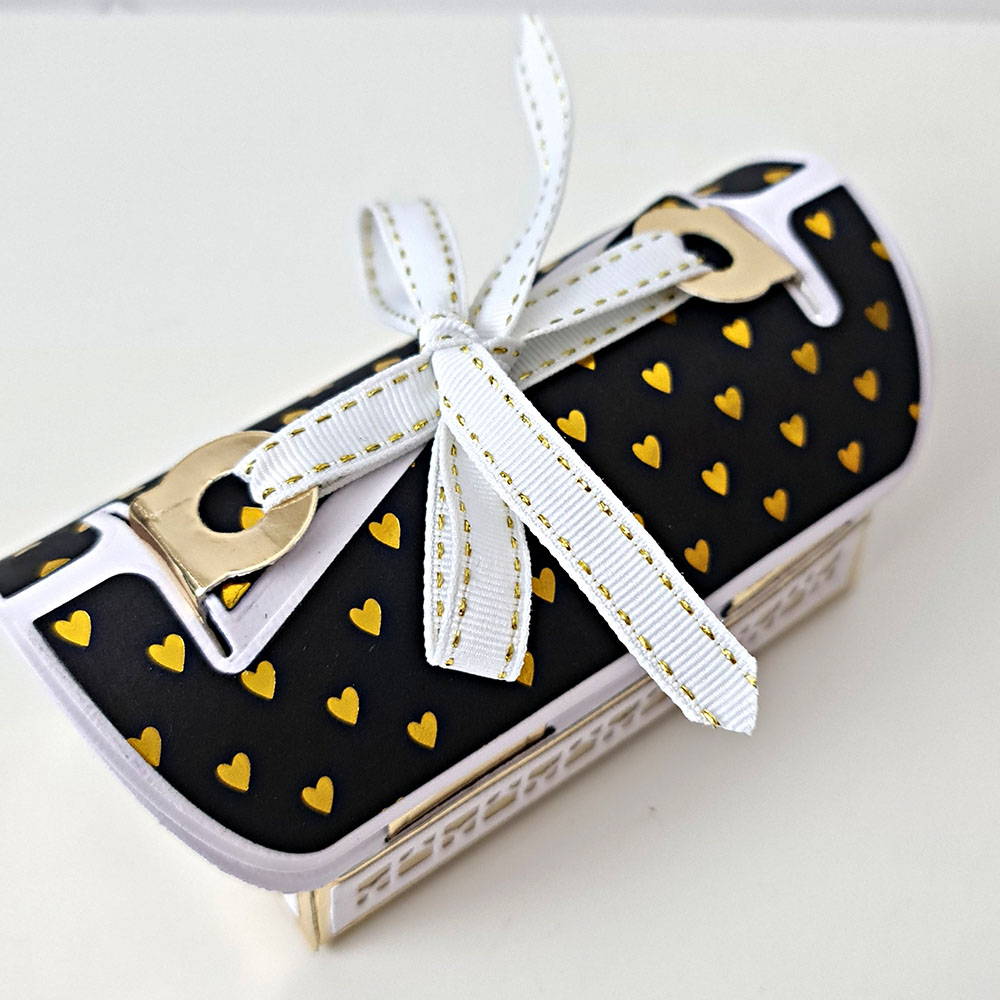
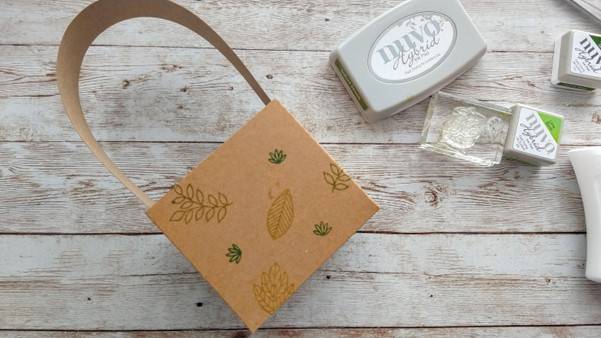
Step 17
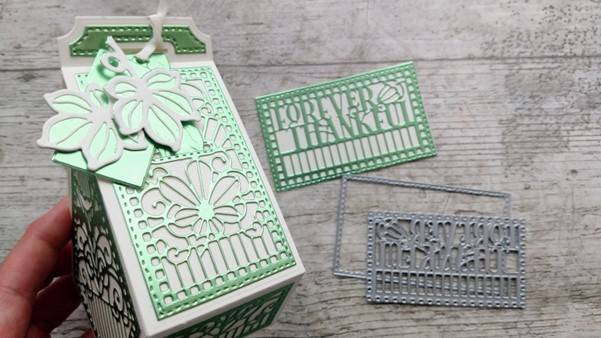
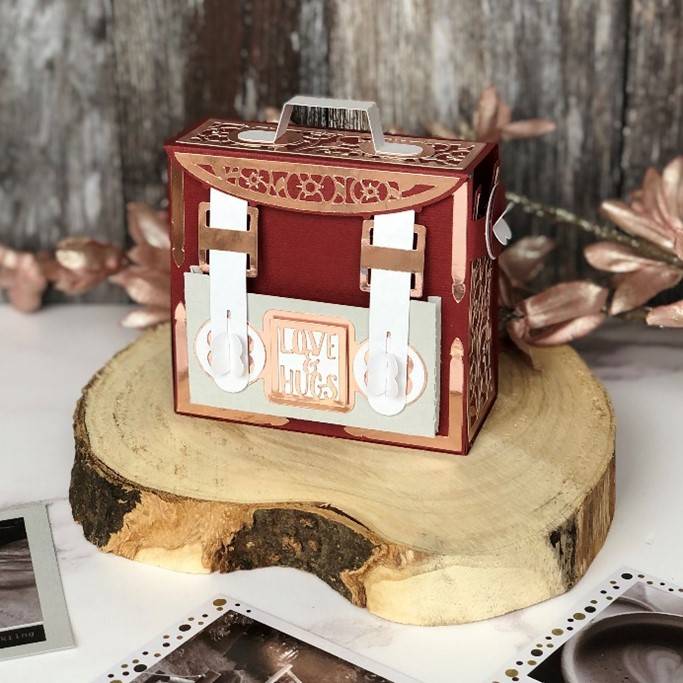
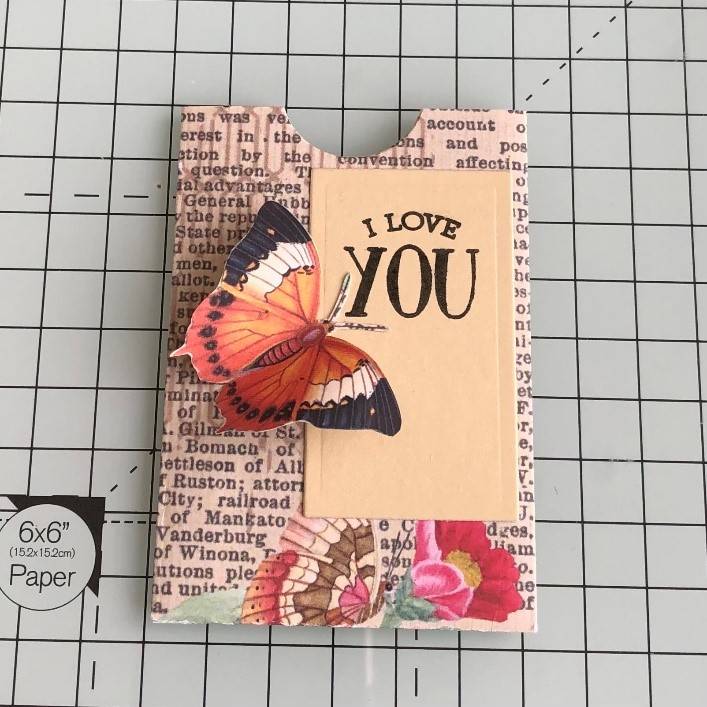
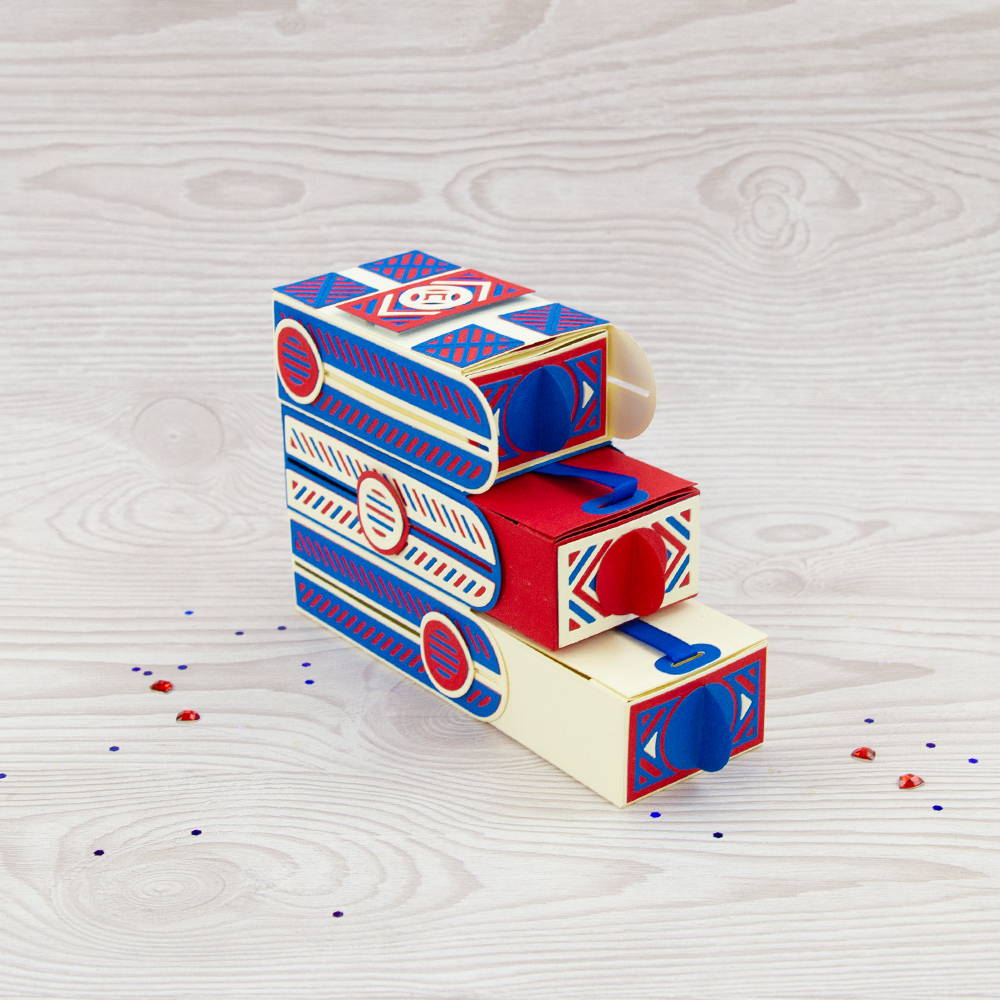
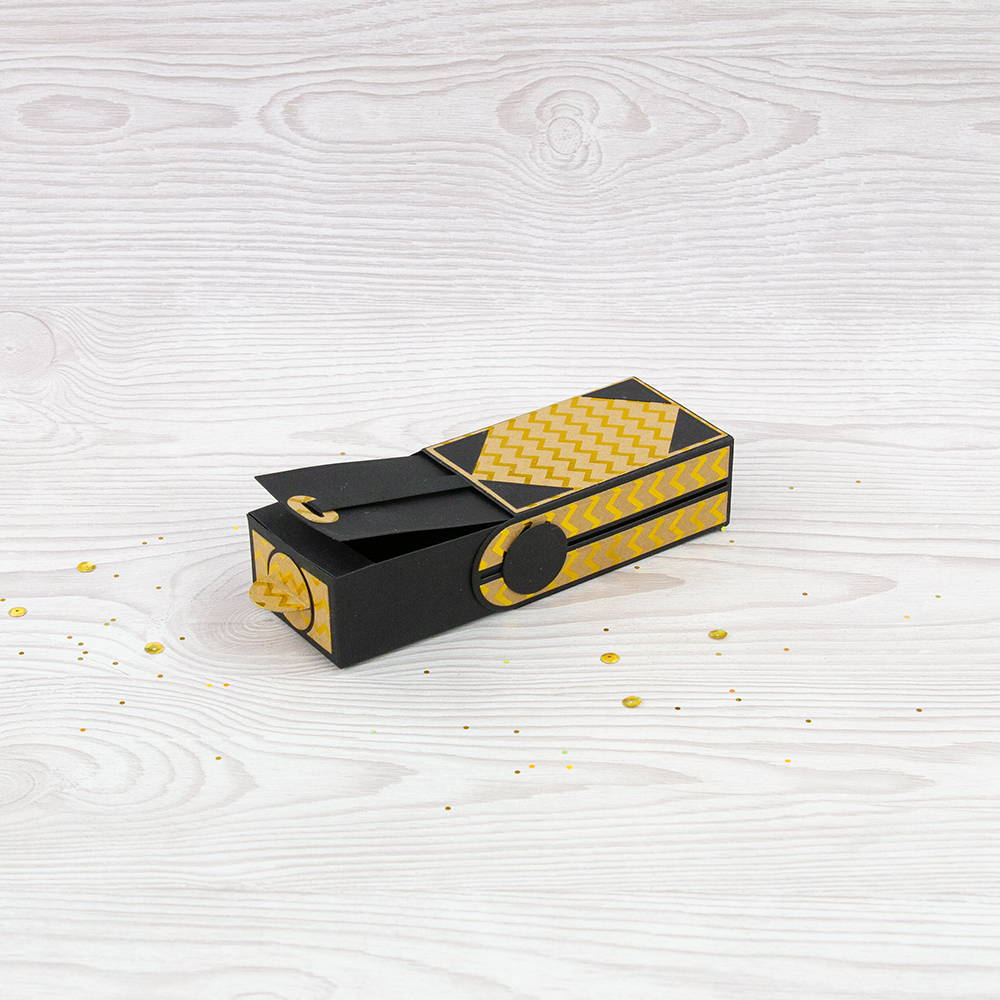
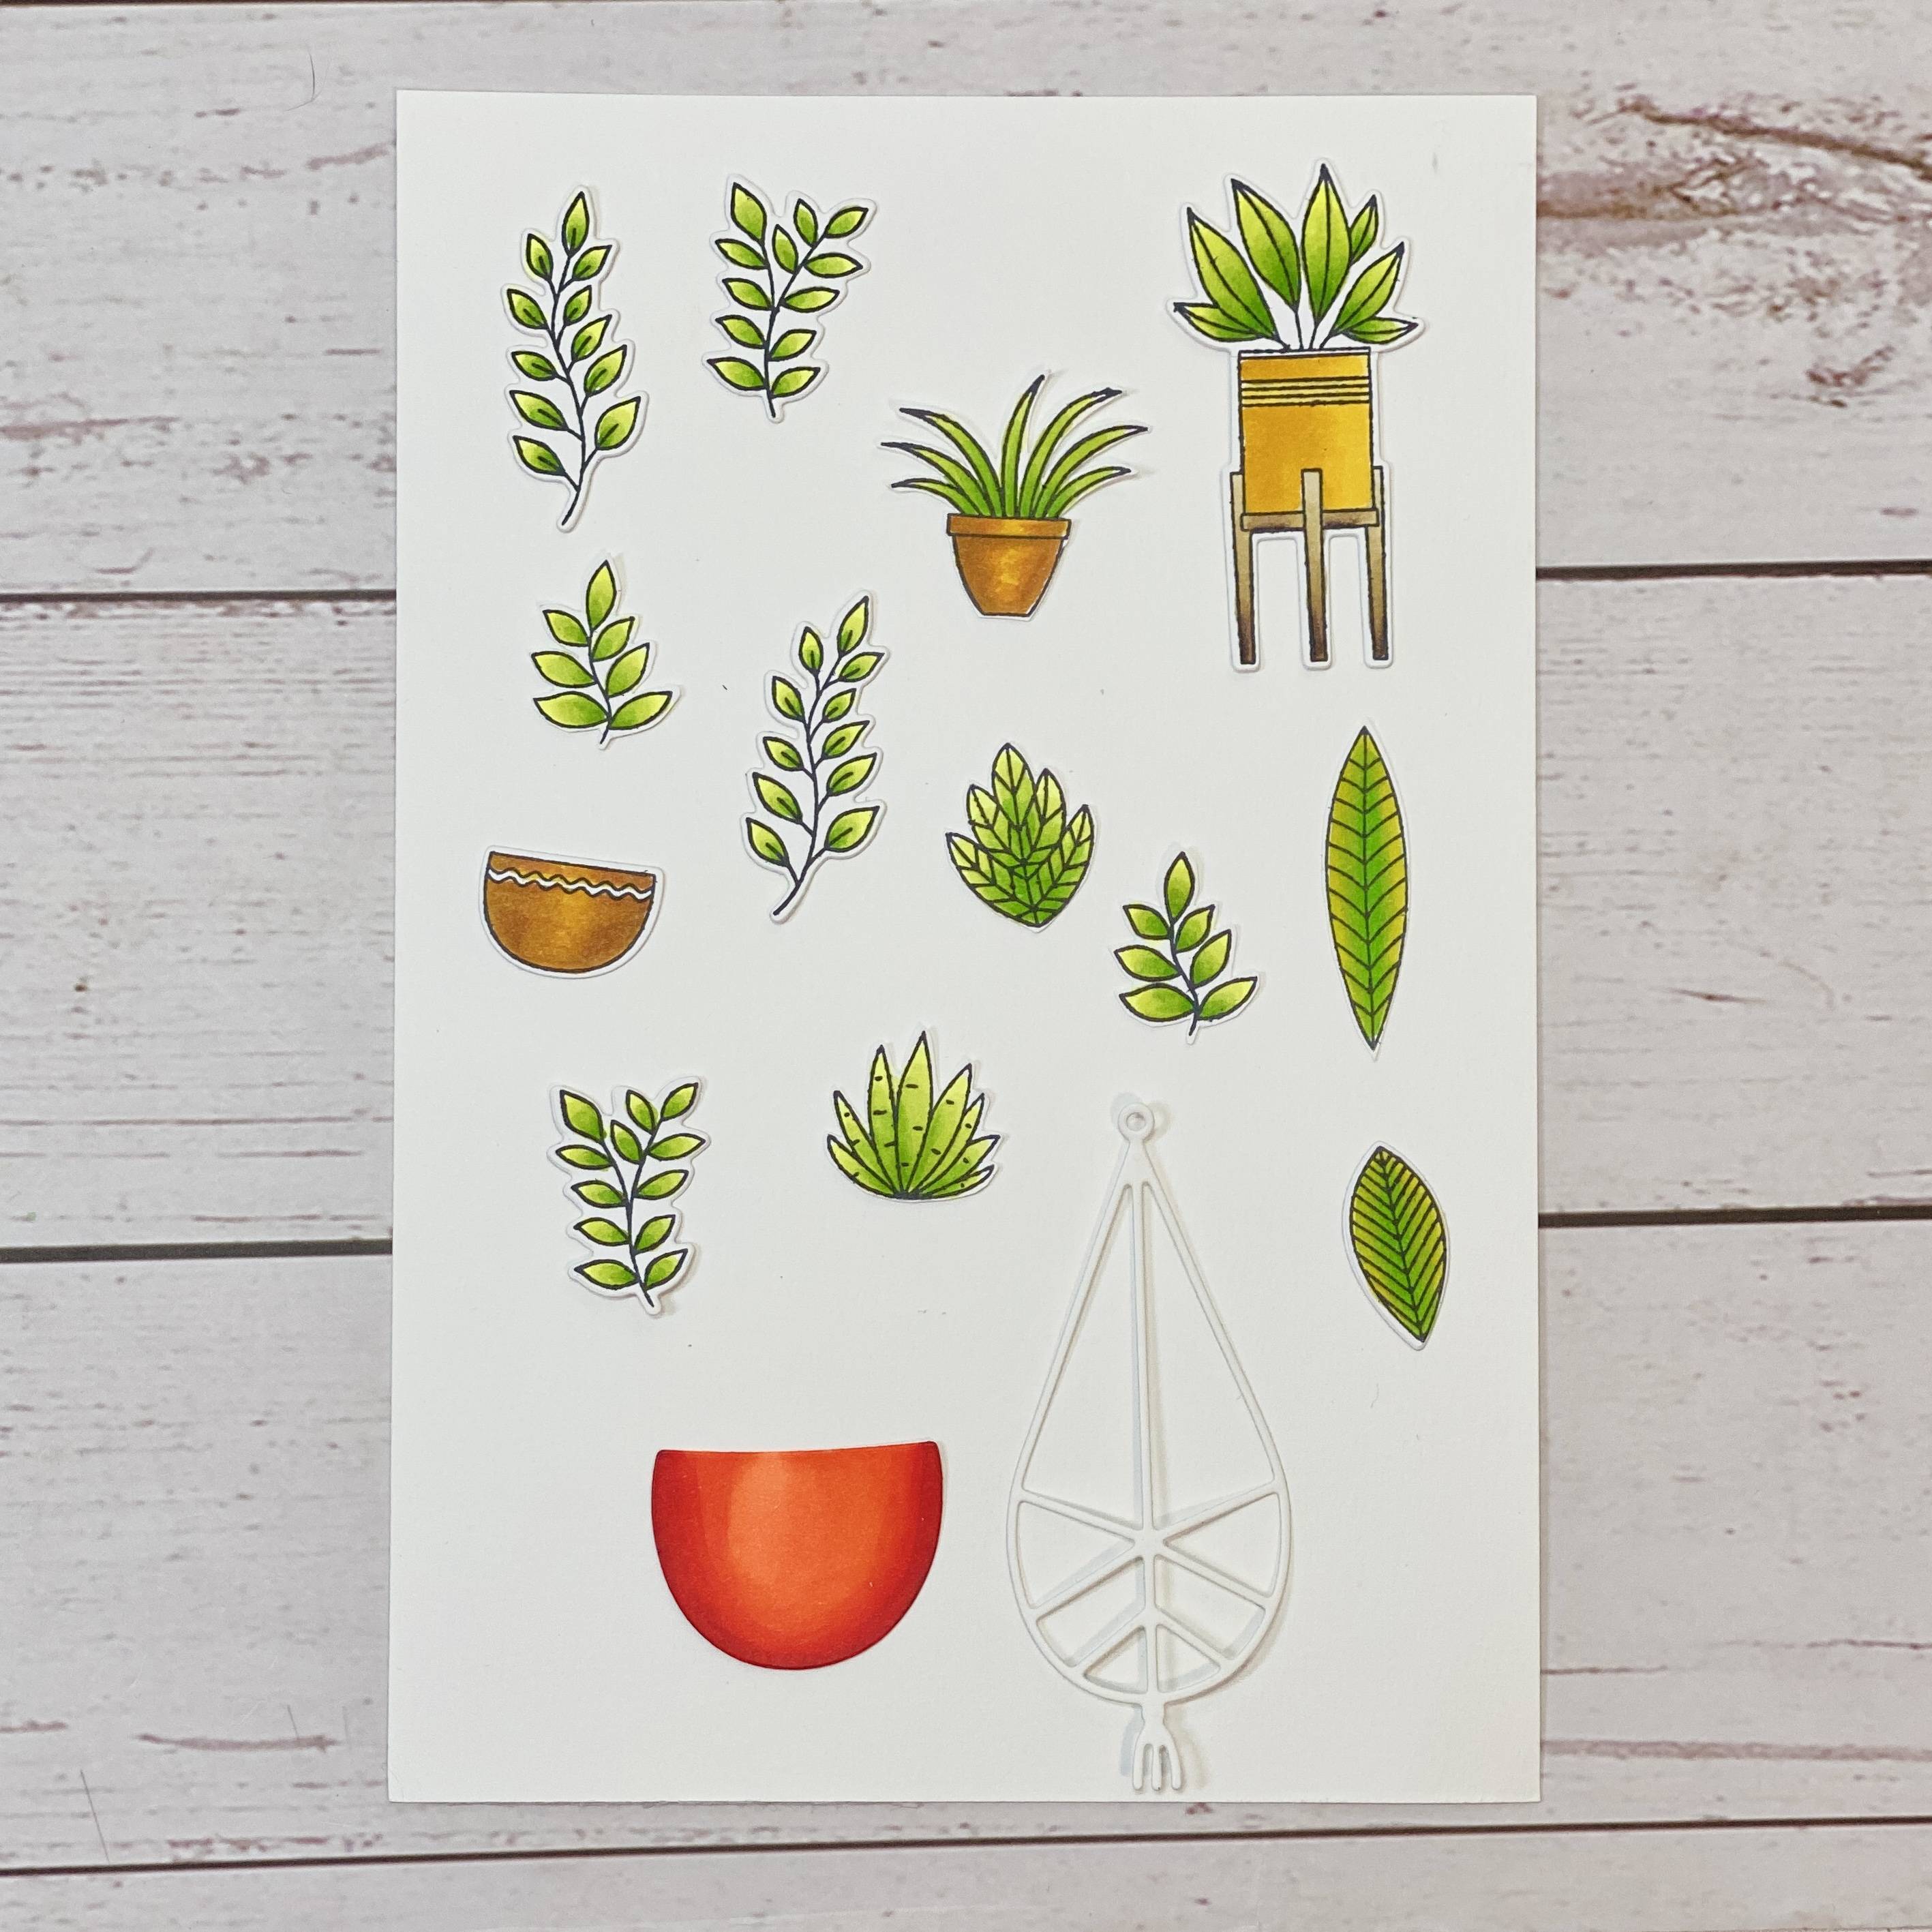
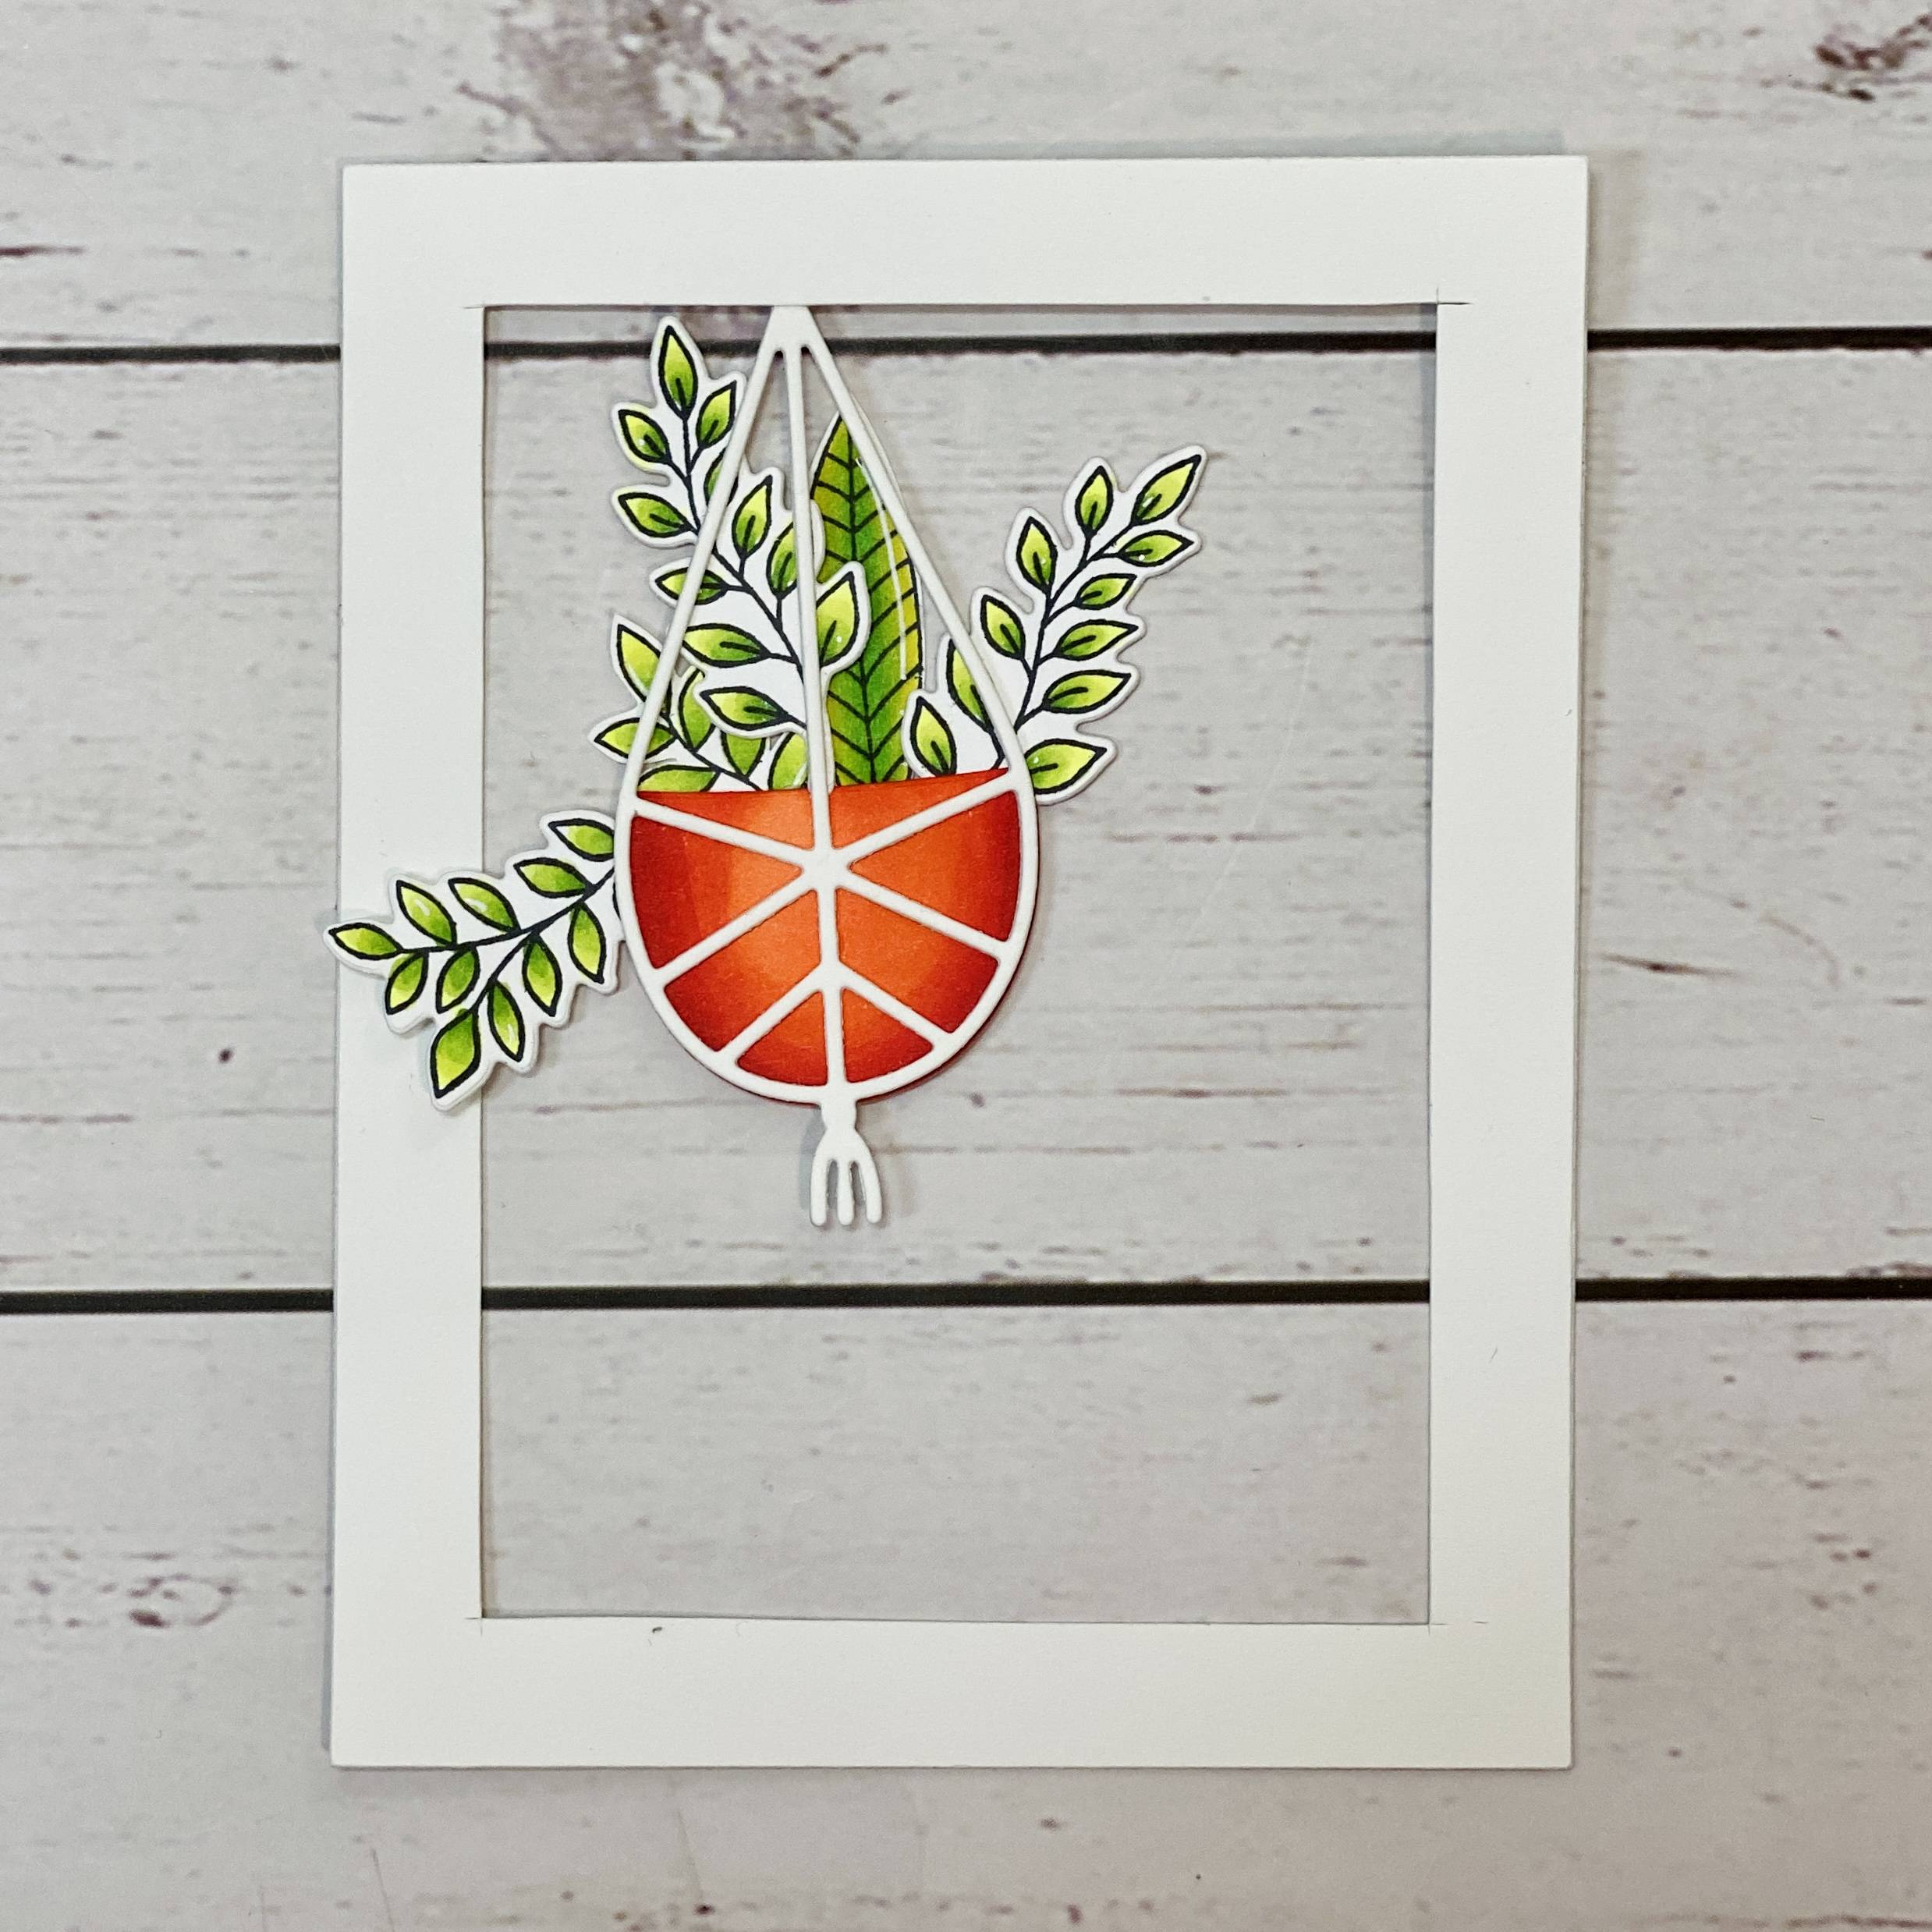
Die cut the tag. And leaves and attach to the top of the box with ribbon. Then make a card for the inside using the plain die shown for the ivory part and using both craft dies shown for the green die cut. Glue both together.
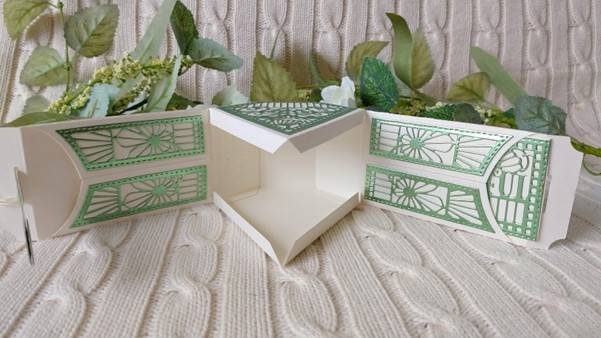
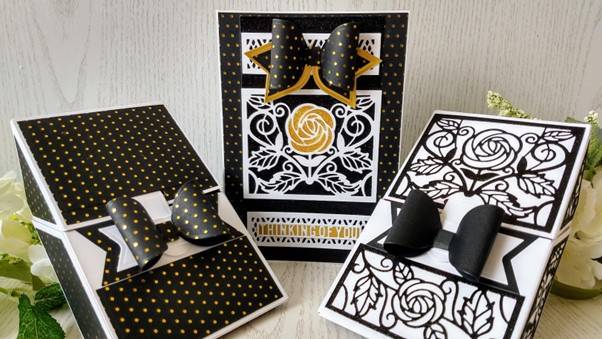
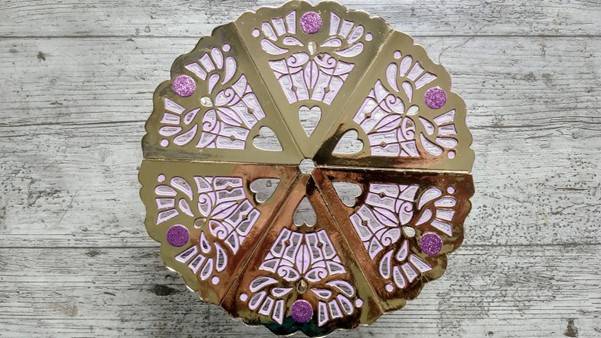
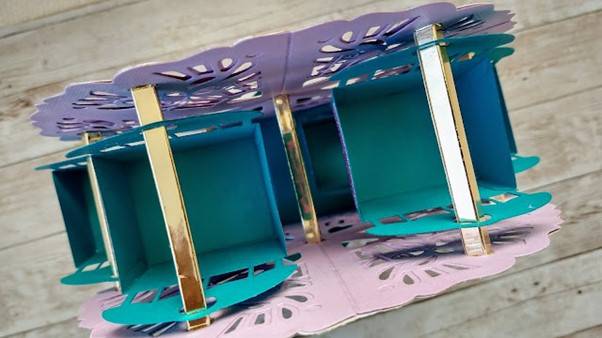
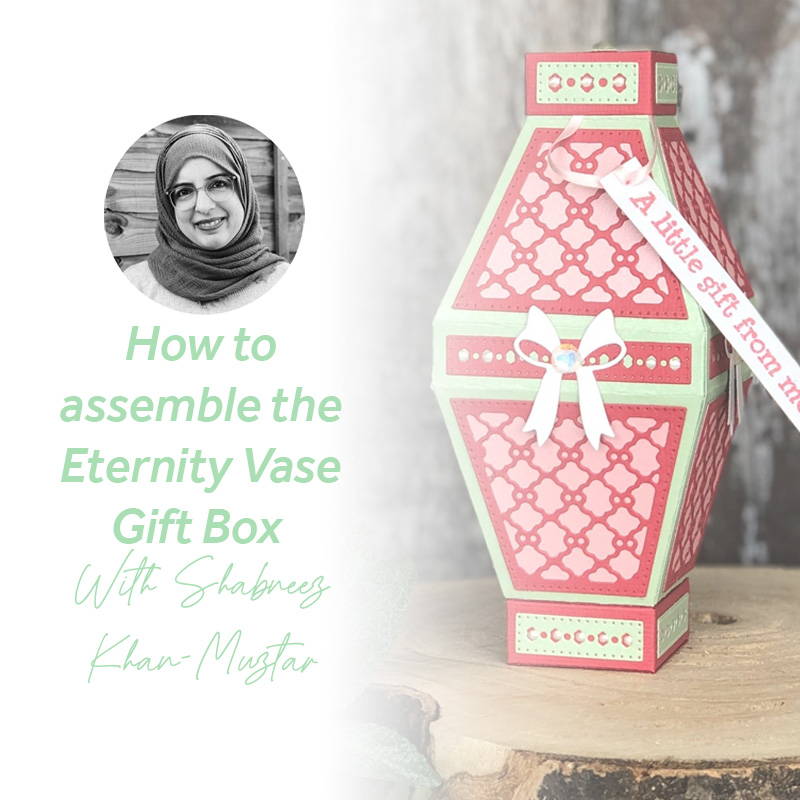
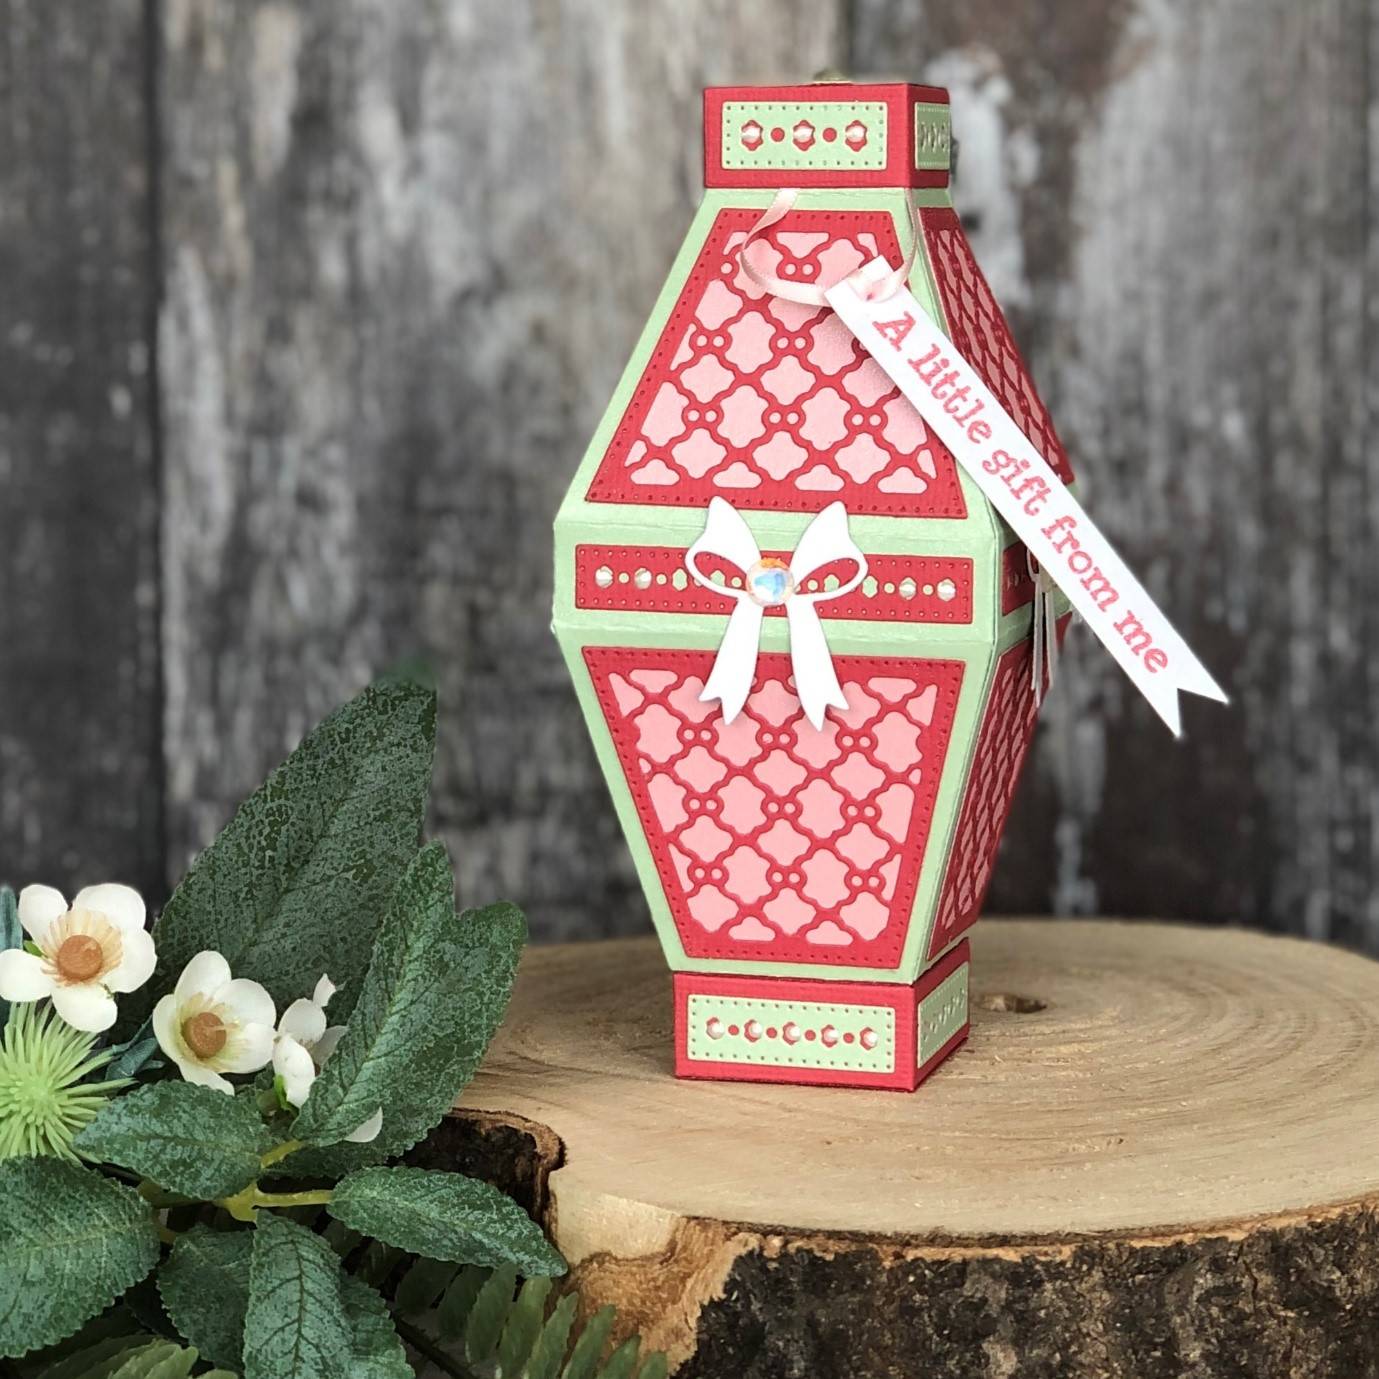
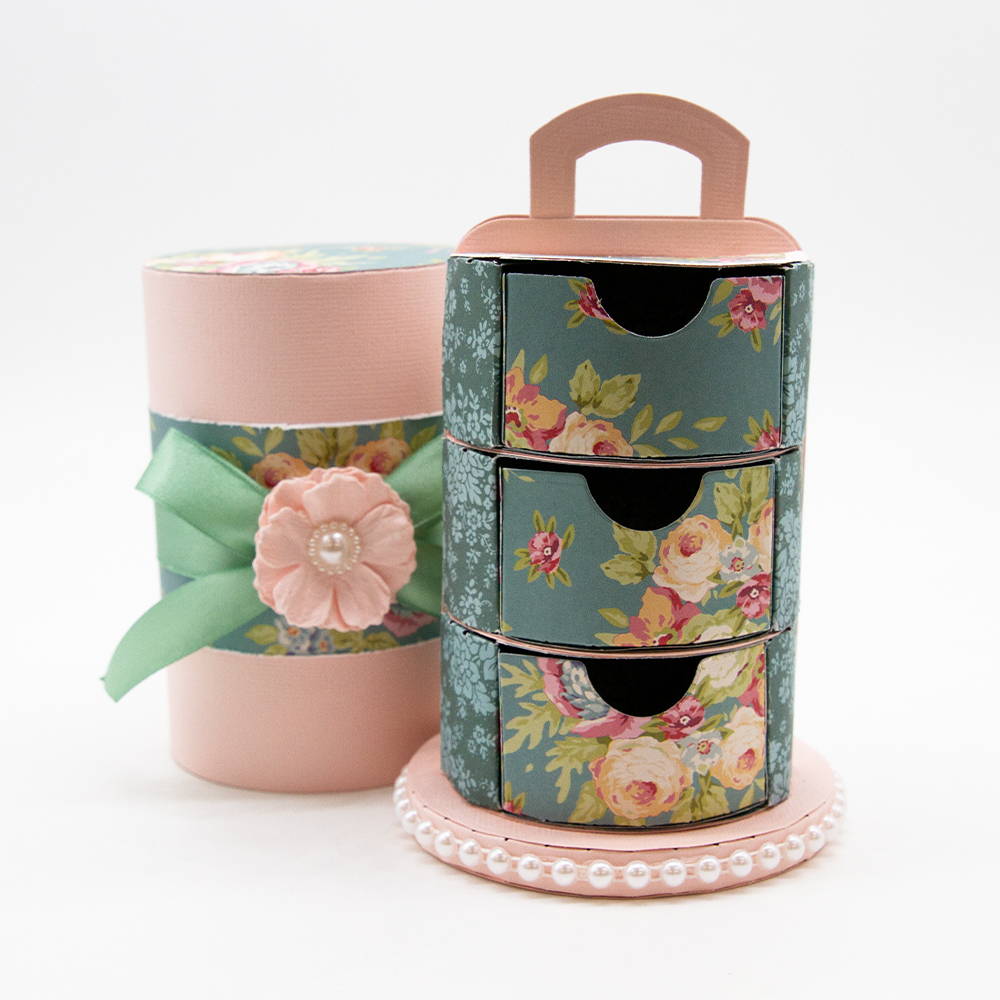
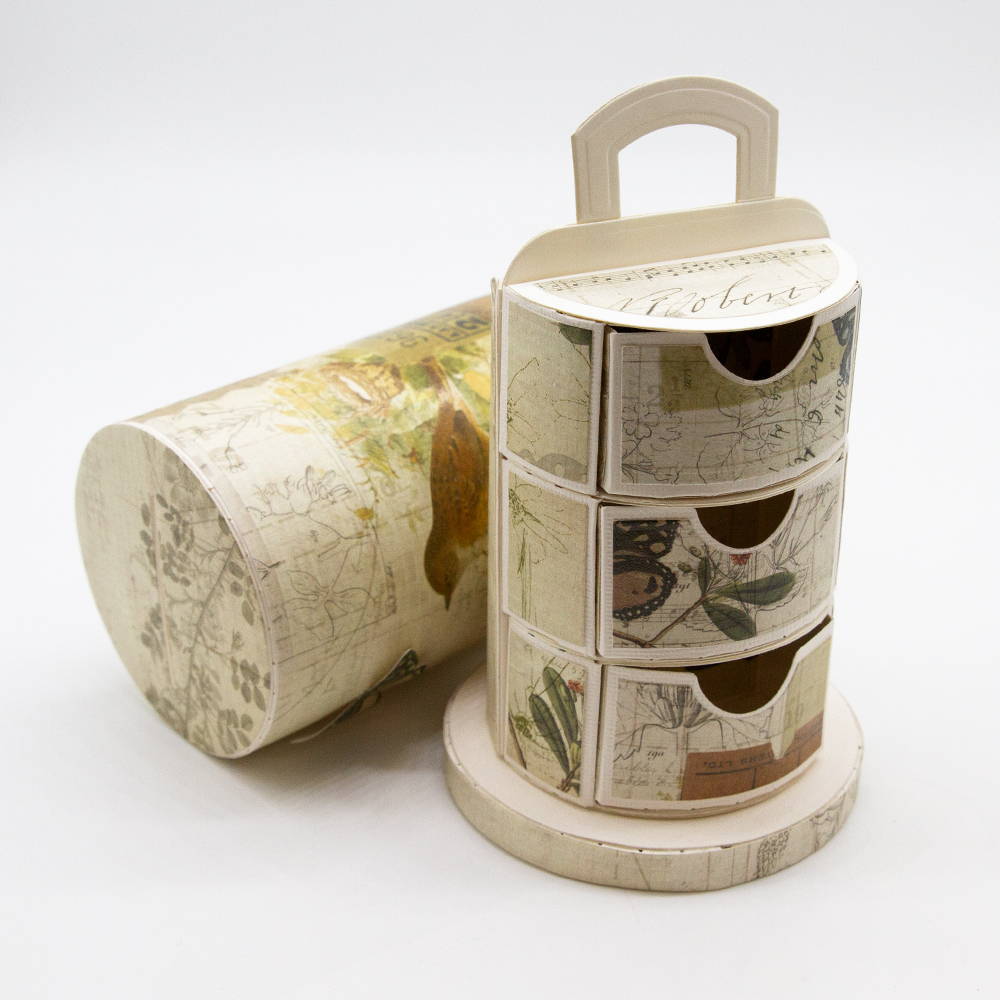
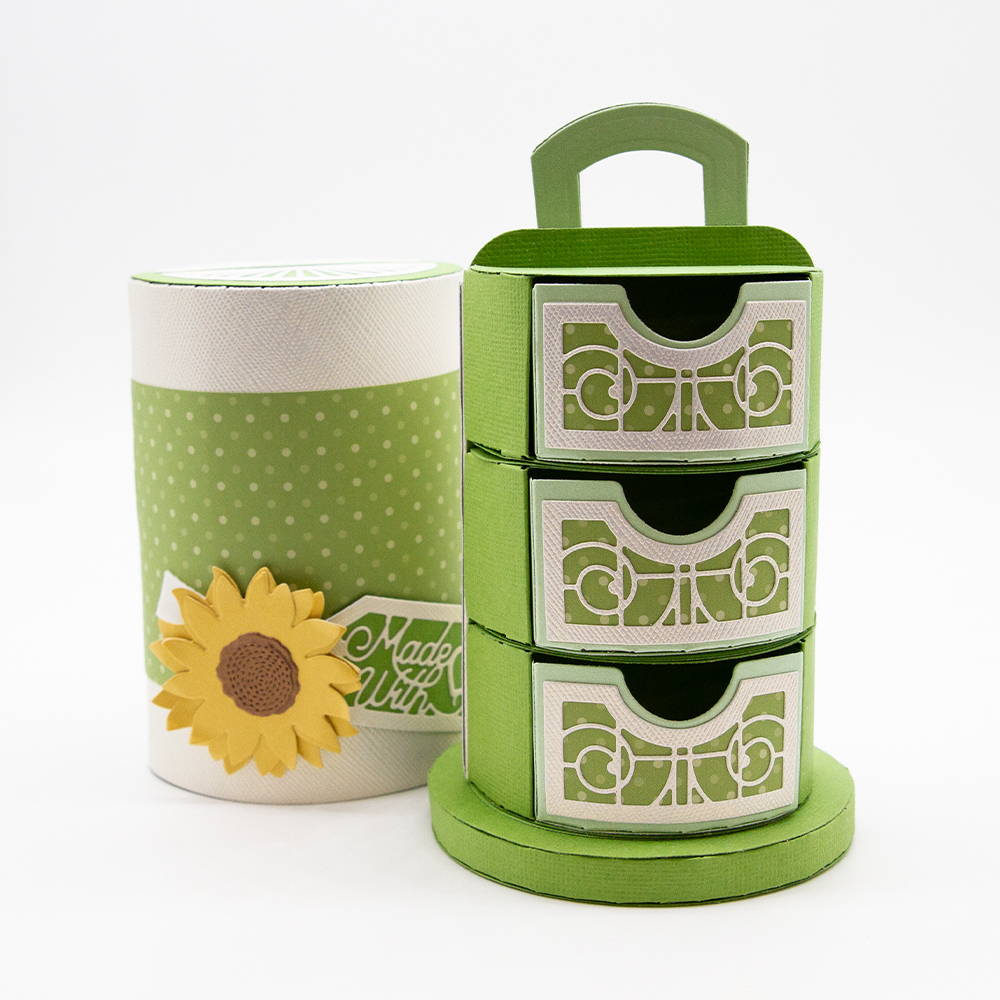
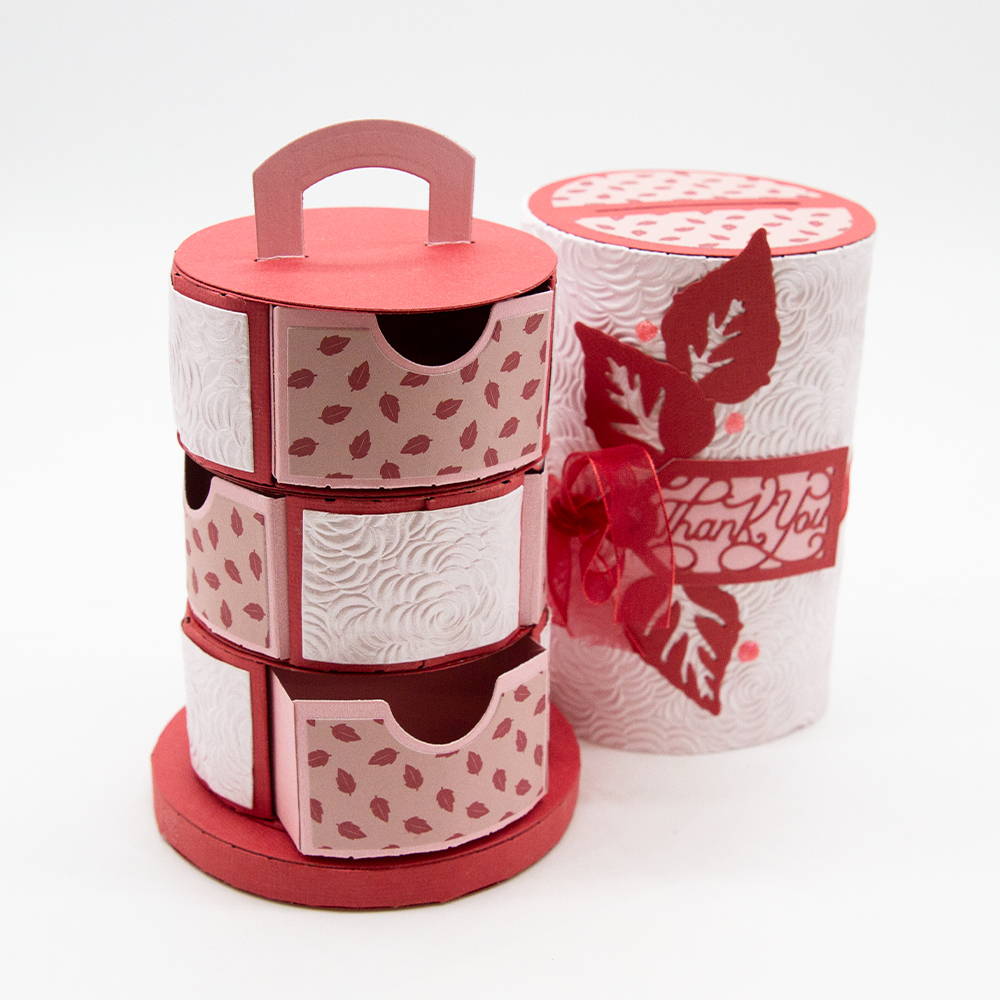
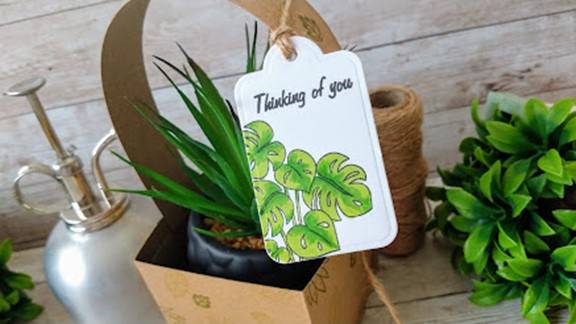
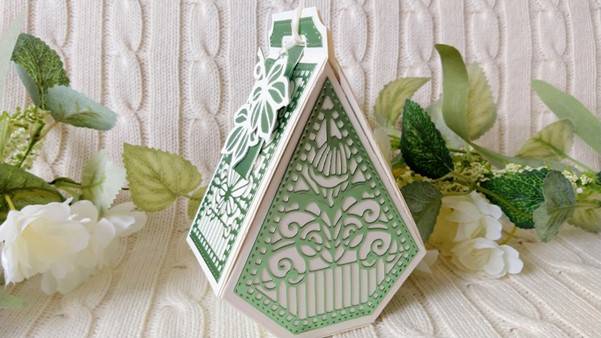
Finished