


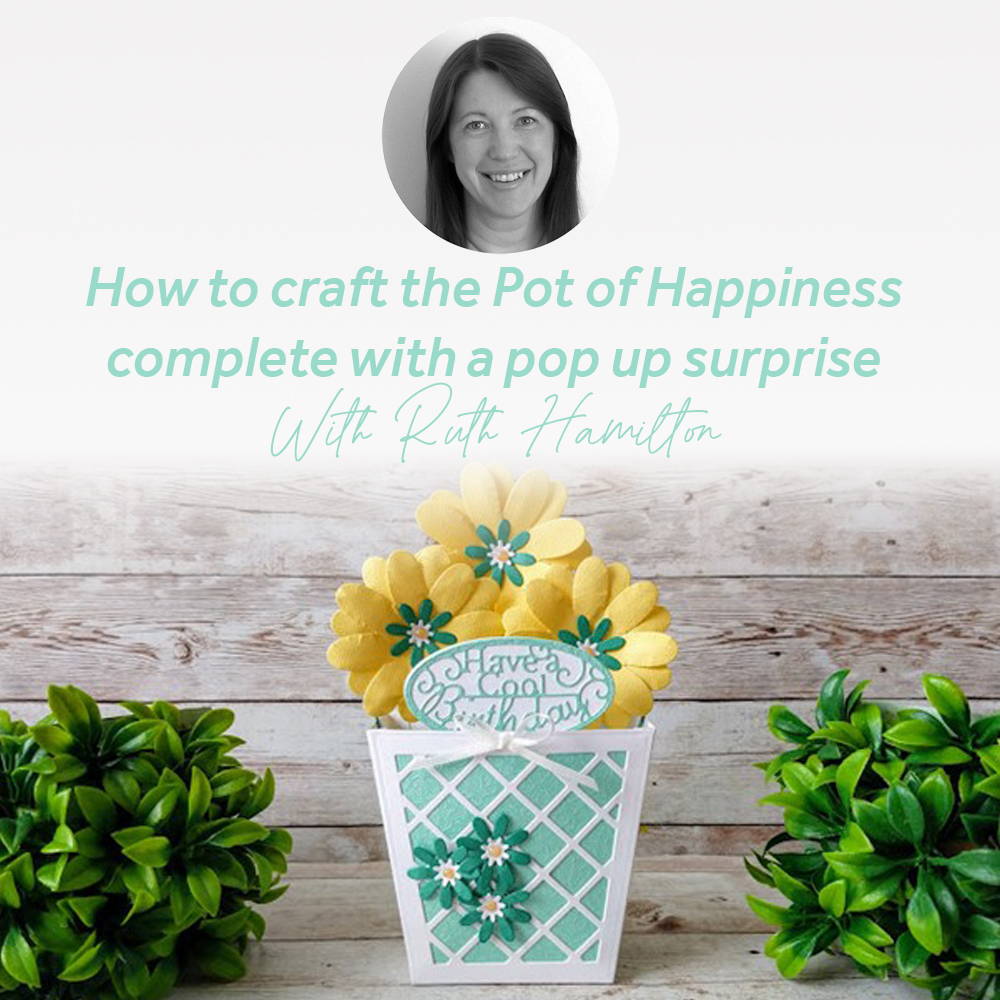

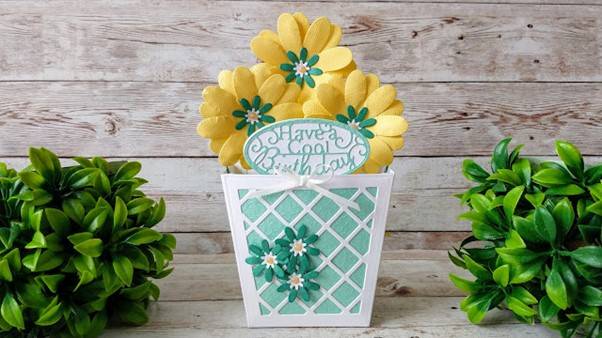
The "Pot of Happiness" Showcase die set contains 32 different dies which you can use to make a 3D flower pot with flowers or a cone with ice cream, both with a mechanism to move a little label up and down inside the pot.
I'm showing you how to make a flower pot with flowers here but you can see how I made the ice cream come and also how I die cut it slightly differently in my video here
What you will need
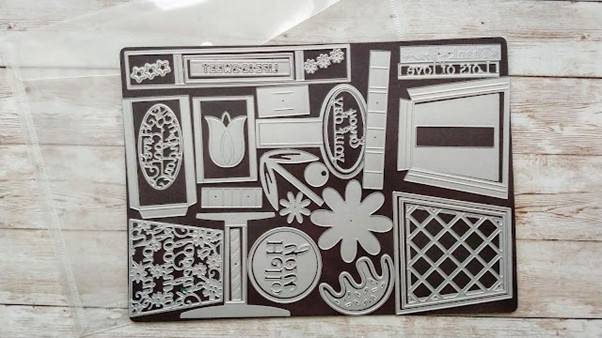
- Pot of Happiness die set
- Craft Perfect Smooth White Card
- Craft Perfect Miami Mint Speciality Card
- Craft Perfect Classic Card, Buttermilk Yellow, Spearmint Green
- Nuvo Glitter Drops, Honey Gold
- Craft Perfect Hi Tack Tape
- Nuvo Deluxe Adhesive
Step 1
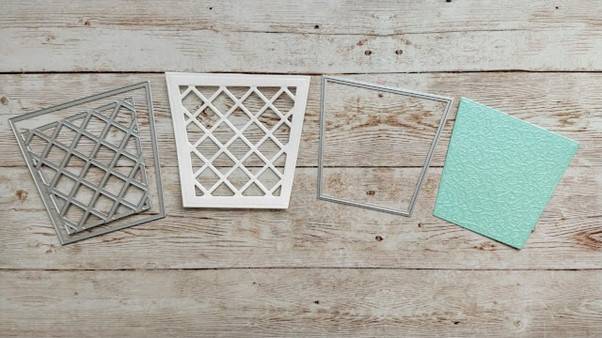
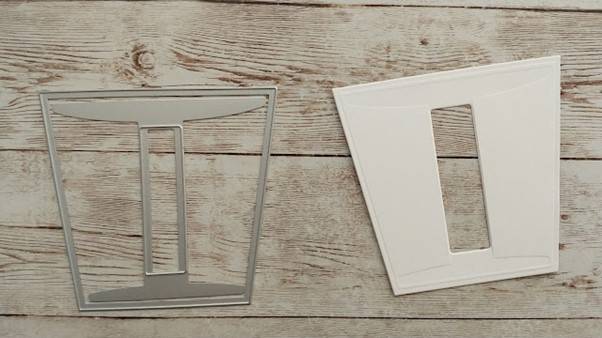
Die cut the large pot size die together with the patterned die from white card. Die cut the smaller pot die from green card.
Step 2
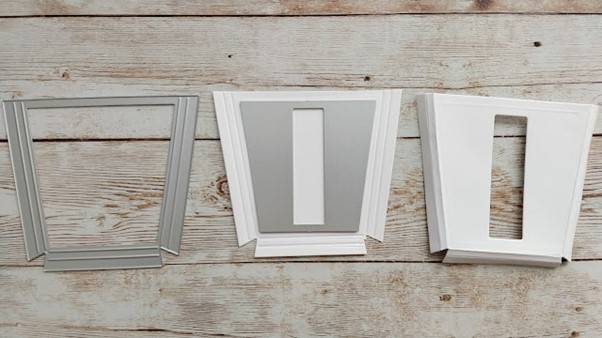
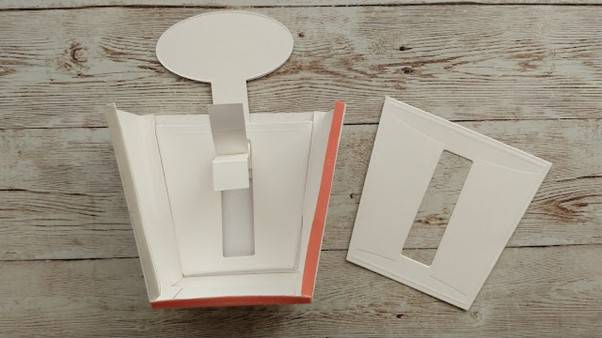
Die cut a white tabbed pocket with a slot by positioning the slot die as shown.
Step 3
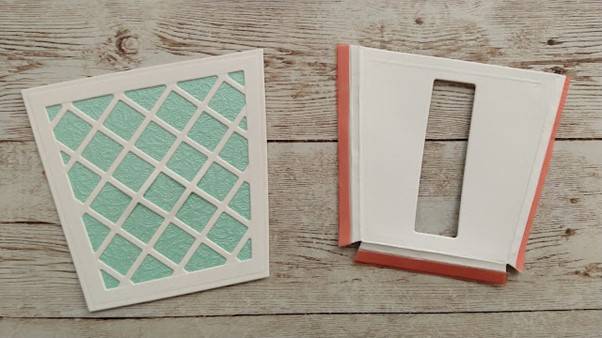
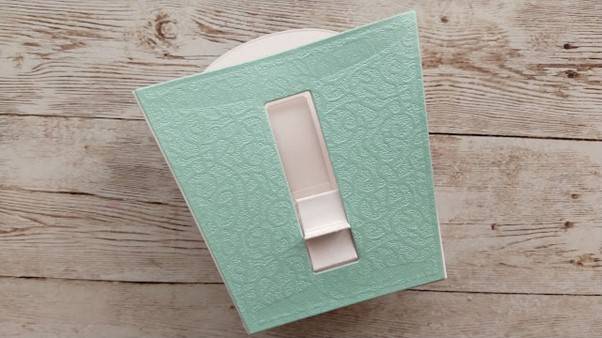
Glue the green die cut behind the white patterned die cut. Fold the tabs on the pocket backwards and add hi tack tape to the outer tabs.
Step 4
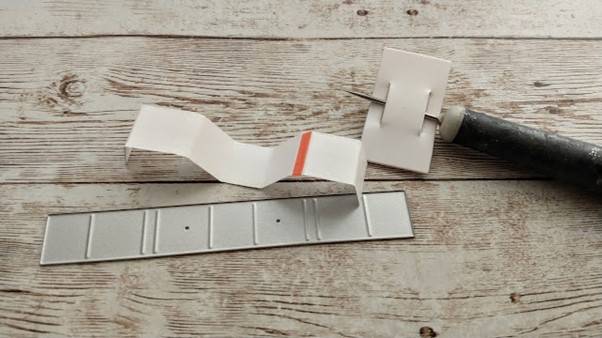
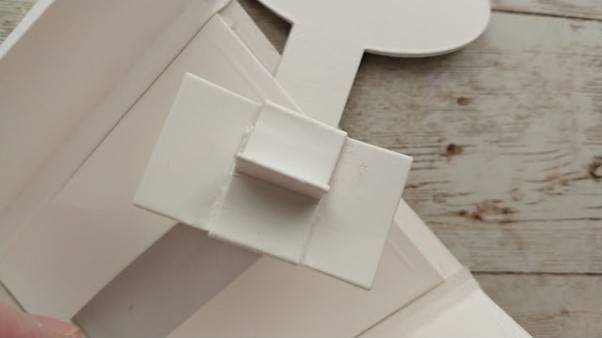
Die cut the long folding tab and one of the dies with the slits.
Add narrow hi tack tape to the narrowest areas and feed through the slits in the other die cut.
Step 5
Attach the narrow areas with the hi tack tape to form a tab.
Step 6

Die cut a pop up and use the same die along with a sentiment die to create a green pop up. Glue the green die cut on top of the white one.
Step 7

Glue the base of the pop up stick to the front slider plate and slider bar.
Step 8

Push the mechanism tabs through the slot in the pocket.
Step 9

Attach the pocket to the back of the pot die cuts.
Step 10
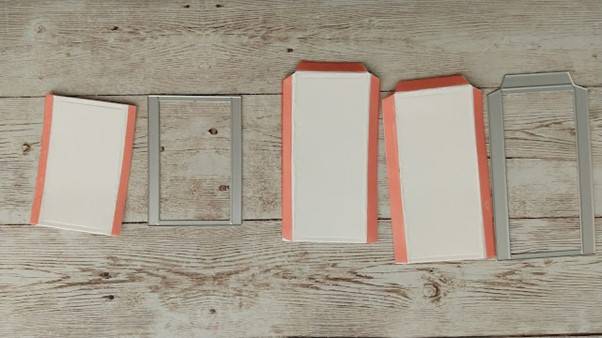
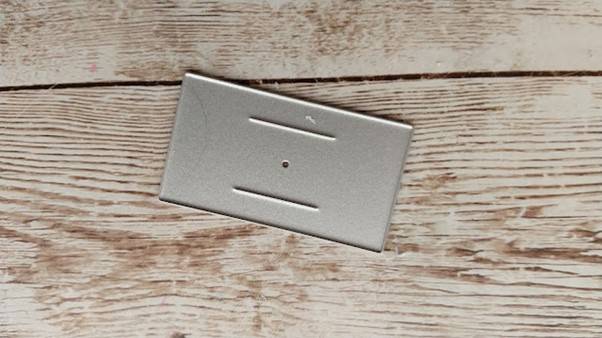
Die cut the base and sides of the pot and add hi tack tape to the tabs.
Step 11
Attach the base and sides to the front of the pot.
Step 12
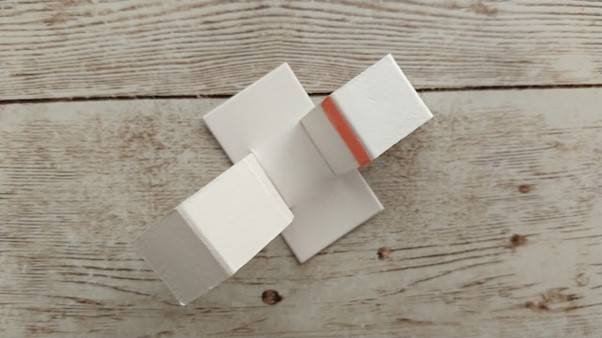
Die cut this tab with slits again.
Step 11
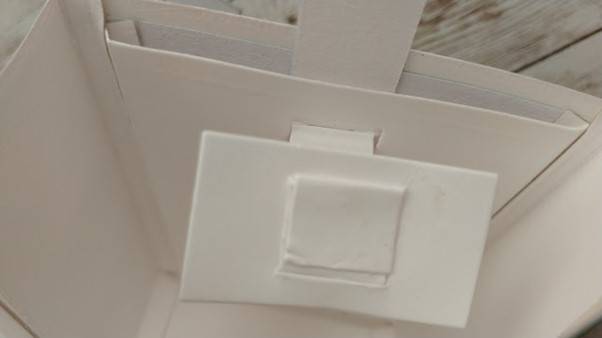
Push the tabs from the slider mechanism through the slits of the small tab, fold over each other and glue in place.
Step 12
Die cut the small tab shape, score and fold, then add hi tack tape and adhere the 2 centre pieces together to create a tab.
Step 11
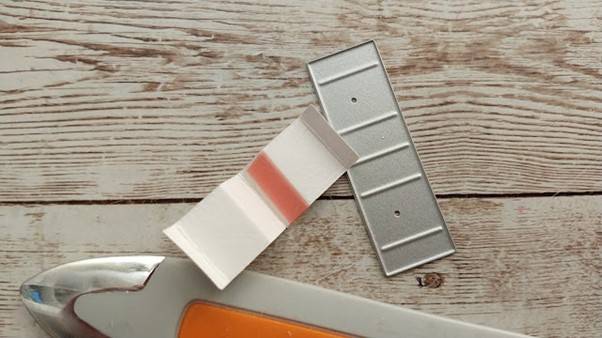
Fold around the back of the tab (from pic 13) and glue to secure.
Step 12
Die cut the large pot from white card, placing the positioning slot die in the centre to create the large slot.
Step 11

Push the slider mechanism through the back panel and adhere to the back of the pot.
Step 12
Die cut a large green pot, also with a slot and glue to the back of the pot.
NB make sure to only add glue around the outside of this die cut so that the slider mechanism can move freely!
Step 11
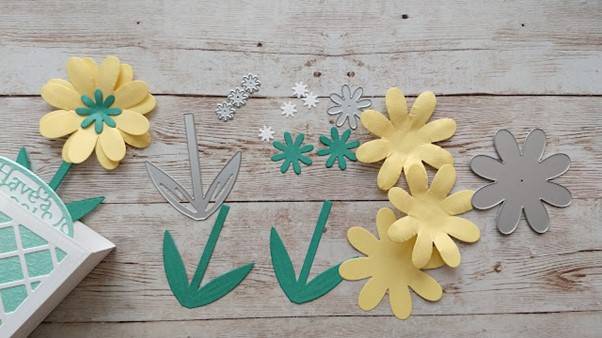
Die cut large yellow flowers, green stems, medium green flowers, small white flowers. Emboss/ shape the flowers and assemble. Glue inside the pot and add Honey Gold Glitter Drops to the centres of the flowers.
Finished Make
Buy The Craft Project
